
Upside Down Shallots Tarte Tatin: Quick, Tasty, and Perfect for Impressing Your Guests!
;Resize,width=742;)
Who doesn’t love a dish that looks fancy, tastes incredible, and requires minimal effort? Upside Down Onion Tarte Tatin ticks all those boxes and then some. These mini tarts make for a show-stopping appetizer, a satisfying side dish, or even a light main course when paired with a fresh salad. This dish is ridiculously simple to put together but gives off that “I spent hours in the kitchen” vibe.
What is Onion Tarte Tatin?
The original tarte tatin comes from France, and believe it or not, it was a happy accident. In the 1880s, the Tatin sisters, who ran a hotel in the Loire Valley, supposedly overcooked apples for a pie and decided to slap some pastry on top as a quick fix which led to an iconic upside-down tart.
While the classic version is made with apples, alterations like onion tarte tatin have become just as popular. Shallots, with their natural sweetness, are the perfect stand-in for fruit, caramelizing beautifully when roasted. Tarte Tatin is so beloved that it has inspired countless variations, including versions with tomatoes, beets, and even mushrooms. But if you ask us, onions reign supreme.
Pro Tips for the Best Onion Tarte Tatin
- Use small shallots as they’re sweeter and more delicate than regular onions, making for a more refined flavor.
- Let the shallots cook undisturbed in the balsamic glaze for maximum depth of flavor.
- Keeping the puff pastry cold ensures a crisp, even bake.
- A pinch of salt, pepper, and chili flakes enhances the natural sweetness of the shallots.
- Press the pastry down firmly when sealing. This prevents air pockets and ensures a well-structured tart.
Can I Use Regular Onions Instead of Shallots?
Yes, but the flavor will be slightly different. Shallots have a milder, sweeter taste compared to regular onions, which can be sharper. If you use regular onions, try red onions for a closer match in sweetness.
What Should I Serve With Shallots Tarte Tatin?
These tarts pair well with a crisp green salad, roasted meats, or even a bowl of creamy soup. They also make a fantastic addition to a cheese board!
Can I Add Extra Toppings?
Of course! Feel free to add goat cheese, fresh thyme, or a drizzle of honey before baking for extra depth of flavor.
How Do I Prevent Soggy Pastry?
Make sure the onions aren’t too wet before placing the pastry on top. A little pre-cooking in the oven can help reduce moisture.
What’s The Best Balsamic Glaze to Use?
A thick, aged balsamic glaze works best as it sticks to the onions and caramelizes beautifully. If you only have balsamic vinegar, reduce it with a little sugar to achieve the same effect.
Can I Freeze Shallots Tarte Tatin
Yes, these shallot tarts can be frozen, either before or after baking. If freezing unbaked, assemble them as instructed but skip the egg wash and cheese, then freeze them on a tray before transferring them to an airtight container. When ready to bake, add the egg wash and cheese, and bake from frozen, adding a few extra minutes to the cooking time. If freezing after baking, let them cool completely, then wrap them tightly and reheat in the oven for the best texture.
How to Store Shallots Tarte Tatin
To store leftover shallot tarts, let them cool completely before placing them in an airtight container. Keep them in the refrigerator for up to 3 days. For the best texture, reheat them in the oven at 175°C (350°F) for a few minutes until crisp. Avoid microwaving, as it can make the pastry soggy.
Ingredients
How to Make Shallots Tarte Tatin
;Resize,width=712;)
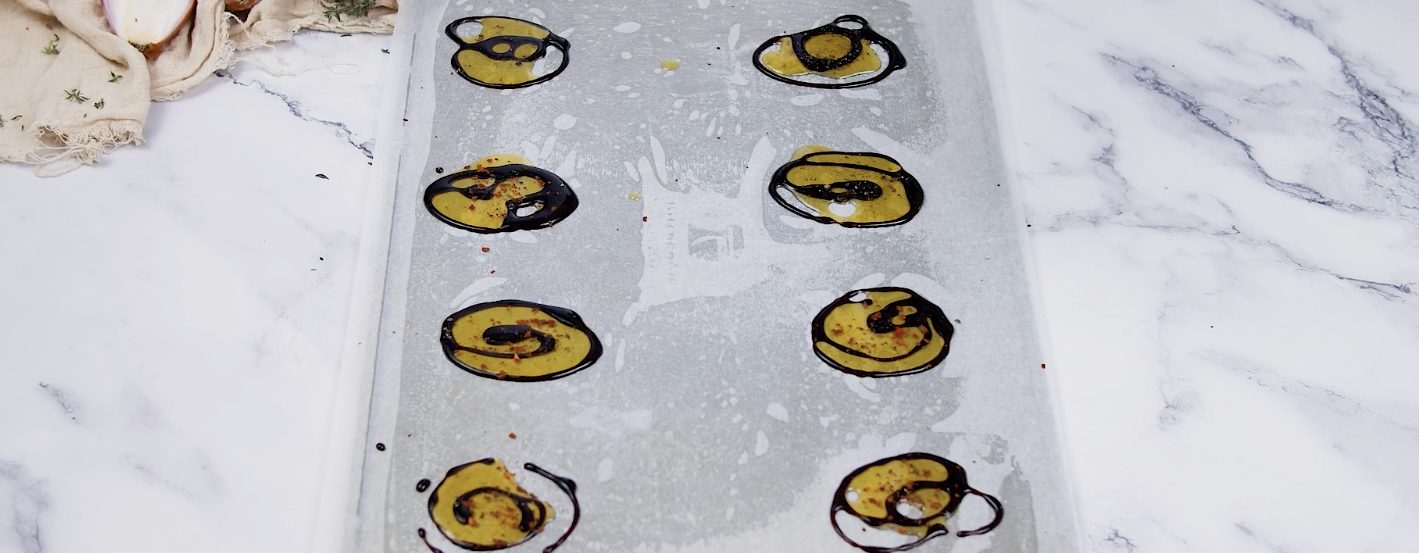
Preheat the oven to 190°C/375°F. Prepare the baking sheet by covering it with parchment paper. Drizzle 8 small piles of olive oil evenly across the sheet, followed by balsamic glaze. Sprinkle it with salt, chili flakes, and pepper.
Preheat the oven to 190°C/375°F. Prepare the baking sheet by covering it with parchment paper. Drizzle 8 small piles of olive oil evenly across the sheet, followed by balsamic glaze. Sprinkle it with salt, chili flakes, and pepper.
;Resize,width=712;)
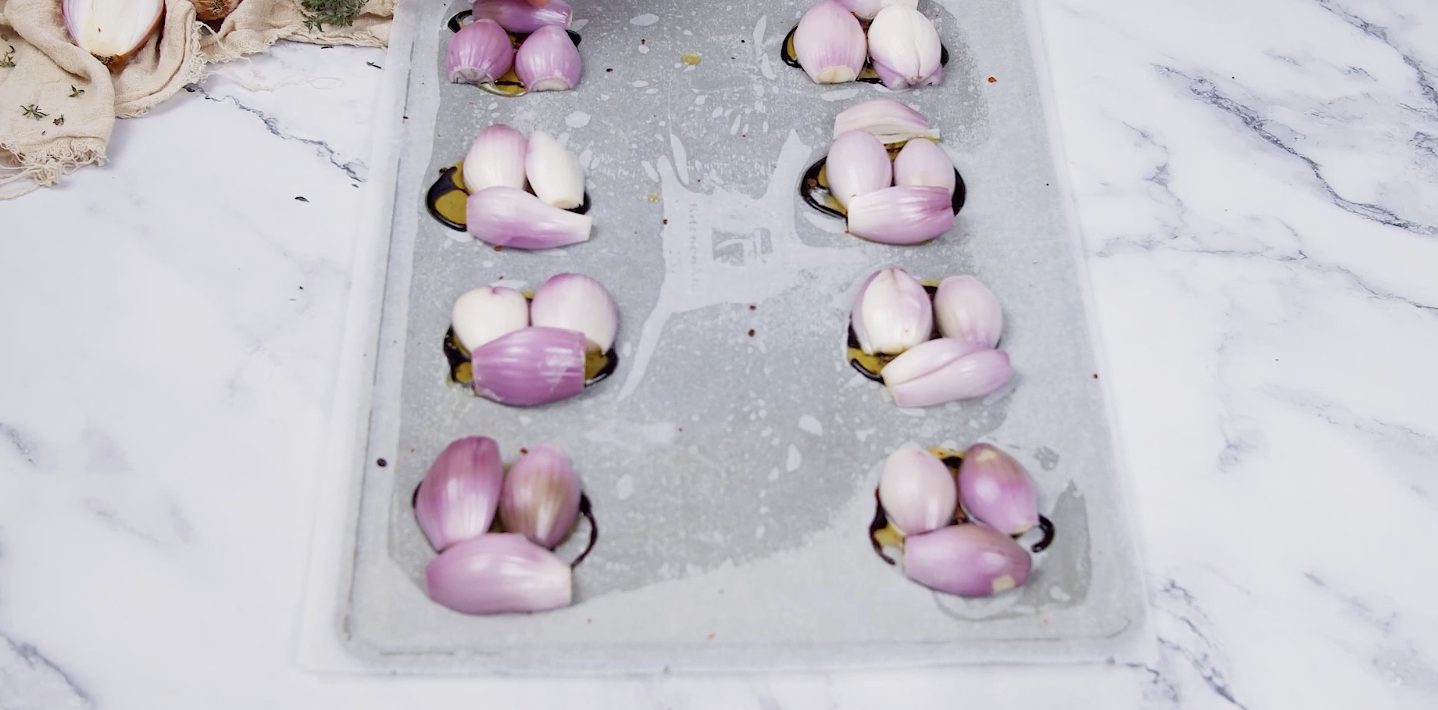
Arrange the shallots by placing each half on top of the oil and balsamic mixture, cut side down.
Arrange the shallots by placing each half on top of the oil and balsamic mixture, cut side down.
;Resize,width=712;)
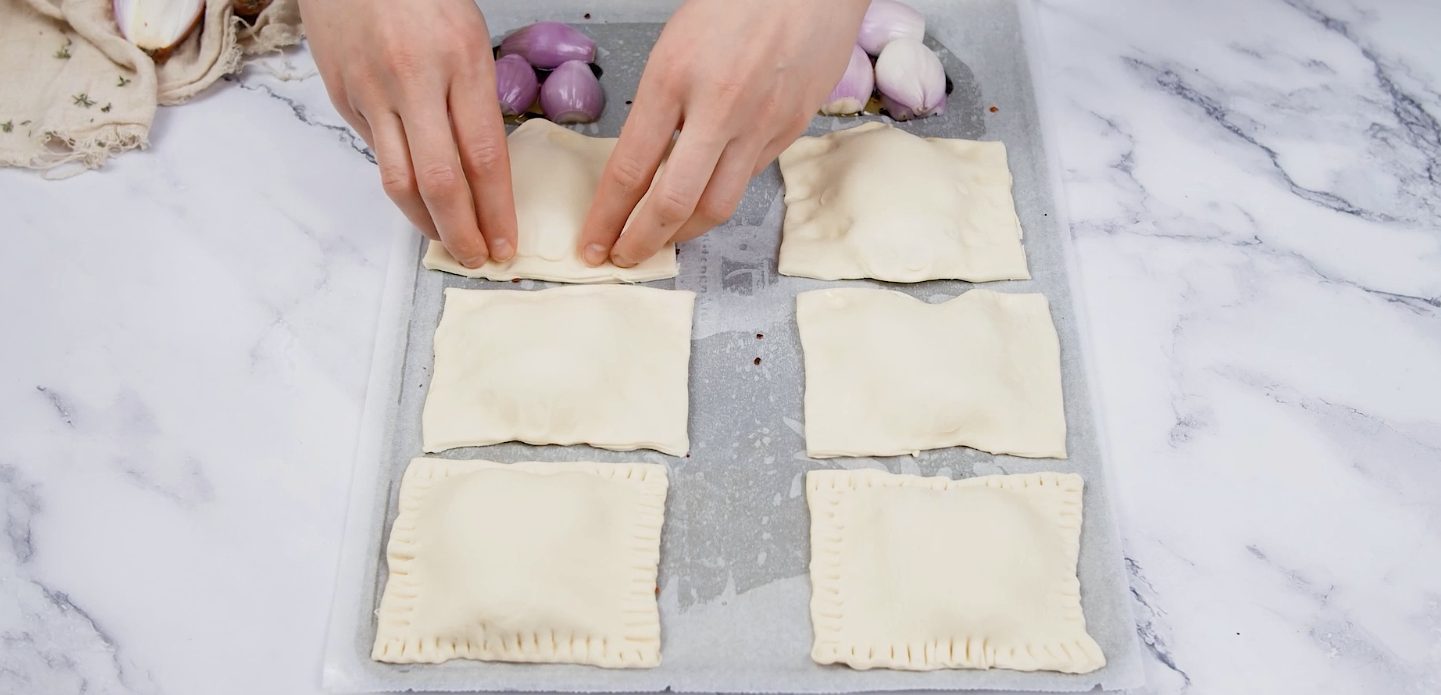
Cut the puff pastry into 8 equal squares. Then, cover the onions with the pastry squares, pressing the edges down lightly with a fork to seal them in.
Cut the puff pastry into 8 equal squares. Then, cover the onions with the pastry squares, pressing the edges down lightly with a fork to seal them in.
;Resize,width=712;)
Brush with egg wash to give the pastry a golden finish and sprinkle parmesan cheese generously over the top for an extra layer of flavor. Bake for 20-25 minutes or until the pastry is golden brown and crisp.
Brush with egg wash to give the pastry a golden finish and sprinkle parmesan cheese generously over the top for an extra layer of flavor. Bake for 20-25 minutes or until the pastry is golden brown and crisp.
;Resize,width=712;)
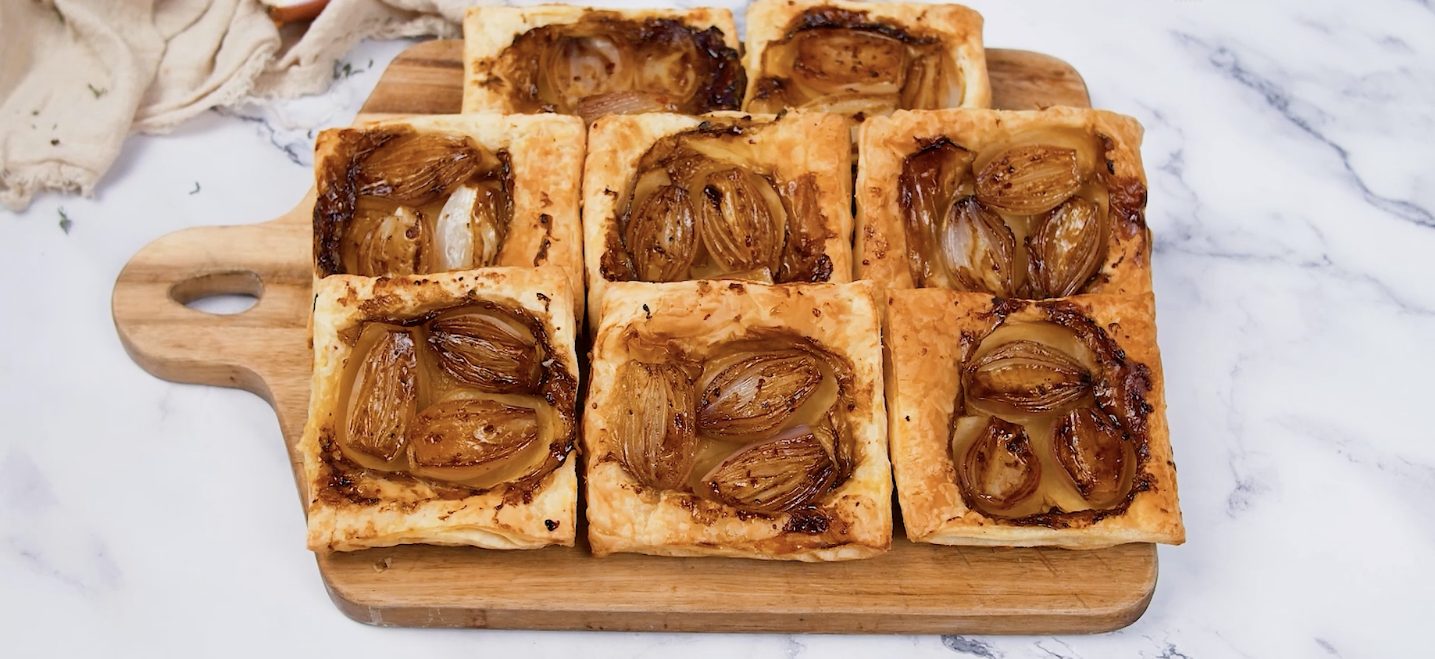
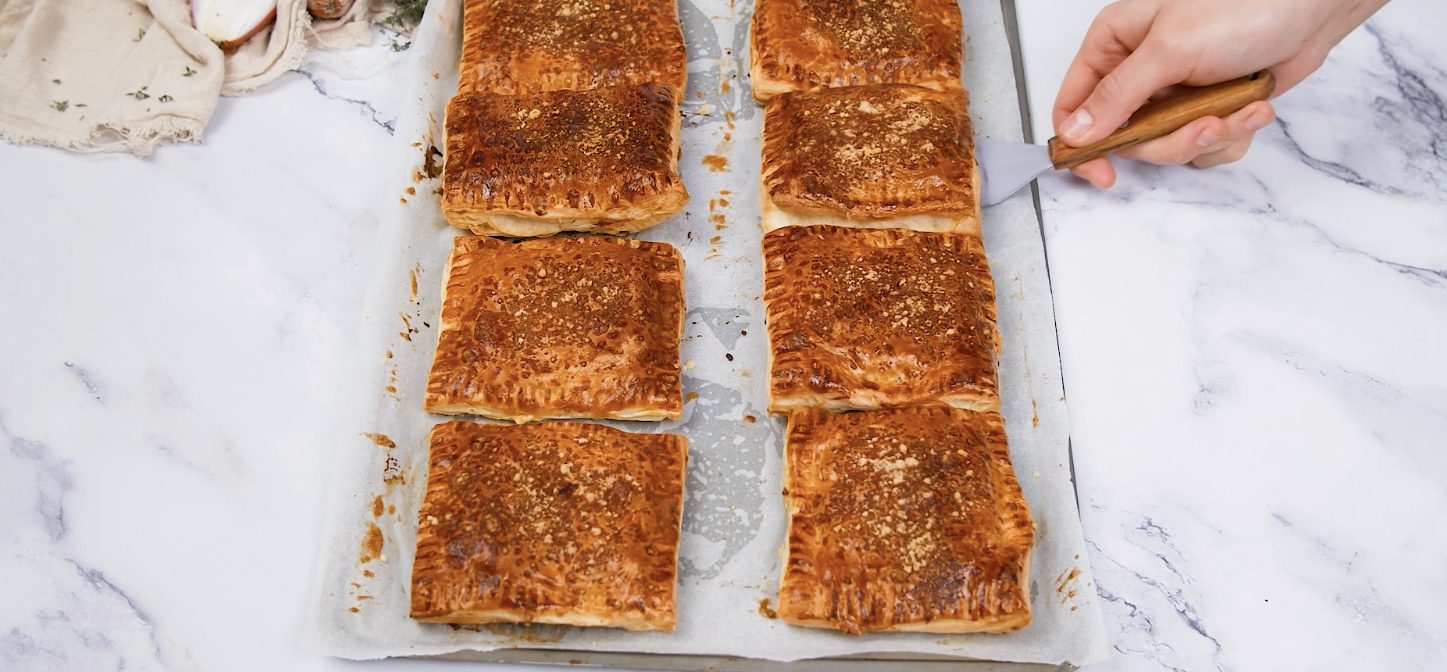
Let them cool for a few minutes before flipping them over to reveal the caramelized onions on top.
Let them cool for a few minutes before flipping them over to reveal the caramelized onions on top.


;Resize,width=767;)
