
Soft and Delicious Cream Filled Baked Donuts (Baked Bombs)
;Resize,width=742;)
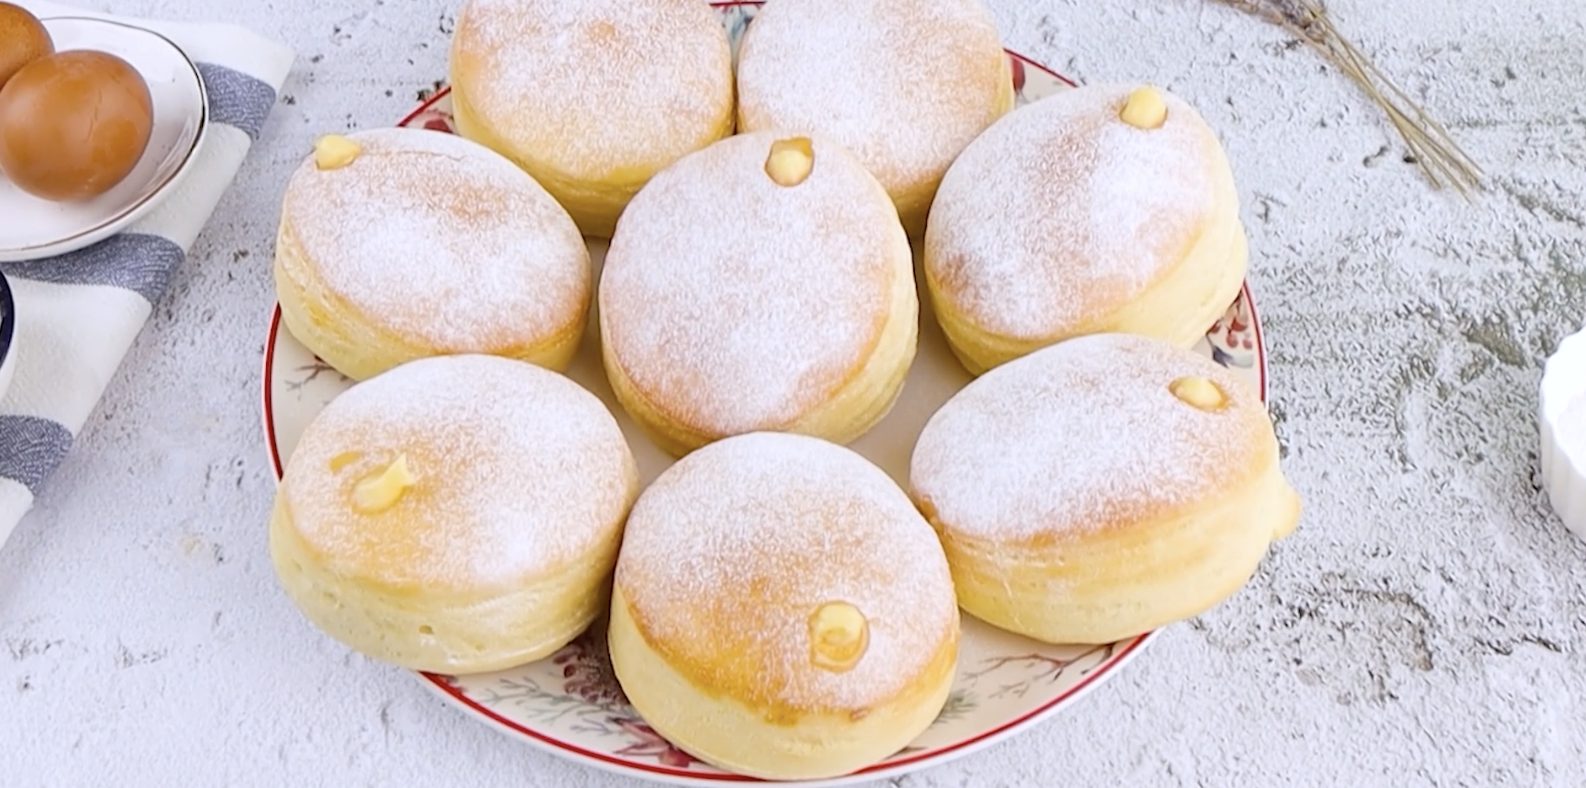
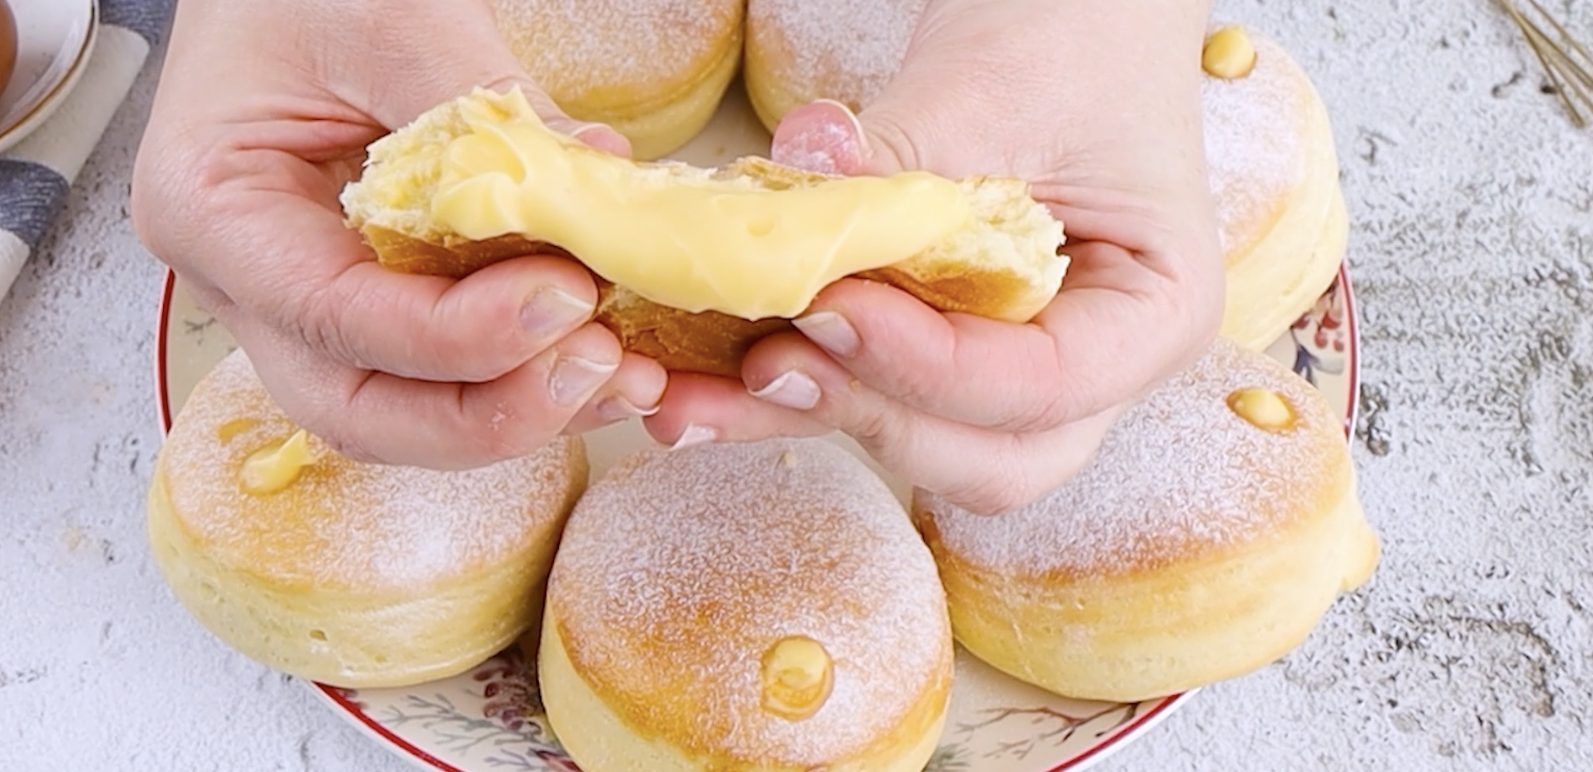
Baked Bombs With Cream is a delicious dish where fluffy meets creamy in the most delightful way. They are the ultimate treat, combining a soft, pillowy exterior with a rich, velvety custard filling. It is perfect as a dessert, an indulgent snack, or even a show-stopping party treat, and these little delights will captivate anyone who takes a bite. With a few simple steps, you can create these goodies at home, and you can trust, you won’t stop at just one.
What Are Baked Bombs with Cream?
Baked bombs with cream are a modern twist on traditional filled pastries. Imagine a light, airy dough, baked until golden, and bursting with creamy custard. Originating from European baking traditions, these delightful treats are reminiscent of doughnuts, but without the deep-frying.
Instead, they boast a healthier baked version, which means you can enjoy them guilt-free (well, almost!). Fun fact: variations of these bombs can be found in many cultures, from Italian "brioche" to Japanese cream buns. What sets them apart is the irresistible combination of texture and flavor.
Pro Tips for the Best Baked Bombs
- Use fresh yeast when baking. Fresh yeast provides a better rise and flavor. If unavailable, instant yeast works too, but adjust the quantity.
- Don’t skip the fridge time. The long chilling helps develop flavor and makes the dough easier to handle.
- Soft butter is recommended. Gradually adding softened butter ensures a smooth, non-sticky dough.
- Roll the dough evenly to ensure consistent baking and filling distribution.
- Ensure your custard is thick enough to hold its shape when piped.
- Dust with powdered sugar just before serving. This ensures the sugar stays fresh and appealing.
Are Cream Filled Donuts the Same as Boston Creams?
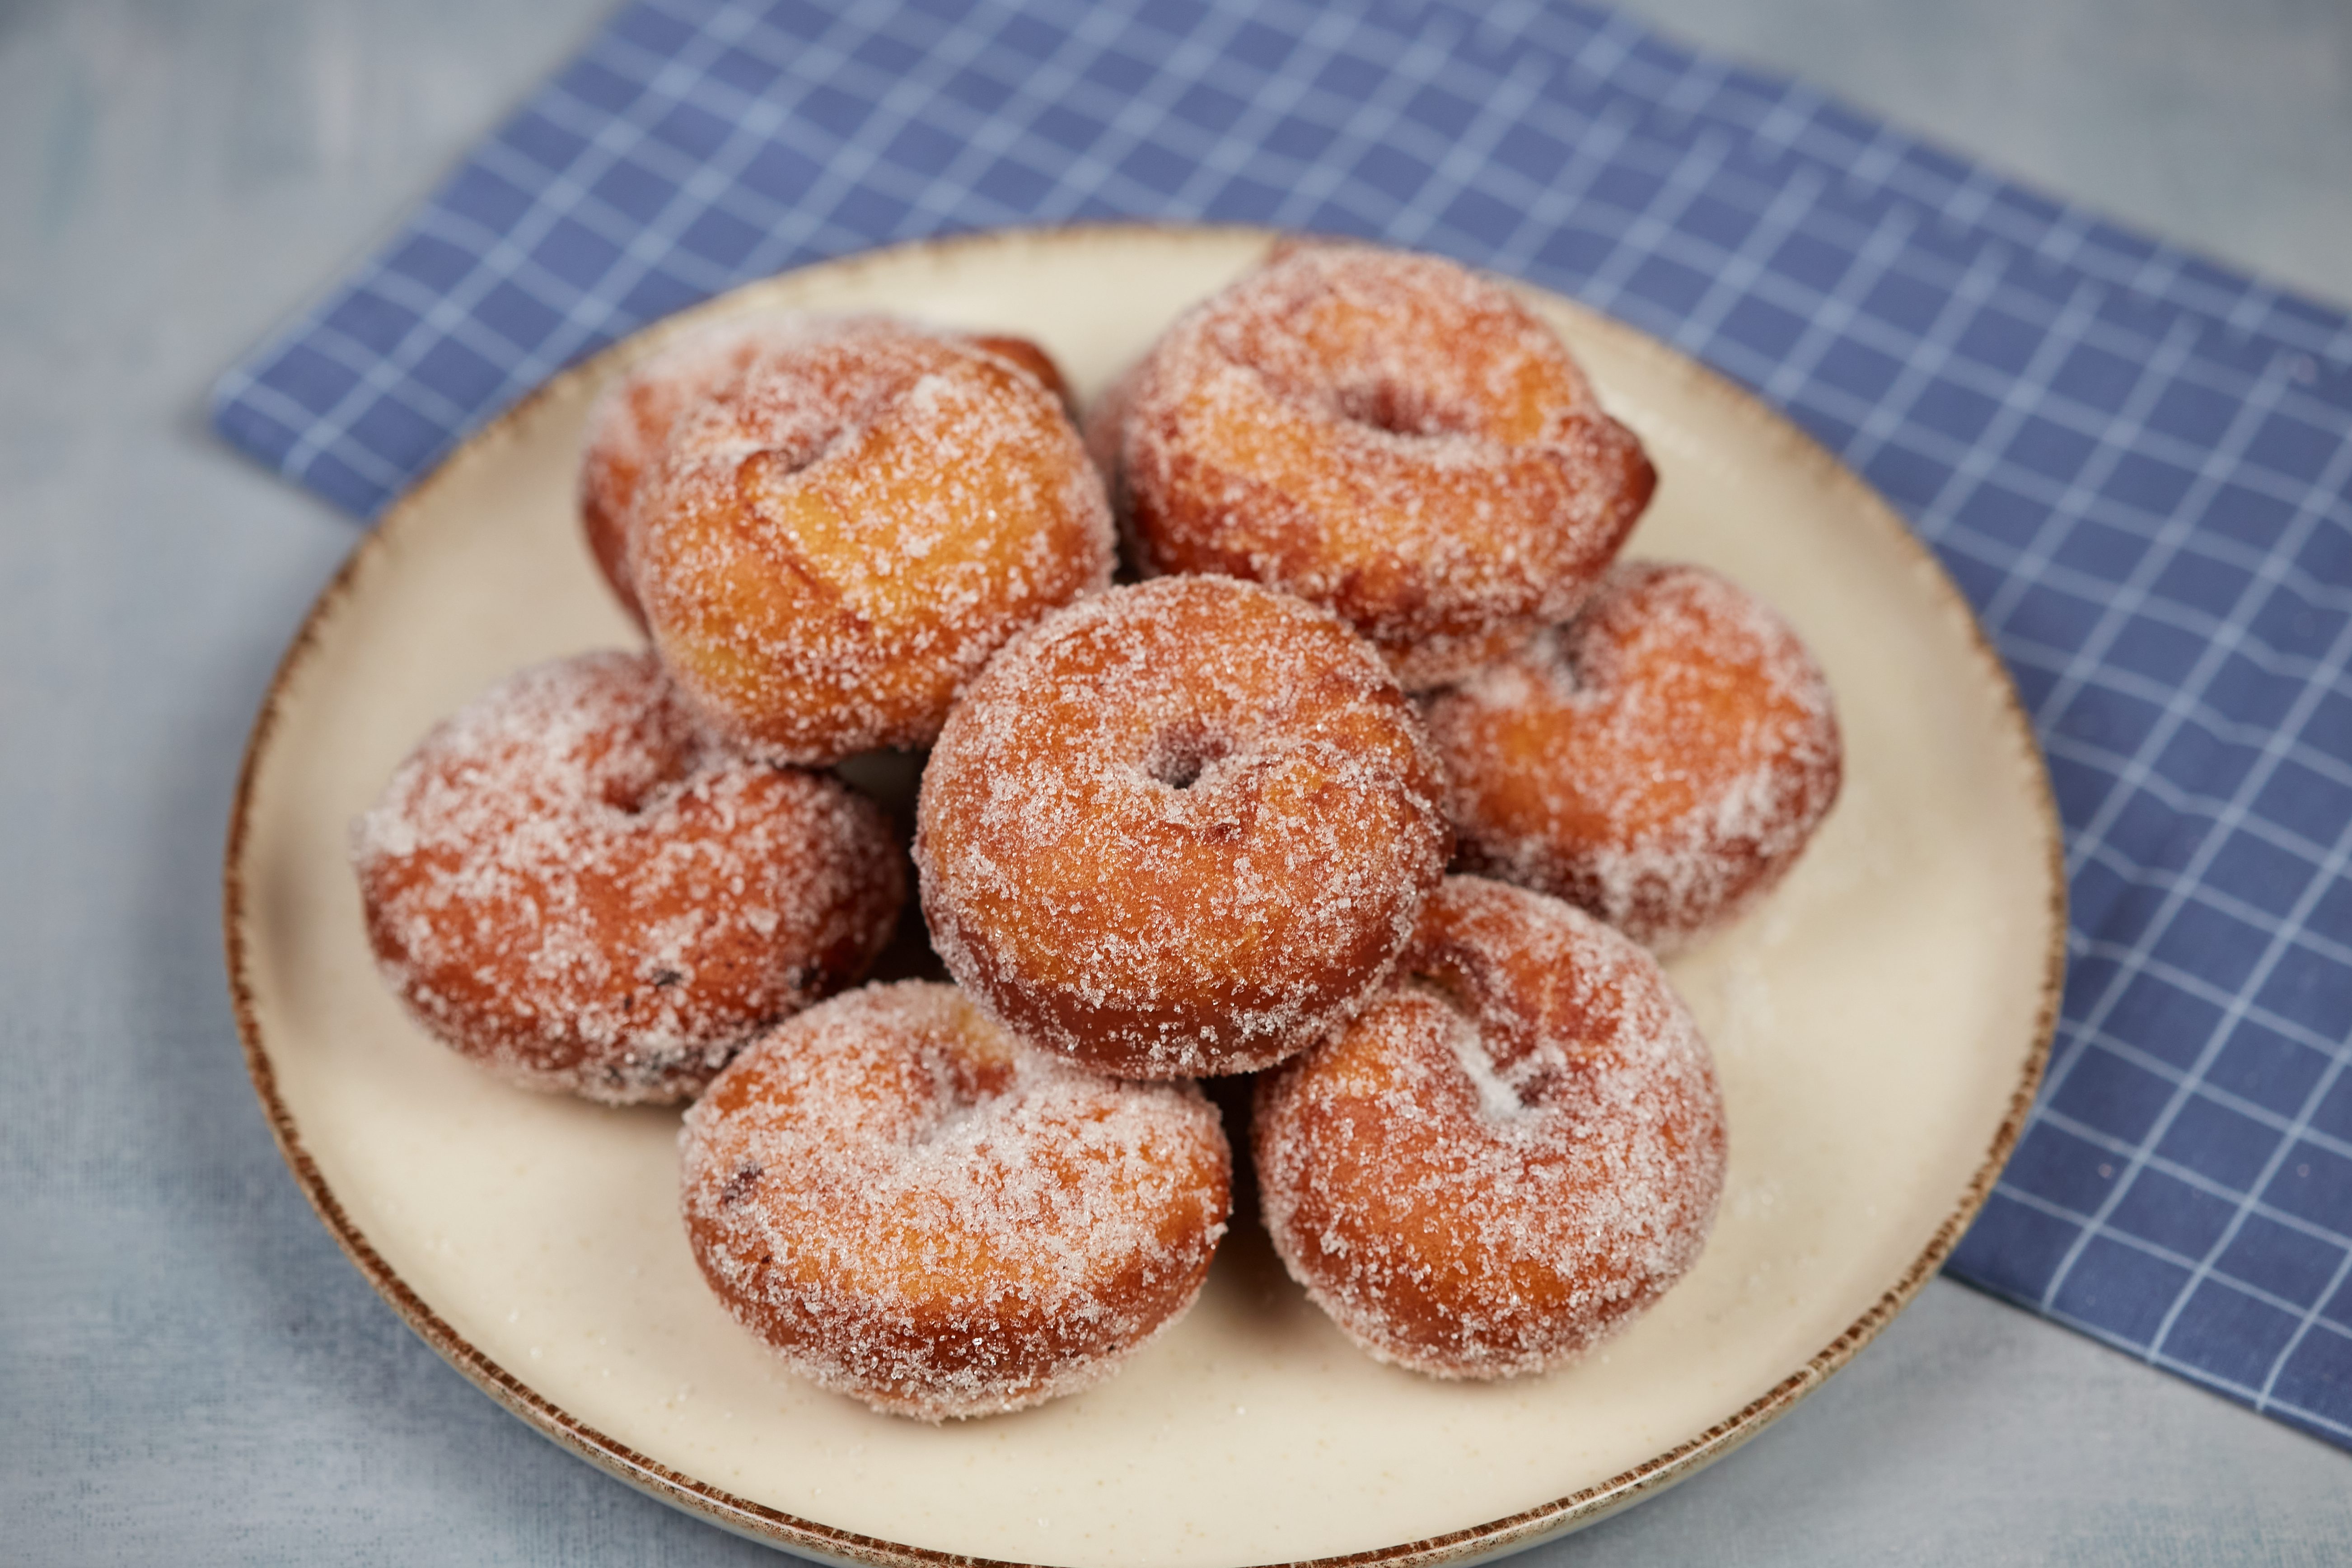
No, they're not! Boston cream donuts specifically use a custard filling—traditionally a vanilla pastry cream—and are topped with a shiny layer of chocolate glaze. In contrast, cream-filled donuts can have a variety of fillings, including whipped cream, buttercream, or custard, and they may or may not feature a topping.
Can I Use a Different Filling?
Yes, you can! While custard is classic, you can experiment with other fillings like chocolate ganache, fruit jams, or whipped cream. These variations can cater to different tastes and make your baked bombs versatile for any occasion.
How Do I Know When the Bombs are Done Baking?
Your baked bombs are ready when they are golden brown on top and sound hollow when gently tapped on the bottom. Be careful not to overbake, as this can make them dry.
Can I Use a Stand Mixer Instead of Kneading by Hand?
A stand mixer fitted with a dough hook is an excellent option for this recipe. Knead the dough on medium speed until it’s smooth and elastic, which usually takes about 8-10 minutes.
Do I Need a Special Cutter For the Discs?
Not at all. A round pastry cutter works perfectly, but you can also use a drinking glass with a 10 cm diameter. Just ensure the edges are sharp for clean cuts.
What if I Don’t Have Parchment Paper?
If parchment paper is unavailable, lightly grease your baking tray with butter or use a silicone baking mat. This will prevent the bombs from sticking and make cleanup easier.
Can I Make the Dough Ahead of Time?
Yes, the dough can be prepared a day in advance and stored in the fridge. This makes it convenient for planning ahead, especially for gatherings or events.
Can I Freeze These?
Yes, you can freeze these donuts, but it’s best to do so before filling them with custard. Once baked and cooled, place the plain donuts in an airtight container or freezer bag, separating layers with parchment paper to prevent sticking. They can be frozen for up to 3 months. Thaw at room temperature, warm them slightly if desired, and fill them with custard just before serving for the freshest taste.
How to Store Any Leftovers
If you happen to have any leftover baked bombs, store them in an airtight container at room temperature for up to two days. For longer storage, refrigerate them and warm them slightly before serving.
Ingredients
How to Make Cream Filled Donuts (Baked Bombs)
;Resize,width=712;)
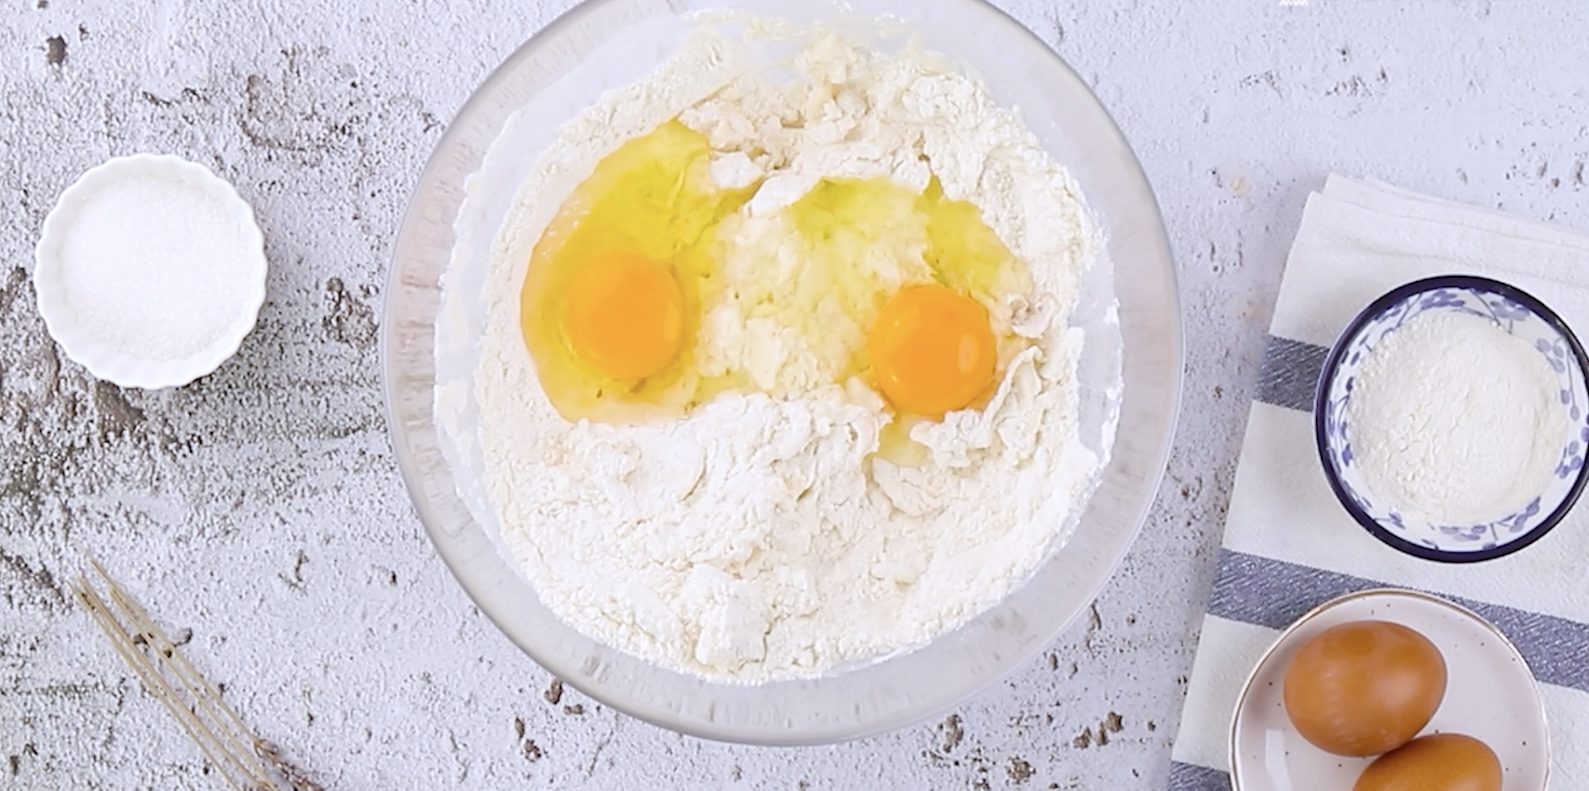
Step 1: Combine flour, sugar, yeast, salt, water, and eggs in a large bowl. Mix until a dough starts to form, then knead by hand or with a mixer.
Step 1: Combine flour, sugar, yeast, salt, water, and eggs in a large bowl. Mix until a dough starts to form, then knead by hand or with a mixer.
;Resize,width=712;)
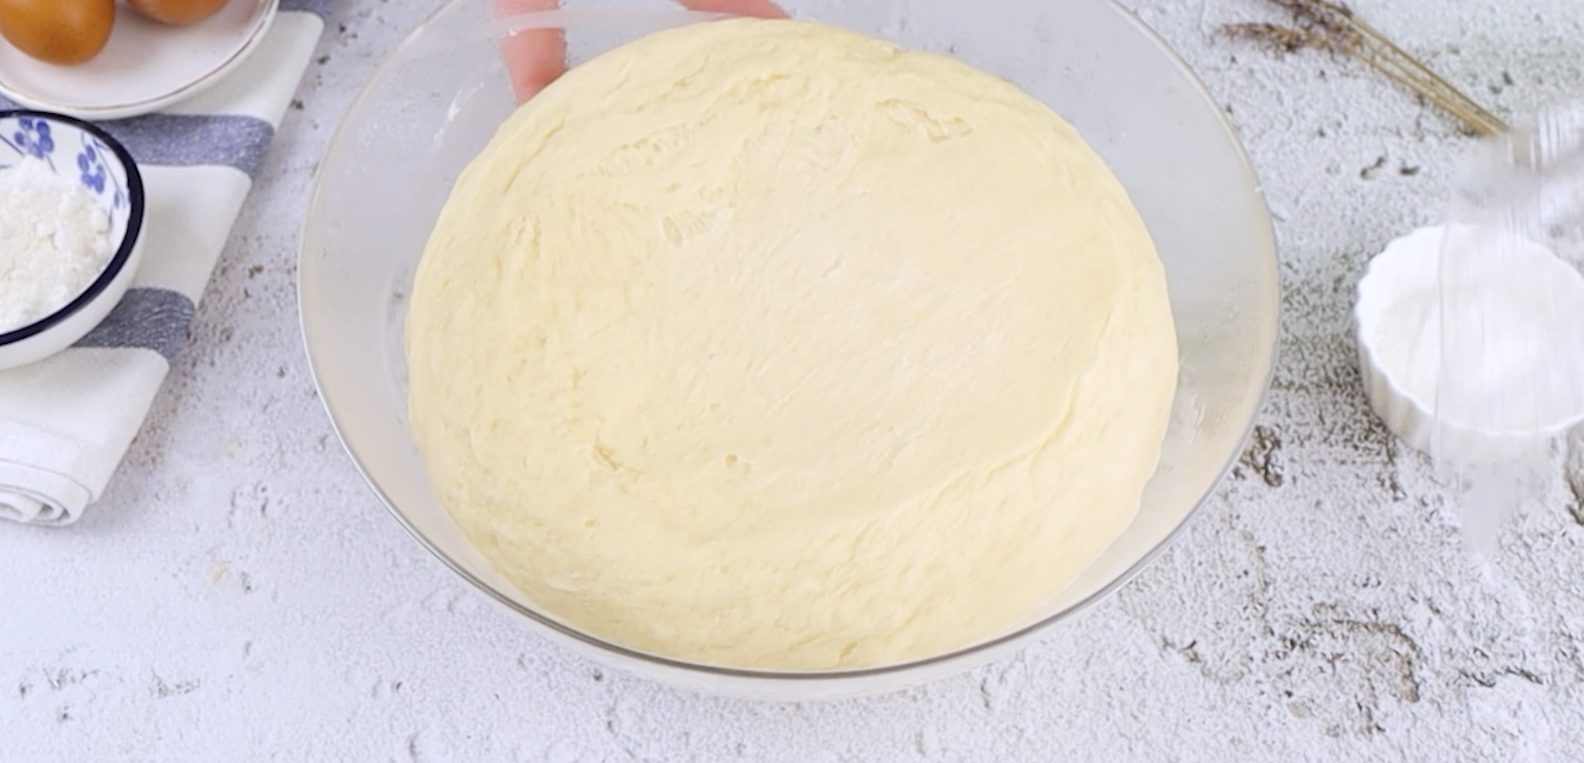
Step 2: Gradually incorporate softened butter into the dough, kneading until it’s smooth and elastic. Cover with cling film and refrigerate for 10 hours.
Step 2: Gradually incorporate softened butter into the dough, kneading until it’s smooth and elastic. Cover with cling film and refrigerate for 10 hours.
;Resize,width=712;)
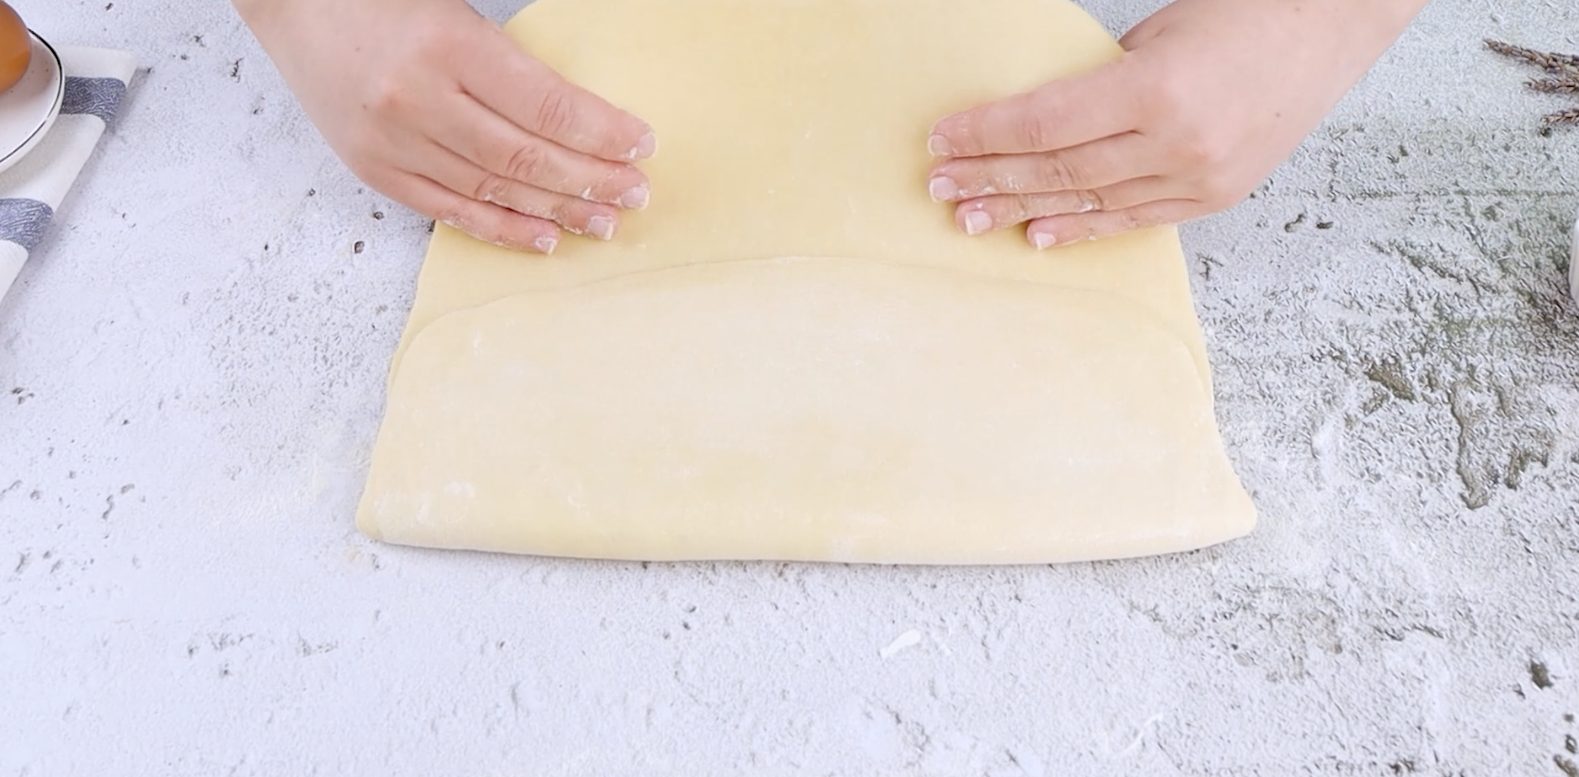
Step 3: After chilling, roll the dough with a rolling pin into a rectangle on a floured surface. Fold one side inwards, then the other, like folding a letter. Cover and let it rest for 5 minutes.
Step 3: After chilling, roll the dough with a rolling pin into a rectangle on a floured surface. Fold one side inwards, then the other, like folding a letter. Cover and let it rest for 5 minutes.
;Resize,width=712;)
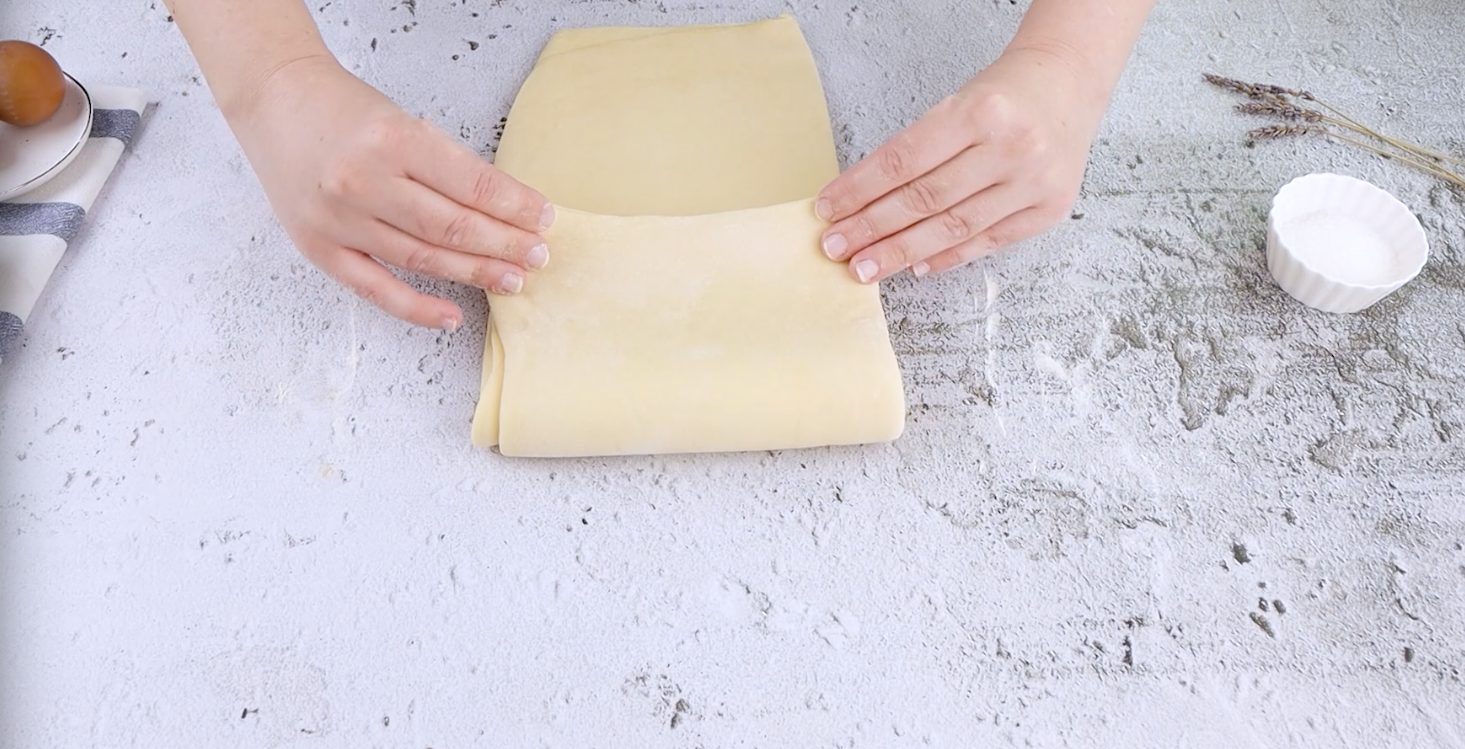
Step 4: Roll out the dough again into a rectangle, fold as before, and rest for another 5 minutes.
Step 4: Roll out the dough again into a rectangle, fold as before, and rest for another 5 minutes.
;Resize,width=712;)
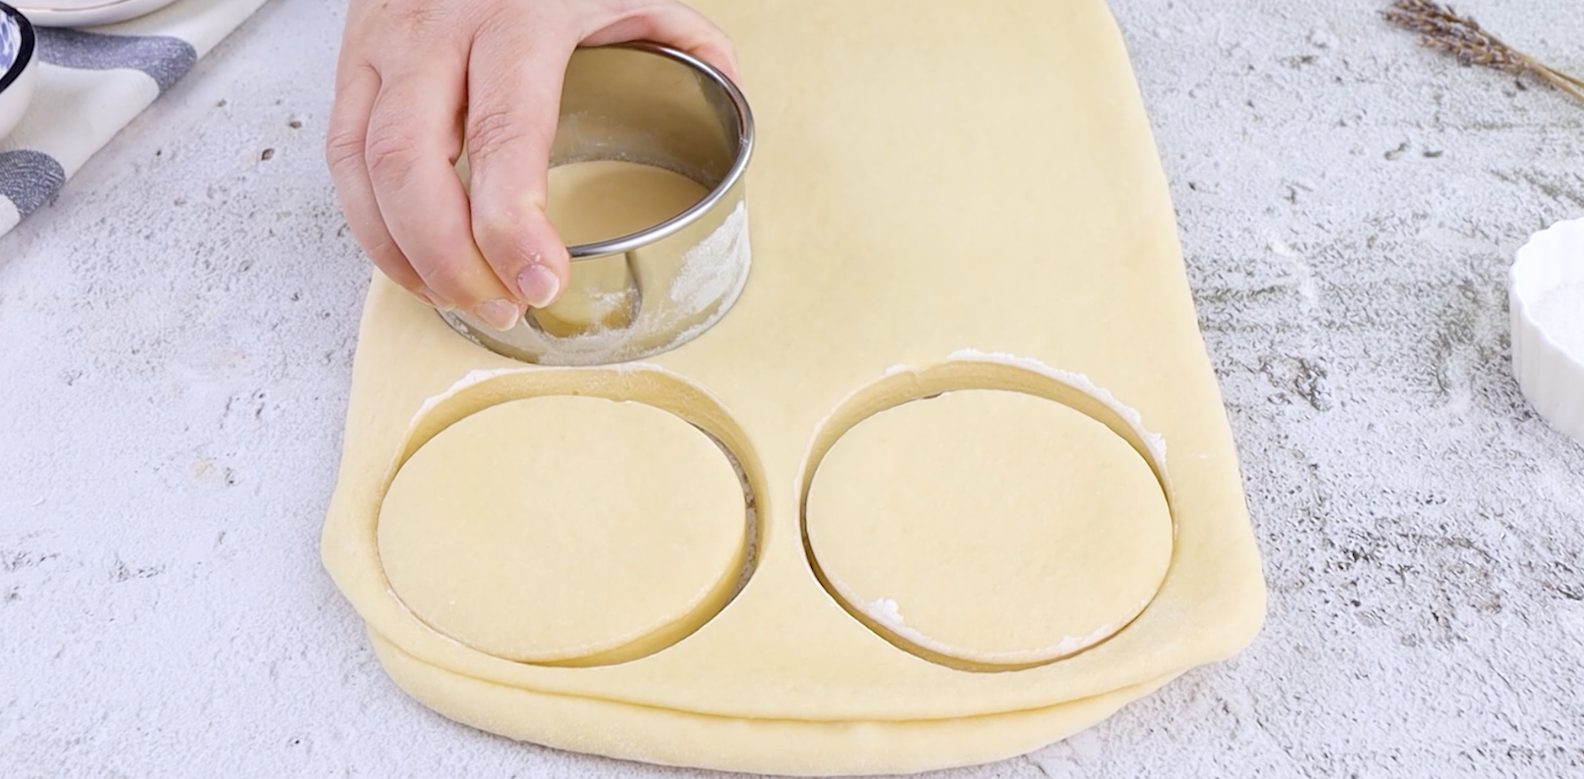
Step 5: Now, it’s time to shape the discs. After the time has elapsed, roll the dough to 1 cm thickness. Use a 10 cm cutter to cut out discs.
Step 5: Now, it’s time to shape the discs. After the time has elapsed, roll the dough to 1 cm thickness. Use a 10 cm cutter to cut out discs.
;Resize,width=712;)
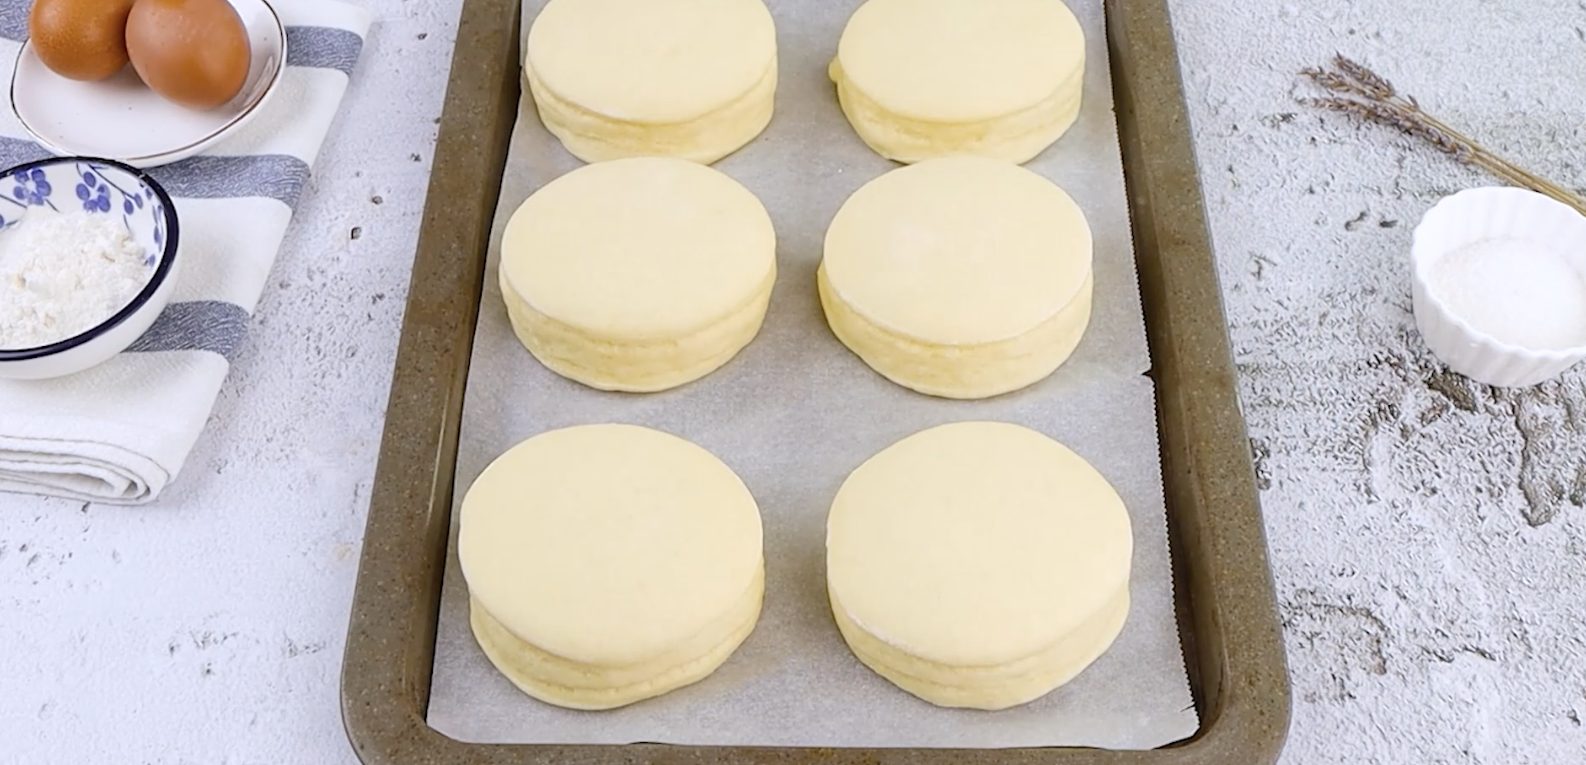
Step 6: Transfer the discs to a parchment-lined baking tray. Cover the discs with a cloth and let them rise for 90 minutes.
Step 6: Transfer the discs to a parchment-lined baking tray. Cover the discs with a cloth and let them rise for 90 minutes.
;Resize,width=712;)
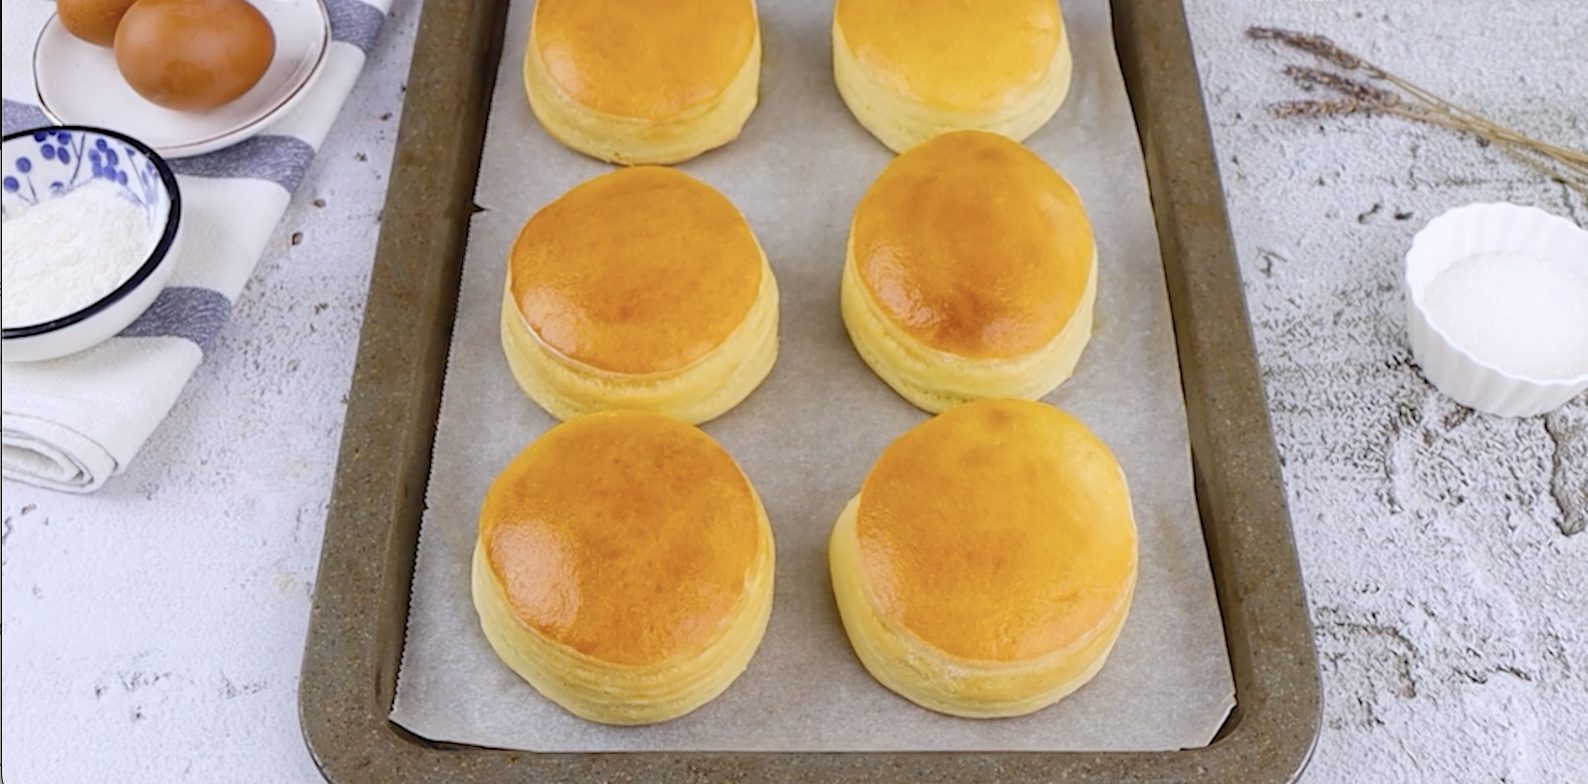
Step 7: Preheat the oven to 175°C (347°F). Brush the bombs with an egg yolk and milk mixture. Bake for 20 minutes until golden.
Step 7: Preheat the oven to 175°C (347°F). Brush the bombs with an egg yolk and milk mixture. Bake for 20 minutes until golden.
;Resize,width=712;)
Step 8: Once cooled, pipe custard into each bomb, dust with powdered sugar, and serve. Finally, you can enjoy the perfect combination of fluffy, creamy, and utterly delicious baked bombs with cream.
Step 8: Once cooled, pipe custard into each bomb, dust with powdered sugar, and serve. Finally, you can enjoy the perfect combination of fluffy, creamy, and utterly delicious baked bombs with cream.
;Resize,width=712;)
;Resize,width=767;)
;Resize,width=712;)
;Resize,width=712;)
;Resize,width=712;)
