
Soft and Chewy Pita Bread

There’s nothing quite like the smell of fresh pita bread filling your kitchen, especially when it’s homemade. This Soft, Chewy Pita Bread with a slightly crispy exterior puffs up beautifully in minutes, and once you cook it, you'll notice the perfect little pocket forming inside. Ideal for stuffing with veggies and hummus, it’s a great choice for a healthy, quick dinner. Plus, it’s easy to make with ingredients you likely already have at home!
What is Soft Pita Bread?
Pita bread, which originated in the Middle East, is one of the oldest types of bread, with a history stretching back around 4,000 years. The word "pita" itself means "flatbread," a term first used by the Greeks. The bread is characterized by its soft, round, and flat shape, making it perfect for stuffing or dipping into your favorite spreads.
How to Enjoy Soft Pita Bread
This pita is incredibly versatile! You can use it to make a Chicken Caesar Salad pita, stuff it with falafel, or fill it with grilled vegetables for a healthy and delicious meal. As a snack, it's perfect with hummus, tzatziki, or tabbouleh. If you’re just in the mood for something simple, pita is great on its own—perfect for any occasion.
Why Does Pita Have a Pocket?
One of the best parts about pita bread is the pocket that forms inside when it’s cooked. As the dough hits the hot pan or stone, the moisture inside the dough quickly turns into steam, creating the pocket that’s perfect for holding fillings. It’s the magic behind the pita, and it’s what makes it so fun to eat!
Baking Tips for the Perfect Pita
Achieving that soft, chewy texture with the perfect puff requires just a little know-how. Here are some key tips to make sure your pita comes out just right:
- Water Temperature: Be sure your water is at the right temperature—about 90 to 100 degrees Fahrenheit. Water that’s too hot or cold will affect the dough’s rise.
- Don't Add Too Much Flour: Resist the urge to add extra flour if the dough feels sticky. A little stickiness is key for creating the moisture needed to form that puffy pocket.
- High Heat is Essential: Whether you’re cooking your pita on the stovetop or in the oven, make sure your cooking surface is very hot. The high heat seals the outside of the pita quickly and creates steam inside, causing it to puff up perfectly.
Oven vs. Stovetop: The Baking Alternatives
You can make this pita on the stovetop or in the oven, depending on your preference. If you want to bake them in the oven, here’s how:
- Preheat the oven to 450°F (230°C) for at least 30 minutes, and position the oven rack at the lowest point.
- Place the pita on a piece of parchment paper, then slide the parchment directly onto the oven rack or a pizza stone.
- Bake for about 2 minutes, then flip using a spatula and bake for another 2-3 minutes until the pita puffs up and the bottom is slightly browned.
How to Store Soft Pita Bread
Once your pita bread is ready, you’ll want to keep it soft and warm. The best way to do this is by loosely wrapping the pitas in a tea towel. This helps them stay soft while allowing some moisture to escape so they don’t get soggy. They’ll stay warm for longer and remain fresh, making them perfect for serving later.
Ingredients
How to Make Soft Pita Bread
;Resize,width=712;)
In a bowl, pour warm milk and water, dry yeast, and sugar which will help the leavening.
In a bowl, pour warm milk and water, dry yeast, and sugar which will help the leavening.

Dissolve the yeast well or use fresh yeast if you prefer.
Dissolve the yeast well or use fresh yeast if you prefer.
;Resize,width=712;)
Add the flour and salt and start kneading vigorously by hand.
Add the flour and salt and start kneading vigorously by hand.
;Resize,width=712;)
Now add the oil and continue kneading until you get a smooth and homogeneous dough.
Now add the oil and continue kneading until you get a smooth and homogeneous dough.
;Resize,width=712;)
Cover it with a cloth or cling film and let it rest until it doubles in size. It will take about 2 hours.
Cover it with a cloth or cling film and let it rest until it doubles in size. It will take about 2 hours.
;Resize,width=712;)
Once risen, cut the dough into 6 parts, forming balls.
Once risen, cut the dough into 6 parts, forming balls.
;Resize,width=712;)
Cover them again with a cloth to rest for another 10 minutes.
Cover them again with a cloth to rest for another 10 minutes.
;Resize,width=712;)
Work the dough with a rolling pin to obtain a thin disc about 20cm wide.
Work the dough with a rolling pin to obtain a thin disc about 20cm wide.
;Resize,width=712;)
Cook them in a very hot non-stick pan flipping them over often, and let both sides brown without burning them.
Cook them in a very hot non-stick pan flipping them over often, and let both sides brown without burning them.
;Resize,width=712;)
When the bread starts to puff up it means it's ready!
When the bread starts to puff up it means it's ready!
;Resize,width=712;)
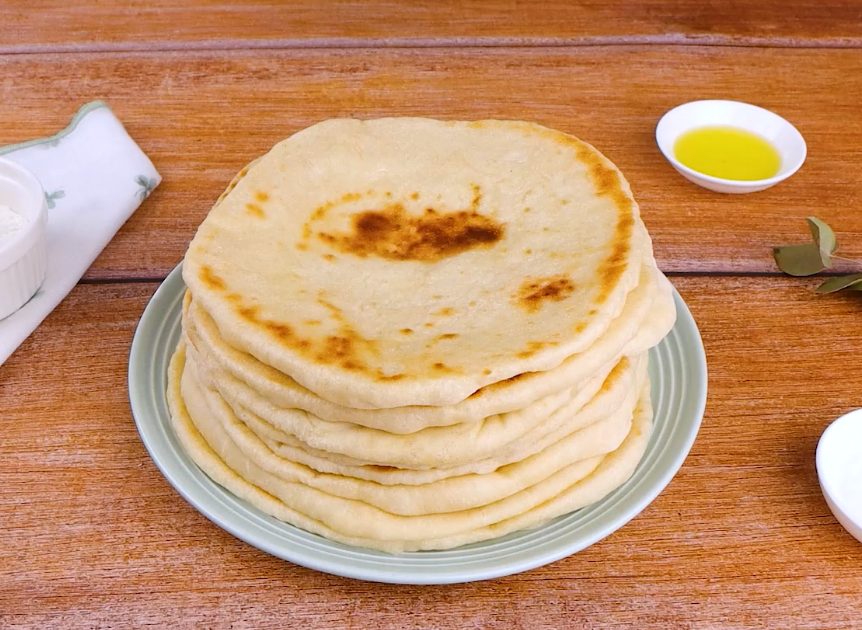
Pile them up and brush them with butter and parsley.
Pile them up and brush them with butter and parsley.
Ready to stuff and enjoy!
;Resize,width=712;)

;Resize,width=712;)
;Resize,width=767;)
