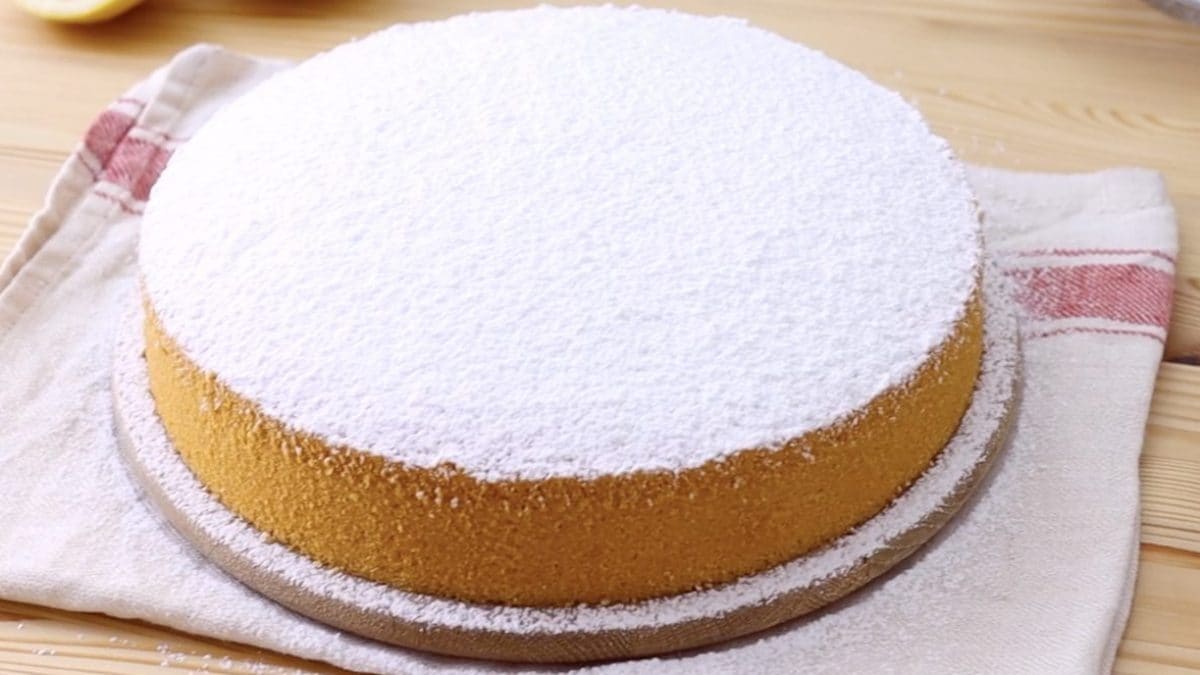
Sponge Cake, also known as Foam Cake in the U.S., isn’t just a dessert, it’s a sweet declaration of fluffiness, a beacon of light in the world of baked goods. With its tall, airy layers and irresistibly soft texture, this cake is a masterpiece of simplicity.
In just a few steps, you'll transform basic pantry ingredients like eggs, flour, and sugar into a show-stopping creation. Perfect for celebrations, tea-time treats, or just because you need a slice of heaven, this recipe will win over anyone who adores sweet, soft, and buttery desserts.
What is Sponge Cake?
The sponge cake has been delighting taste buds for centuries, with its origins tracing back to Renaissance Europe. Early versions were cooked over open flames, often without leavening agents. The introduction of baking powder in the 19th century revolutionized the recipe, making cakes taller, fluffier, and more reliable.
Today, it remains a beloved classic, celebrated for its versatility, whether layered with cream and fruit or enjoyed plain with a cup of tea. Did you know that the name "sponge" comes from its absorbent texture, perfect for soaking up syrups and fillings? A truly international favorite, variations of this cake appear in cuisines from Japan (as "castella") to Latin America ("tres leches").
Pro Tips for the Best Sponge Cake
- After combining wet and dry ingredients, mix only until smooth—overmixing deflates the batter.
- Use melted but slightly warm butter to maintain the batter's volume.
- Preheat your oven. Make sure it’s at the right temperature before baking, sponge cakes are sensitive.
- Don’t open the oven door. This can cause the cake to collapse. Patience is key!
- Decorate your cake after cooling. A warm cake will melt toppings or creams.
Sponge Cake Vs. Shortcake Vs. Regular Cake
Sponge cake is known for its light and airy texture, achieved primarily through the whipping of eggs, which serve as the main leavening agent rather than relying heavily on baking powder or soda. This technique creates a delicate structure with minimal fat content.
Shortcake, on the other hand, has a more crumbly, tender texture, often resembling a biscuit or scone due to a higher fat content and the use of baking powder as the primary leavening agent. The butter or cream gives it a richer flavor and a denser crumb, making it ideal for serving with fruits and cream.
Regular cake, often referred to as butter cake, has a soft, moist, and denser texture than a sponge cake but less crumbly than shortcake. It balances the use of both eggs and chemical leaveners like baking powder while incorporating a moderate to high butter or oil content, resulting in a rich and tender cake perfect for layered or frosted desserts.
Why Is My Sponge Cake Dense?
A dense cake usually means the eggs weren't beaten enough, or the batter was overmixed. Beat the eggs and sugar until the mixture is pale and fluffy for the best results.
Can I Substitute Potato Starch?
Yes, cornstarch can replace potato starch in a pinch. However, potato starch adds a unique softness to the sponge.
Can I Swap Melted Butter With Oil?
Of course you can! Oil would create a slightly moister and softer cake compared to butter, which gives a denser crumb and richer flavor. If you choose to use oil, about 96g (80% of the butter's weight) would be sufficient, as butter contains some water while oil is pure fat. Keep in mind that the flavor might be a bit different; for a closer match, you could use a mild oil like sunflower or canola, ensuring it doesn’t overpower the lemon zest.
How Do I Prevent the Cake from Sticking?
Line your cake pan with parchment paper and butter the sides for a smooth release.
Can I Add Other Flavors?
Absolutely! Vanilla, orange zest, or even a dash of almond extract can add a delightful twist.
Why Did My Cake Sink?
This often happens if the oven door is opened too early or the batter wasn’t mixed properly.
How to Store Any Leftovers
Leftovers should be wrapped tightly in plastic wrap or stored in an airtight container. At room temperature, the cake will last for 2–3 days. For longer storage, refrigerate for up to a week or freeze slices individually for up to a month.
Ingredients
How to Make Simple Sponge Cake
;Resize,width=712;)
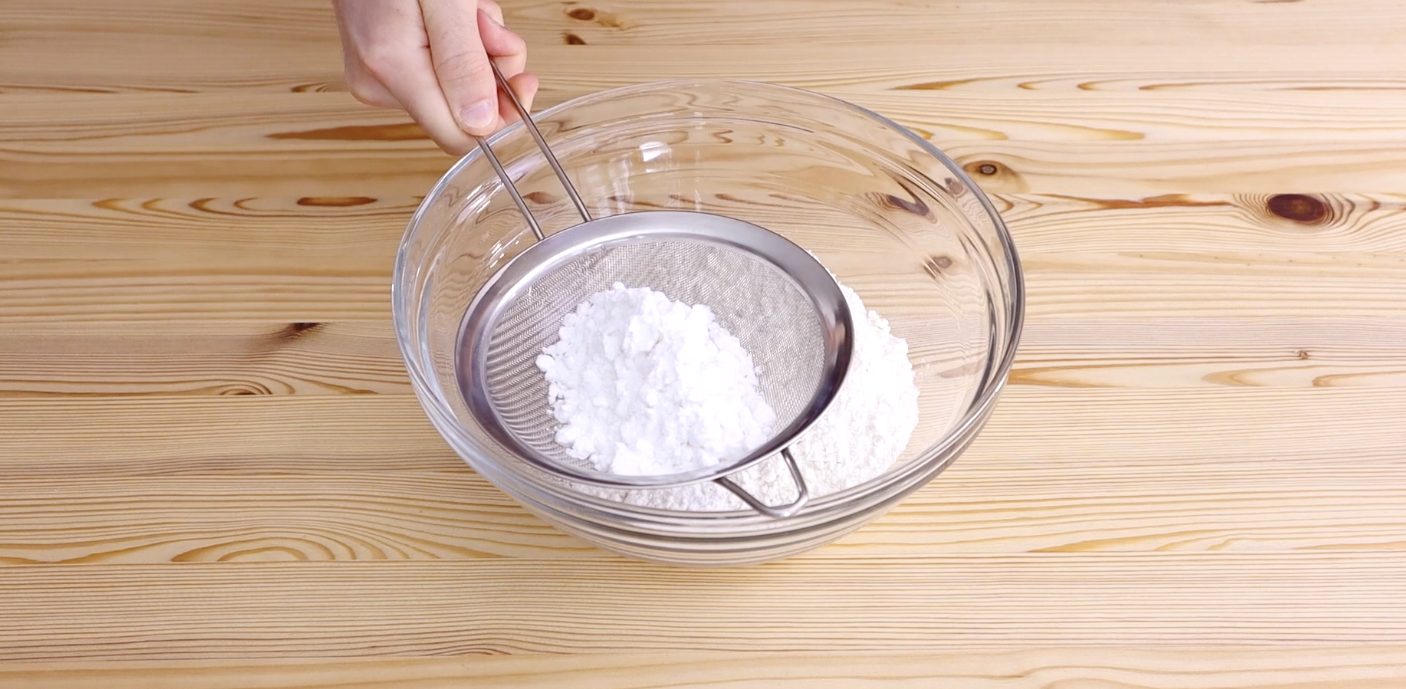
Step 1: In a large bowl, combine the flour, baking powder, and sifted potato starch. This ensures a smooth, lump-free mix.
Step 1: In a large bowl, combine the flour, baking powder, and sifted potato starch. This ensures a smooth, lump-free mix.
;Resize,width=712;)
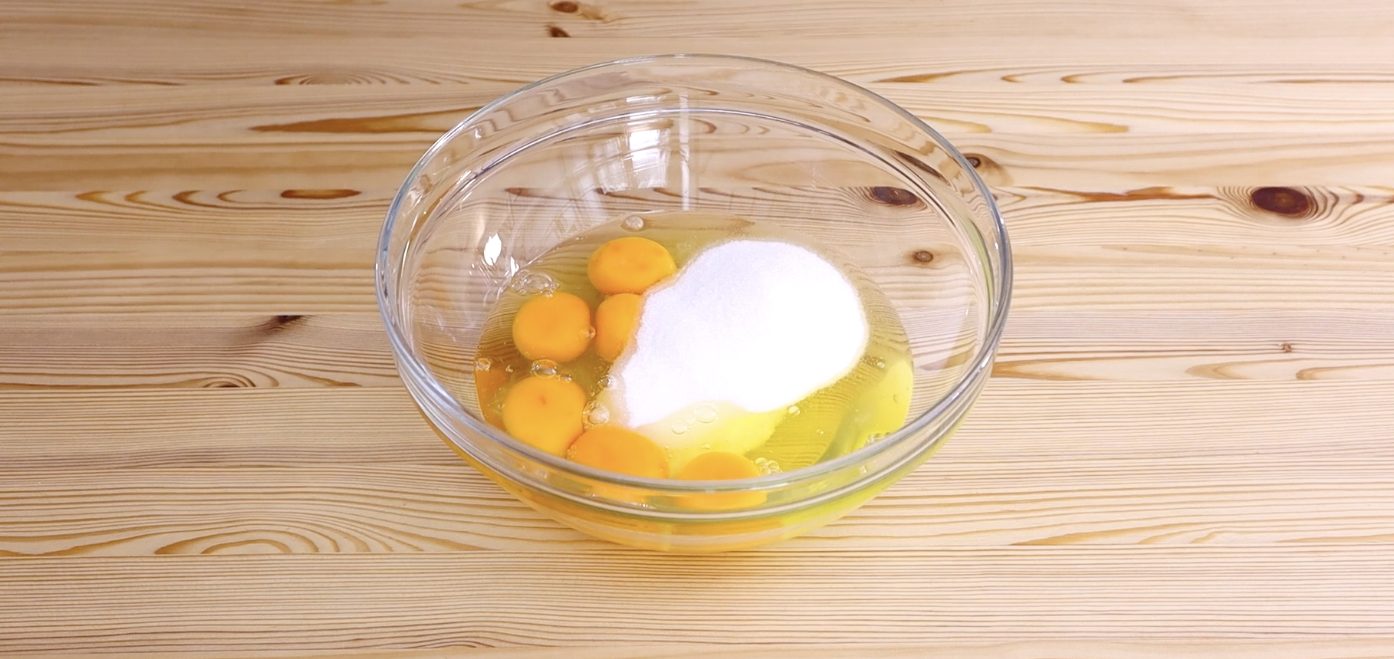
Step 2: Beat the eggs and sugar using an electric mixer until the mixture is pale, fluffy, and doubles in volume. This creates the airy foundation of your cake.
Step 2: Beat the eggs and sugar using an electric mixer until the mixture is pale, fluffy, and doubles in volume. This creates the airy foundation of your cake.
;Resize,width=712;)
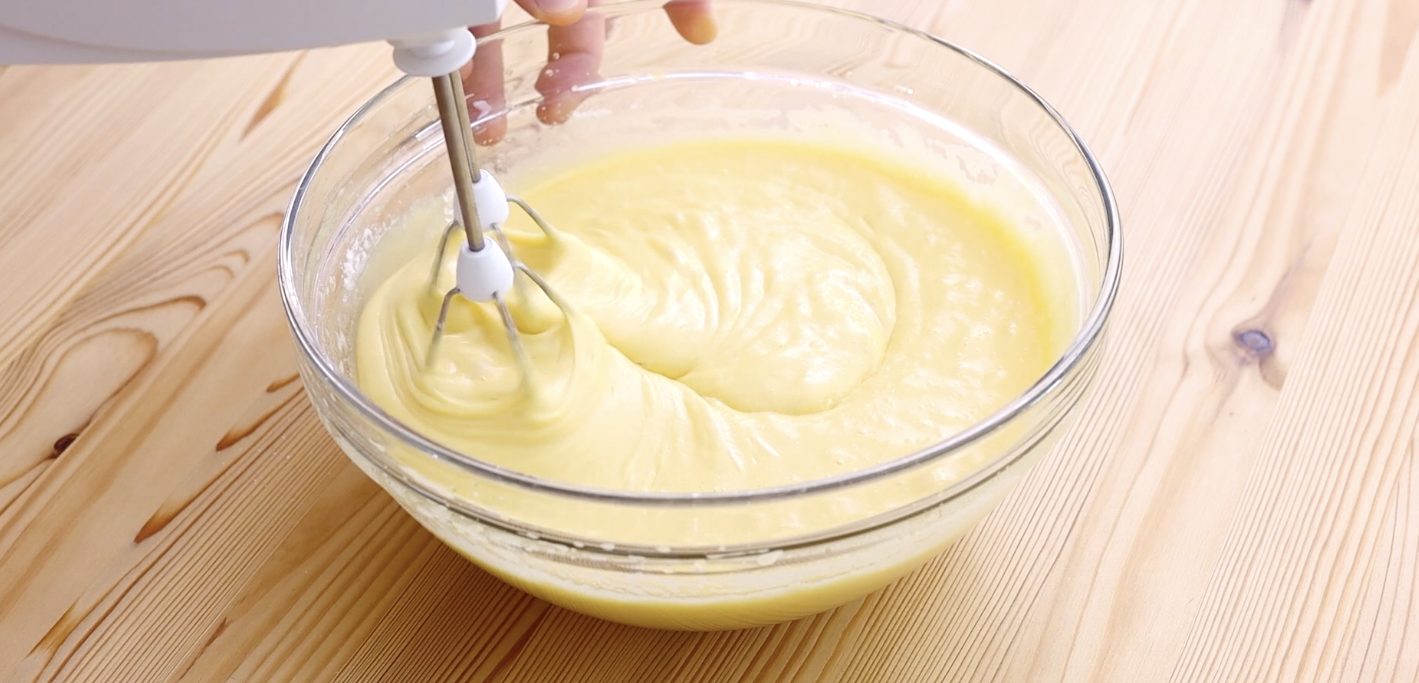
Step 3: Gradually add the dry ingredients to the egg mixture, mixing at low speed to keep the batter light and fluffy.
Step 3: Gradually add the dry ingredients to the egg mixture, mixing at low speed to keep the batter light and fluffy.
;Resize,width=712;)
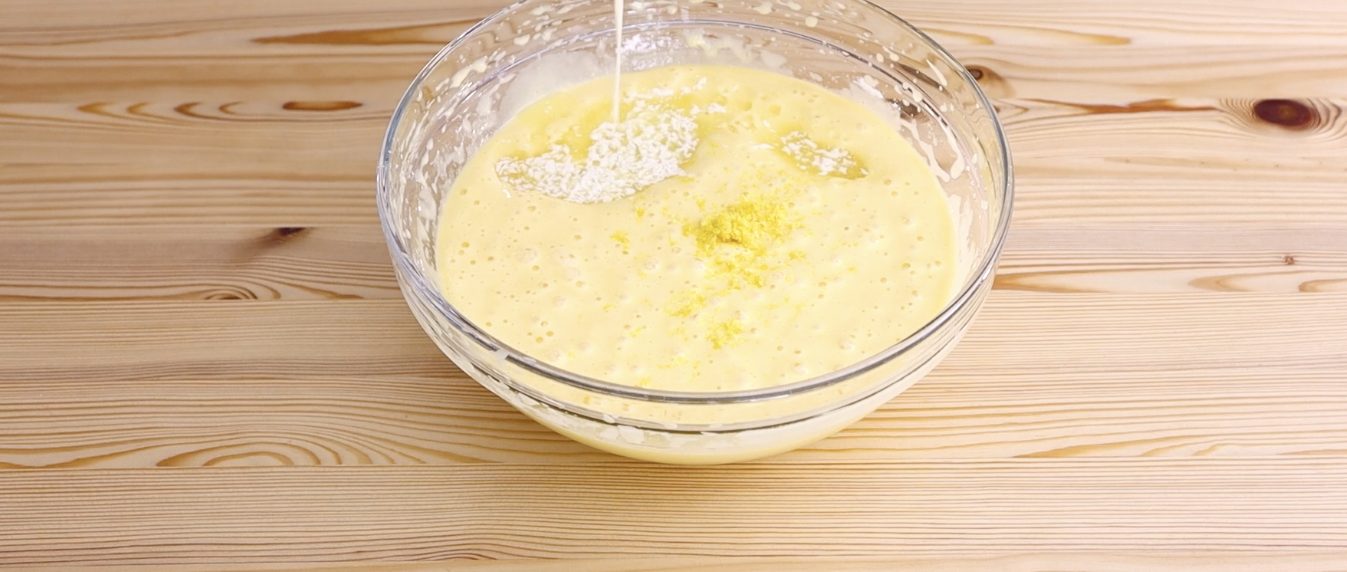
Step 4: Mix in the grated lemon zest for a zesty kick and the warm melted butter for a rich finish. Blend until just combined.
Step 4: Mix in the grated lemon zest for a zesty kick and the warm melted butter for a rich finish. Blend until just combined.
;Resize,width=712;)
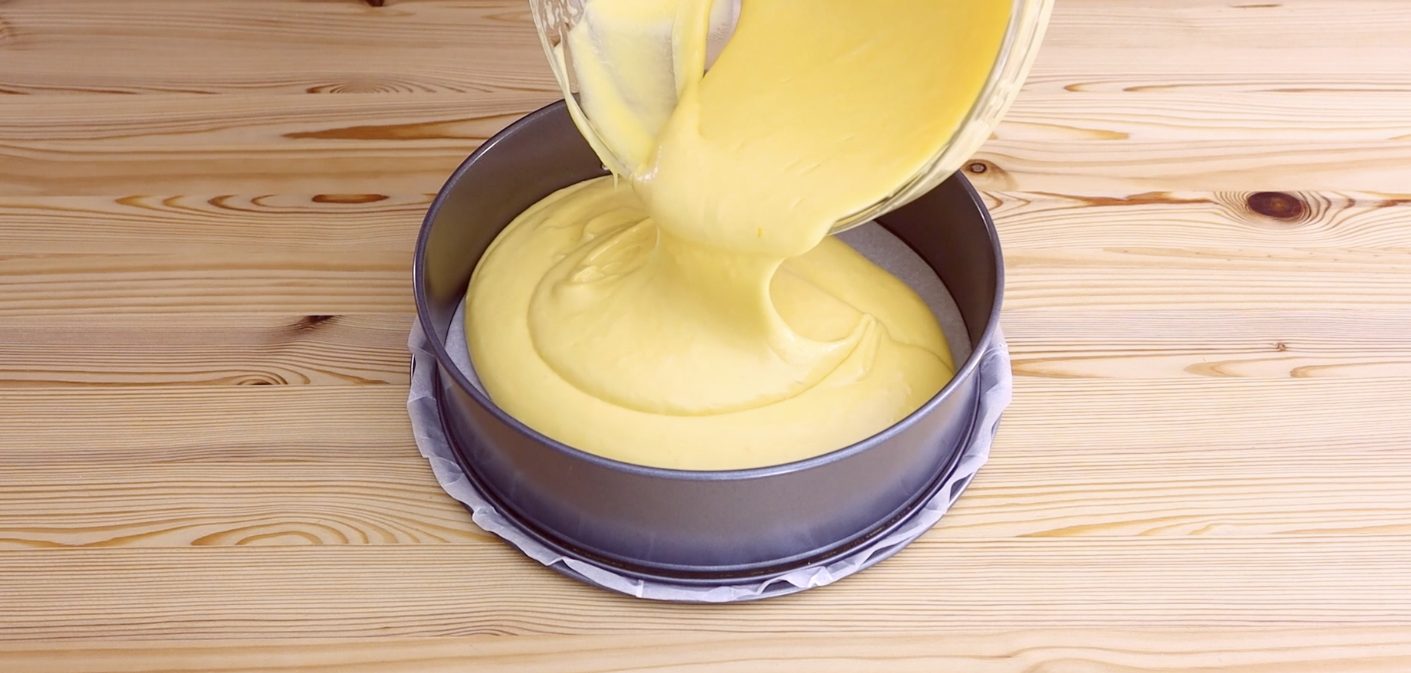
Step 5: Line a 24cm cake tin with baking paper and pour the batter in gently to avoid deflating it.
Step 5: Line a 24cm cake tin with baking paper and pour the batter in gently to avoid deflating it.
;Resize,width=712;)
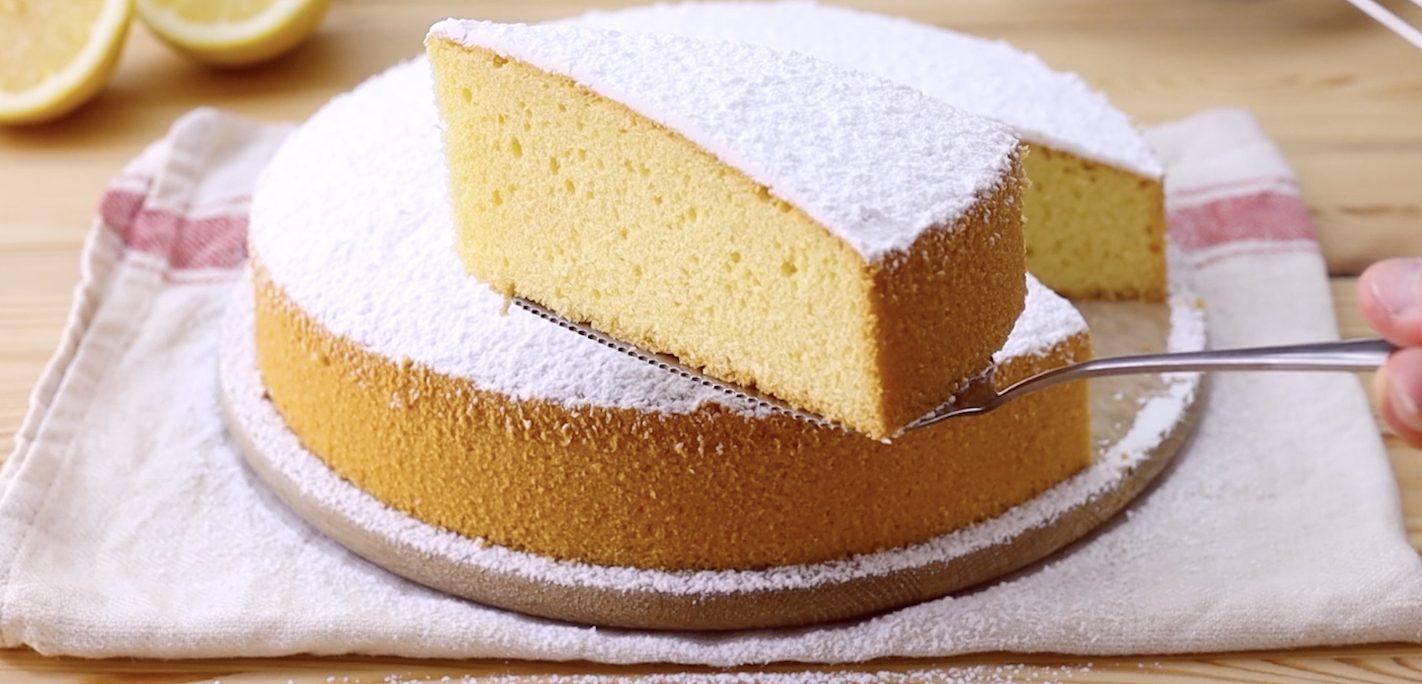
Step 6: Bake at 180°C (350°F) for about 45 minutes. Let the cake cool completely before removing it from the tin. Dust with powdered sugar or decorate as desired.
Step 6: Bake at 180°C (350°F) for about 45 minutes. Let the cake cool completely before removing it from the tin. Dust with powdered sugar or decorate as desired.

;Resize,width=767;)
