
Simple Powdered Sugar Icing for Dessert Decorations (2-Ingredients Only)

Decorating cookies at home is a fun and rewarding experience, and nothing elevates your baked treats quite like a perfect layer of icing. This easy Powdered Sugar Icing recipe requires just two ingredients—powdered sugar and water—with optional food coloring to add a splash of creativity. Whether you’re preparing for a holiday cookie exchange or a weekend baking project, this recipe is the go-to solution for simple, stunning decorations.
What Is Powdered Sugar Icing?
This icing is a basic sugar glaze used to decorate cookies, cakes, and pastries. It’s been a staple in kitchens for generations due to its simplicity and versatility. Known as a “glacé icing” in traditional baking, it provides a smooth, glossy finish that hardens slightly as it dries, making it ideal for cookie designs that need to stay put.
Historically, simple sugar glazes were used in European baking as a way to add sweetness and visual appeal to desserts. Over time, the concept evolved, with home bakers and professional pastry chefs adding colors and designs to match their creativity. Today, this icing remains a popular choice for its accessibility and stunning results.
Why Everyone Will Love This Icing
This icing recipe is perfect for bakers of all skill levels. It’s easy to make, requires no fancy equipment, and is highly adaptable. Whether you’re working on Christmas cookies, Halloween treats, or simple sugar cookies for a birthday party, this icing offers endless possibilities.
Tips for Perfect Powdered Sugar Icing
- Your icing should be thick enough to hold its shape but thin enough to spread easily. Adjust by adding more sugar to thicken or more water to thin.
- Warm water blends more easily with powdered sugar, ensuring a smooth texture without lumps.
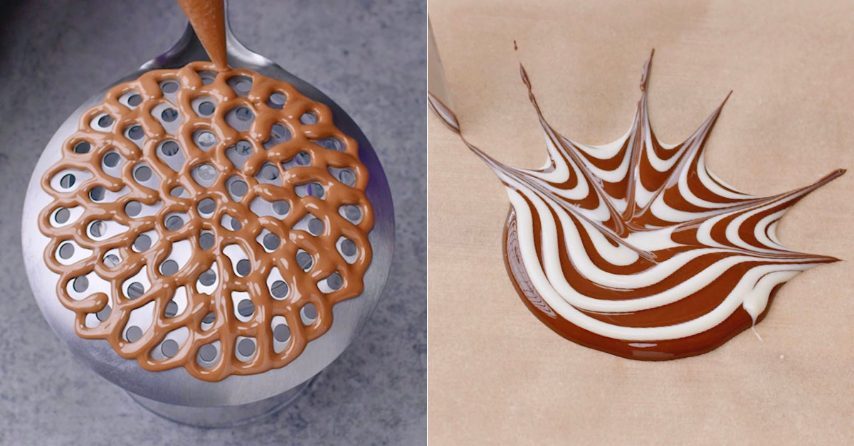
- Drizzle a small amount of icing on a piece of parchment paper to test its consistency before applying it to cookies.
- Add food coloring sparingly—a drop or two is often enough for vibrant hues.
- This icing dries fast, so apply it as soon as you’ve mixed it. For detailed designs, work in small batches.
FAQs
Can I use Milk Instead of Water?
Yes! Using milk instead of water creates a richer flavor, but it may shorten the icing’s shelf life.
Does this Icing Harden?
It sets into a firm glaze that’s perfect for stacking and storing cookies, though it won’t be as hard as royal icing.
Can I Flavor This Icing?
Absolutely. Add a small amount of vanilla, almond extract, or citrus zest to enhance the flavor without compromising the texture.
How Do I Prevent the Icing From Cracking?
Avoid applying icing to cookies that are still warm, as the heat can cause cracks when the icing dries.
Is this Icing Suitable for Piping Intricate Designs?
While this icing is great for basic decoration, royal icing is better for intricate piping. However, you can use this recipe for simple patterns and flooding techniques.
How to Store Powdered Sugar Icing
Store leftover icing in an airtight container at room temperature for up to 24 hours. If you need to keep it longer, refrigerate it for up to a week. Stir well before use, and add a tiny bit of warm water to restore the desired consistency if it thickens during storage.
Ingredients
How to Make Powdered Sugar Icing
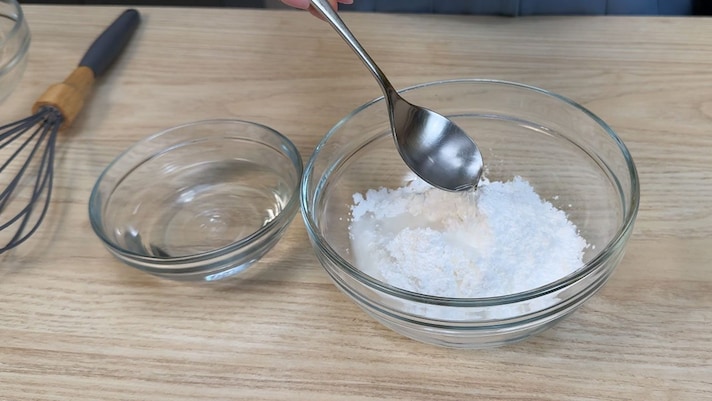
To prepare the powdered sugar icing, collect the icing sugar in a small bowl and add the three tablespoons of warm water.
To prepare the powdered sugar icing, collect the icing sugar in a small bowl and add the three tablespoons of warm water.
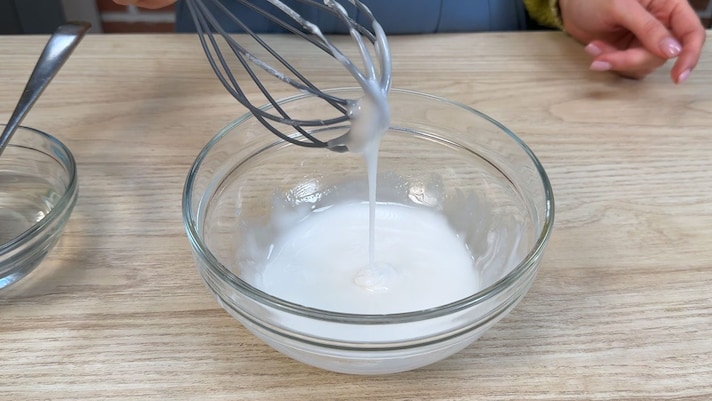
Using a hand whisk, mix the two ingredients until you obtain a smooth, thick and homogeneous icing.
Using a hand whisk, mix the two ingredients until you obtain a smooth, thick and homogeneous icing.

Your powdered sugar icing is ready to use. If you want to cover a cake or a pie, we suggest adding 1 tablespoon more water, so as to give it a more fluid consistency.
Your powdered sugar icing is ready to use. If you want to cover a cake or a pie, we suggest adding 1 tablespoon more water, so as to give it a more fluid consistency.
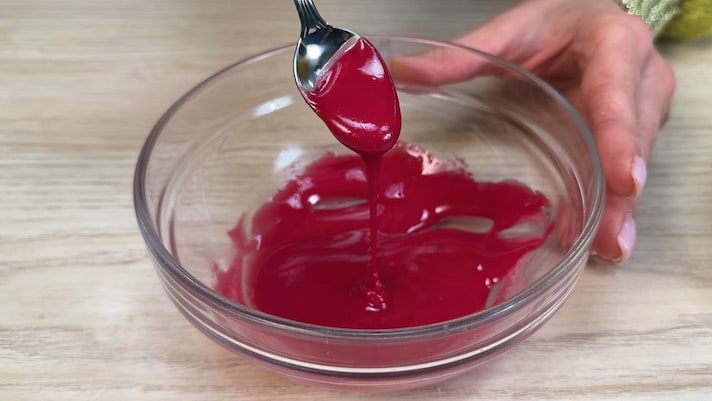
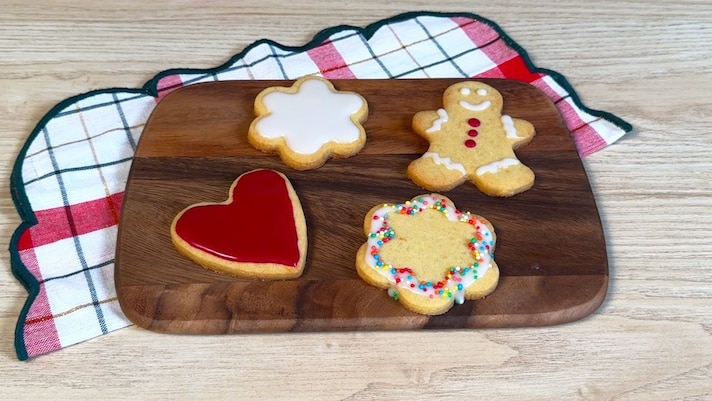
To decorate the cookies, transfer a few spoonfuls of icing to another bowl and add red food coloring or the shade you prefer.
To decorate the cookies, transfer a few spoonfuls of icing to another bowl and add red food coloring or the shade you prefer.
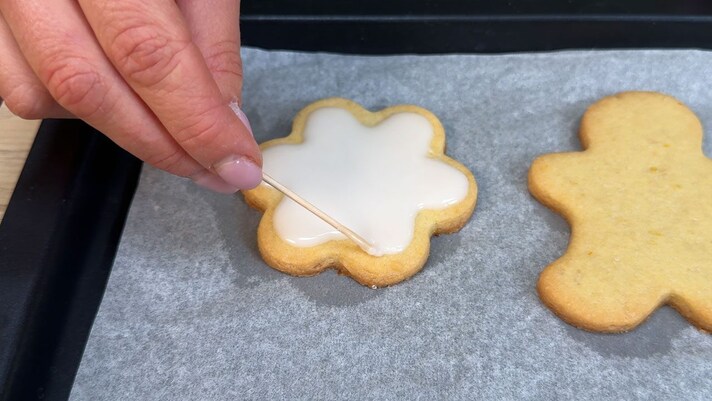
Insert the icing into piping bags and decorate the shortcrust pastry biscuits, using a wooden toothpick to better define the edges.
Insert the icing into piping bags and decorate the shortcrust pastry biscuits, using a wooden toothpick to better define the edges.

Once decorated, let the frosted cookies dry overnight.
Once decorated, let the frosted cookies dry overnight.
Enjoy!
Enjoy!

;Resize,width=712;)

;Resize,width=767;)
