
Showstopping Edible Bread Basket Centerpiece
;Resize,width=742;)
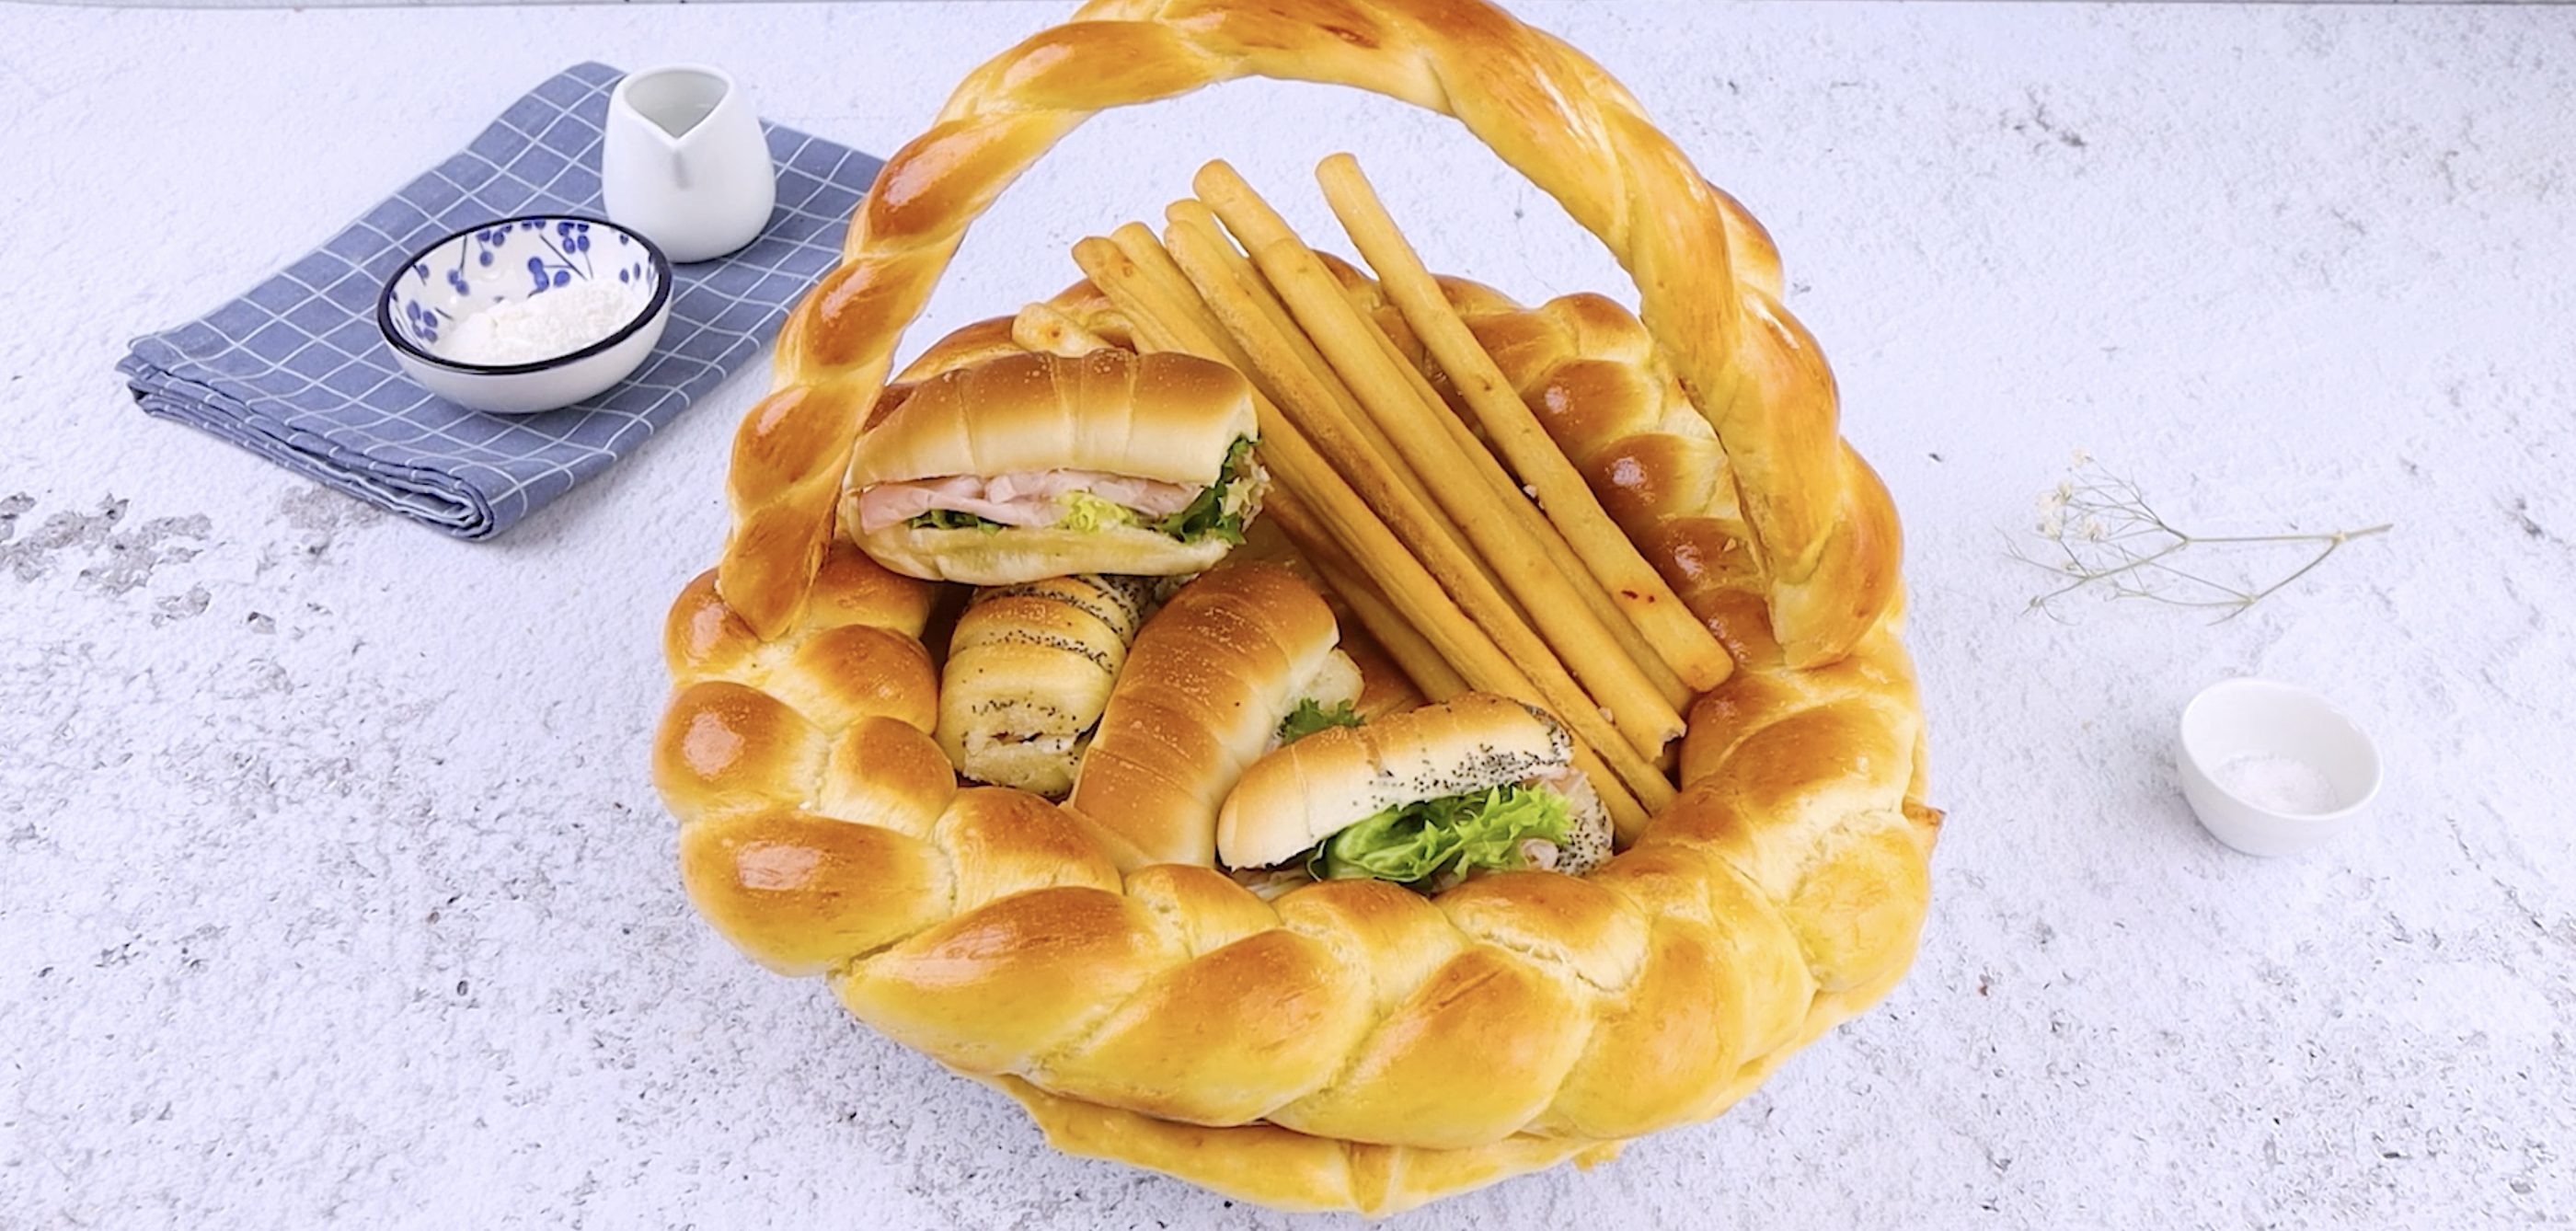
Forget the classic bread rolls served in a bowl, this Edible Bread Basket is the bowl. A delightful edible masterpiece, this basket is woven from scratch with fluffy, golden-brown breadsticks, giving it that wow factor perfect for any gathering. Imagine the delight of unveiling a basket of bread that’s both the container and the treat.
Made from a basic dough mixture of flour, yeast, and a little sugar, it’s surprisingly easy to assemble once you get the hang of braiding and baking. This bread basket is an absolute hit as an appetizer, side dish, or even as a centerpiece on your holiday table, filled with more breadsticks, sandwiches, or whatever snack you desire. This treat is a gift that keeps on giving.
What is a Bread Basket?
A bread basket isn’t just a bread dish; it’s a work of art you can eat! Rooted in centuries-old European traditions, bread has always been more than just food. Each loaf, roll, or braid tells a story of community, culture, and craftsmanship.
In ancient Greece, bread was almost mystical, seen as a divine gift. By the time of the Roman Empire, bread-making was elevated to an art form, with bakeries becoming community gathering spots, bustling with locals and sharing warmth from the ovens. Through the Middle Ages and Renaissance, bread evolved as a social symbol: the nobility feasted on airy white loaves, while common folk baked dense, hearty breads from the grains they could grow.
But don’t be fooled by its intricate appearance, with basic ingredients and simple techniques, anyone can make this bread basket.
Pro Tips for the Best Bread Basket
- Bread dough loves warmth. Ensure your kitchen is warm when letting the dough rise; a cold environment may slow down the process.
- Knead until smooth but don’t overdo it. Stop once you have a soft, slightly tacky texture.
- Don’t skip the egg wash. This gives that glossy, golden brown finish that makes the basket look professionally done.
- Handle the baked parts gently when assembling to avoid breaking the pieces. They’re delicate until they cool completely.
Can I Make the Dough in Ahead of Time?
Yes, you can prepare the dough a day ahead! Just cover it well and store it in the fridge. Let it come to room temperature before starting to braid and assemble the basket.
Can I Use Whole Wheat Flour?
Yes, you can substitute up to half of the flour with whole wheat flour for a denser, more rustic bread basket.
What Can I Put in the Bread Basket?
This bread basket is a versatile container. You can fill it with mini sandwiches, breadsticks, cheeses, fruits, or even veggies for a fun and delicious display.
How Do I Keep the Basket’s Shape?
To help the basket hold its shape, make sure the dough is well-kneaded and allow it enough time to rise fully before baking. Brushing with egg wash also helps create a firm, glossy exterior that helps maintain the shape.
How to Store Edible Bread Basket
To store leftovers from the edible bread basket, wrap the components tightly in plastic wrap or keep them in an airtight container. At room temperature, they’ll stay fresh for 1–2 days. Refrigeration extends their life to about a week, though reheating in the oven can restore softness. For longer storage, freeze for up to 2 months, then thaw and reheat to enjoy.
Ingredients
How to Make a Bread Basket
;Resize,width=712;)
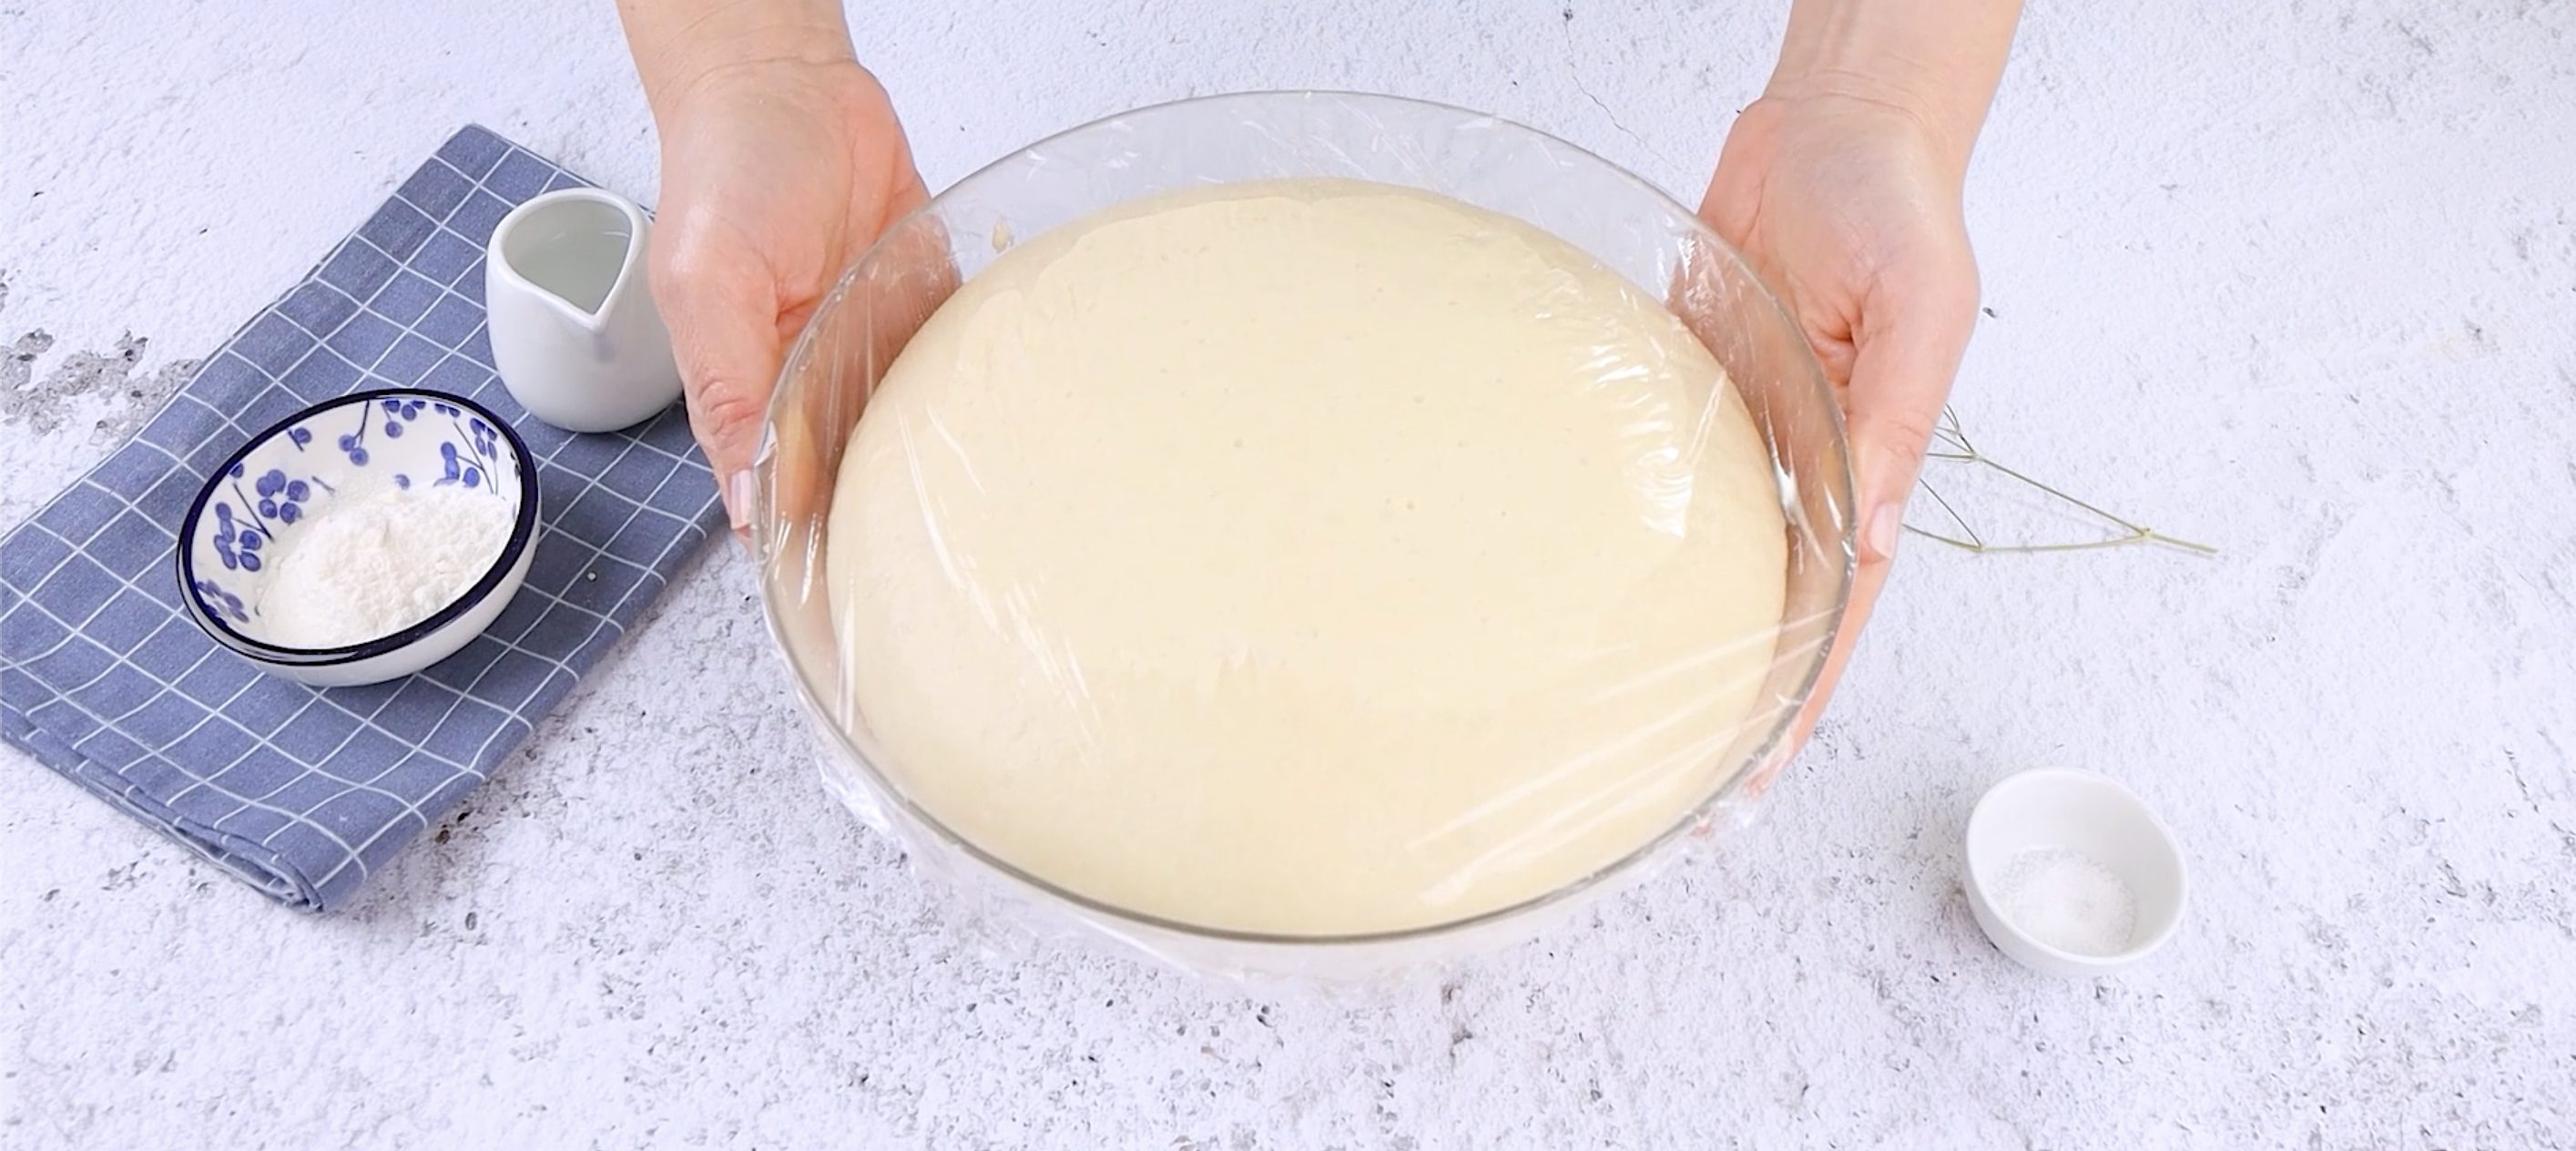
In a bowl, mix sugar, yeast, and water, stirring until dissolved. Add the egg, oil, flour, and salt, and mix until a dough starts to form. Knead until smooth, then cover and let rise for 2 hours, or until doubled in size.
In a bowl, mix sugar, yeast, and water, stirring until dissolved. Add the egg, oil, flour, and salt, and mix until a dough starts to form. Knead until smooth, then cover and let rise for 2 hours, or until doubled in size.
;Resize,width=712;)
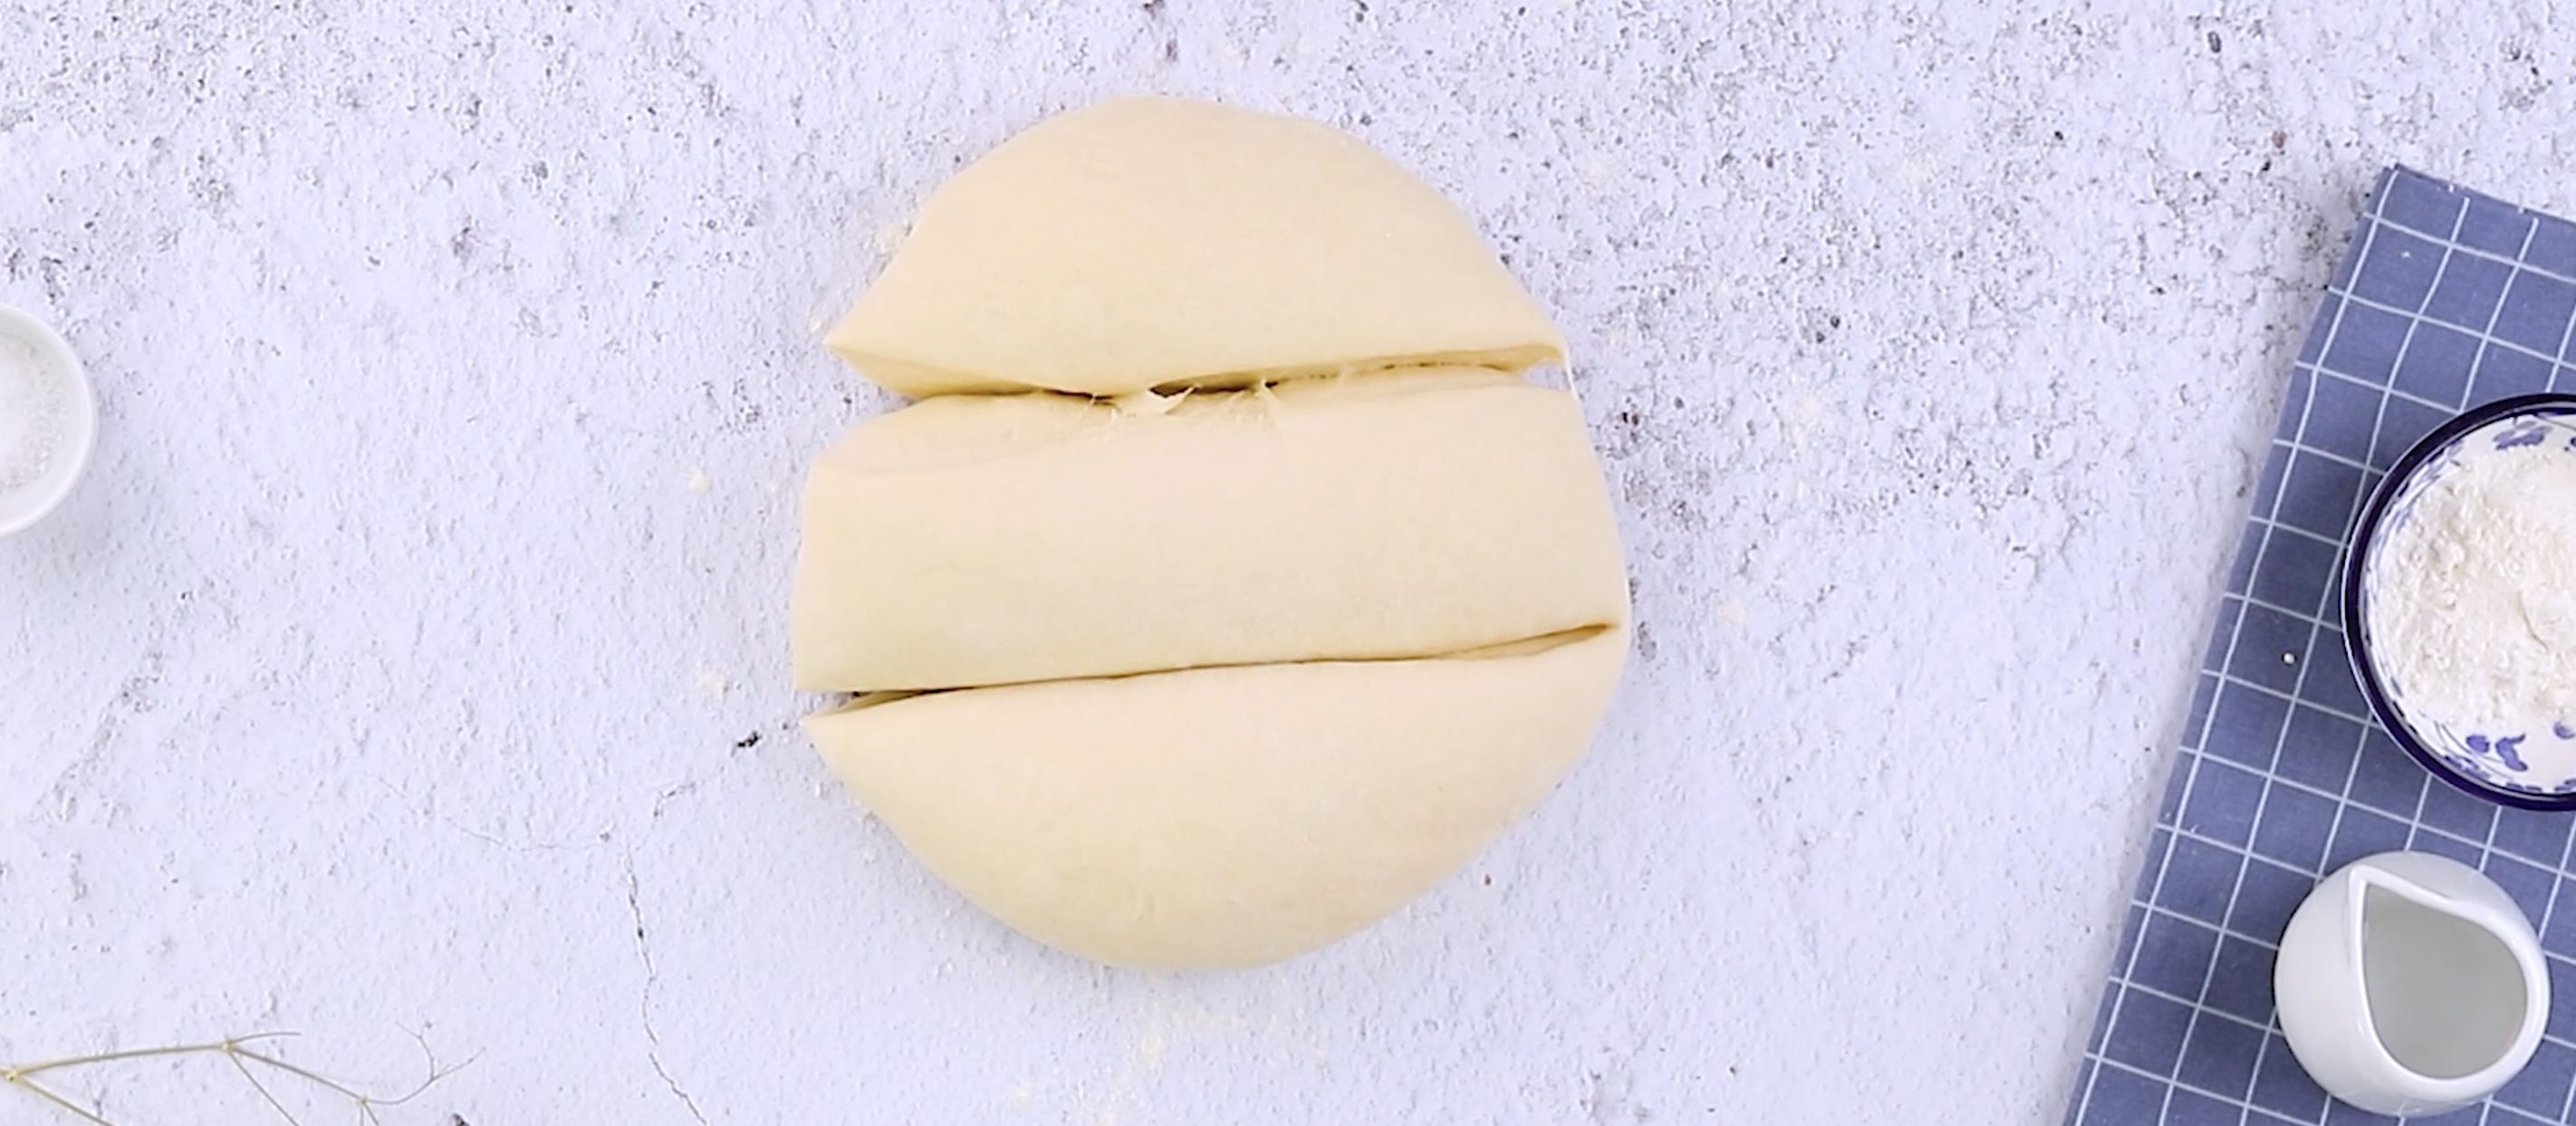
After the dough has risen, divide it into three equal parts.
After the dough has risen, divide it into three equal parts.
;Resize,width=712;)
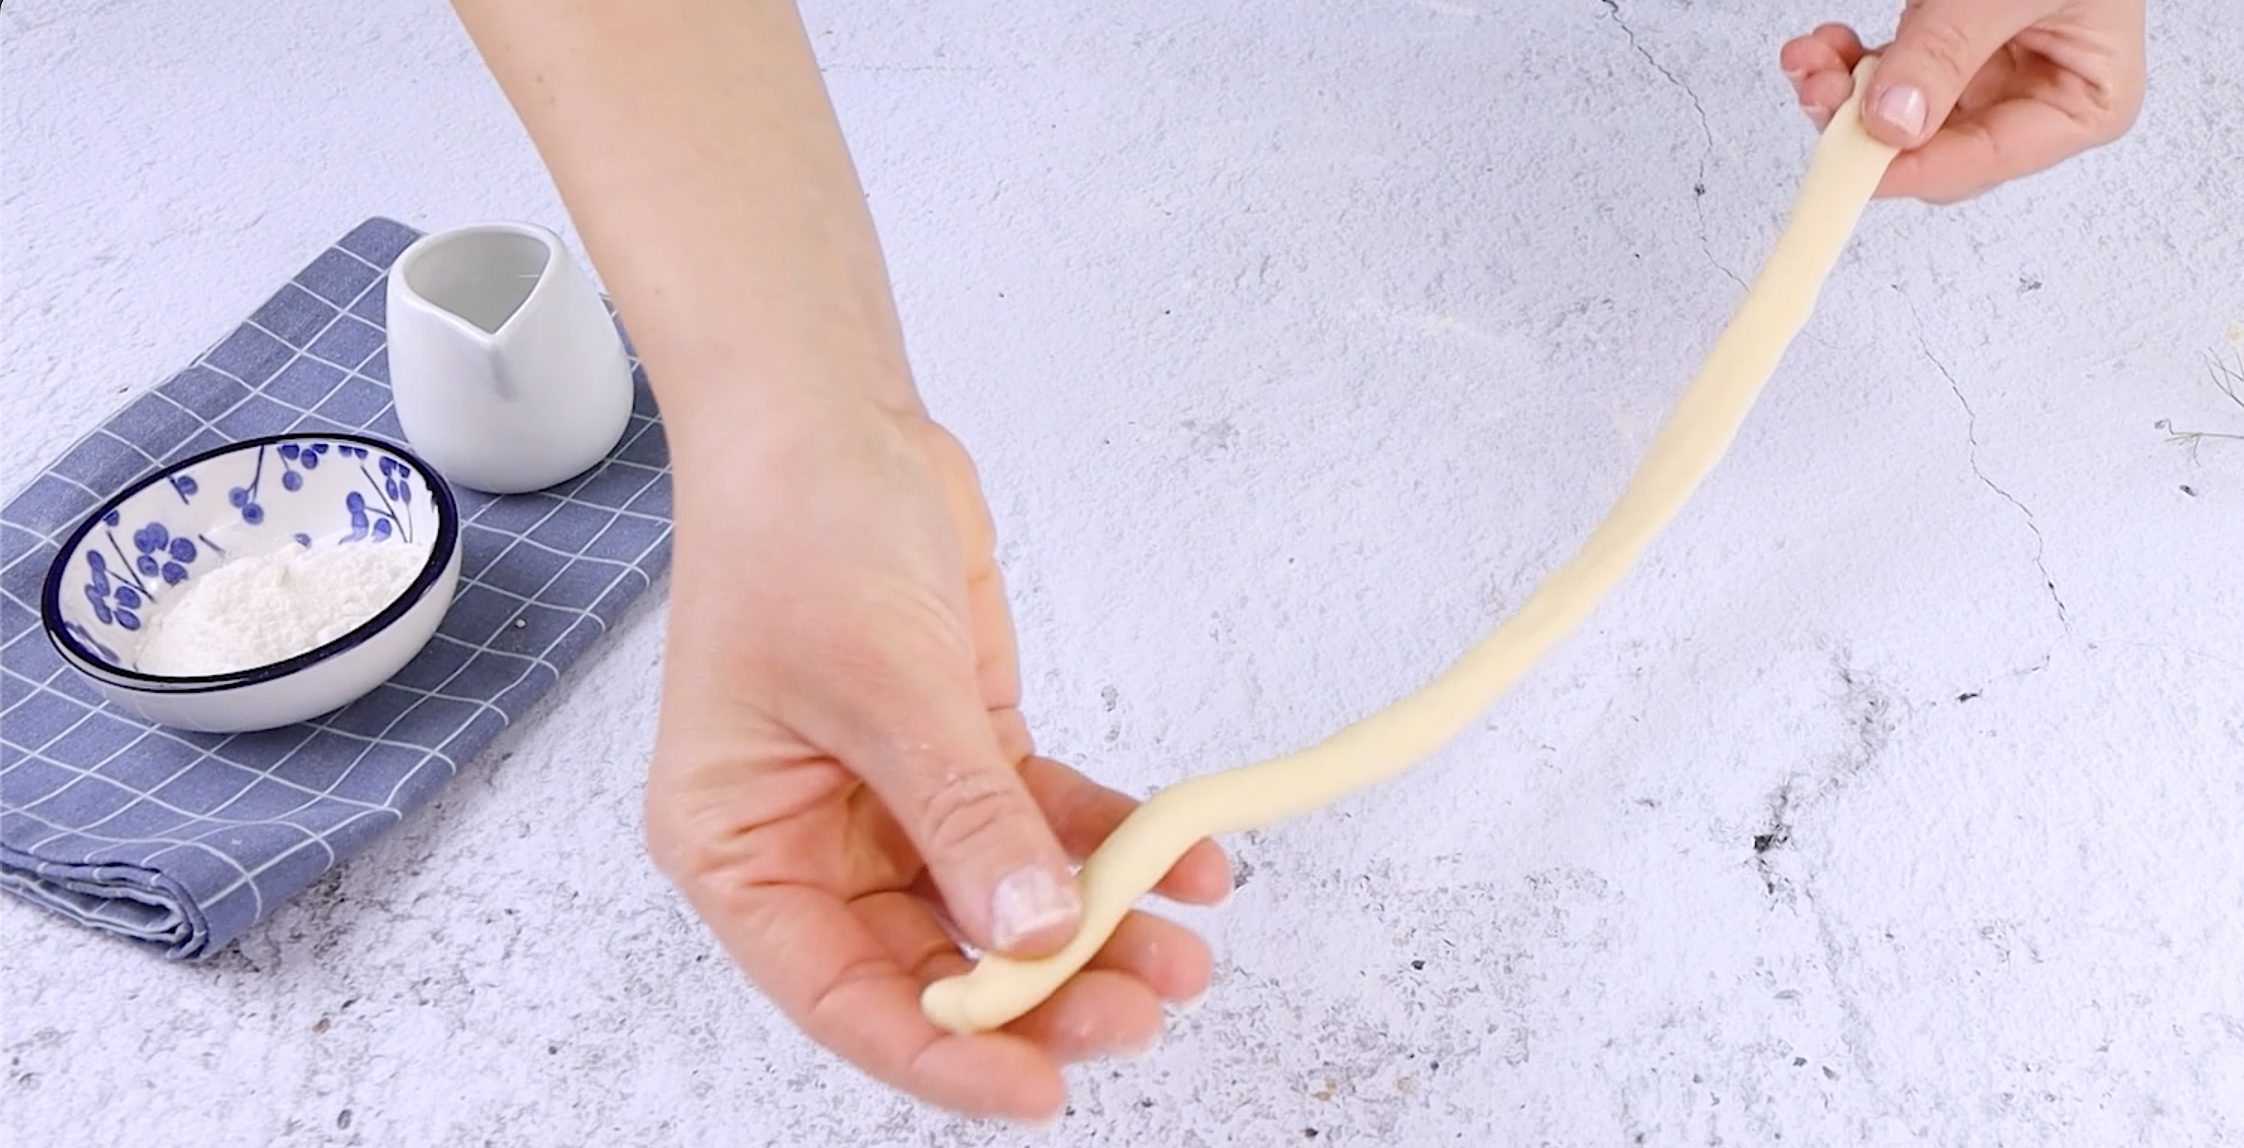
Take one part, cut it into small pieces, and roll each into long sticks.
Take one part, cut it into small pieces, and roll each into long sticks.
;Resize,width=712;)
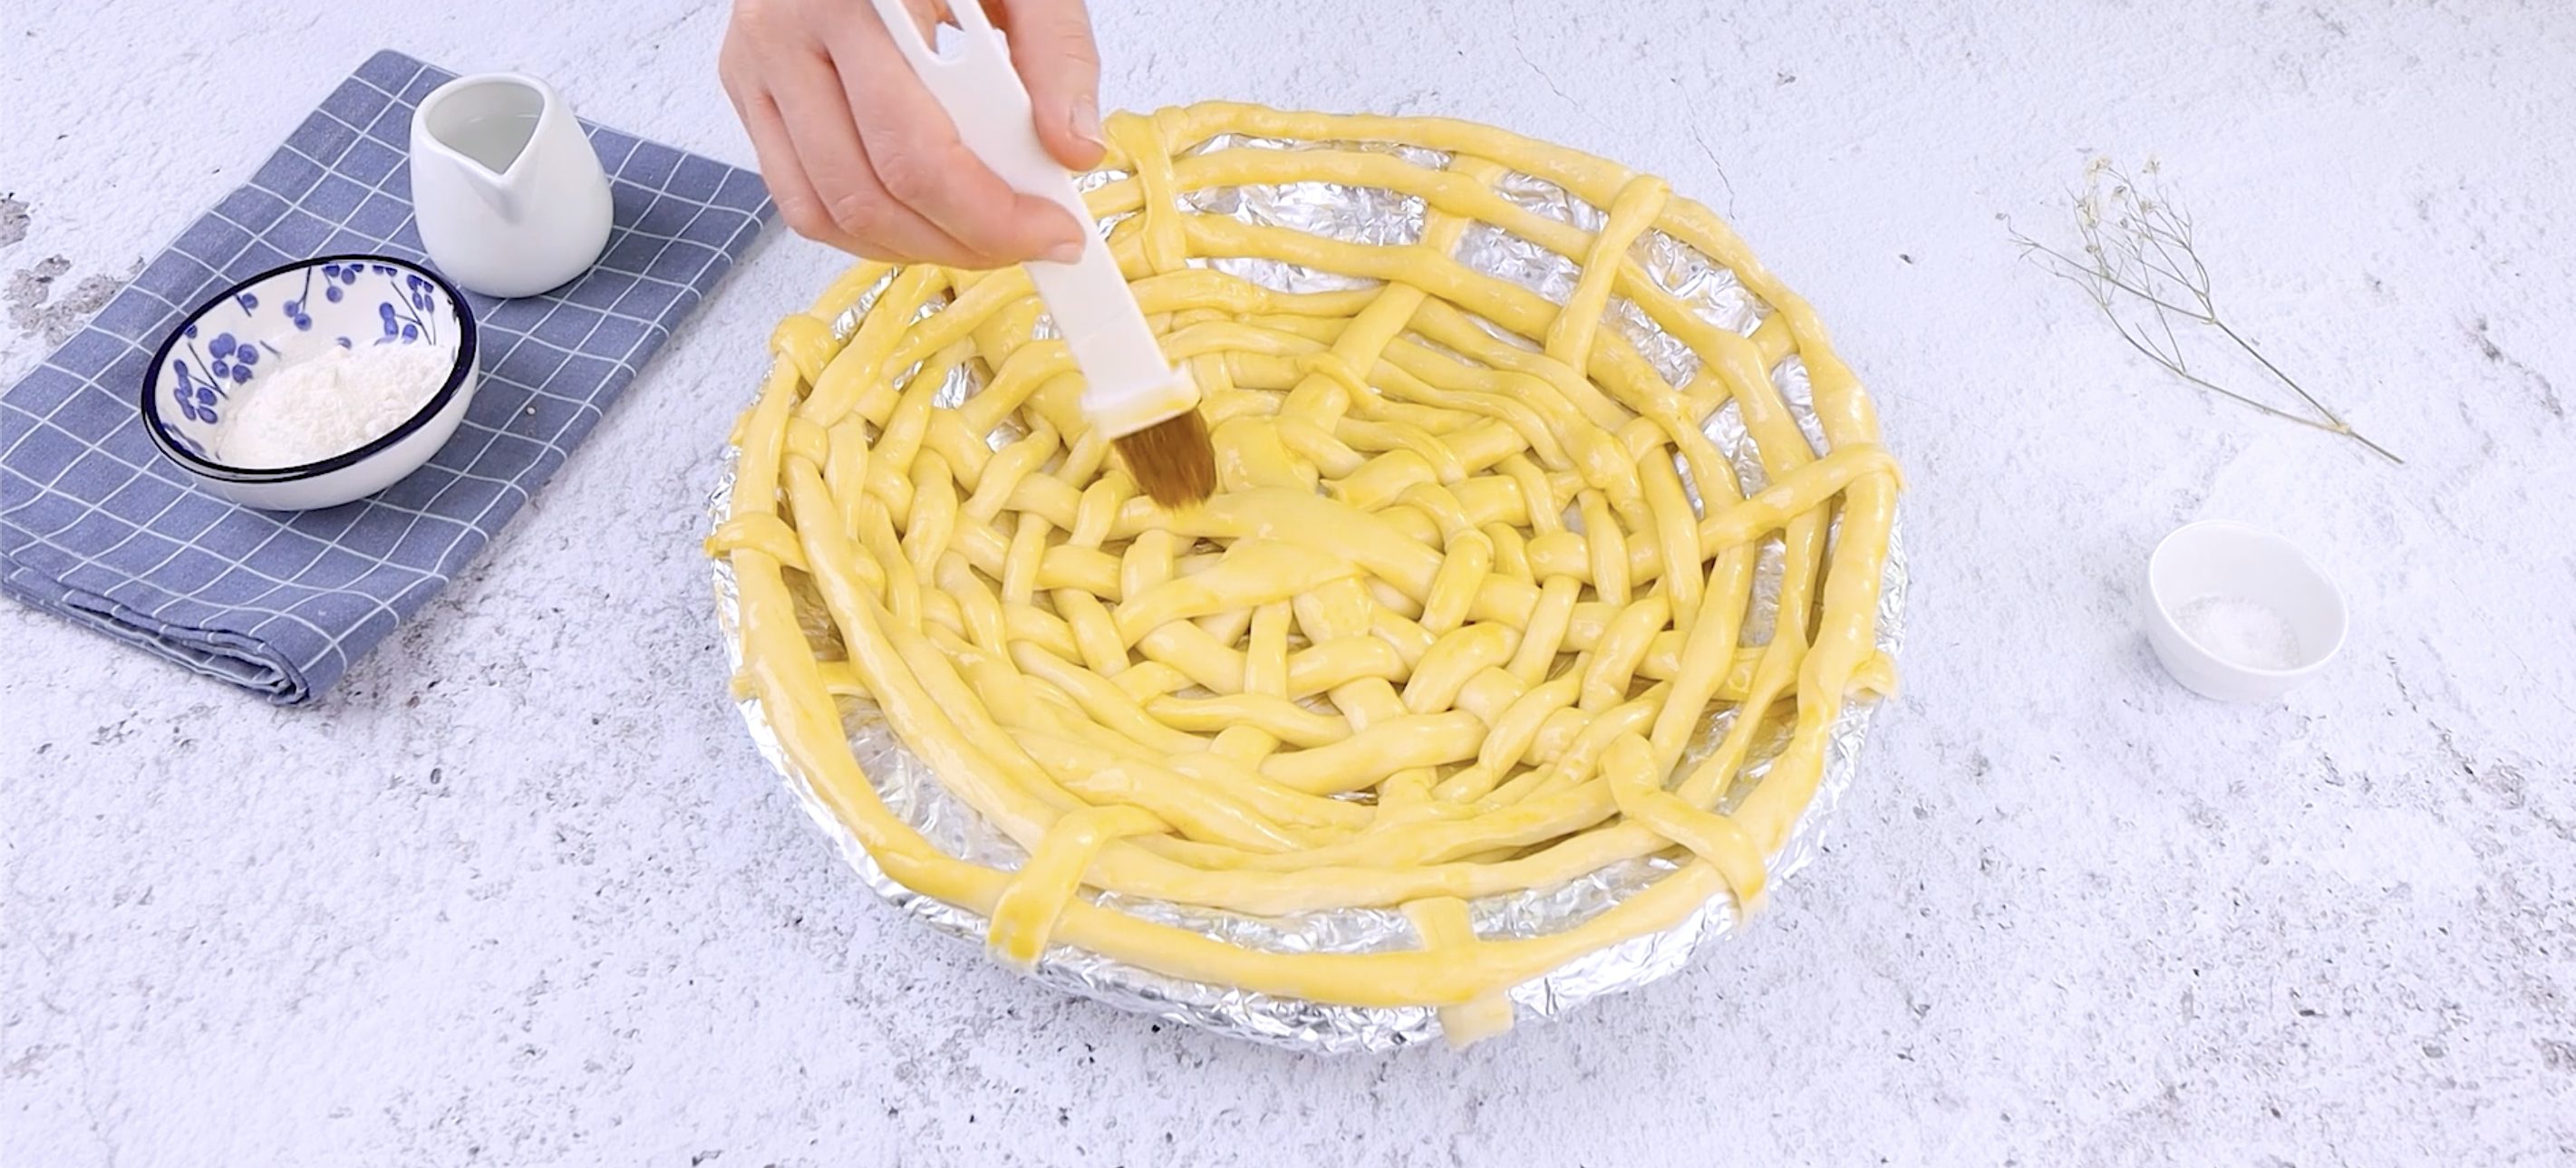
Lay them out in a crisscross pattern over a foil-covered, oiled pan to create a woven net for the base and brush with oil. Now, start arranging the prepared dough sticks by intertwining them to obtain the net, then brush with egg.
Lay them out in a crisscross pattern over a foil-covered, oiled pan to create a woven net for the base and brush with oil. Now, start arranging the prepared dough sticks by intertwining them to obtain the net, then brush with egg.
;Resize,width=712;)
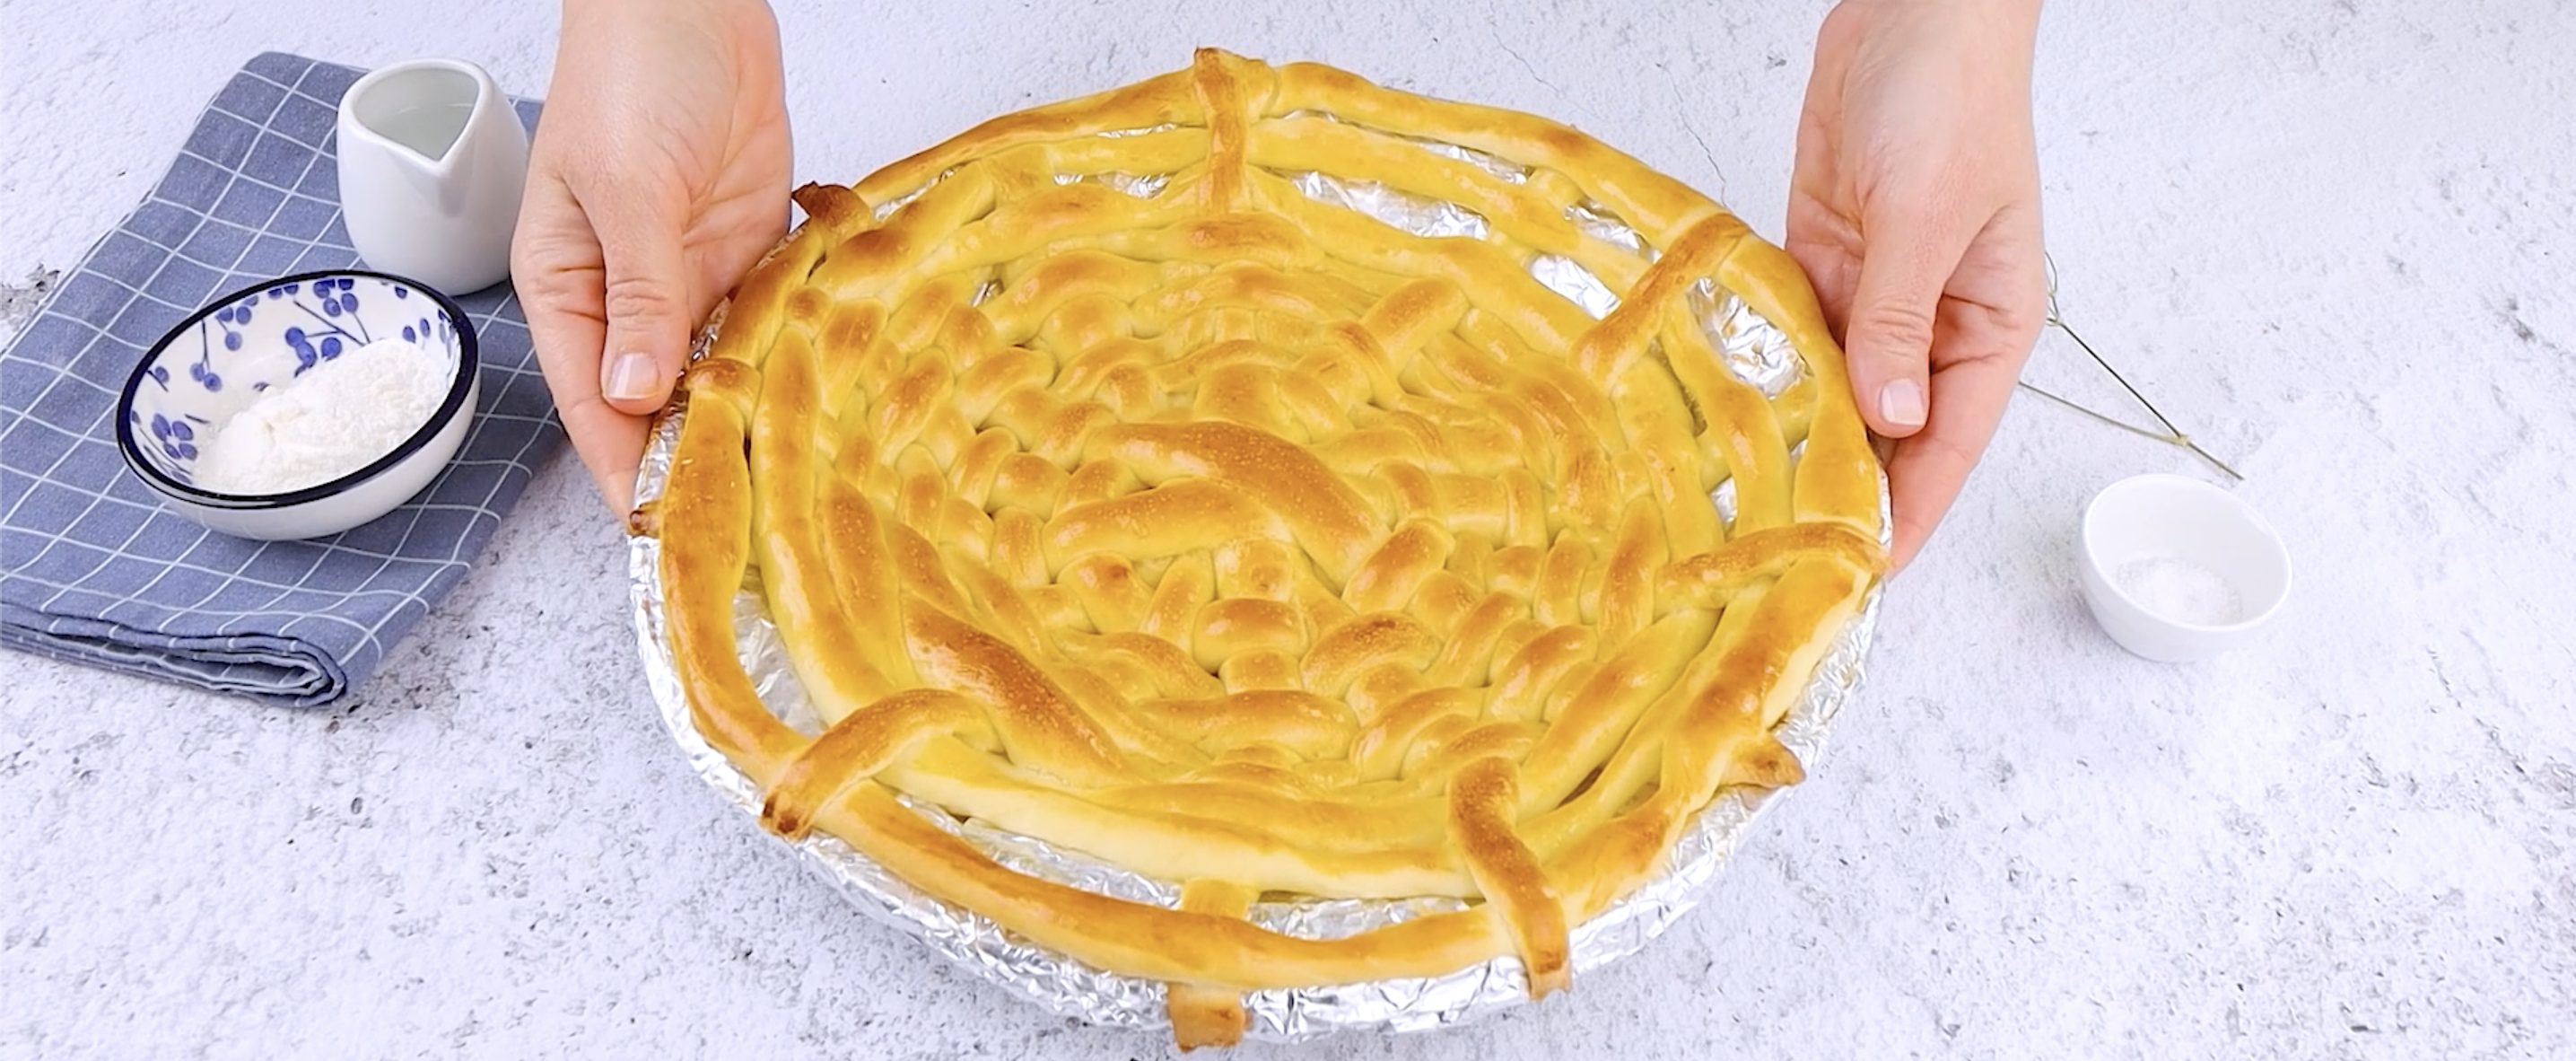
Place in a preheated oven at 190°C (374°F) for 20 minutes, or until golden and set. Remove and let cool.
Place in a preheated oven at 190°C (374°F) for 20 minutes, or until golden and set. Remove and let cool.
;Resize,width=712;)
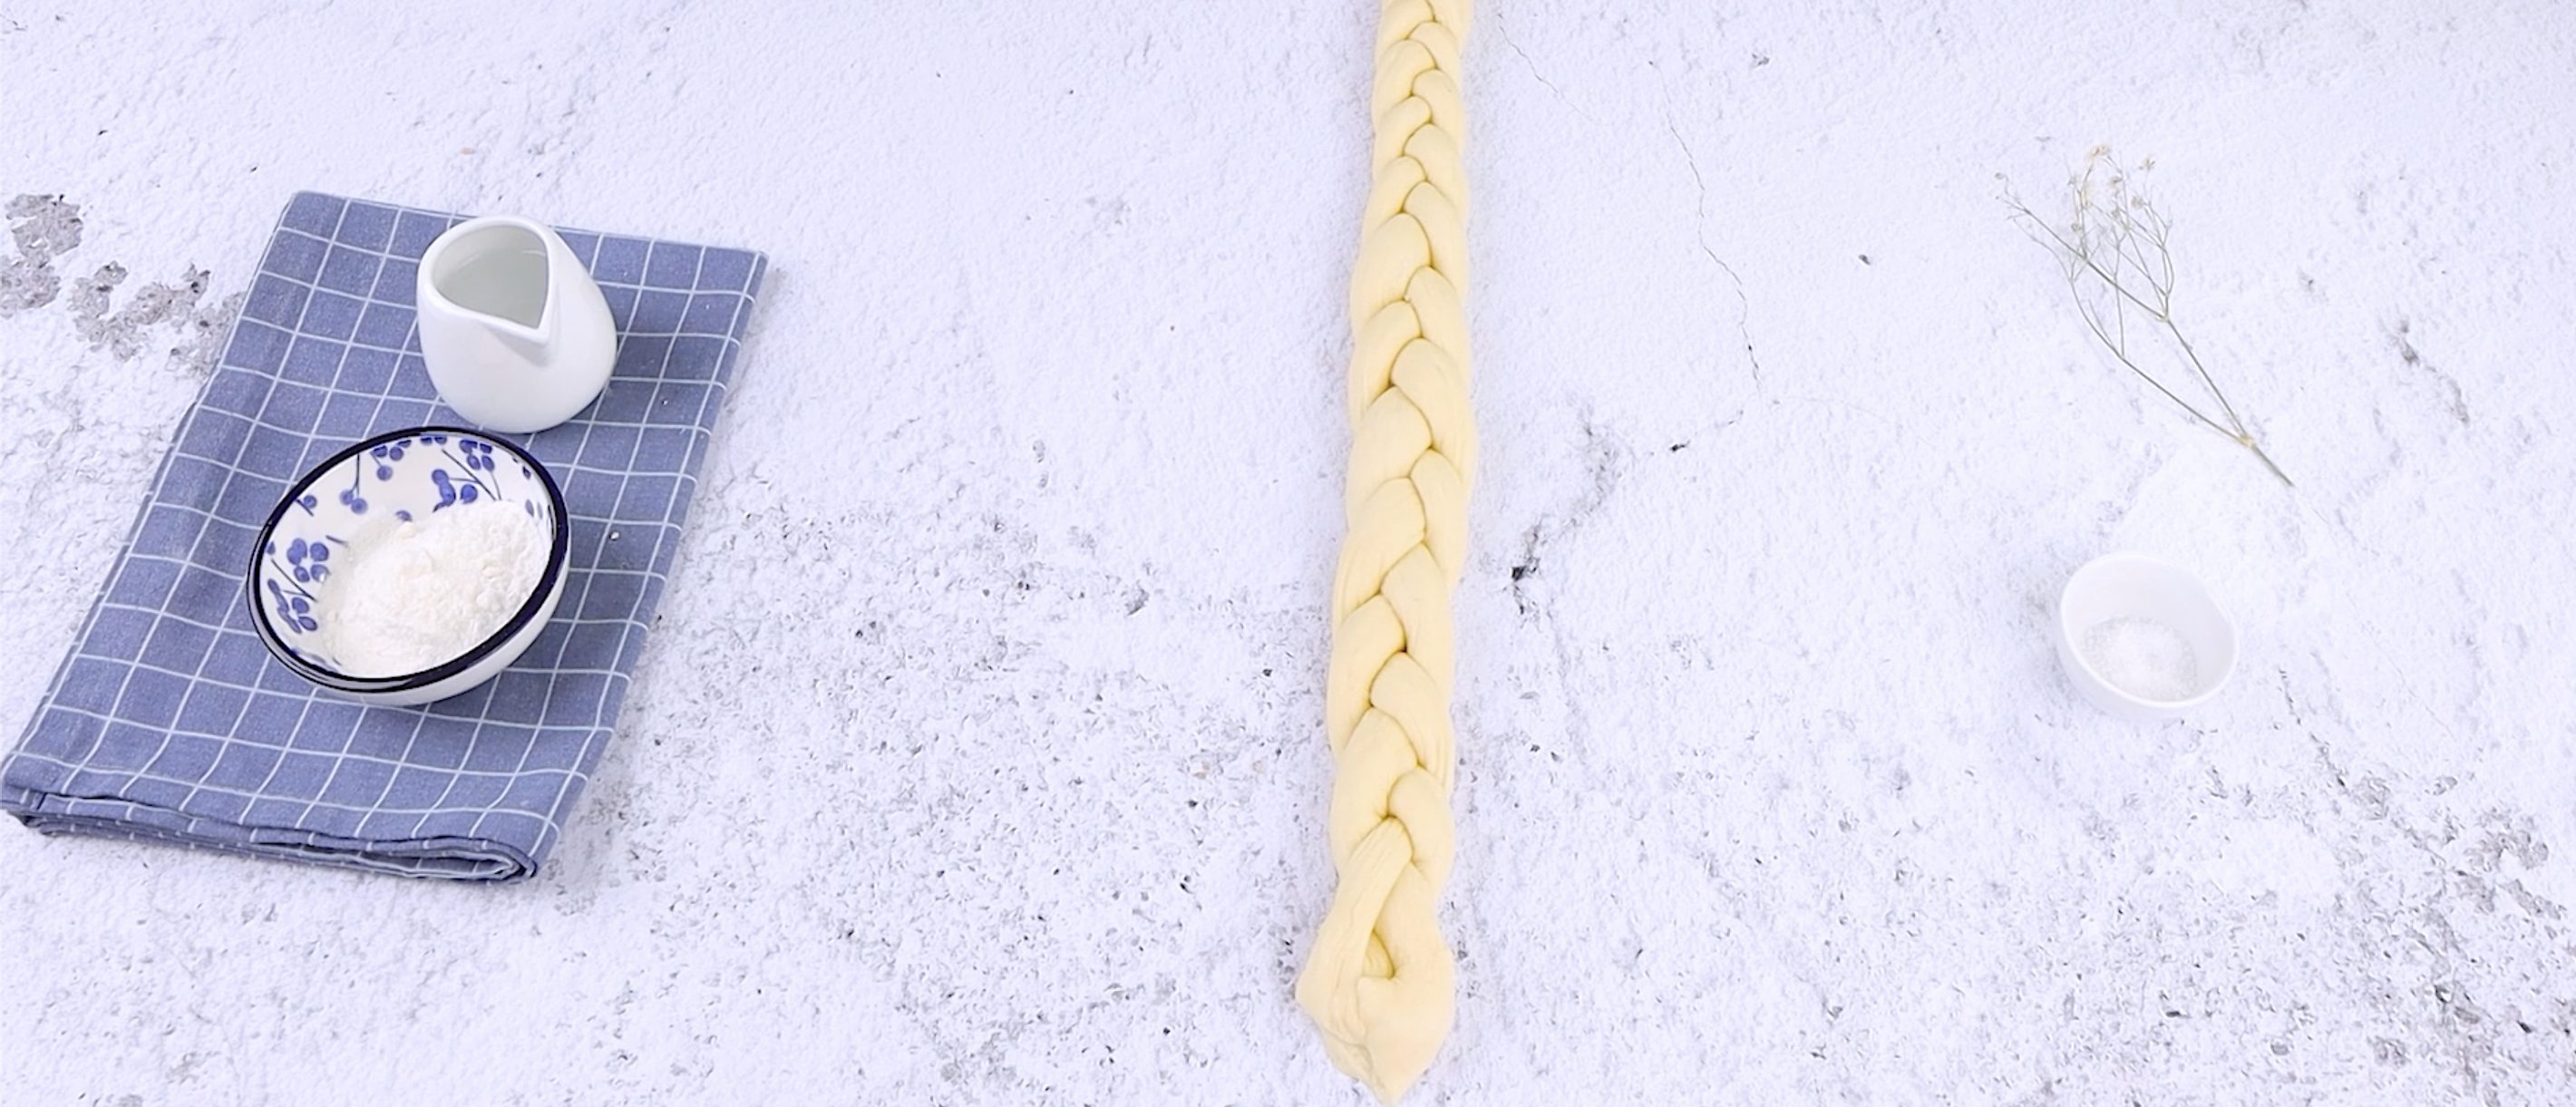
The next step is to create the handle. With the second part, divide it into three pieces, roll them into long sticks, and braid them.
The next step is to create the handle. With the second part, divide it into three pieces, roll them into long sticks, and braid them.
;Resize,width=712;)
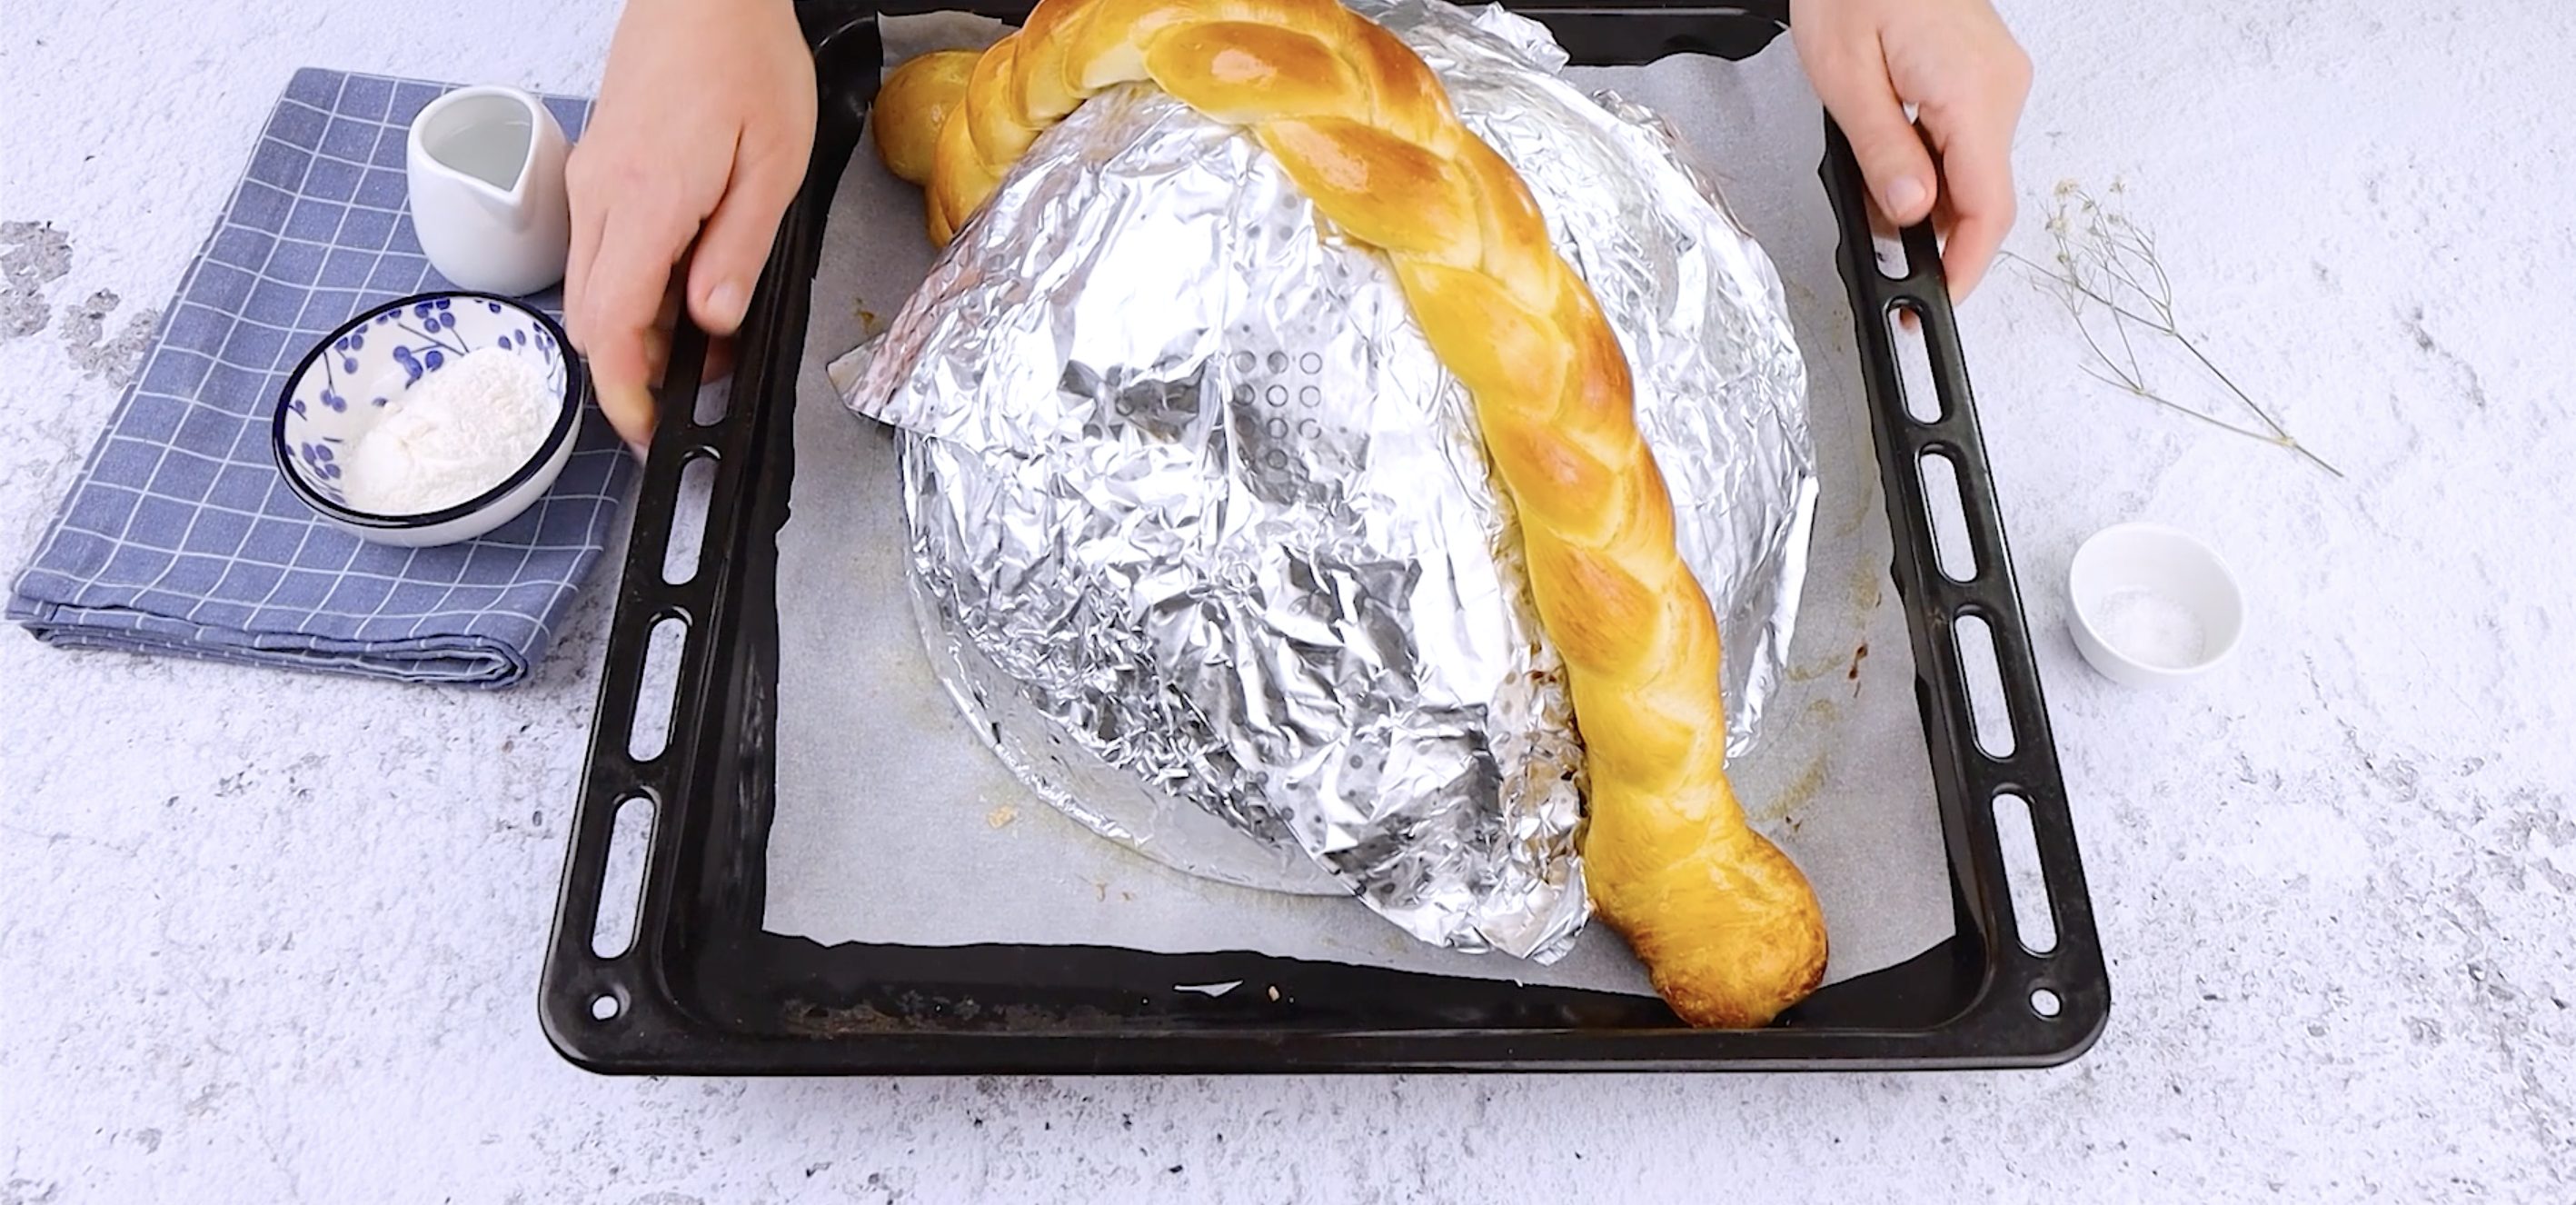
Cover the bowl with the kitchen foil and transfer the prepared braid and brush with egg wash. Bake at 190°C/374°F for 15 minutes.
Cover the bowl with the kitchen foil and transfer the prepared braid and brush with egg wash. Bake at 190°C/374°F for 15 minutes.
;Resize,width=712;)
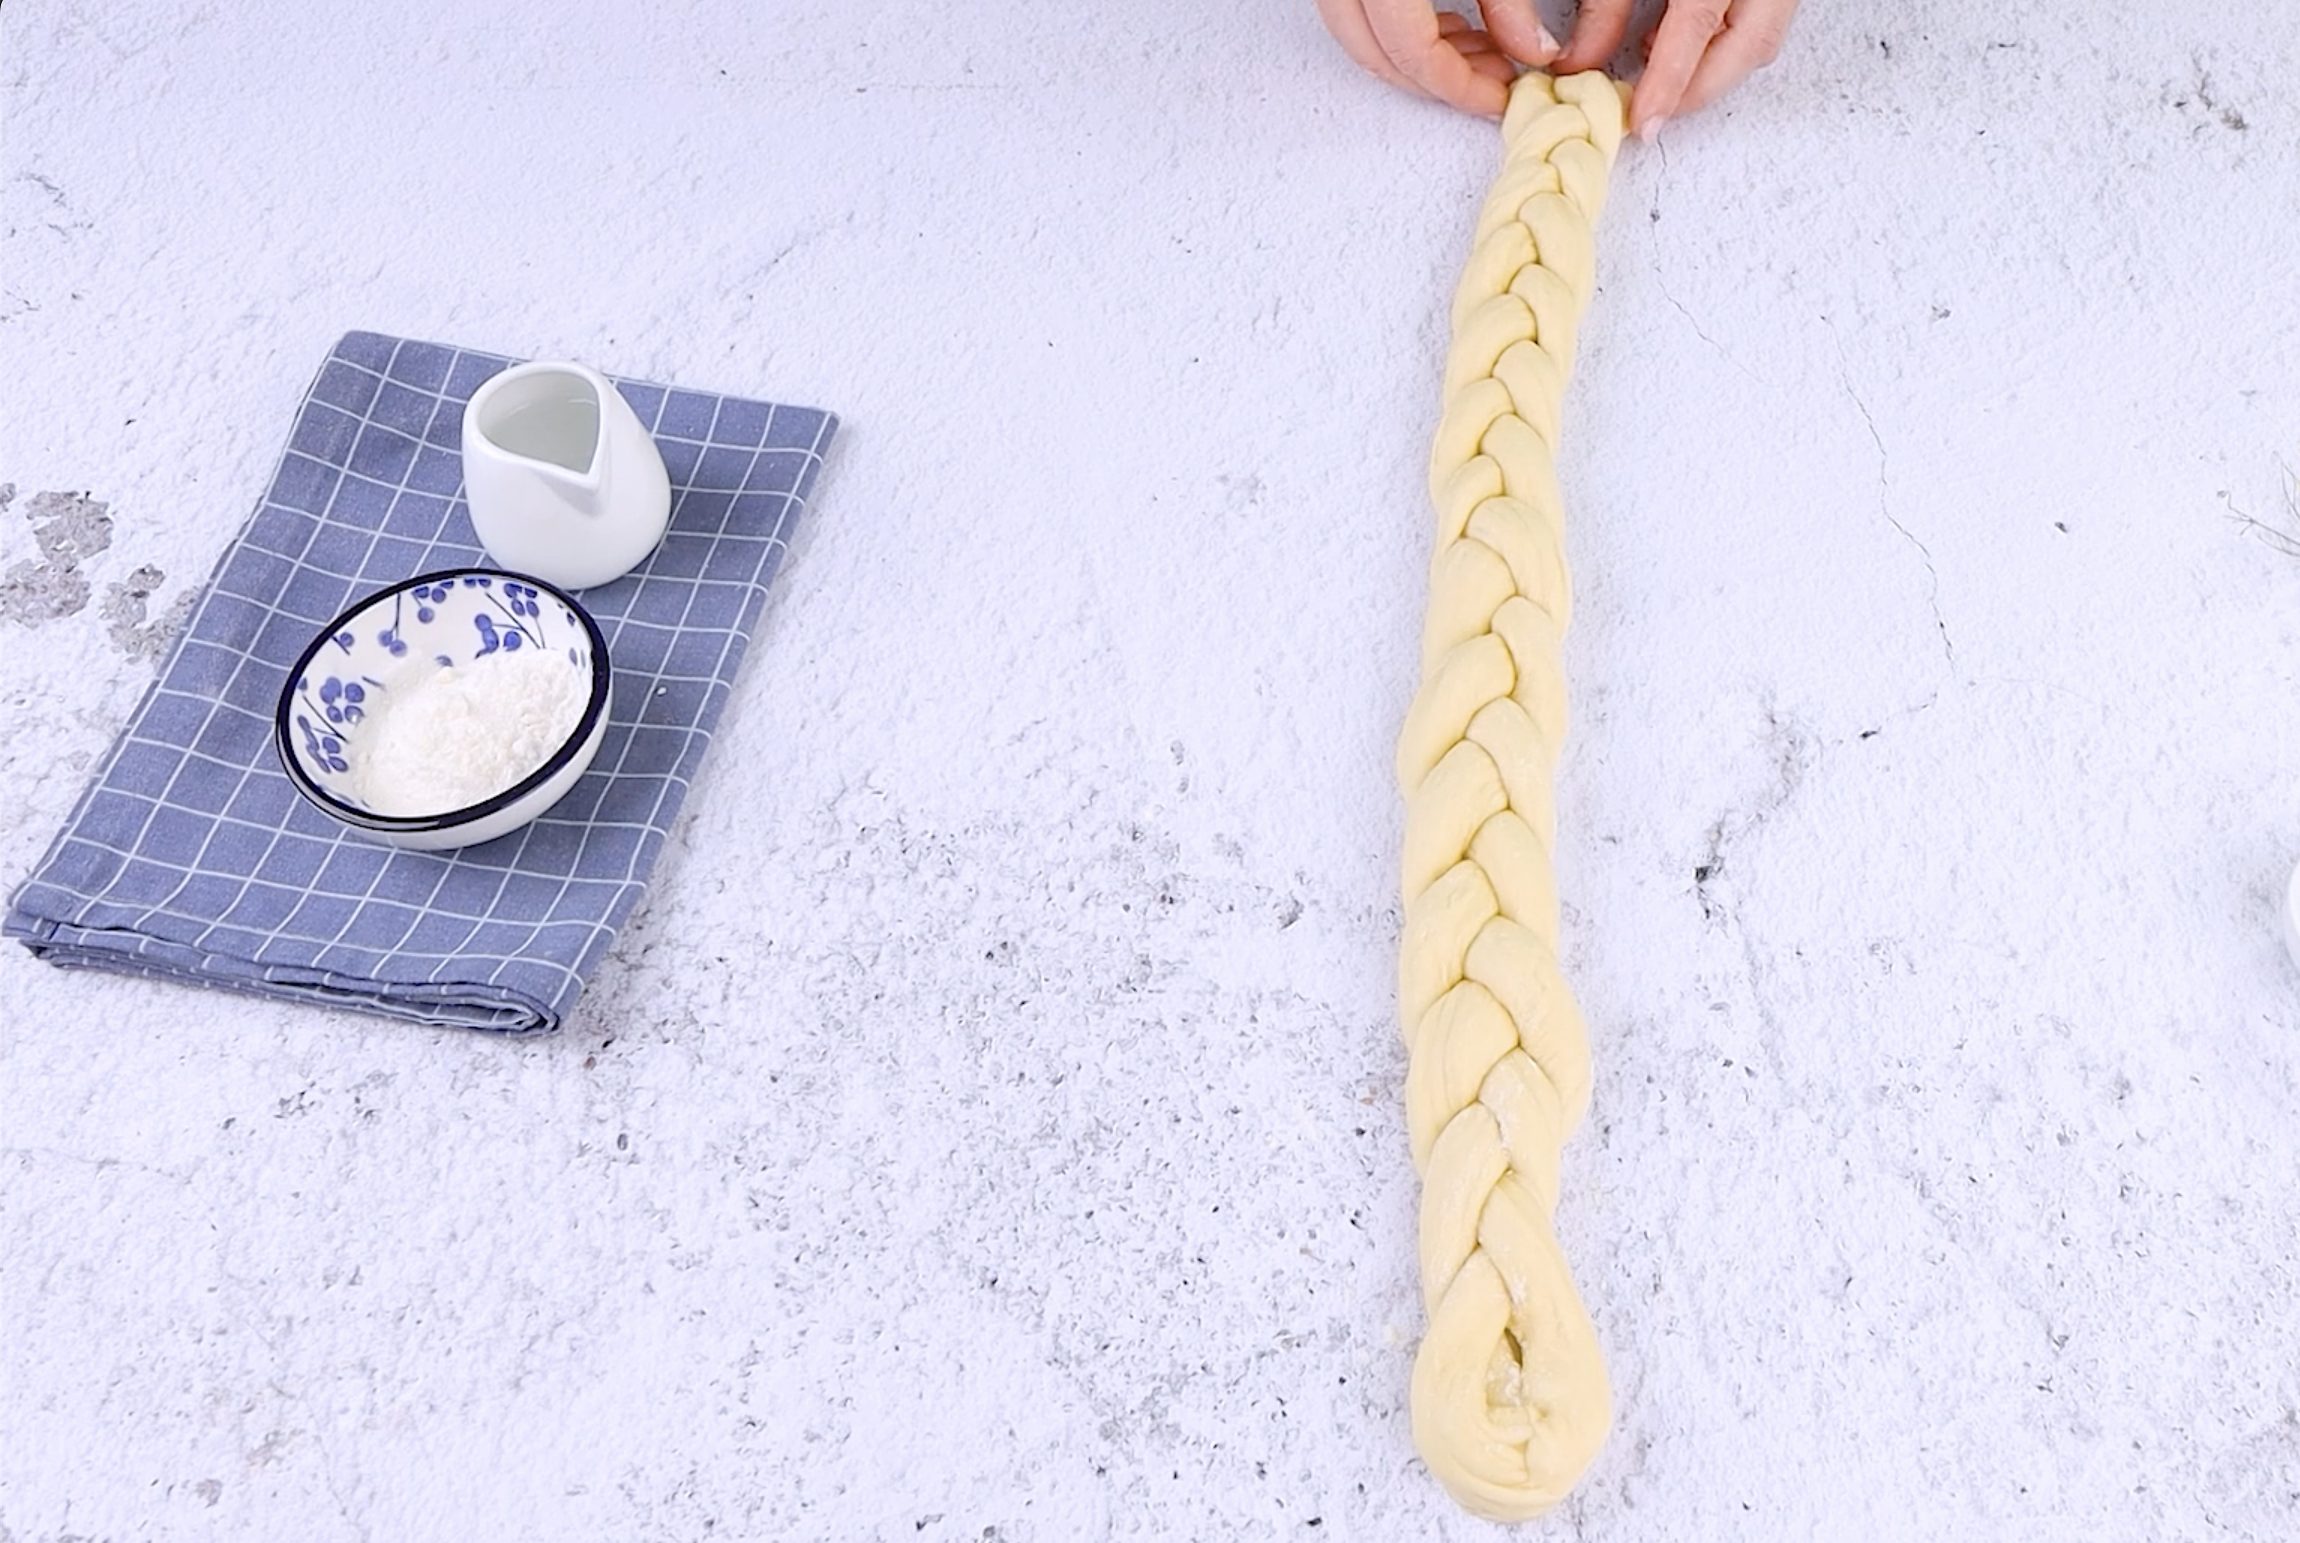
Next, divide the other part of the dough into three parts and roll out each part to obtain three long sticks. Start to intertwine to obtain a braid. Also, if needed make one more to ensure you obtain a long ring.
Next, divide the other part of the dough into three parts and roll out each part to obtain three long sticks. Start to intertwine to obtain a braid. Also, if needed make one more to ensure you obtain a long ring.
;Resize,width=712;)
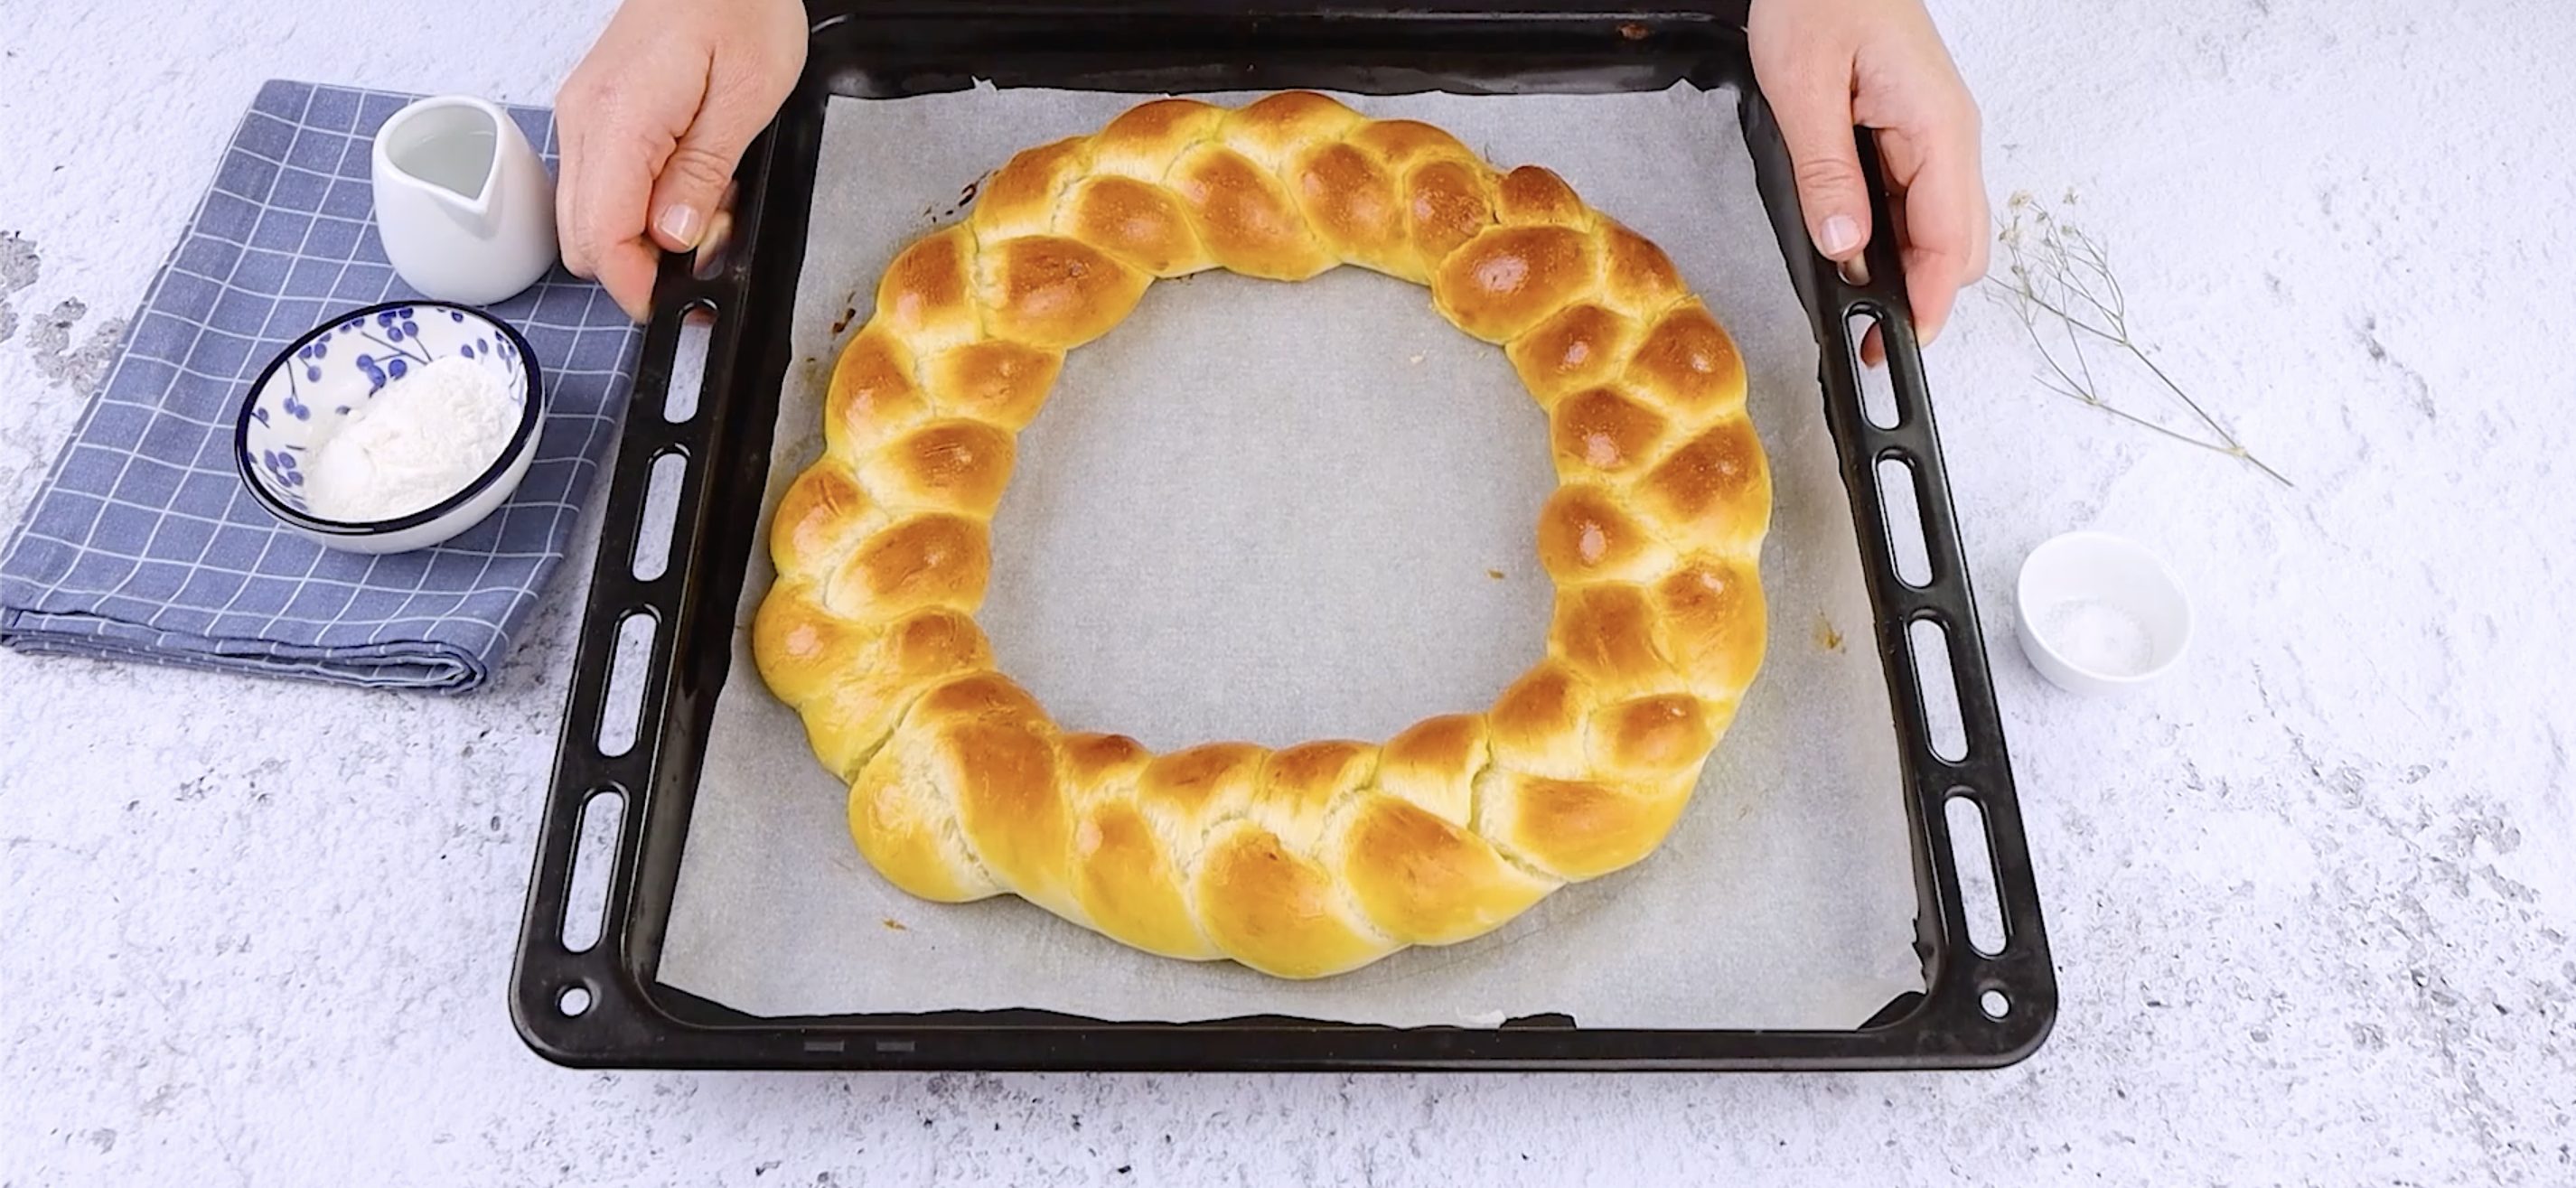
Transfer the ring to the baking tray covered with parchment paper and brush with egg. Bake in oven at 190°C/374°F for 20 minutes.
Transfer the ring to the baking tray covered with parchment paper and brush with egg. Bake in oven at 190°C/374°F for 20 minutes.
;Resize,width=712;)
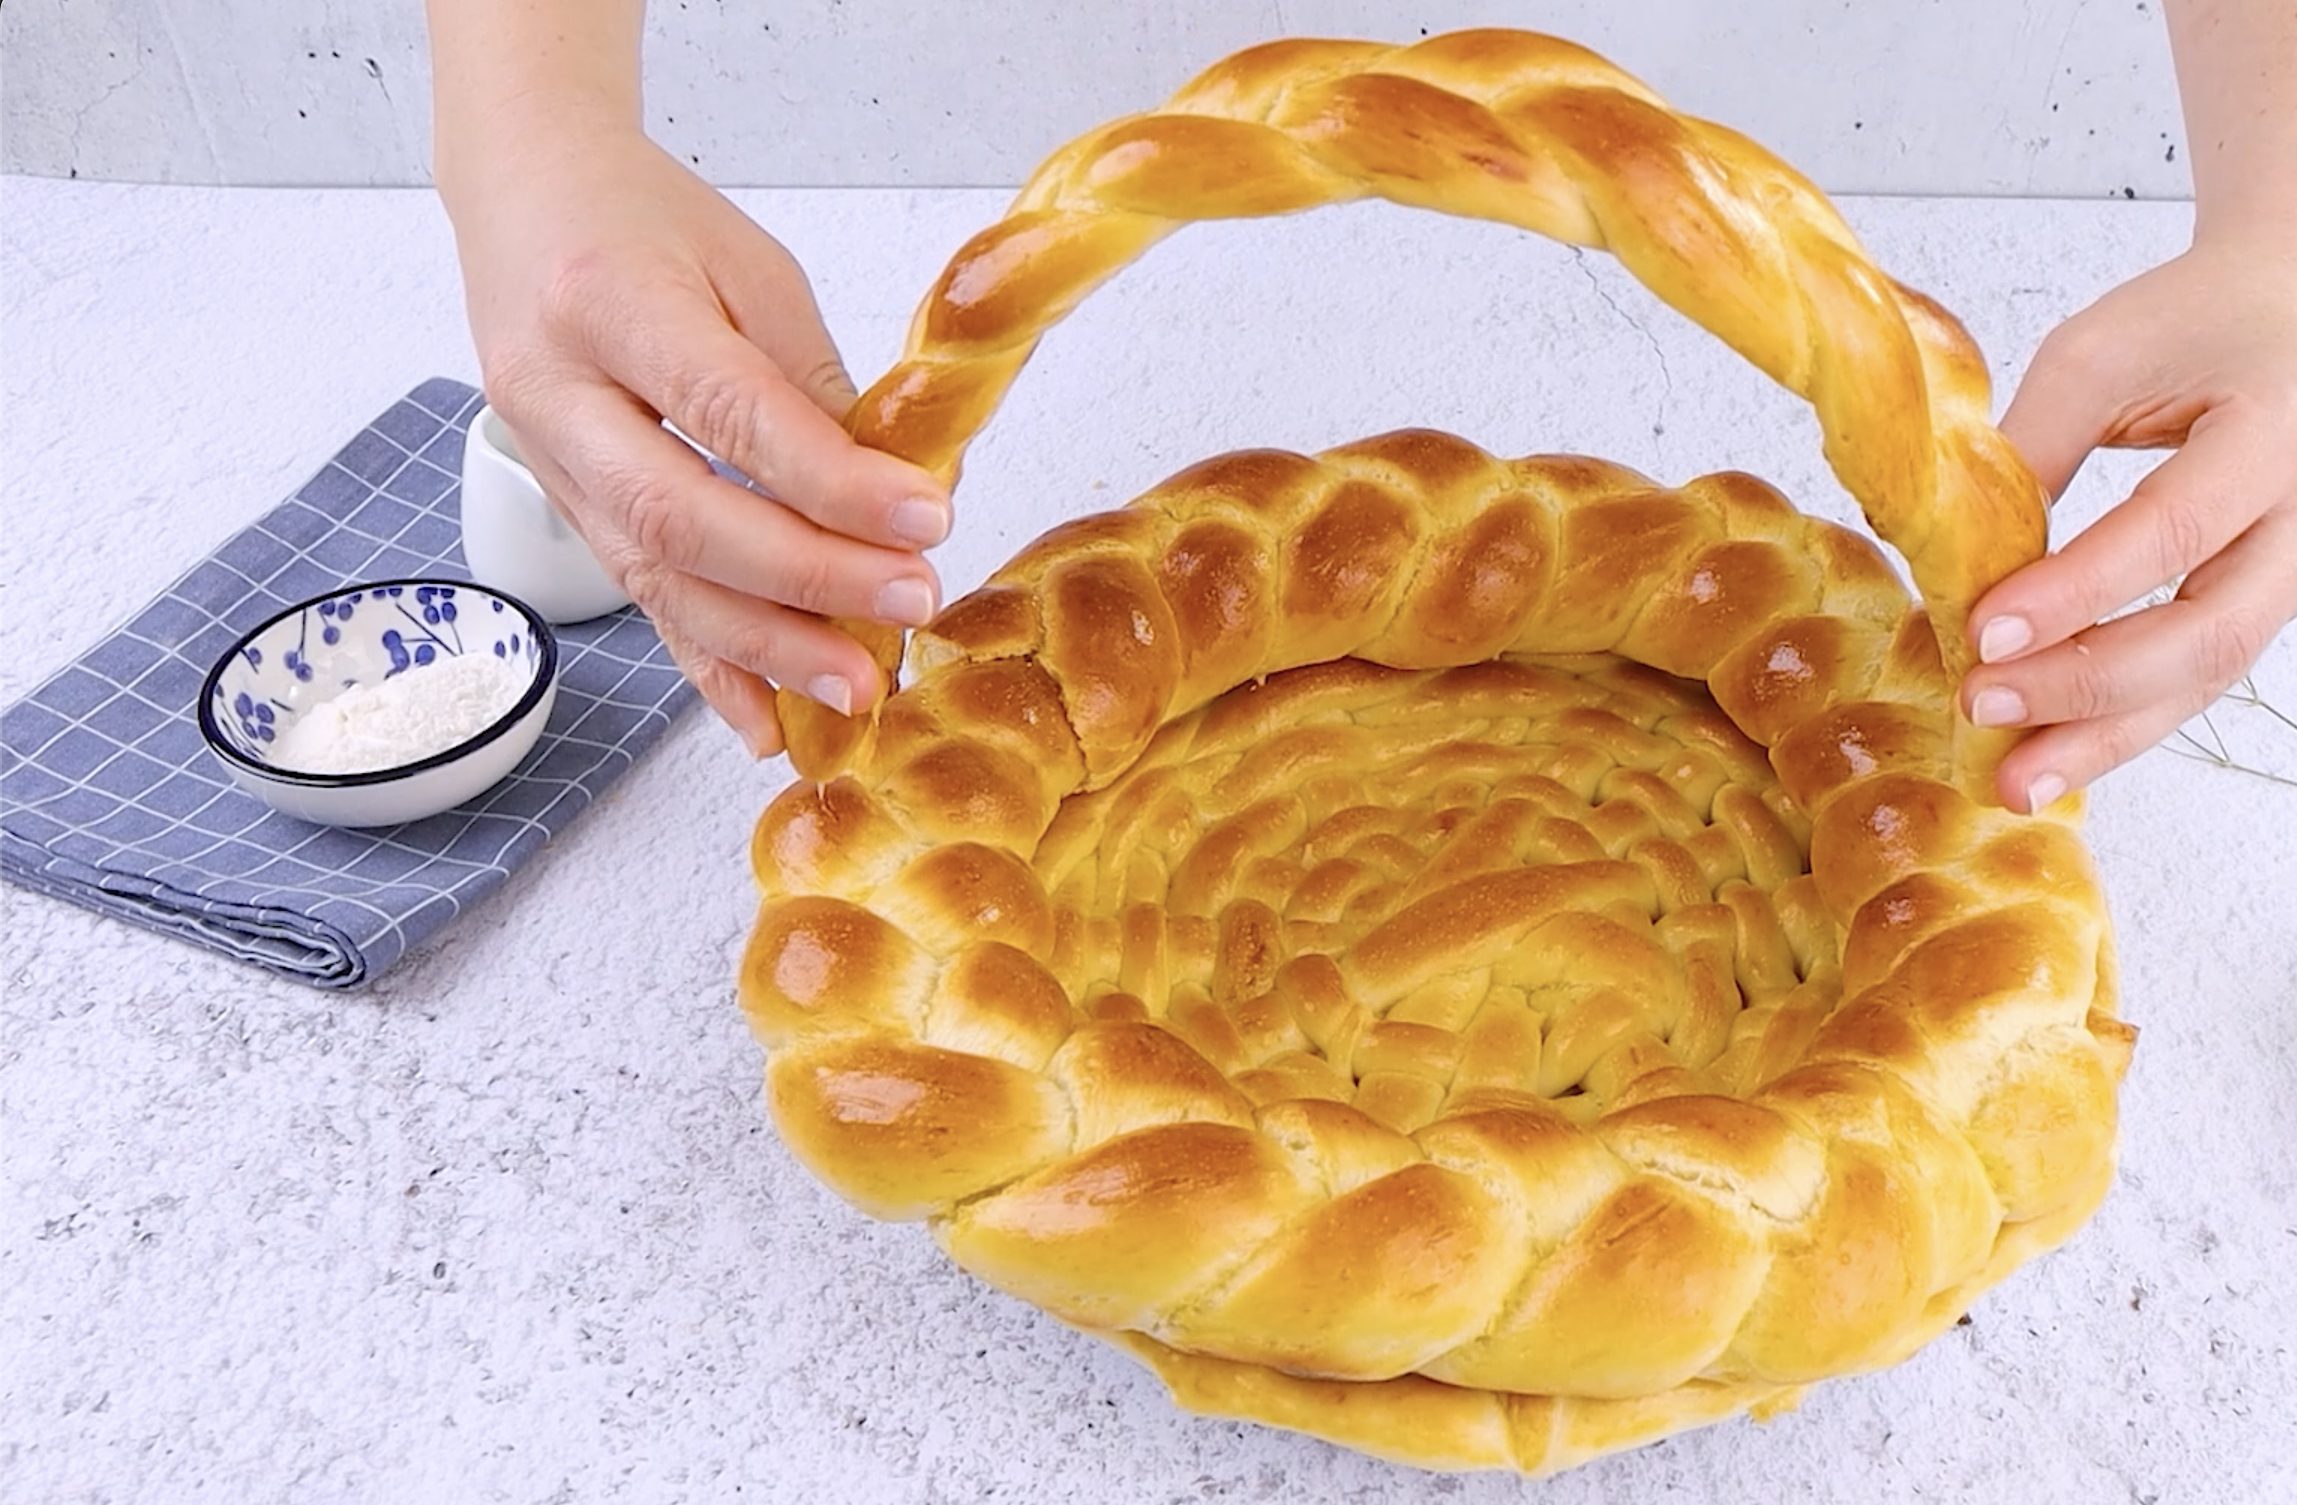
Once all parts are baked and cooled, place the ring on top of the woven base and attach the handle carefully.
Once all parts are baked and cooled, place the ring on top of the woven base and attach the handle carefully.
;Resize,width=767;)


;Resize,width=712;)
