Roasted Butternut Squash: simple and delicious side dish
;Resize,width=742;)
Ingredients
Roasted butternut squash is an easy side dish recipe perfect for fall.
How to cut Butternut Squash for Roasting
The most important thing about cutting butternut squash before roasting it is to use a sharp, heavy knife. Dull knives are more likey to slip and hurt you. Start by slicing the top (stem end) and bottom off of the squash. This gives you two flat surfaces to steady your squash on. Next, cut the squash in half widthwise, right where the neck starts to bulge out.
Now it’s easier to stand these two shorter squash halves up and slice them in half from the top down.
If you don’t want four pieces of squash, you can skip cutting the vegetable in half widthwise and simply slice the squash from top to bottom after slicing off the stem and bottom.
Do I need to peel the squash first?
You do not need to peel the squash before roasting it. If you’d like to roast the squash after peeling, however, follow the same directs as above. After you cut the squash in half widthwise, use your knife to carefully slice off the peel, with the squash standing on its base. You should be cutting from the top of the squash down towards your cutting board.
How do you roast butternut squash (halved)
After you’ve cut your squash to the size you like, place it cut side down on a parchment paper-lined baking sheet. Roast in a preheated 400°F oven for 30-40 minutes, depending on the size of your gourd. The squash is done when it’s easy to pierce with a fork.
How to roast butternut squash (cubes)
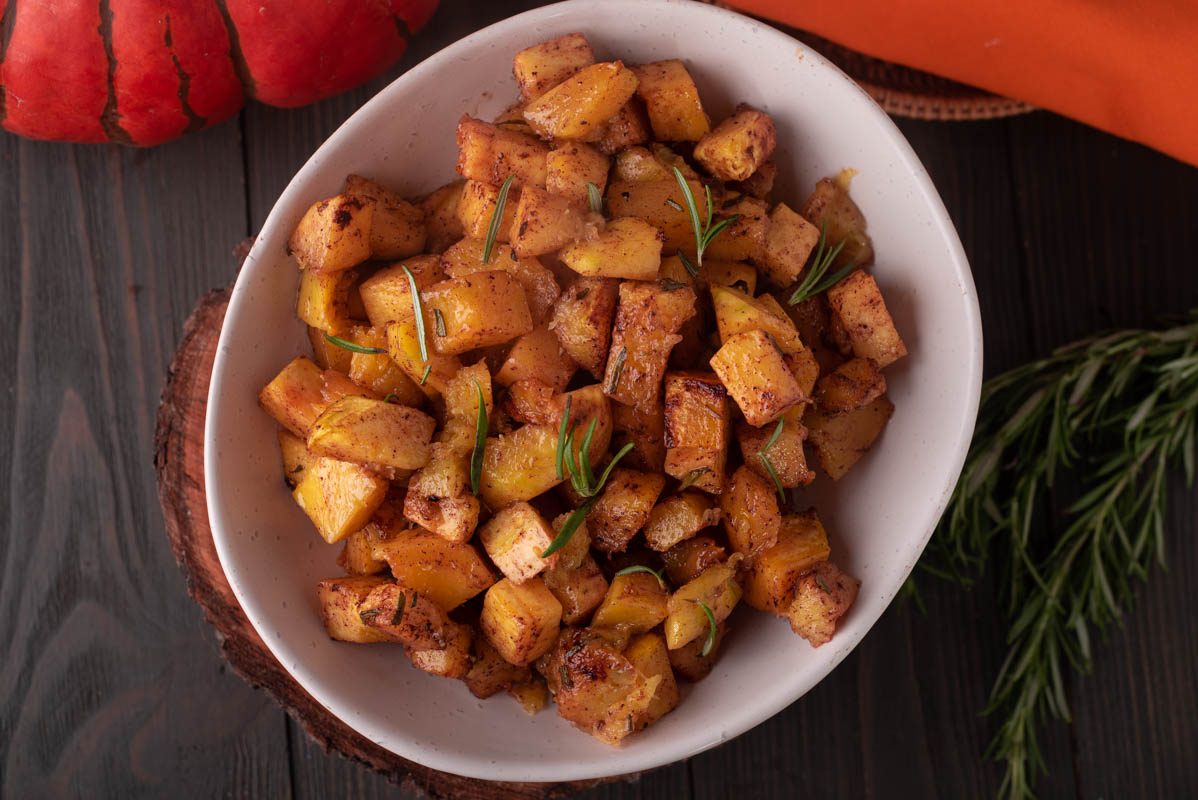
Cubed squash roasts much more quickly than halved butternut. To roast cubes, place them on a parchment paper-lined baking sheet and toss with olive oil and a big pinch of salt and pepper until well-coated. Roast until the squash starts to brown and caramelize on the edges, about 20 minutes in a 400°F oven. Check the squash halfway through and mix with a spatula for even cooking.
What can I make with roasted butternut squash?
The possibilities are endless when you have roasted butternut squash on your hands. Some recipes you can make include:
Creamy butternut squash purée Coconut butternut squash soup Butternut squash pie Butternut squash muffins, pancakes, waffles, and more!
How to store roasted butternut squash
It’s easy to store butternut squash after roasting. Simply transfer the squash to an airtight container and store in the fridge for up to four days. You can reheat it in the microwave or a warm oven for a few minutes.
How to freeze roasted squash
You can also freeze roasted butternut squash if you want a longer storage time. Again, let the squash cool fully to room temperature, then transfer it to an airtight container and freeze for up to three months.
How to reheat
When you’re ready to serve up your frozen roasted squash, simply transfer the container to the fridge overnight. It will thaw slowly. Then you can reheat the defrosted squash in the microwave or in a covered pot on the stove. If the squash is burning, you can add more liquid with chicken or vegetable stock. Water will also work in a pinch.
METHOD
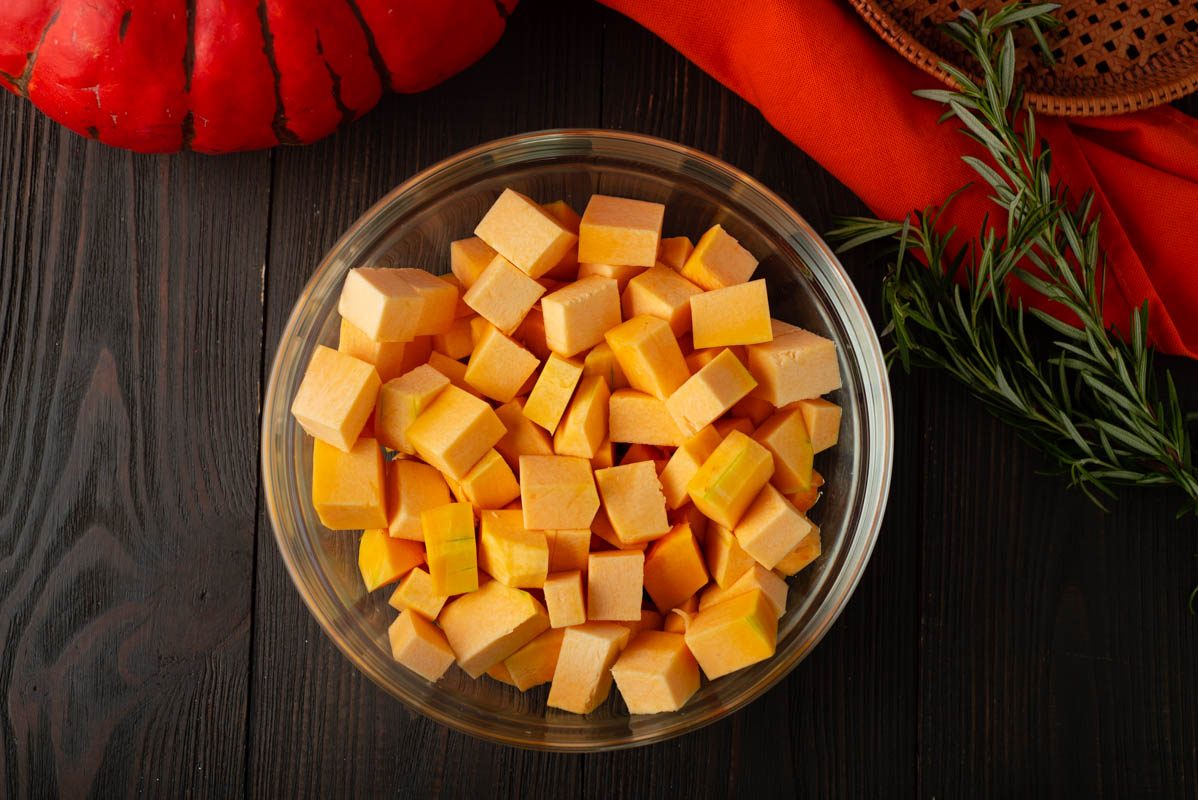;Resize,width=712;)
Preheat the oven to 400°F. Line a baking sheet with parchment paper.
Preheat the oven to 400°F. Line a baking sheet with parchment paper.
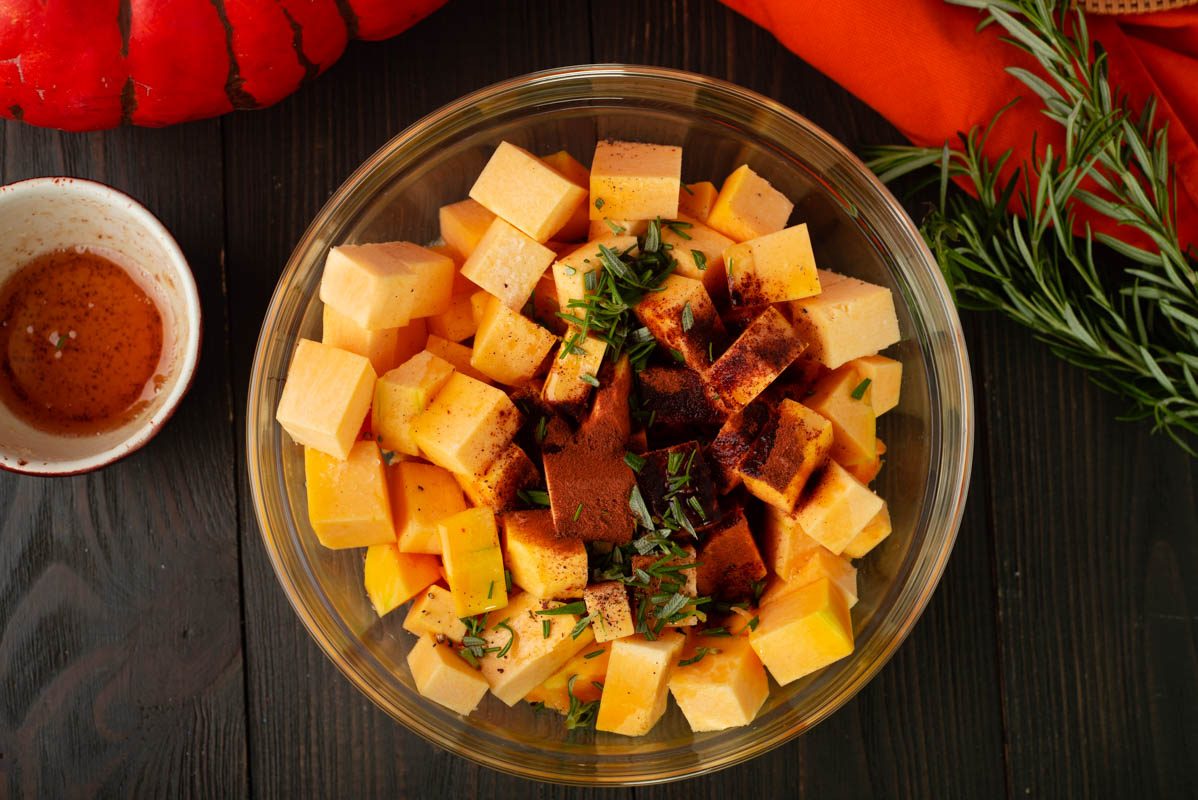;Resize,width=712;)
Place the squash on the prepared baking sheet.
Place the squash on the prepared baking sheet.
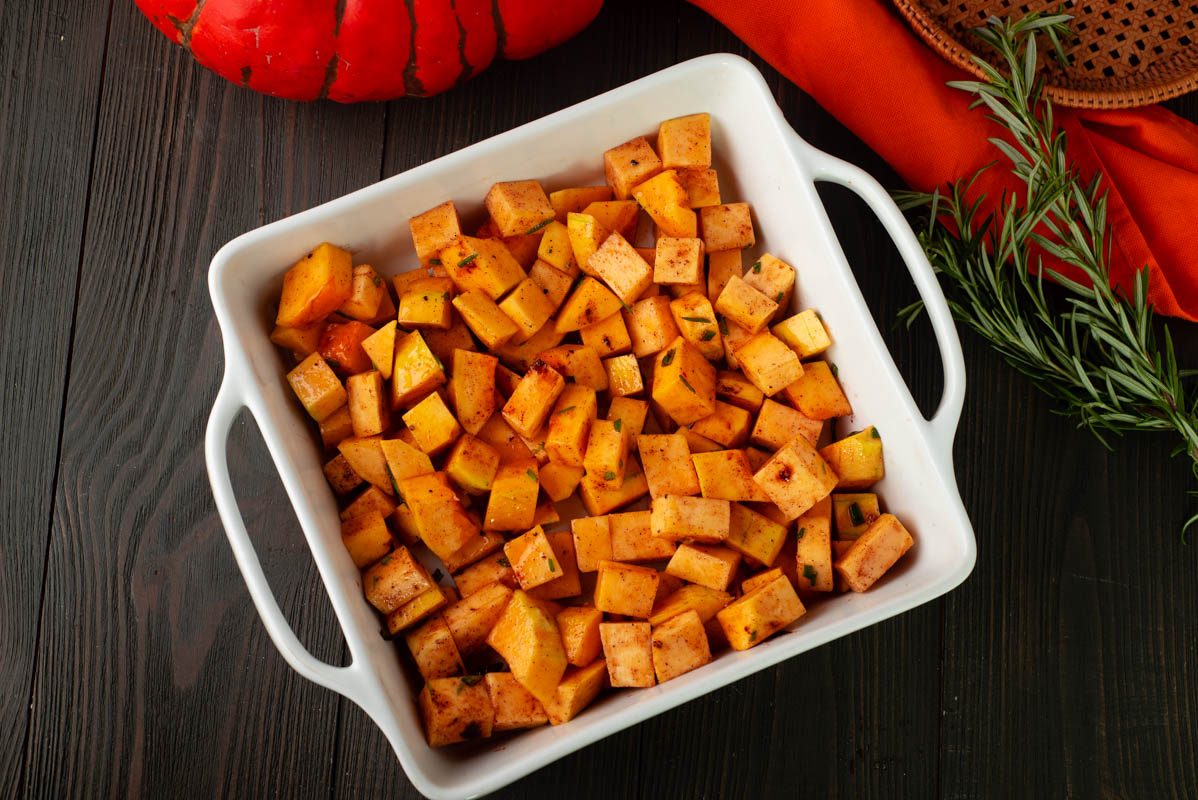;Resize,width=712;)
Drizzle with olive oil and sprinkle with salt and pepper.
Drizzle with olive oil and sprinkle with salt and pepper.
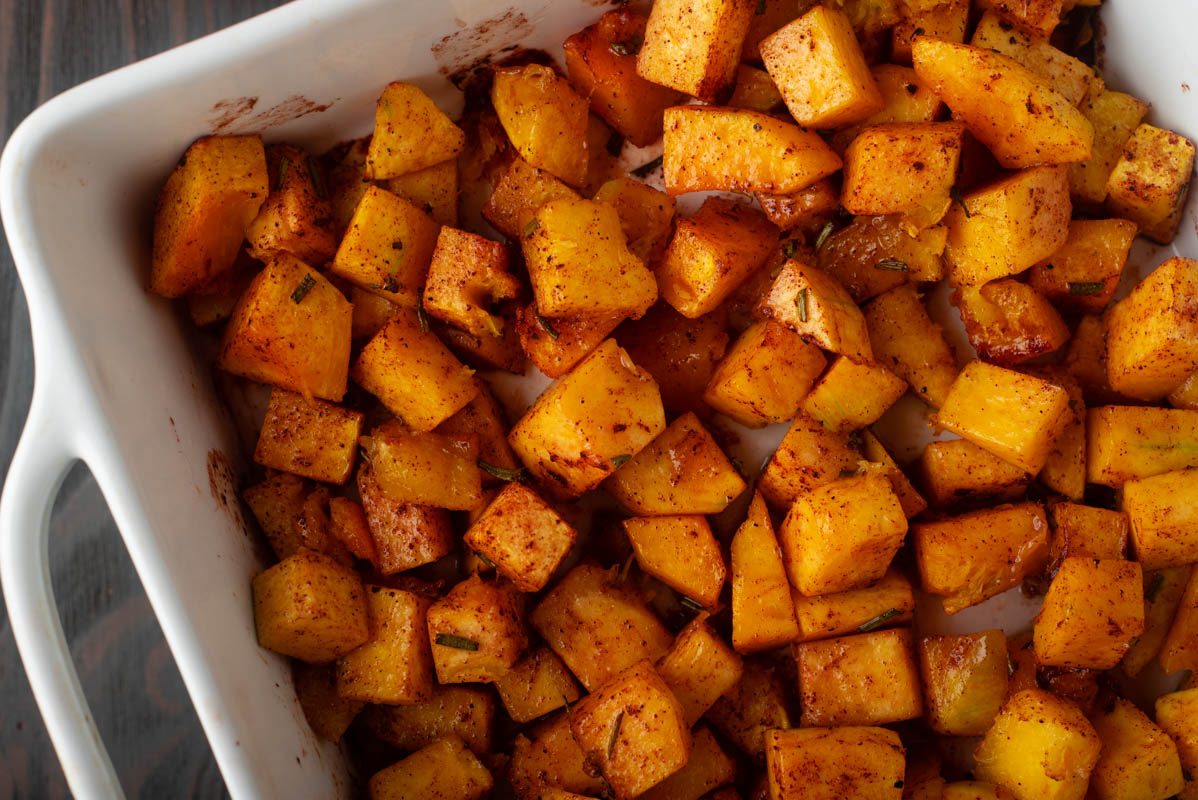;Resize,width=712;)
Turn the squash cut side down and roast until the flesh is easy to pierce with a fork, about 30 to 40 minutes, depending on the size.
Turn the squash cut side down and roast until the flesh is easy to pierce with a fork, about 30 to 40 minutes, depending on the size.
;Resize,width=712;)
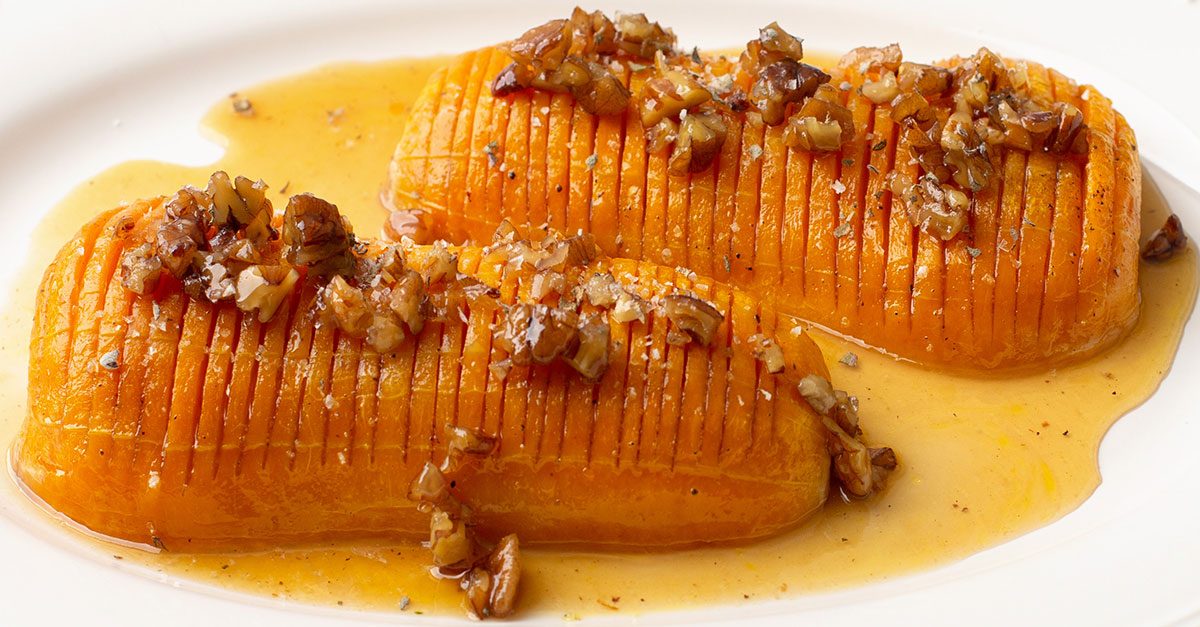
Let the squash cool a bit before scraping it out of the skin and serving.
Let the squash cool a bit before scraping it out of the skin and serving.
;Resize,width=767;)
;Resize,width=712;)
;Resize,width=712;)
;Resize,width=712;)
