
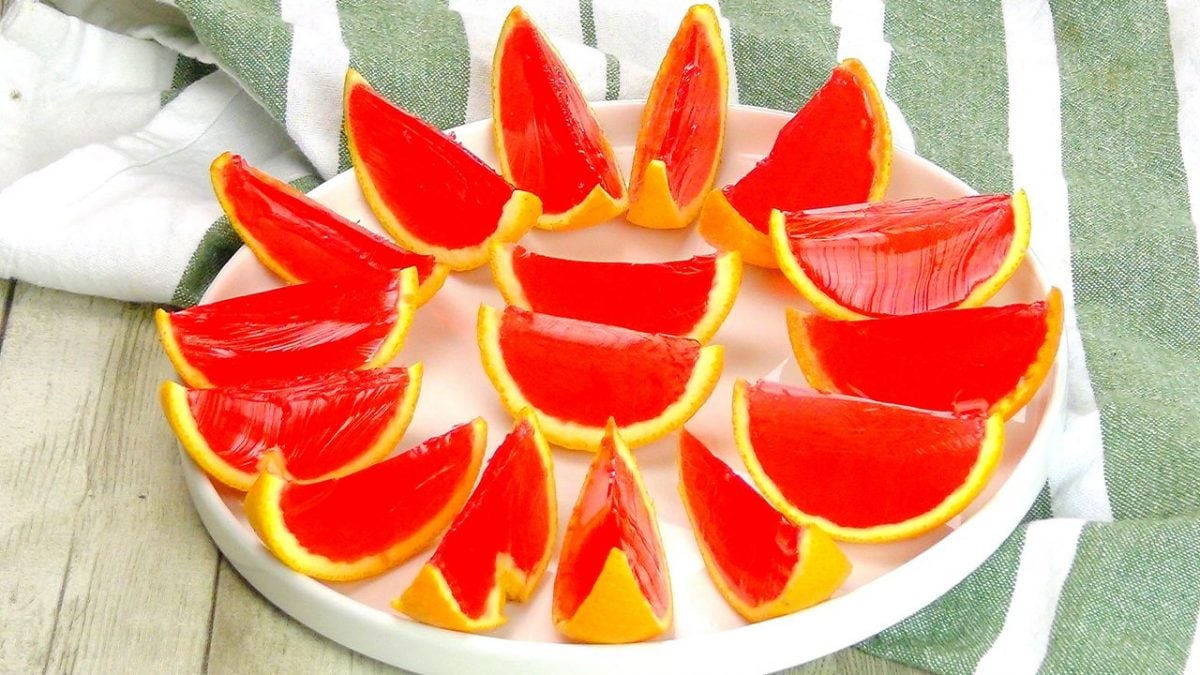
Orange jellies are the perfect way to enjoy at the end a light meal or as an afternoon pick-me-up. They're super easy to make, requiring minimal effort and ingredients. We're talking just a few simple steps: blooming gelatin, simmering cranberry juice with sugar, and letting it all set in the fridge. The main ingredients for this recipe are gelatin, cranberry juice, and sugar. Orange jellies are delicious and can be enjoyed year-round.
What are Orange Jellies?
Orange jellies are a refreshing dessert made with gelatin, fruit juice, and sugar. They can be molded in various shapes or served in their natural container: the orange peel. Gelatin desserts have a long history, with evidence of jellied concoctions dating back to ancient civilizations. However, the modern form of gelatin, using animal collagen, is credited to a 17th-century English chef. Citrus fruits, on the other hand, were introduced to Europe from Asia in the 15th century. So, it's likely that orange jellies emerged sometime after that, as home cooks experimented with combining these new ingredients. For this recipe, the orange peel mold adds a playful touch and a burst of citrus aroma to the jellies. It's a great example of "waste not, want not" cooking, where the leftover orange peels become a functional serving dish.
Tips
- Using the correct water-to-gelatin ratio is crucial for a proper set. A little extra water can result in runny jellies.
- Don't skip the blooming step! This allows the gelatin to soften and hydrate properly, ensuring it dissolves smoothly later.
- For an extra citrus punch, add a teaspoon of freshly grated orange zest to the juice mixture before simmering.
- High heat can damage the gelatin's setting power. Heat the juice mixture until the sugar dissolves, then remove it from the heat before adding the bloomed gelatin.
- Allow the jellies to set completely in the fridge for at least 2-3 hours, or even overnight for a firmer texture.
- Garnish your jellies with fresh mint leaves, a dollop of whipped cream, or a drizzle of honey for an extra touch of elegance.
- Leftover orange pulp? Don't toss it! Use it in smoothies, yogurt parfaits, or even bake some delicious orange muffins!
Are Orange Jellies Vegan?
Traditional orange jellies use gelatin, which is derived from animals. However, there are vegan alternatives to gelatin available that can be used for a vegan version.
What Type of Gelatin Should I Use?
You can use powdered gelatin or gelatin sheets. Be sure to follow the package instructions for blooming ratios.
How Long Do Orange Jellies Need to Set?
Allow the jellies to set completely in the fridge for at least 2-3 hours, or overnight for a firmer texture.
What Can I Do With Leftover Orange Pulp?
Don't throw it away! Use it in smoothies, yogurt parfaits, or even bake some delicious orange muffins.
More Recipes You Need to Try
No Bake Chocolate Pudding Cake
How to Store Orange Jellies?
Once set, transfer the orange jellies to an airtight container to prevent them from drying out or absorbing any unwanted flavors. Store in the fridge for up to 1 week.
Ingredients
How To Make Orange Jellies
;Resize,width=712;)
Make the orange juice mixture. In a saucepan, heat the cranberry juice and sugar and bring to a boil.
Make the orange juice mixture. In a saucepan, heat the cranberry juice and sugar and bring to a boil.
;Resize,width=712;)
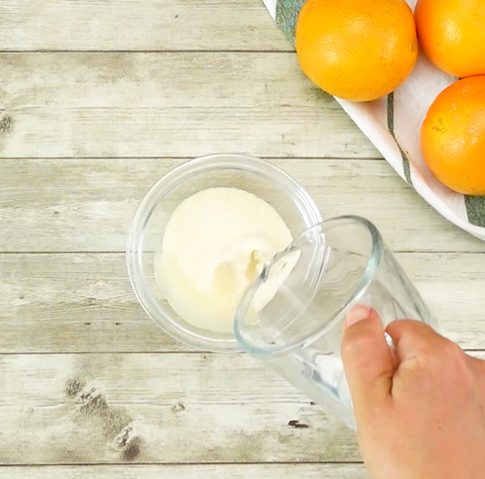
Bloom the gelatin. Sprinkle the gelatin powder over cold water in a bowl. Let it sit for 5 minutes until it starts to solidify.
Bloom the gelatin. Sprinkle the gelatin powder over cold water in a bowl. Let it sit for 5 minutes until it starts to solidify.
;Resize,width=712;)
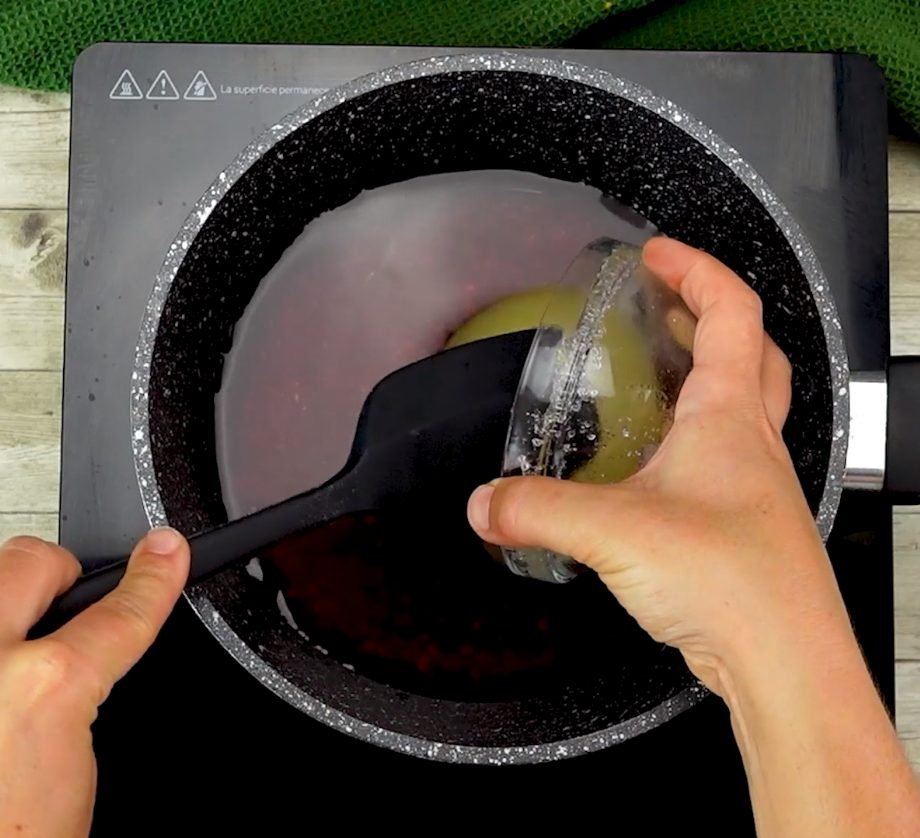
Stir the gelatin into the juice mixture and stir until it's completely dissolved.
Stir the gelatin into the juice mixture and stir until it's completely dissolved.
;Resize,width=712;)
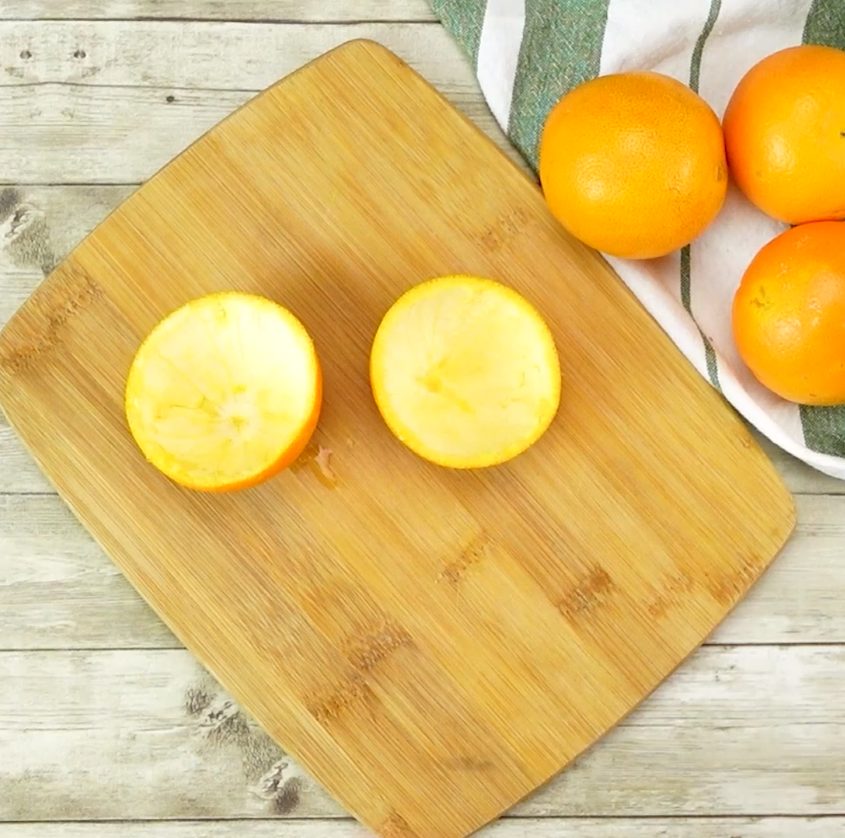
Cut oranges in half and carefully remove the pulp, leaving the peel intact. This will serve as your mold.
Cut oranges in half and carefully remove the pulp, leaving the peel intact. This will serve as your mold.
;Resize,width=712;)
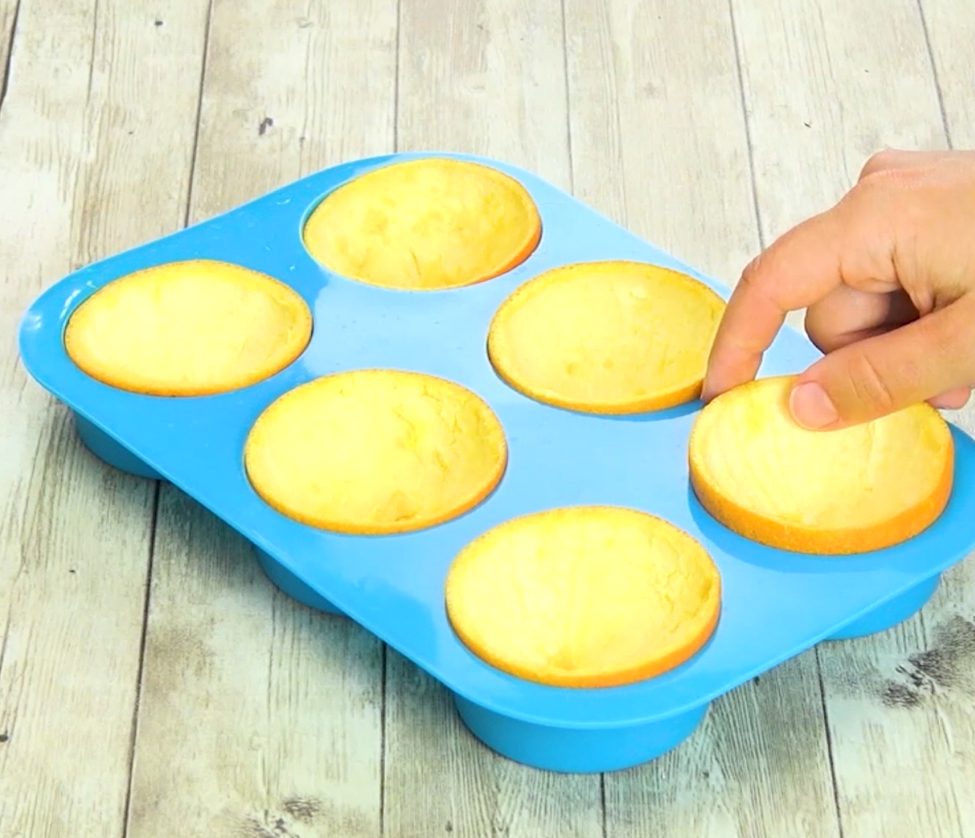
Place the hollow orange peels in the holes of a muffin tin.
Place the hollow orange peels in the holes of a muffin tin.
;Resize,width=712;)
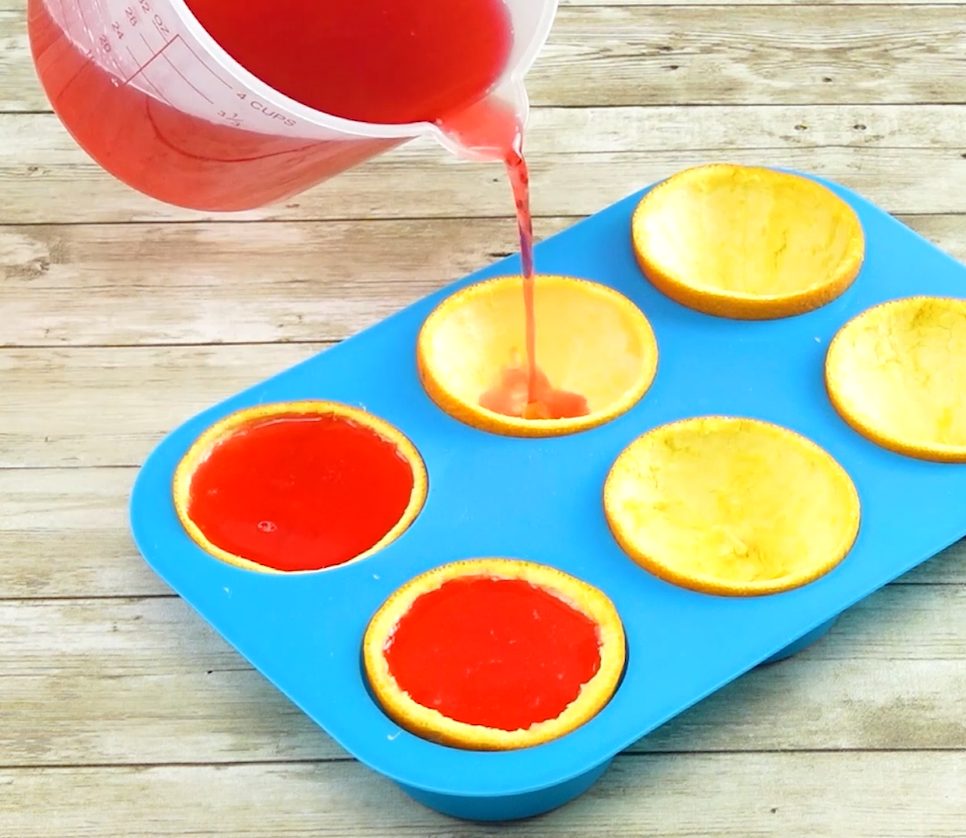
Pour the juice mixture into the molds.
Pour the juice mixture into the molds.
;Resize,width=712;)
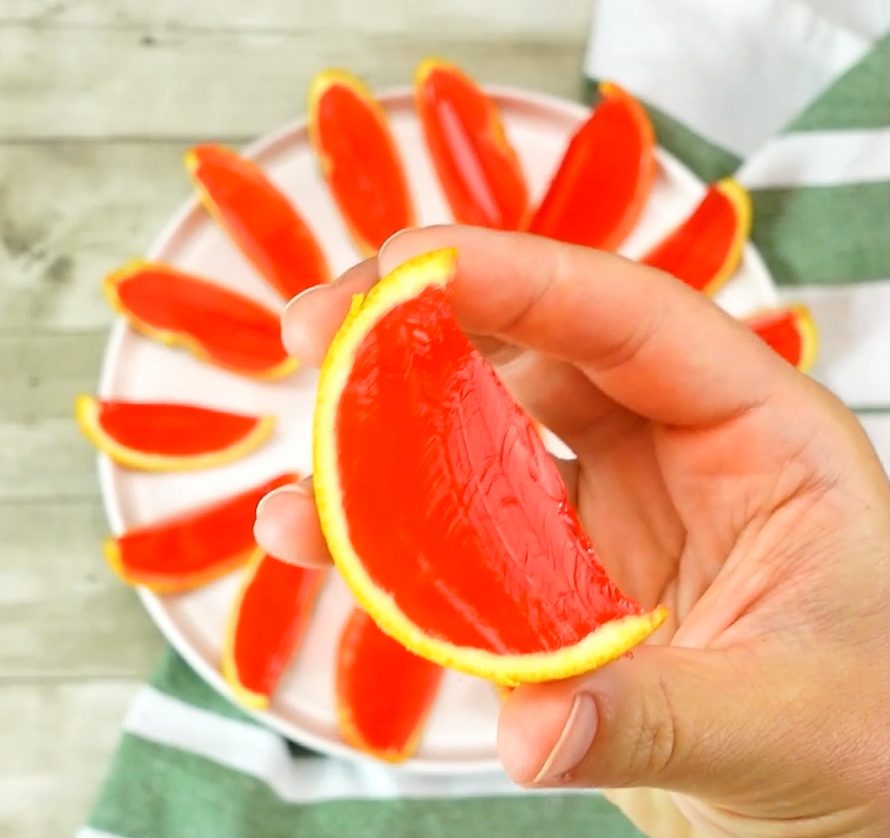
Cut the gelatin into slices and enjoy!
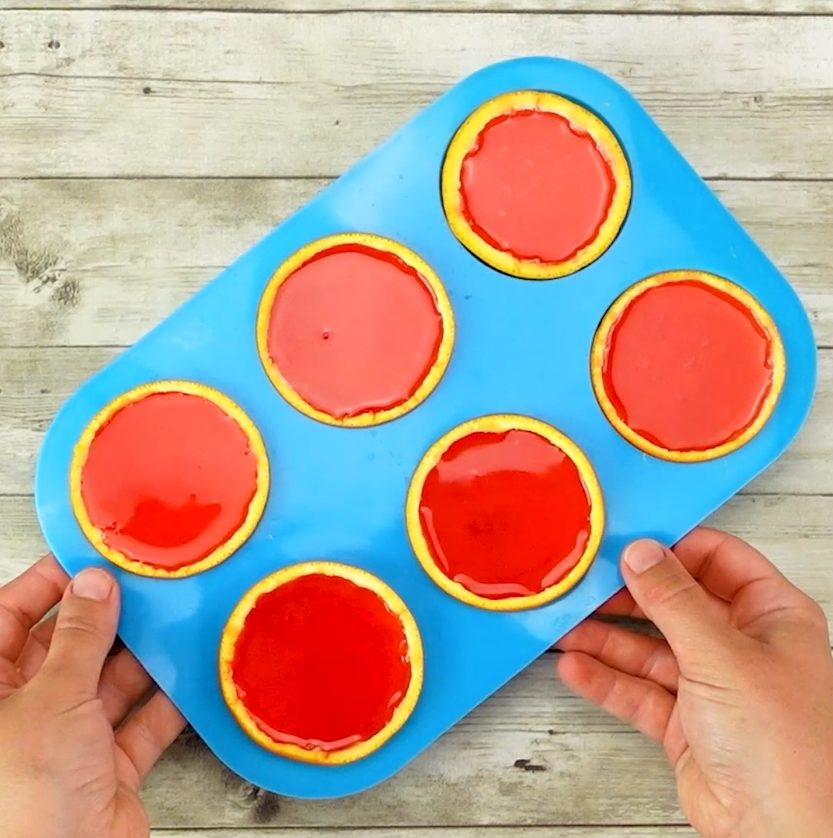
Refrigerate for at least 2 hours, or until set.
;Resize,width=712;)
Cut the gelatin into slices and enjoy!
;Resize,width=767;)
