
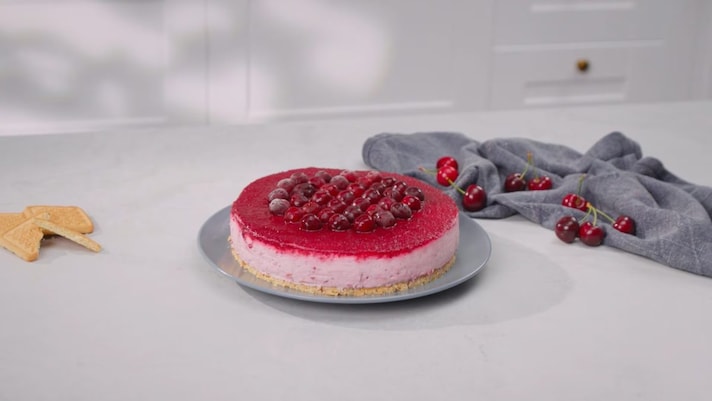
No Bake Creamy & Fresh Cherry Cheesecake

No Bake Cherry Cheesecake is a fresh and spectacular dessert, ideal to prepare in the summer. Just like the cold cheesecake that inspired it, it is a dessert that does not require baking, perfect to prepare in advance and bring to the table at the end of a summer lunch or dinner with friends.
The result is a melting and delicate cheesecake, perfect for a snack with friends or to celebrate a birthday party or to serve during a brunch. Of course, you can customize the recipe according to your tastes: take a look at our suggestions and have fun making lots of delicious variations.
What is a No Bake Cherry Cheesecake?
Cherry cheesecake, a delightful fusion of rich, creamy cheesecake and tart cherry topping, has its roots in ancient culinary traditions. The concept of cheesecake dates back to ancient Greece, where it was served to athletes during the first Olympic Games. The modern version evolved in the United States, where cream cheese became the standard ingredient in the 19th century. Cherries, often associated with European desserts, were later introduced as a popular topping, adding a burst of flavor and vibrant color. The cherry cheesecake we know today is a product of this culinary evolution, blending creamy textures with sweet and tangy fruit. This dessert has become a beloved classic, enjoyed around the world for its delightful balance of flavors and textures.
Tips for The Best No Bake Cherry Cheesecake
- For a smooth and compact base, ensure the biscuits are finely crushed. You can use a food processor for an even texture. Combine well with melted butter to form a sturdy crust.
- Before whipping the fresh cream, chill the bowl and beaters in the refrigerator. Cold equipment helps achieve a stable and fluffy whipped cream.
- Soak the gelatin sheets in cold water for a few minutes before adding them to the hot cherry mixture. This ensures they dissolve evenly and prevent lumps.
- To achieve a professional-looking finish, use a spatula to smooth the top of the cheesecake mixture before setting it in the fridge. This will ensure an even, level surface.
What Types of Biscuits are Best for The Base?
For the base, you can use typical digestive biscuits or any other dry biscuit or shortbread you have at home, even cocoa or chocolate chip ones, for an even more delicious version.
Can I Substitute the Cheese in the Cream?
Absolutely! You can replace the mascarpone or spreadable cheese with ricotta cheese, as long as it is very fresh and well dried (let it drain in the fridge for at least 30 minutes, placed in a colander); alternatively, you can opt for natural Greek yogurt, for a slightly acidic aftertaste and a lighter result.
Can I Use Canned or Frozen Cherries?
Yes, but beware! If using canned cherries, make sure to drain them well, and if using frozen cherries, thaw and drain any excess liquid. Both options can work well and provide great flavor, though fresh cherries are ideal for the best taste and texture.
Why is My Cream so Dense?
The cream might be dense if the whipped cream was over-mixed, causing it to lose its airy texture. Over-mixing can deflate the whipped cream, leading to a denser consistency. To avoid this, gently fold the whipped cream into the cream cheese mixture until just combined.
Why is The Cheesecake so Runny?
The cream might be runny if the whipped cream was under-whipped or if the cream cheese mixture was too warm. Ensure the whipped cream reaches stiff peaks and that all ingredients are chilled before combining. This helps achieve the right consistency and prevents the cream from becoming too liquid.
Can I Make This Cheesecake Ahead of Time?
Absolutely! In fact, preparing it a day in advance is recommended, as it allows the flavors to develop and the cheesecake to set properly in the refrigerator.
Can I Freeze This Cheesecake?
Sure! If you want, you can divide the cheesecake into portions and freeze it in the freezer for up to 1 month.
How to Store No Bake Cherry Cheesecake
No Bake Cherry Cheesecake can be stored in the refrigerator, covered with a sheet of plastic wrap, for up to 3 days.
Ingredients
How to Make No Bake Cherry Cheesecake
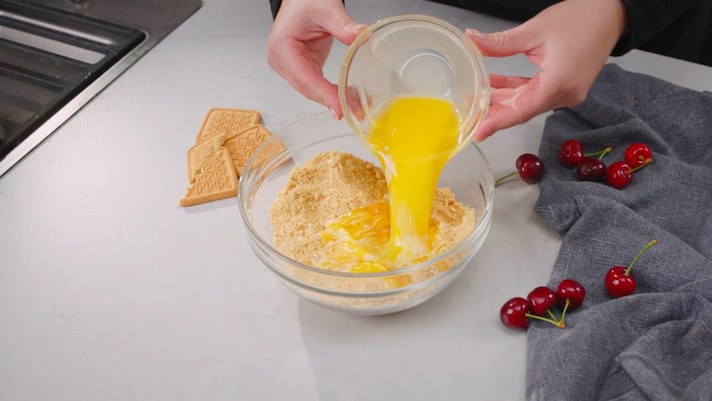
To prepare the cherry cheesecake, start from the base: crumble the biscuits in a bowl and add the melted butter, then mix with a spatula until you obtain a smooth mixture.
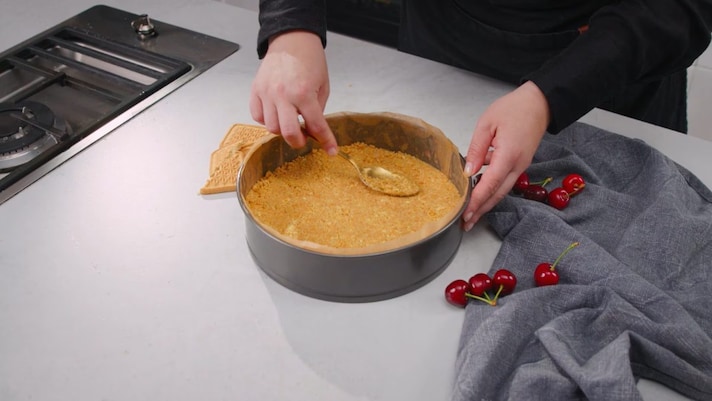
Transfer it into a 24 cm diameter springform pan, lined with baking paper, and compact it into an even layer with the help of a spoon. Put the base in the fridge and in the meantime prepare the filling.

Collect the pitted cherries, granulated sugar and 1 1/2 teaspoons of lemon juice in a bowl, mix thoroughly, then pour everything into a saucepan and cook over low heat for about 10 minutes, until the sugar has completely dissolved.

Transfer the cooked cherries into a bowl, let them cool for a few moments, then blend them with an immersion blender and set them aside.
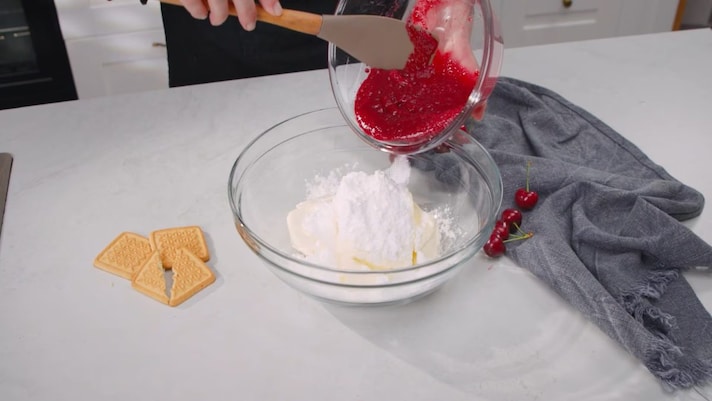
At this point, place the cream cheese, mascarpone cheese and icing sugar in a large bowl, then add the blended cherry mixture and the juice of 1/2 lemon.
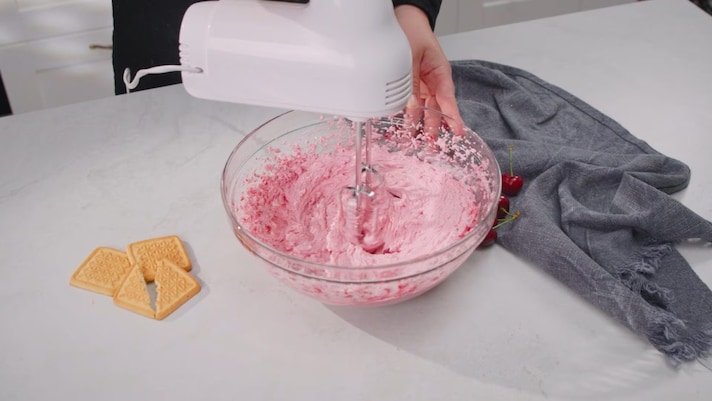
Mix the ingredients well with an electric whisk until you get a uniform color.
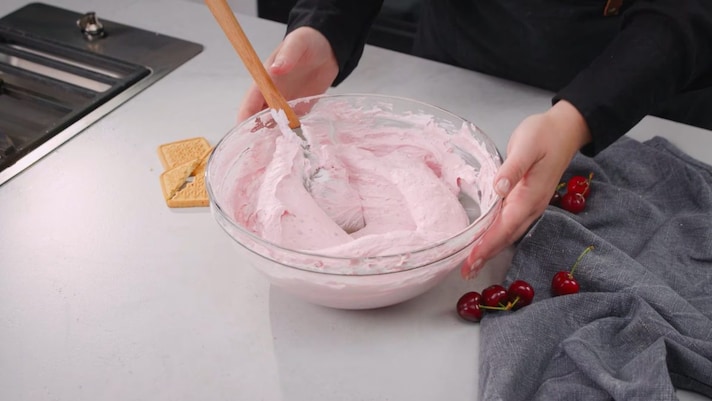
Whip the cream in a separate bowl, then incorporate it into the rest of the filling with delicate movements from the bottom up.
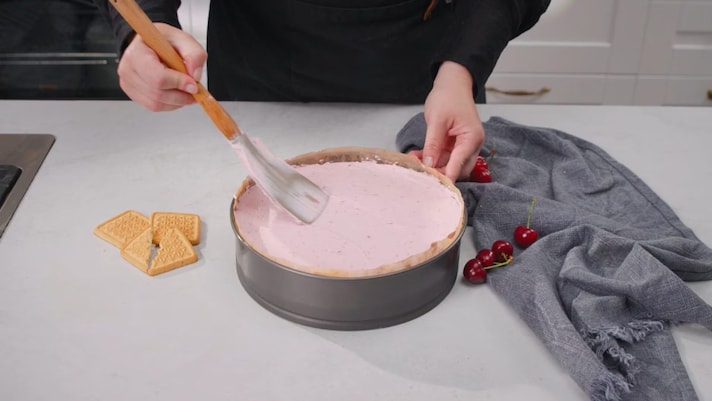
Take the base, cover it with the cream and level it with a spatula, then put the cheesecake back in the fridge.
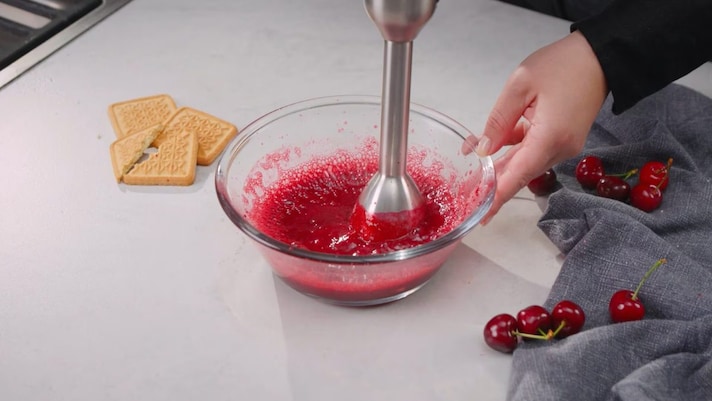
Collect the cherries, sugar and lemon in a saucepan, cook them for 10 minutes on a low flame, then blend everything well and add the gelatine, previously soaked and dissolved in a drop of hot water; mix with a spatula so as to incorporate it well.
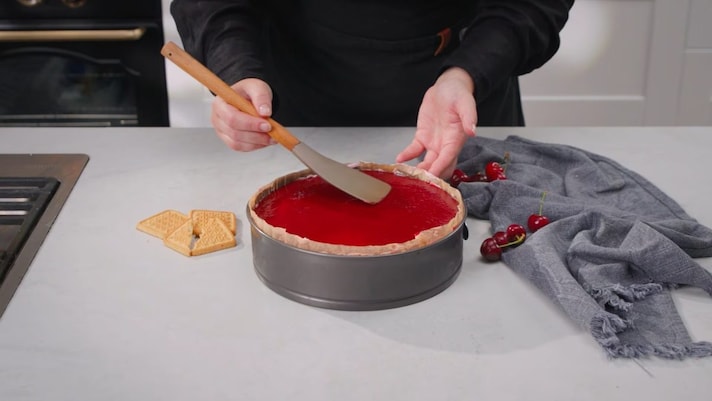
Pour the topping over the cheesecake and level it out with a spatula.

Garnish your cheesecake with the remaining pitted cherries, then place it in the fridge for at least 8 hours.
Once the resting time has passed, serve the cheesecake and enjoy!
;Resize,width=712;)
;Resize,width=712;)
;Resize,width=712;)
;Resize,width=767;)
