No-Bake Cheesecake With Jam Topping (Easily Customizable Recipe!)

No-Bake Cheesecake With Jam Topping is a simple dessert, with a delicate flavor and enveloping texture, that the whole family likes. Quick and easy to prepare, this no-bake cheesecake is inspired by the classic dessert, typical of our American tradition and famous throughout the world. In its classic version, it consists of a base of crumbled biscuits and butter and a cream of cheese and cream.
Today we present our recipe for no-bake cheesecake, very simple and ready in 20 minutes. For the cream we combined cream cheese, fresh whipped cream, sugar and powdered sugar and edible gelatin, necessary to make it compact and creamy at the same time. For the topping, instead, we opted for a raspberry jam, but alternatively you can prepare a coulis or garnish the cheesecake with melted chocolate or fresh fruit of your choice.
It is ideal as a dessert at the end of a meal, for a snack or even simply for when you want a delicious dessert without turning on the oven.
What is No-Bake Cheesecake?
No-bake cheesecake is a modern twist on a dessert with ancient roots. The origins of cheesecake trace back to ancient Greece, where a simple version made from cheese, honey, and wheat was served to athletes during the first Olympic Games in 776 BC. The Romans later adopted and spread the dish throughout Europe.
The no-bake variation, however, gained popularity in the 20th century, especially in the United States, with the advent of gelatin and cream cheese as common household ingredients. This innovation allowed for a lighter, creamier texture without the need for baking, making it a convenient and refreshing dessert, particularly in warm climates. Today, no-bake cheesecake is beloved worldwide, with countless variations incorporating different flavors, crusts, and toppings to suit diverse palates.
Pro Tips for The Best No-Bake Cheesecake
- Since this dessert relies on simple ingredients, opt for full-fat cream cheese and fresh cream to ensure a rich and creamy texture.
- Let the cream cheese soften at room temperature before mixing to avoid lumps and achieve a smooth, even filling.
- Patience is key! Refrigerate the cheesecake for at least 4-6 hours (or overnight) to allow it to set properly and develop the best texture.
- When combining whipped cream with the cream cheese mixture, use a gentle folding motion to maintain the airy consistency.
What Are The Best Biscuits for The Base?
The best biscuits for a no-bake cheesecake base are those that are firm, slightly sweet, and crumbly enough to mix well with melted butter. Classic choices vary depending on the flavor and texture you prefer. Digestive biscuits are a popular European choice, offering a slightly sweet, buttery flavor with a perfect crumbly texture. In the U.S., graham crackers are the go-to option, providing a mild honey-like sweetness and good stability.
For a chocolatey twist, Oreo cookies (without filling) create a rich and slightly crunchy base. If you prefer a more buttery and tender texture, shortbread biscuits are an excellent option.
Can I Use Something Else Instead of Gelatin?
Yes, you can! Agar-agar, a plant-based substitute derived from seaweed, is a great option for vegetarians, though it sets more firmly than gelatin, so you’ll need to use about half the amount.
Another great alternative is melted white chocolate, which acts as a stabilizer and adds a rich, creamy texture. Even ground chia seeds can work as a natural thickener, though they slightly alter the texture.
Can I Swirl Jam Into The Cheesecake, Also?
Yes, you can swirl the jam into the cream instead of just using it as a topping, creating a beautiful marbled effect and adding extra flavor throughout the cheesecake. To do this, add small dollops of jam on top of the cream layer before it fully sets, then use a skewer or knife to gently swirl it through without fully mixing it in. This technique not only enhances the visual appeal but also ensures every bite has a balanced mix of creamy cheesecake and fruity jam. Just be careful not to over-swirl, as too much mixing can make the cheesecake lose its distinct marbled pattern.
What is The Best Jam to Use for This No-Bake Cheesecake?
There are plenty of delicious jam options you can use as a topping or swirl into the cheesecake, such as raspberry, strawberry, blueberry, apricot, or even cherry for a tangy twist.
If you want to go beyond jam, you can try fresh fruit slices, fruit compote, or caramel sauce for extra richness. Chocolate ganache or a drizzle of honey can also add a decadent touch, while crushed nuts, coconut flakes, or cookie crumbles provide texture and crunch. If you prefer a refreshing contrast, a sprinkle of lemon or orange zest can bring a bright, citrusy flavor to balance the creamy cheesecake.
Why is My Cheesecake Not Firming Up?
One common issue is not chilling it long enough—this dessert needs at least 4-6 hours in the fridge, or ideally overnight, to properly set. Another reason could be improper ingredient ratios; if there isn’t enough cream cheese, whipped cream, or stabilizer, the mixture may remain too soft.
Overmixing the whipped cream can also deflate it, causing the cheesecake to lose structure. Lastly, if the ingredients are too warm when combined, the filling might not hold its shape well, so ensuring everything is properly chilled before assembling can help achieve the perfect firm texture.
How Do I Remove This Cheesecake From the Springform Pan?
To remove the cheesecake from the springform pan smoothly, first, ensure it is fully set by chilling it for at least 6 hours or overnight. Run a thin knife or offset spatula around the edges of the cheesecake to loosen it from the sides. Then, carefully unlock the springform latch and slowly lift the ring away. If the base is sticking, gently slide a spatula underneath to help lift it. For easier removal, you can also line the bottom of the pan with parchment paper before assembling the cheesecake.
Can I Make No-Bake Cheesecake Ahead of Time?
Yes, this no-bake cheesecake is perfect for making ahead of time. Since it needs several hours to chill and set, preparing it a day in advance actually enhances its texture and flavor.
Can No-Bake Cheesecake Be Frozen?
Yes, this no-bake cheesecake can be frozen for longer storage. To freeze it, place it in the freezer uncovered for about an hour to firm up, then wrap it tightly in plastic wrap and aluminum foil to prevent freezer burn. It can be stored for up to a month.
When ready to serve, let it thaw in the refrigerator for a few hours or overnight for the best texture. It’s best to add any fresh fruit or sauce toppings after thawing to keep them fresh and prevent sogginess.
How to Store No-Bake Cheesecake
To store leftover no-bake cheesecake, cover it tightly with plastic wrap or place it in an airtight container to prevent it from drying out or absorbing fridge odors. It can be kept in the refrigerator for up to 3 days.
Ingredients
How to Make No-Bake Cheesecake
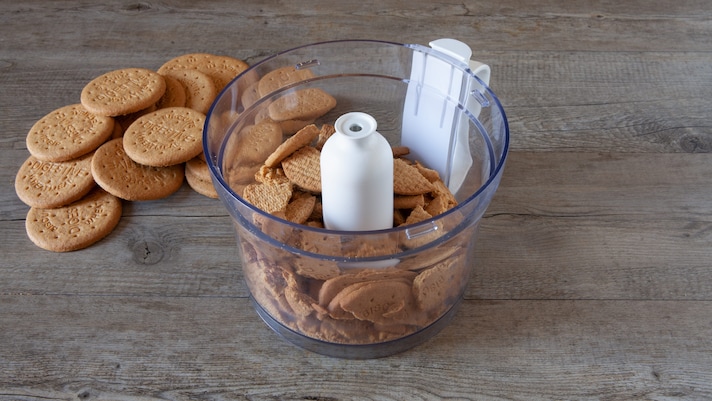
The preparation of the cheesecake always starts from the biscuit crust: the most suitable are digestive biscuits, but you can also use other types of dry biscuits you have in your pantry. Collect them in a kitchen mixer and blend them until you get a fine powder. Alternatively, you can put them in a food bag and crumble them with a rolling pin or a meat tenderizer.
The preparation of the cheesecake always starts from the biscuit crust: the most suitable are digestive biscuits, but you can also use other types of dry biscuits you have in your pantry. Collect them in a kitchen mixer and blend them until you get a fine powder. Alternatively, you can put them in a food bag and crumble them with a rolling pin or a meat tenderizer.
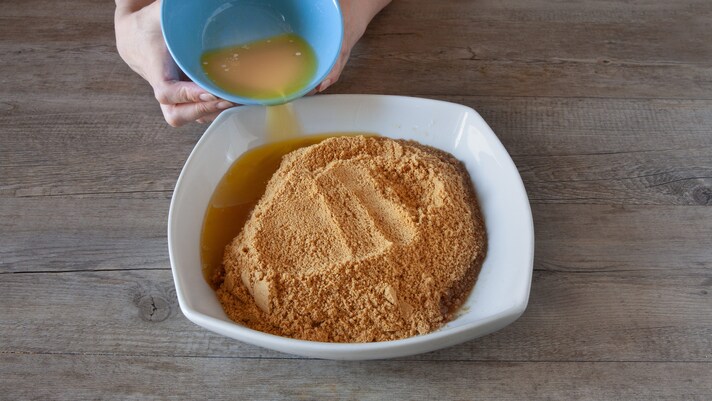
Transfer the crumbled biscuits into a large bowl, pour in the melted butter that has cooled down and mix well with a spoon to combine.
Transfer the crumbled biscuits into a large bowl, pour in the melted butter that has cooled down and mix well with a spoon to combine.
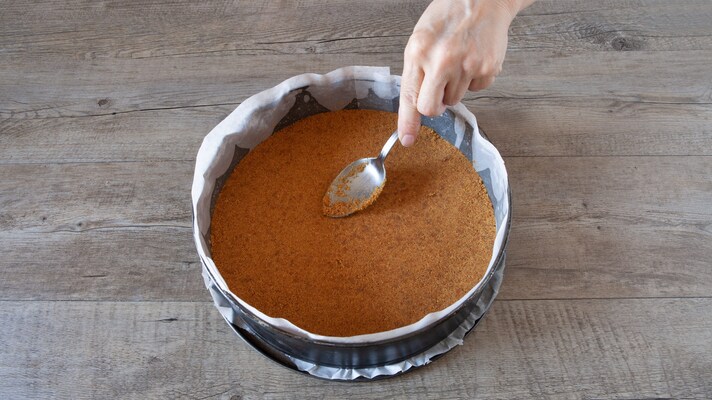
Pour the butter and biscuit mixture into a 22cm diameter springform pan with a removable bottom, lined with parchment paper. Distribute it evenly, leveling it and pressing it with the back of a spoon. Then transfer the base to the refrigerator while you prepare the filling, so that it compacts well.
Pour the butter and biscuit mixture into a 22cm diameter springform pan with a removable bottom, lined with parchment paper. Distribute it evenly, leveling it and pressing it with the back of a spoon. Then transfer the base to the refrigerator while you prepare the filling, so that it compacts well.
;Resize,width=712;)
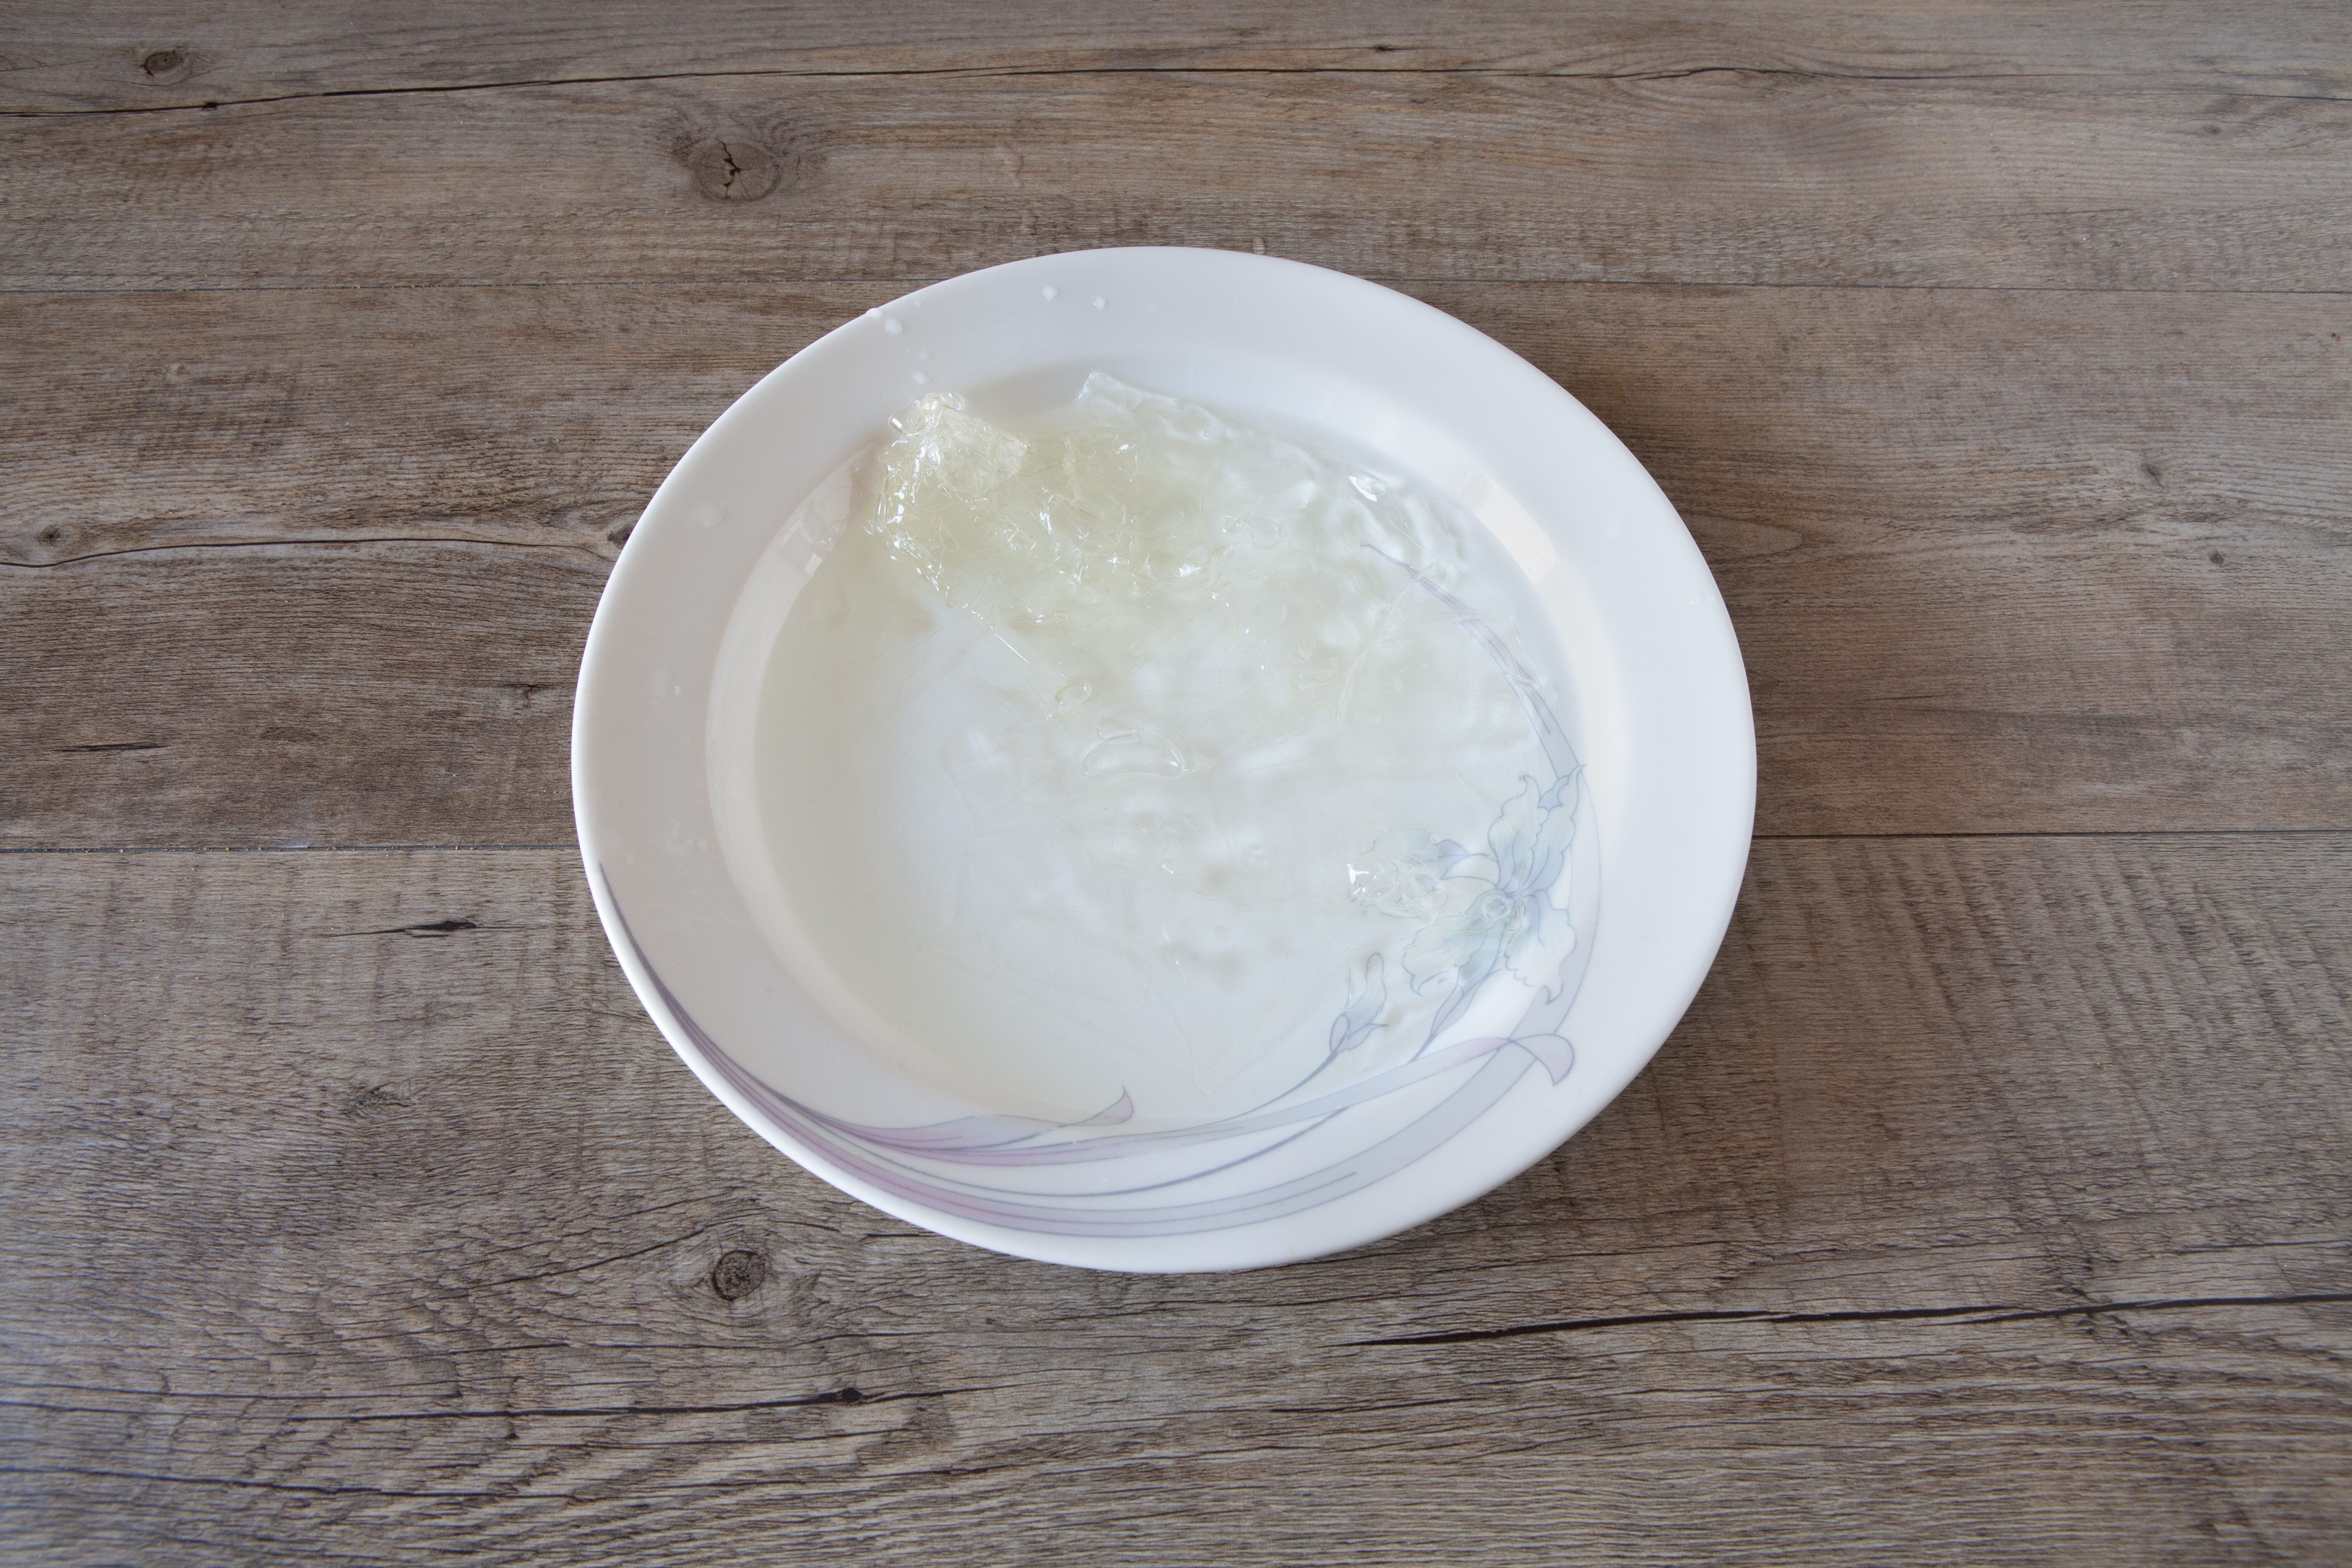
Now, dedicate yourself to the cream cheese: first, soak the gelatine in cold water for 10 minutes, so that it softens.
Now, dedicate yourself to the cream cheese: first, soak the gelatine in cold water for 10 minutes, so that it softens.
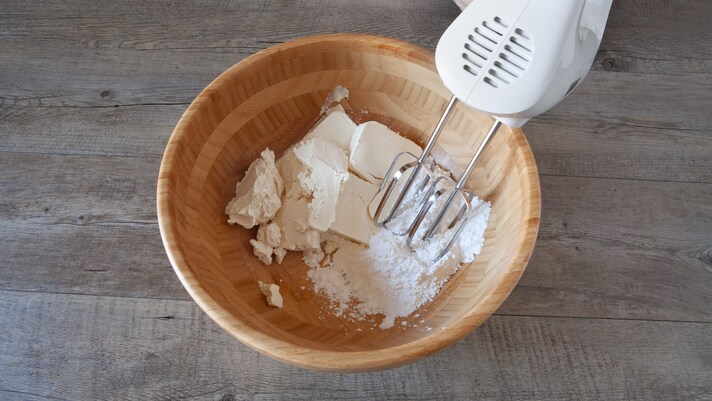
Meanwhile, mix the spreadable cheese and powdered sugar with an electric whisk until the mixture becomes frothy.
Meanwhile, mix the spreadable cheese and powdered sugar with an electric whisk until the mixture becomes frothy.
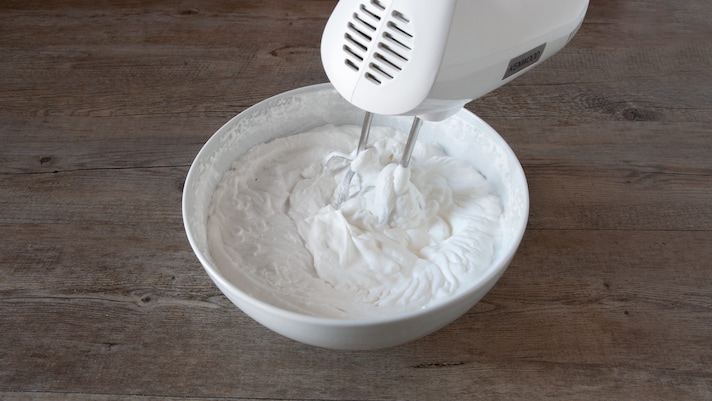
Separately, always using the electric whisk, whip the fresh cream, keeping aside a couple of spoonfuls which will be used to dissolve the gelatine.
Separately, always using the electric whisk, whip the fresh cream, keeping aside a couple of spoonfuls which will be used to dissolve the gelatine.
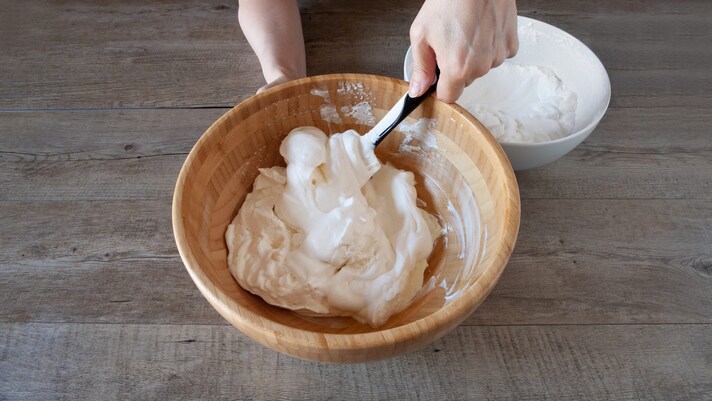
Then add the whipped cream to the cream cheese, mixing delicately with a spatula with movements from the bottom up to avoid deflating the mixture.
Then add the whipped cream to the cream cheese, mixing delicately with a spatula with movements from the bottom up to avoid deflating the mixture.
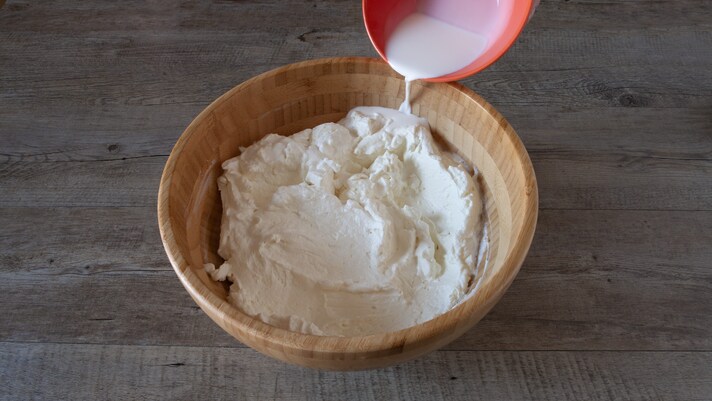
Squeeze the gelatine well and dissolve it over a low heat with the two tablespoons of cream kept aside; let it cool, then add it to the mixture and mix again.
Squeeze the gelatine well and dissolve it over a low heat with the two tablespoons of cream kept aside; let it cool, then add it to the mixture and mix again.
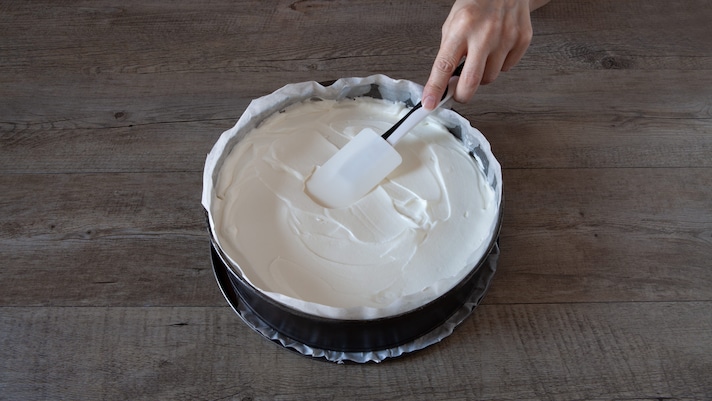
Pour the filling onto the biscuit base, level it well with the spatula and leave to set in the refrigerator for at least 3 hours.
Pour the filling onto the biscuit base, level it well with the spatula and leave to set in the refrigerator for at least 3 hours.
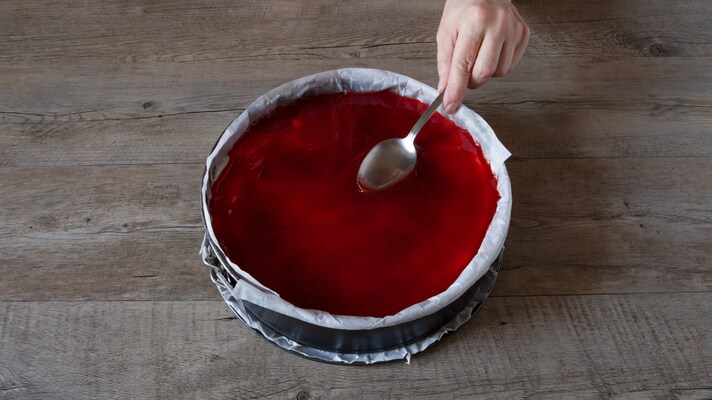
At this point you can garnish the cheesecake as you prefer. We opted for raspberry jam, whole slightly acidic taste perfectly balances the sweetness of the cream. Heat it slightly to make it more fluid, then distribute it evenly over the surface of the cheesecake and put it in the fridge for another hour.
At this point you can garnish the cheesecake as you prefer. We opted for raspberry jam, whole slightly acidic taste perfectly balances the sweetness of the cream. Heat it slightly to make it more fluid, then distribute it evenly over the surface of the cheesecake and put it in the fridge for another hour.
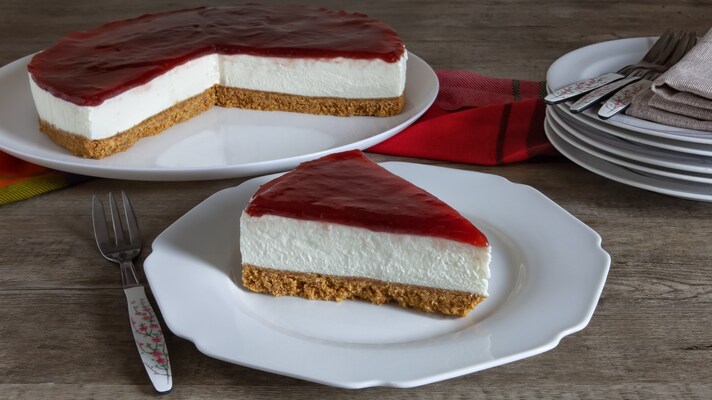
Once the resting time has elapsed, delicately remove the cheesecake, and enjoy it!
Once the resting time has elapsed, delicately remove the cheesecake, and enjoy it!
;Resize,width=712;)
;Resize,width=712;)
;Resize,width=712;)
;Resize,width=767;)
