Nanaimo Bars: the original recipe for the classic Canadian dessert
;Resize,width=742;)
Ingredients
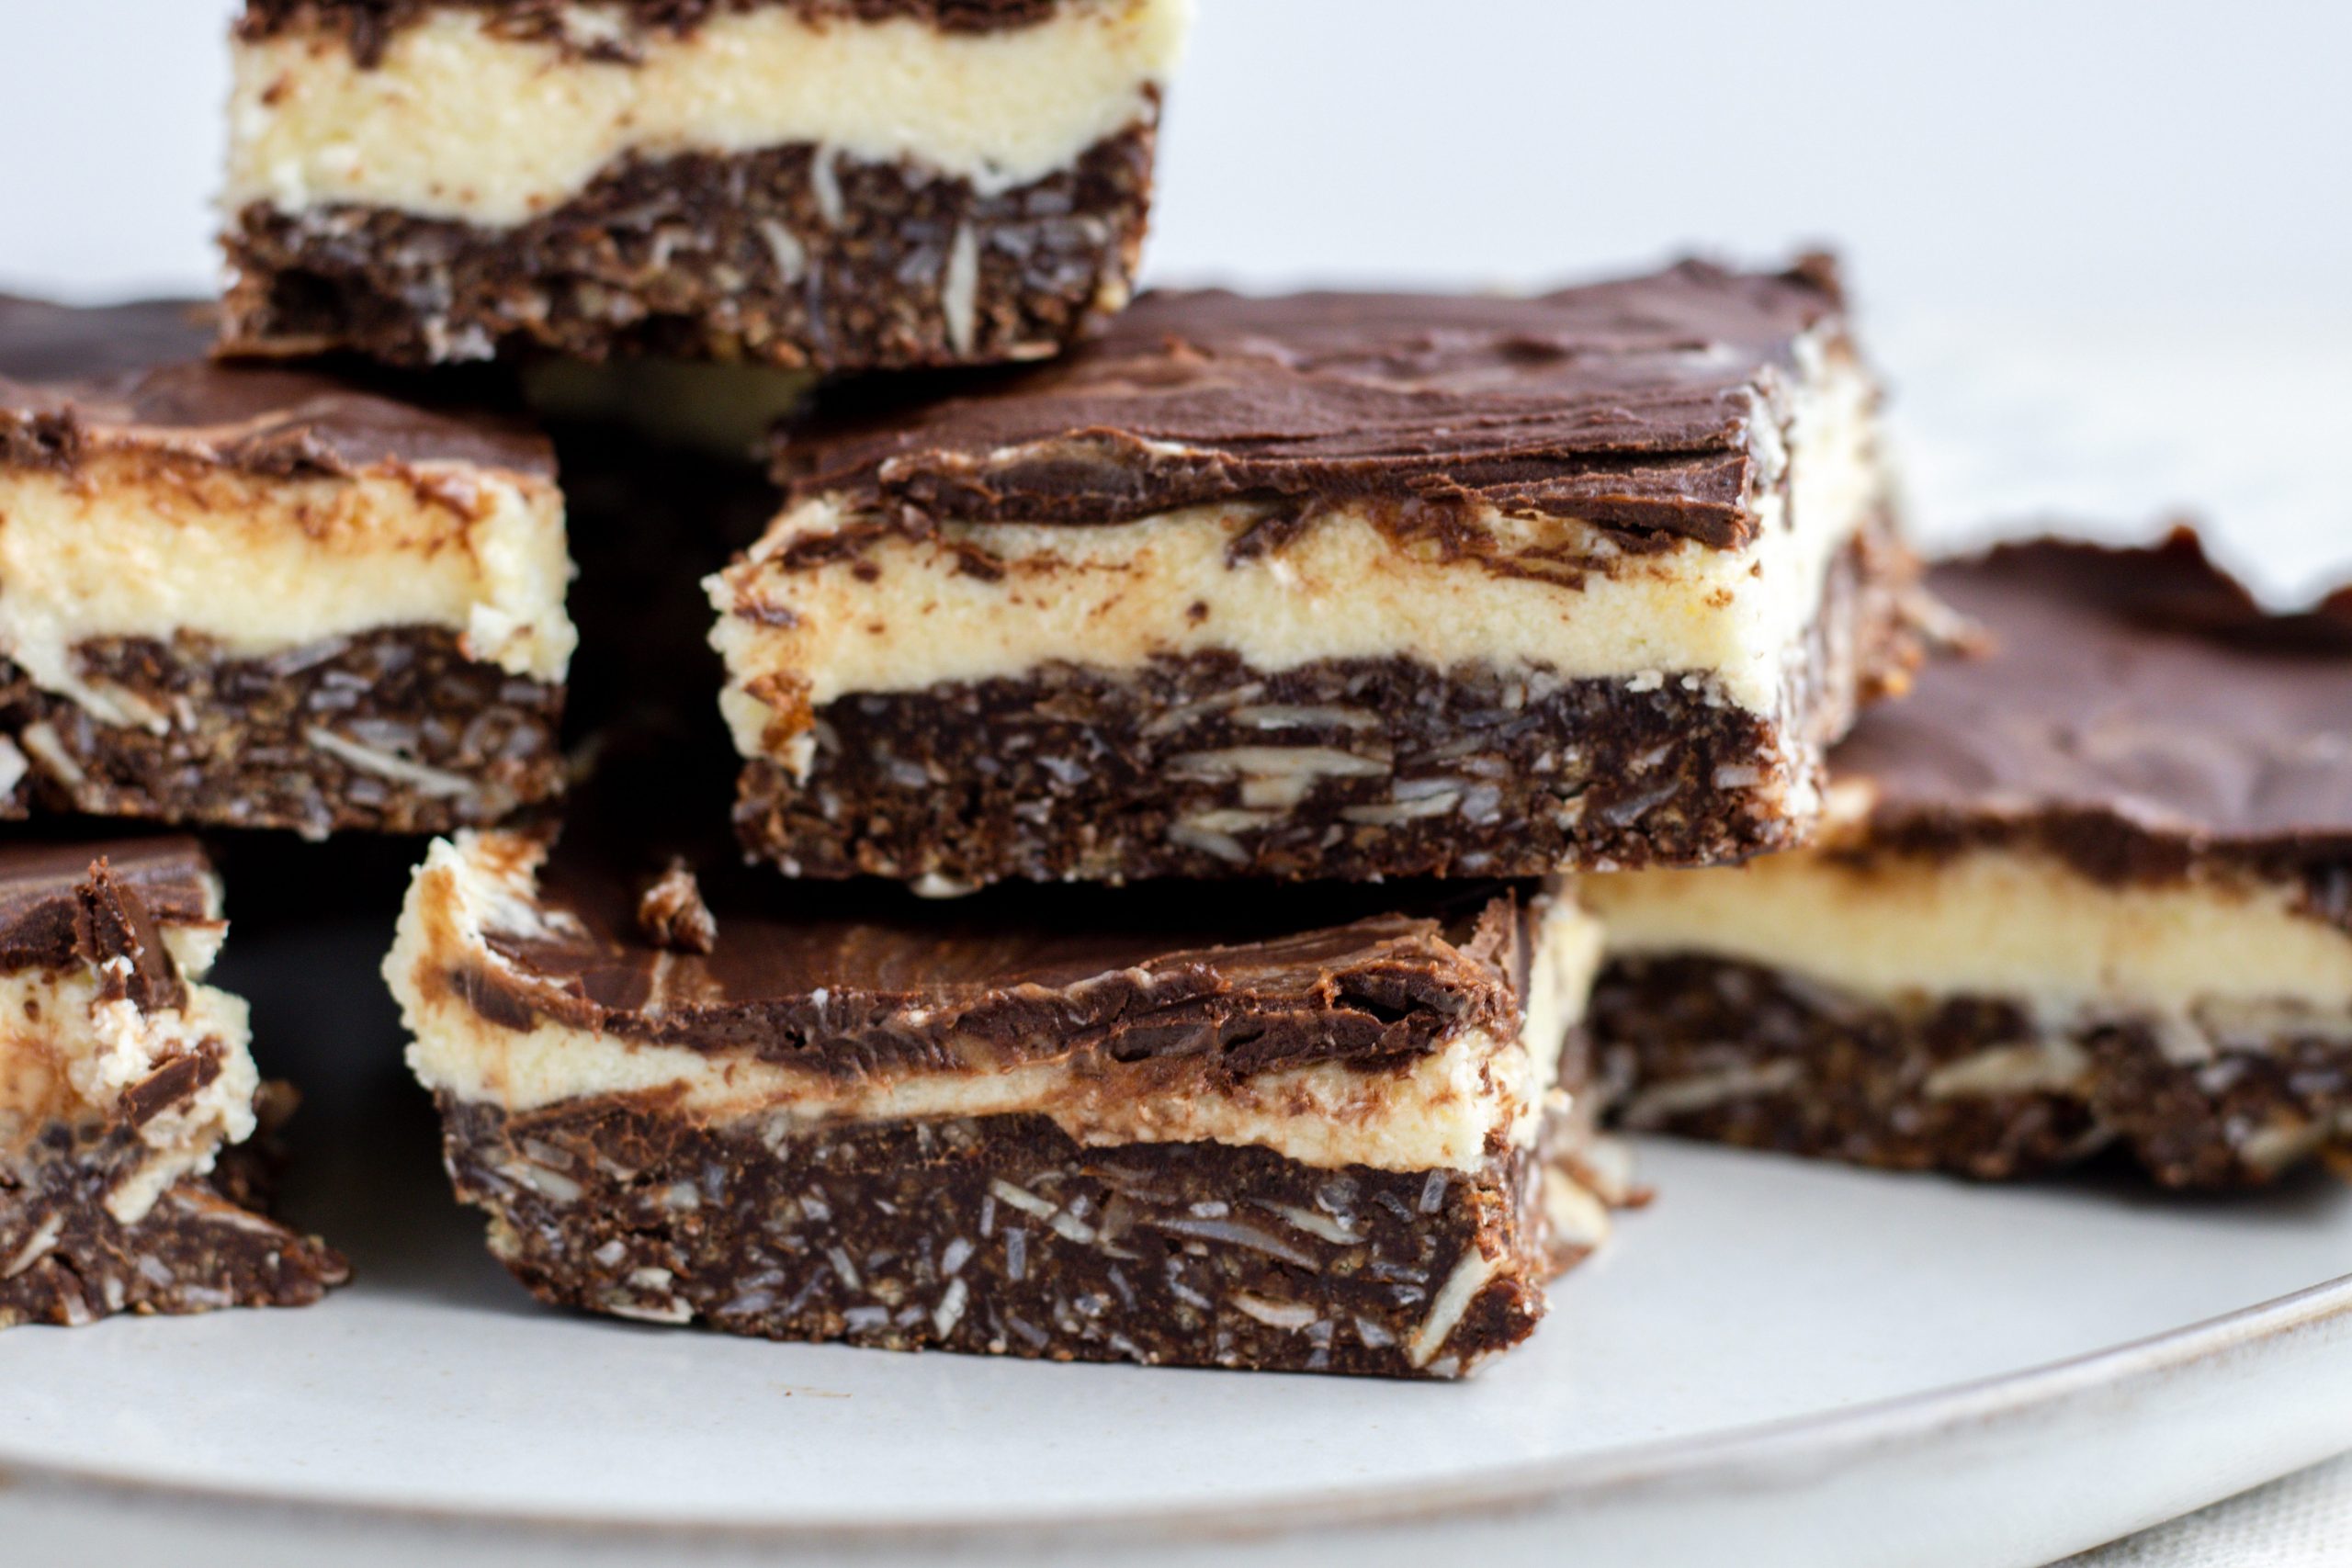
If you’re looking for an easy, no-bake dessert, this recipe for Nanaimo Bars is perfect for you! If you’re unfamiliar with Nanaimo Bars, it’s a three layer dessert with a crust, filling, and topping that actually comes from Canada and is highly recommended. The base of this dessert has a graham cracker crust made with crunchy nuts, butter, coconut, and chocolate. The filling is creamy and resembles a buttercream frosting. The final result has a third chocolate layer and is a decadent, no-bake dessert.
What are Nanaimo Bars?
Nanaimo bars are a popular layered cookie bar dessert that resemble a rich chocolate fudge. They are actually named after Nanaimo, British Columbia! Nanaimo bars are incredibly easy to make, require no baking, and will easily please any crowd.
What’s in Nanaimo Bars?
Nanaimo bars are made of three layers. The base is made up of graham cracker crumbs, coconut, crunchy nuts, cocoa powder, butter, and egg. The middle layer resembles a rich buttercream frosting and is made of butter, custard powder (or instant vanilla pudding), and powdered sugar. The last layer is baking chocolate melted with a little butter and poured on top.
How to Make Nanaimo Bars

Here's how to prepare the original Nanaimo Bars from scratch!
Make the crust.
;Resize,width=107;)
;Resize,width=107;)
;Resize,width=107;)
To make the crust you melt the butter in a double boiler and add the cocoa powder, sugar, and whisk until melted.
To make the crust you melt the butter in a double boiler and add the cocoa powder, sugar, and whisk until melted.
Next you add the whisked egg and whisk vigorously until the mixture is thickened.
Once thickened remove from the heat and add the graham cracker crumbs, coconut flakes, and nuts if using. Press into the bottom of a prepared 8×8 pan. Place in the fridge to chill.
Make the filling.
;Resize,width=107;)
;Resize,width=107;)
;Resize,width=107;)
Next you add the whisked egg and whisk vigorously until the mixture is thickened.
To make the filling, beat the butter, custard powder, cream, and powdered sugar until you reach a thick consistency, similar to frosting.
Spread the filling evenly over the crust and place in the fridge to chill while you prep the chocolate.
Melt the chocolate topping.
;Resize,width=107;)
;Resize,width=107;)
;Resize,width=107;)
Once thickened remove from the heat and add the graham cracker crumbs, coconut flakes, and nuts if using. Press into the bottom of a prepared 8x8 pan. Place in the fridge to chill.
In a small microwave safe bowl, melt the chocolate and a teaspoon of butter until melted.
Pour evenly over the bars and place in the fridge to set.
Serve!
How to Store Nanaimo Bars
Nanaimo bars can be stored in an airtight container in the fridge. They must be in the fridge due to the egg and dairy. You can eat them cold or bring them to room temperature before serving.
Tips
If you’re unable to find custard powder, you can use instant vanilla pudding instead.
Be sure to chill between each layer so the layers don’t mix.
To cut the bars, use a clean knife and clean between cuts for a flawless presentation.
Instructions
Prepare a double boiler on the stovetop and add the ½ cup butter and melt. Add the sugar, cocoa powder, and stir until melted and smooth. Beat in the egg, stirring constantly until the mixture thickens. This should take 2-3 minutes. Remove from the heat and stir in the graham cracker crumbs, coconut, and almonds if using. Press firmly into the bottom of your prepared 8×8 pan.
To make the middle layer, whip together the softened butter, heavy cream, and custard powder until mixed and fluffy. Add the powdered sugar until completely smooth. Chill in the fridge to set.
To make the chocolate topping, combine the chocolate and butter in a microwave safe bowl and microwave in 20 second intervals, stirring between, until the chocolate is melted. If the chocolate is too hot, allow to cool before spreading over the bars. Spread the chocolate over the pars and place in the fridge to set.
Notes
Don’t overmix the middle layer otherwise the butter will begin to separate and produce a lumpy center.
;Resize,width=767;)
;Resize,width=712;)
;Resize,width=712;)
;Resize,width=712;)
