
Cheese Balls: The Crispy Fingerfood Your Next Party Needs
;Resize,width=742;)
Ingredients
Crispy homemade cheese balls are a beloved Brazilian delicacy. They’re often served as street food in the cities of Brazil, but they also make perfect homemade appetizers to serve a hungry crowd.
Made with grated cheese and breadcrumbs, these balls become gooey, soft, and crispy all at the same time. They’re inexpensive to make and are gardened to bring a simile to the faces of your guests, regardless of age. All that’s missing is a generous bowl of your favorite dipping sauces to balance out the gooey, cheesy flavor and texture.
Ingredients for Homemade Cheese Balls

The ingredients for classic, crispy cheeseballs are incredibly simple. You’ll need melty cheesy like mozzarella, to start with. You can use another shredded cheese, such as parmesan, though you might want to use less salt as parmesan is naturally saltier than mozzarella.
In addition to cheese, you’ll need oregano for flavor, two beaten eggs to bind the cheese balls together, along with all-purpose flour. Yogurt (be sure to choose plain, not flavored or sweetened yogurt) is the secret ingredient. It adds tang to these hand-held snacks and ensures that the balls stay moist and soft in the center.
For the signature crispy coating, you’ll need bread crumbs to dredge each cheeseball in before frying. You can use panko or regular bread crumbs for this recipe.
How to make Brazilian Cheeseballs: Step-by-Step Instructions
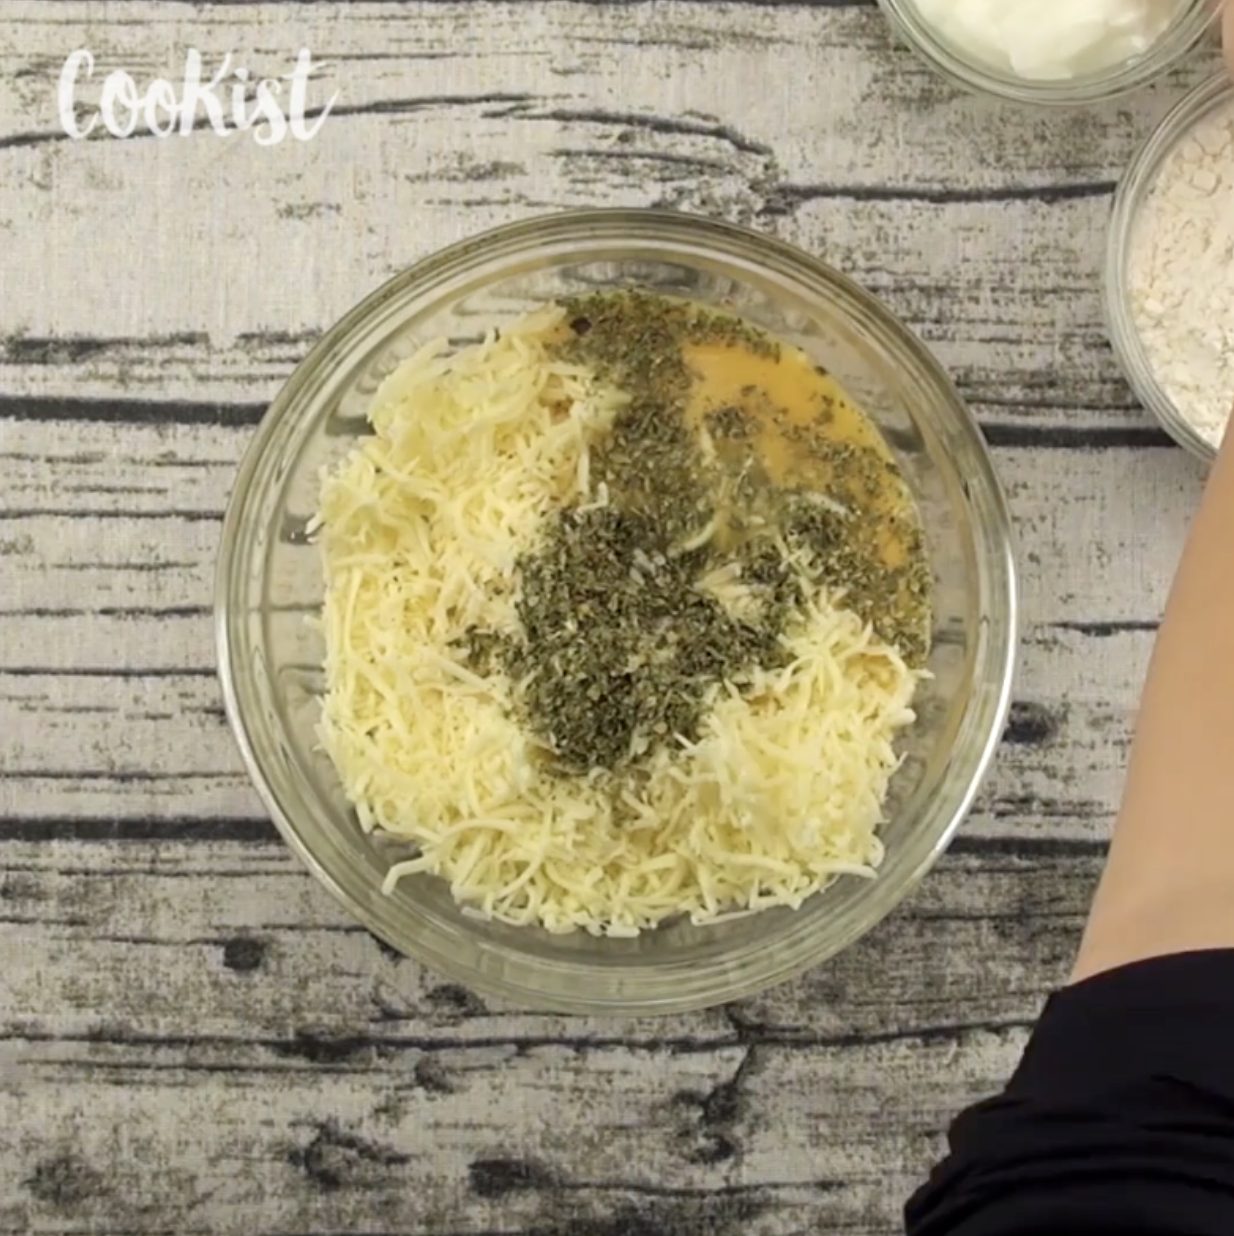
Start by making the batter. In a large mixing bowl, combine the grated mozzarella cheese, two beaten eggs, dried oregano, curd, all-purpose flour, and salt. Use a spoon to mix the batter well.
;Resize,width=712;)
Start by making the batter. In a large mixing bowl, combine the grated mozzarella cheese, two beaten eggs, dried oregano, curd, all-purpose flour, and salt. Use a spoon to mix the batter well.
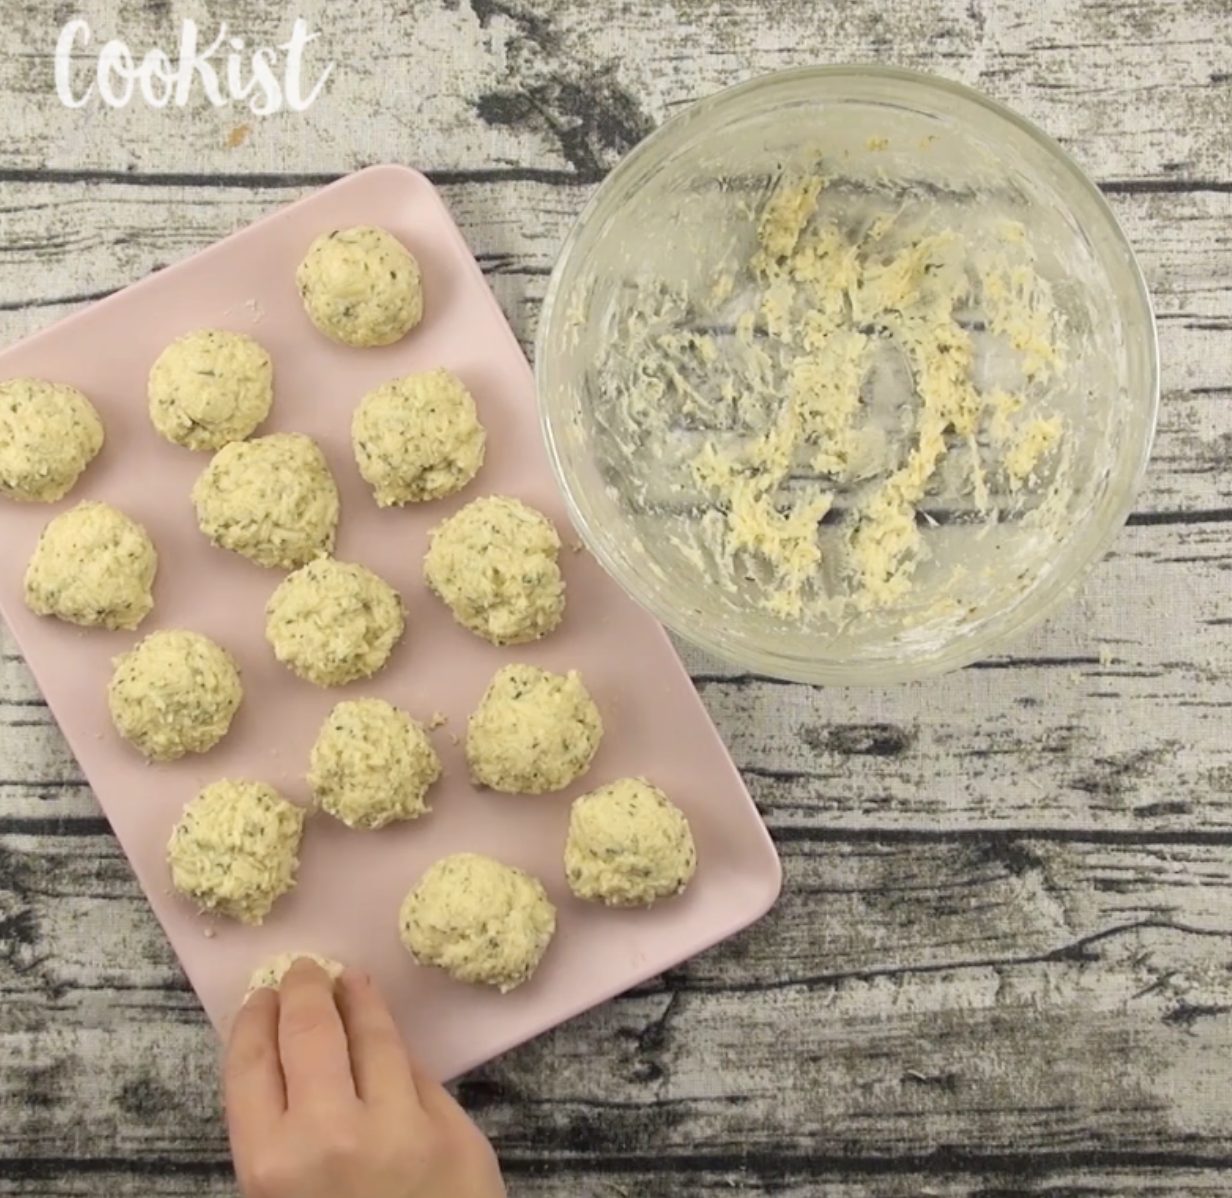
Shape the dough into round 1-inch balls with your hands and arrange them on a plate.
;Resize,width=712;)
Shape the dough into round 1-inch balls with your hands and arrange them on a plate.
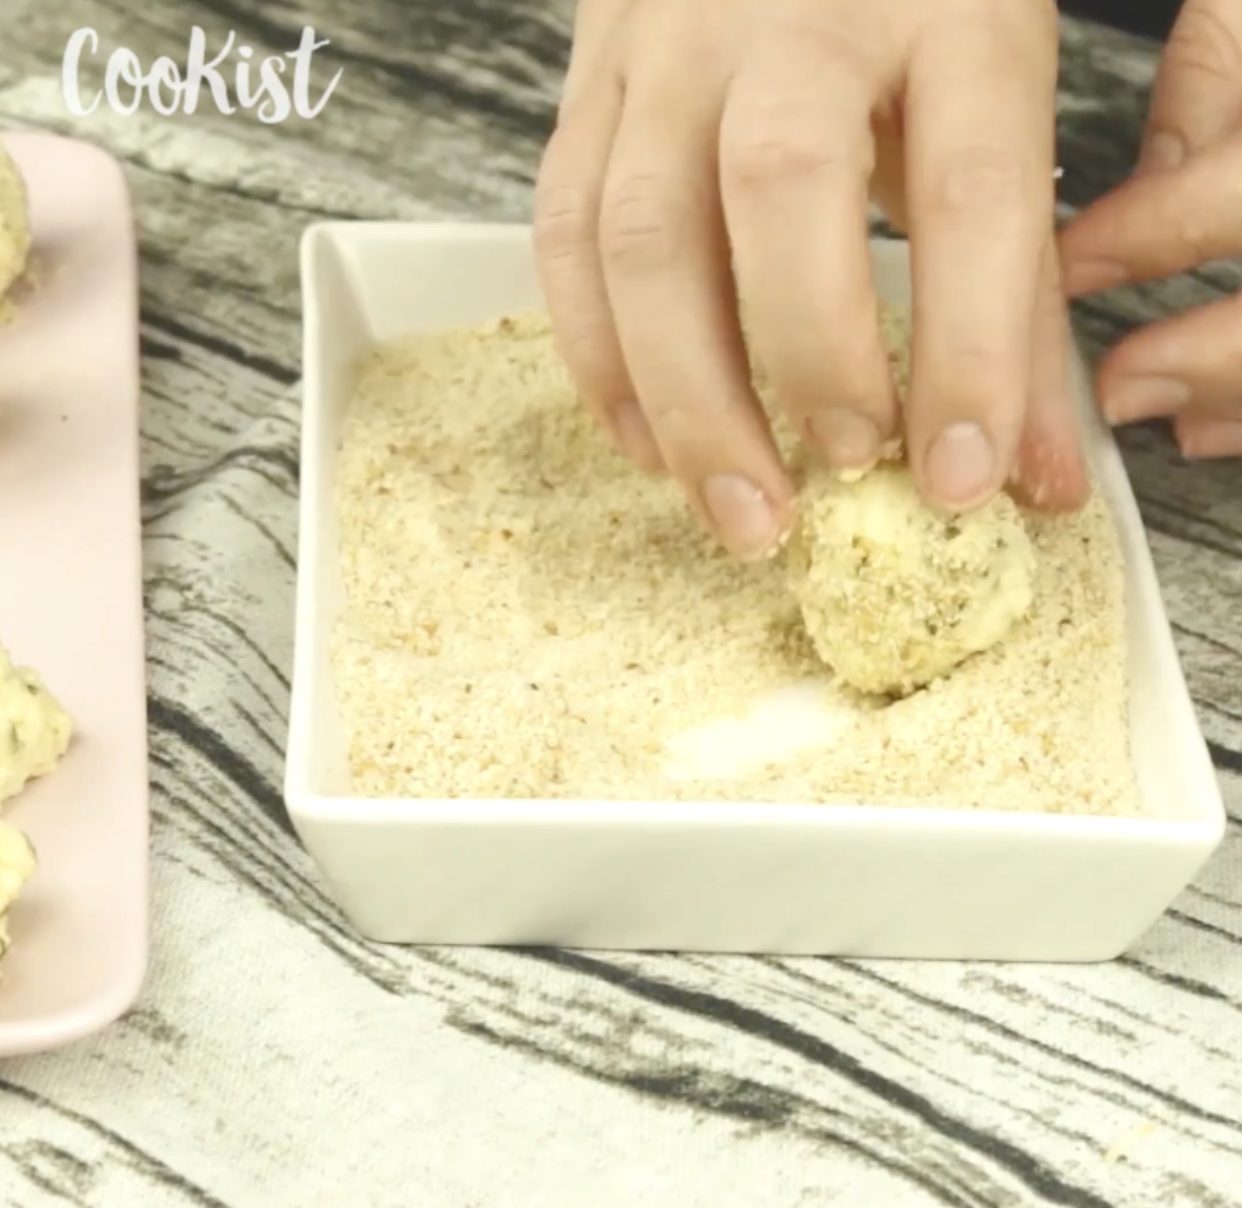
Fill a second shallow dish with bread crumbs and roll each cheese ball in the breadcrumbs to coat all sides evenly.
;Resize,width=712;)
Fill a second shallow dish with bread crumbs and roll each cheese ball in the breadcrumbs to coat all sides evenly.
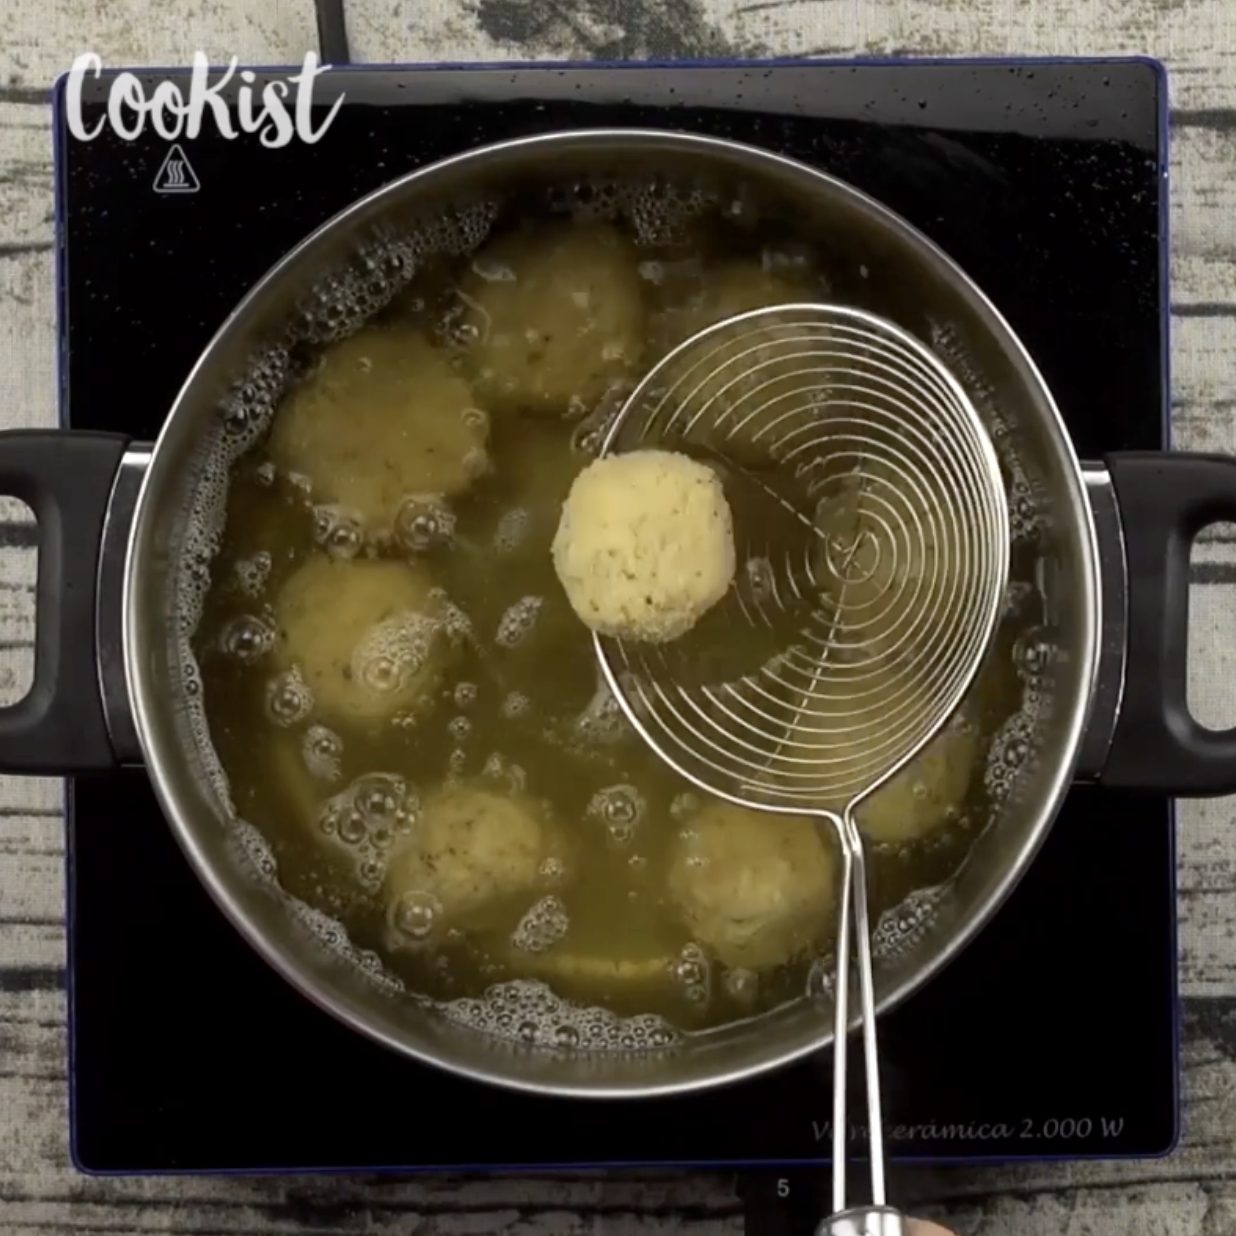
Meanwhile, heat a large skillet with a few inches of oil. When the oil is hot but smoking, carefully lower the balls into the pot with a strainer or slotted metal spoon. Fry until the balls are crisp, golden, and cooked through.
;Resize,width=712;)
Meanwhile, heat a large skillet with a few inches of oil. When the oil is hot but smoking, carefully lower the balls into the pot with a strainer or slotted metal spoon. Fry until the balls are crisp, golden, and cooked through.
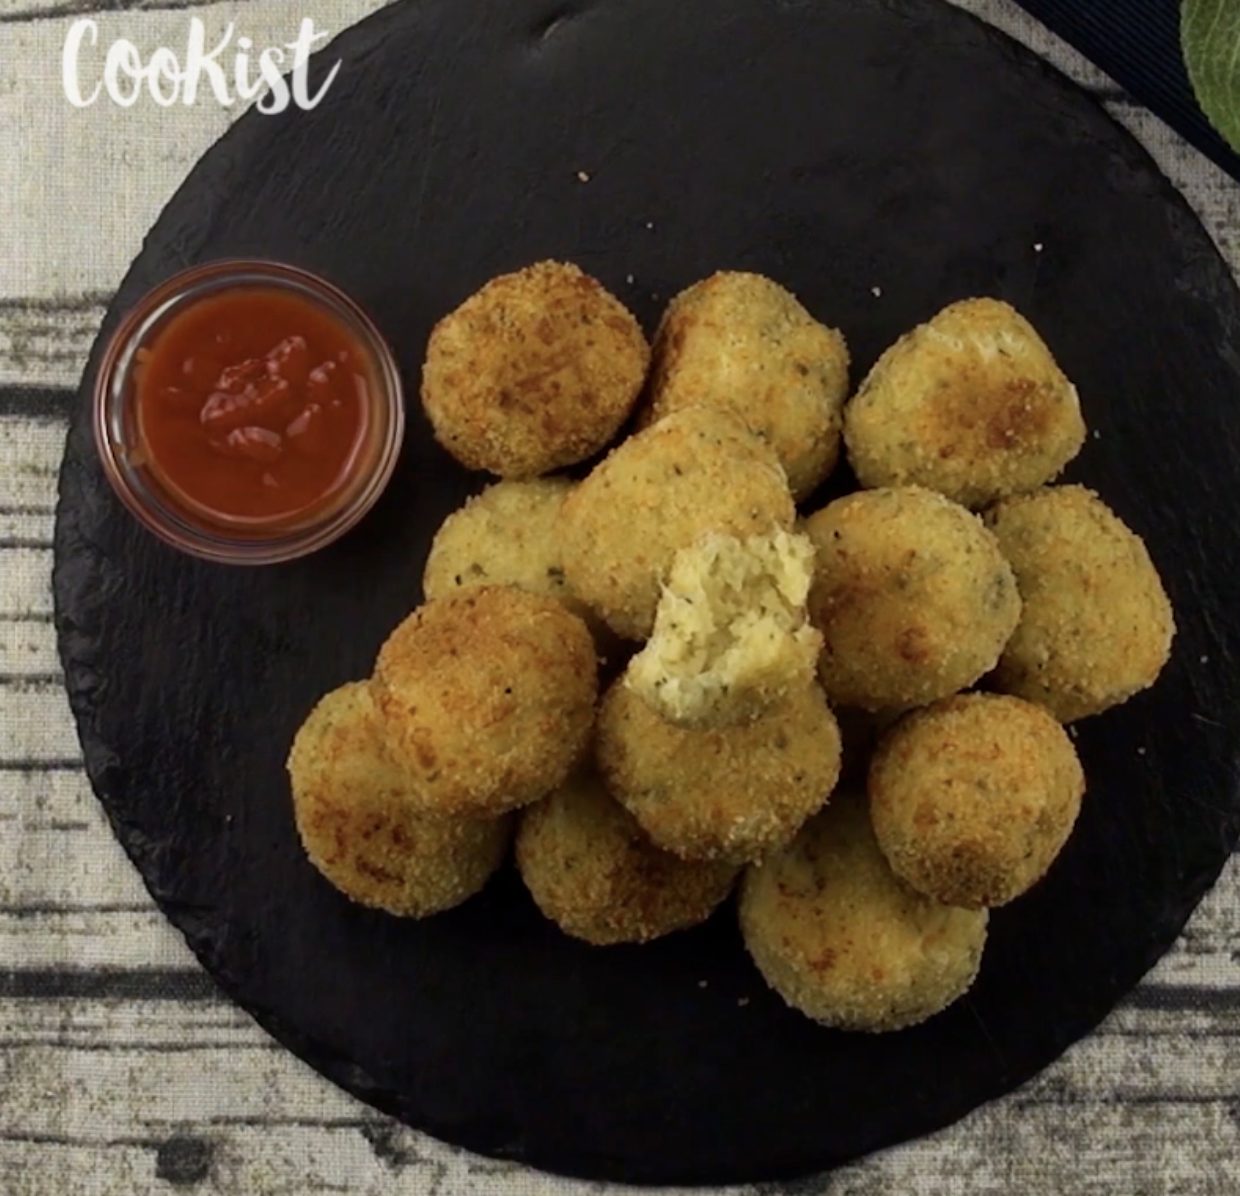
Serve and enjoy!
;Resize,width=712;)
Serve and enjoy!
What you can serve them with
These are a go-to finger food always popular at parties. Serve them with a range of dipping sauces for you and guests to sample. Offer something creamy, like aioli, something spicy, like hot sauce or barbecue sauce, and something herbal like pesto or green goddess.
For other foods to pair with cheeseballs, opt for something fresh and bright tasting like pickles to balance out these rich and gooey snacks.
How to store and freeze Cheeseballs
You can easily store and freeze cheeseballs to enjoy later. To freeze, simply let the freshly made balls cool fully to room temperature. Then arrange them on a baking sheet and place in the freezer for one hour. After they’re fully frozen, transfer them to a zip-top freezer bag or airtight container and freeze for up to three months.
To defrost and reheat, allow the cheese balls to thaw overnight in the fridge or on the counter for several hours. You can toast them in a 350°F oven or re-fry them in hot oil until warmed through and crisp on the outside.
These cheese balls don’t hold up as well in the fridge, however. If you have leftovers, it’s best to freeze them and reheat in the oven or fryer. The fridge will cause the balls to lose their crisp coating, so you’ll end up with soft and soggy cheeseballs.
You can also make the batter up to two days ahead of time if you want to plan ahead but also eat the cheeseballs when they’re fresh out of the fryer. Simply store the batter in an airtight container in the fridge. If the batter is stiffer than you expect when you remove it from the fridge, you can always add a bit more yogurt to loosen it up a bit.
Cheese Balls Recipe
METHOD
Mix grated cheese, oregano, egg, flour, and curd.
Make balls with the mixture.
Bread each ball in breadcrumbs and fry in cooking oil until crisp on the outside and melty on the inside.
;Resize,width=767;)
;Resize,width=712;)

;Resize,width=712;)
