
Swap your morning toast for a taste of France! Milk brioche isn't your average breakfast bread. The loaf boasts a touch of sweetness woven into its rich, buttery dough. Unlike its plain brioche cousin, milk brioche incorporates warm milk into the dough, lending a subtle yet delightful touch of extra flavor and softness. The result? Bread with a light, airy crumb and a golden-brown crust that practically begs to be devoured. Believe it or not, this bakery-worthy treat is surprisingly easy to make. With just a handful of everyday ingredients – flour, milk, a sprinkle of sugar, some active yeast, and a few eggs – you can whip up a batch of milk brioche in no time. Enjoy it for breakfast, brunch, or anytime!
What Is Milk Brioche
While the exact inventor and creation date are unknown, brioche has a rich history rooted in Normandy, France. The word "brioche" first appeared in a text around 1404, and likely comes from a traditional Norman recipe. This early bread was probably denser than what we know today. Over time, bakers incorporated more butter, eggs, and sugar, transforming it into the luxurious, airy bread we enjoy today. By the 18th century, brioche became wildly popular throughout France, with bakeries offering various shapes and flavors.
While milk brioche and plain brioche are quite similar, milk brioche incorporates milk into the dough, while plain brioche uses just water. This extra milk adds a touch of sweetness, a subtle richer flavor, and a slightly softer crumb compared to plain brioche.
Tips
- The yeast mixture should become foamy after a few minutes. If not, the yeast might have expired. Use lukewarm milk (around 100°F) to activate the yeast without killing it.
- Use cold ingredients. This prevents the butter from melting prematurely during mixing, which is crucial for a good crumb.
- Want to give the rolls a shiny crust? Brush them with an egg wash before baking. If you want to make the brioche slightly sweeter, you can also brush it with a simple syrup when it comes out of the oven!
- If you see the tops of the brioche rolls browning too quickly, top the baking tray with a piece of aluminum foil, and continue to bake until the rolls are cooked through and golden.
- Brioche dough is slightly sticky. Don’t be tempted to add more flour, otherwise, the brioche will be dry. Brioche dough needs thorough development to achieve its signature elasticity, so make sure you knead it properly. Use a stand mixer for at least 10 minutes, or knead by hand until it passes the windowpane test (stretch a small piece of dough – it should be thin and translucent without tearing).
How to Store Milk Brioche
Do not store the milk brioche in the fridge. Instead, wrap it tightly in plastic wrap (or place it in an airtight container) and keep it for up to 3 days. You can also store individually wrapped pieces in the freezer for up to 3 months, Allow to thaw at room temperature before reheating them in the oven.
Is Milk Brioche Sweet?
Yes, milk brioche is slightly sweeter than plain brioche due to the added milk and sugar. However, it's not overly sweet and can still be enjoyed for savory purposes like sandwiches or French toast.
What Can I Use Instead Of Milk In Milk Brioche?
If you don't have milk on hand, you can substitute the same amount of water. However, the milk brioche will lack the subtle sweetness and richer flavor from the milk. For a closer substitute, try using half water and half cream, or even whey.
Can I Make Milk Brioche Without A Stand Mixer?
Absolutely! Making milk brioche by hand just requires a bit more effort. Knead the dough on a lightly floured surface for 15-20 minutes, until it becomes smooth, elastic, and passes the windowpane test (a small piece of dough can be stretched thin and translucent without tearing).
Ingredients
How To Make Milk Brioche
;Resize,width=712;)
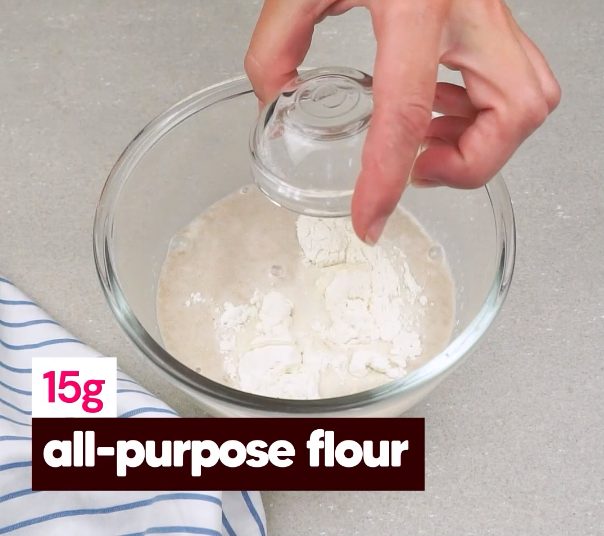
In a medium bowl combine warm milk, instant yeast, and sugar. Whisk well, then stir in a tablespoon of flour and let the mixture sit for 10 minutes. Add an egg and softened butter and stir until homogeneous.
In a medium bowl combine warm milk, instant yeast, and sugar. Whisk well, then stir in a tablespoon of flour and let the mixture sit for 10 minutes. Add an egg and softened butter and stir until homogeneous.
;Resize,width=712;)
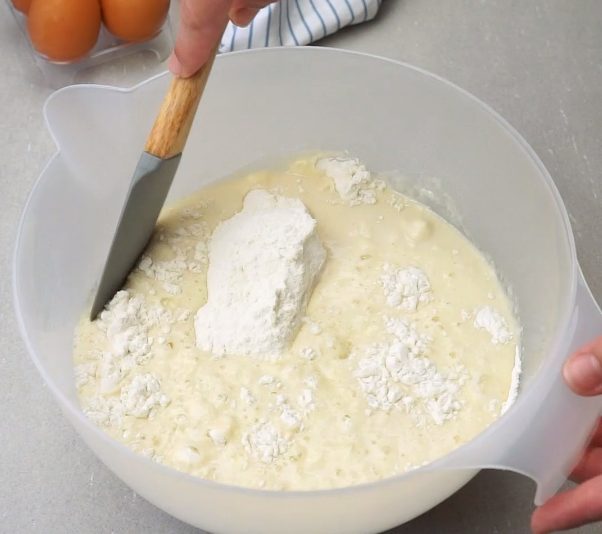
To the large bowl add sifted flour and salt, then add yeast mixture and start to mix the dough with a spatula.
To the large bowl add sifted flour and salt, then add yeast mixture and start to mix the dough with a spatula.
;Resize,width=712;)
Form each piece into a ball. Cover balls with a kitchen cloth or plastic wrap and leave for 15 minutes.
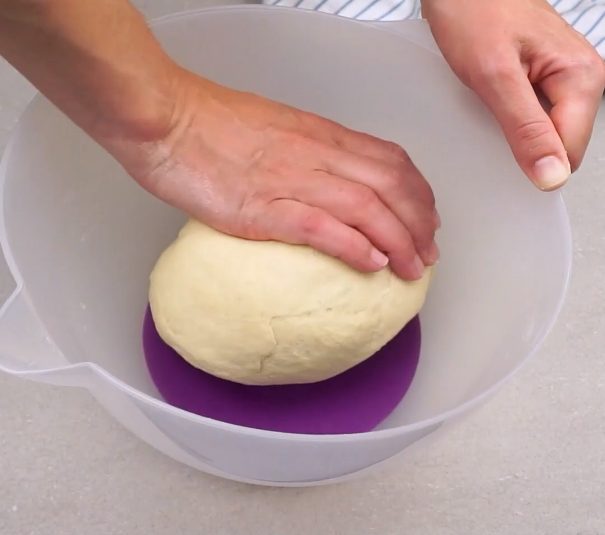
Then continue to knead it with your hands until you receive an elastic dough.
;Resize,width=712;)
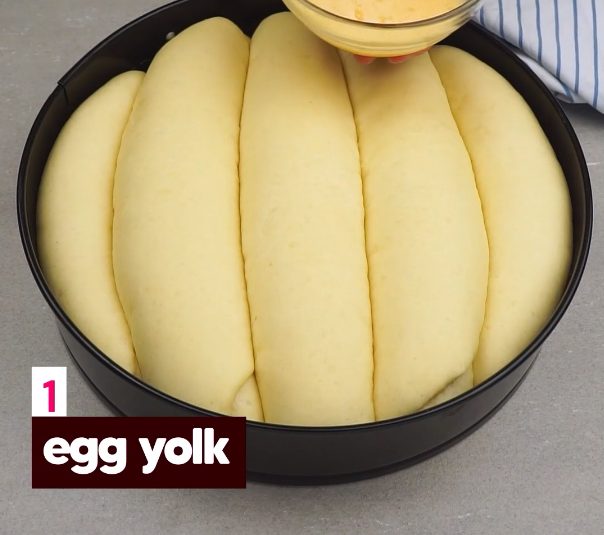
Preheat the oven to 180°C/360°F. Lightly brush the top of the raised bread with an egg yolk and bake at 180°C/360°F for 15 minutes.
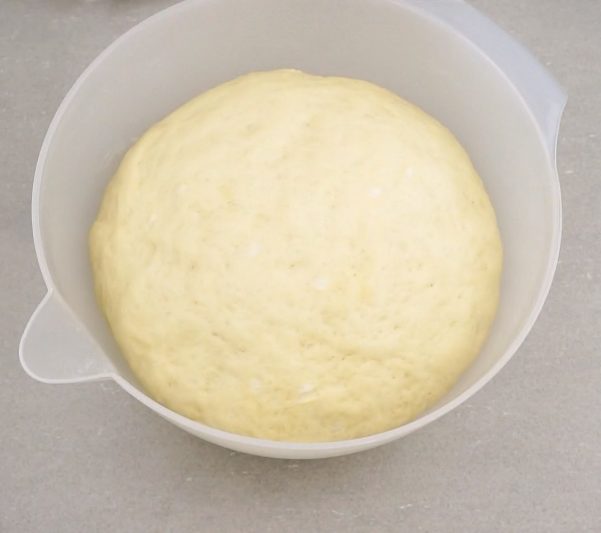
Form a ball from the dough and cover the bowl with a kitchen cloth or plastic wrap. Allow to rise in a warm room until doubled in size.
;Resize,width=712;)
Break apart the rolls and enjoy!
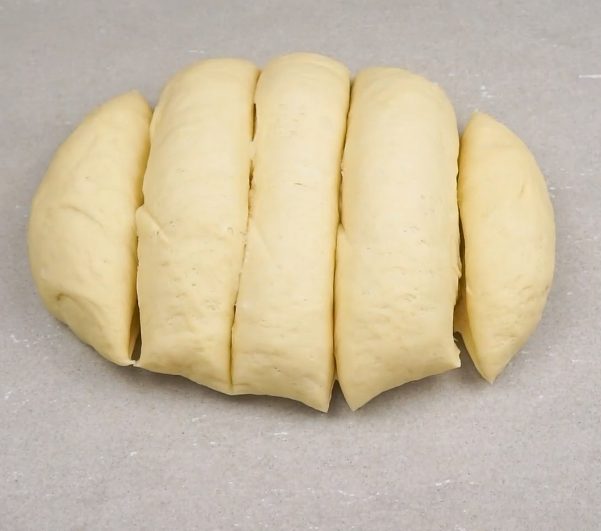
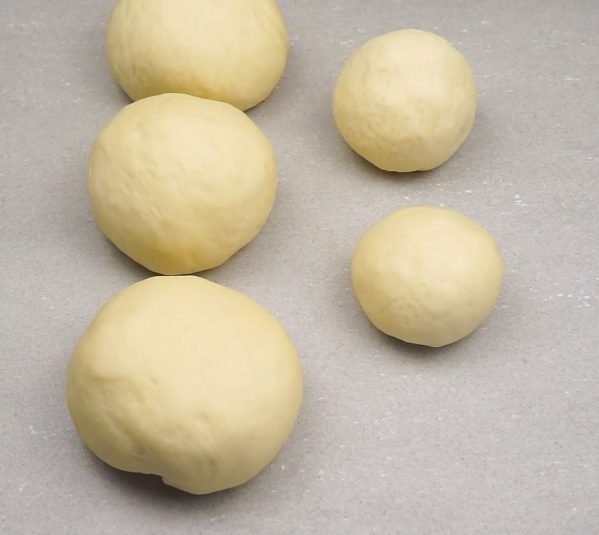
Transfer the dough onto a lightly floured working surface and divide it into 5 parts (you’ll have 2 smaller pieces and 3 bigger ones).
;Resize,width=712;)
Form each piece into a ball. Cover balls with a kitchen cloth or plastic wrap and leave for 15 minutes.
;Resize,width=712;)
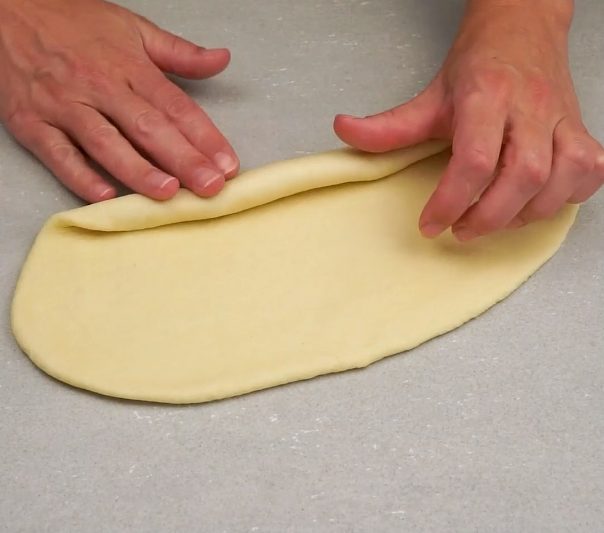
Take each ball and flatten it into a thin oval, then roll it up from the longest side to form a long roll.
;Resize,width=712;)
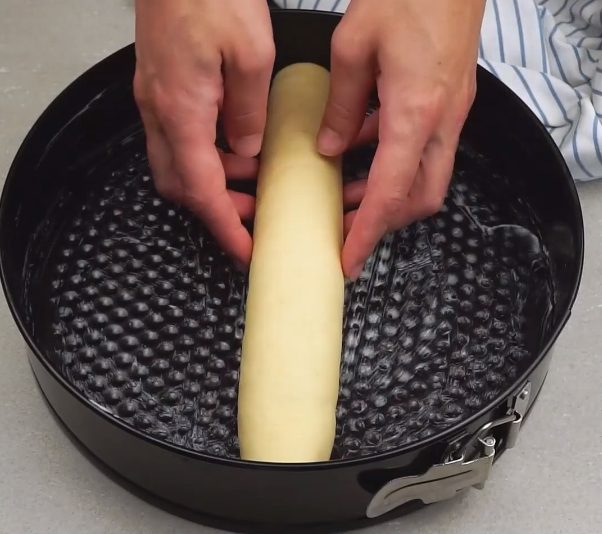
Place the rolls in a greased baking tin. Place the longest roll in the center, and the shorter ones to the side.
;Resize,width=712;)
Preheat the oven to 180°C/360°F. Lightly brush the top of the raised bread with an egg yolk and bake at 180°C/360°F for 15 minutes.
;Resize,width=712;)
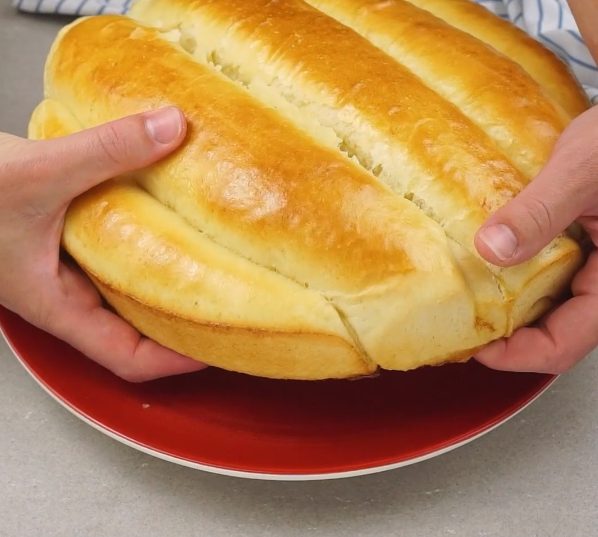
Break apart the rolls and enjoy!

;Resize,width=767;)
