
Looking for an appetizer that's more exciting than the usual chips and dip? Enter Potato Nests! These edible cups are not just delicious, they're surprisingly simple to make. Potatoes are boiled until tender, then mashed with creamy butter for a smooth texture. Then you simply pipe a base of mashed potatoes and bake until golden with a filling of ham, cheese, and chives. Potato baskets are affordable to make, require minimal effort, and offer endless possibilities for fillings. So ditch the store-bought appetizers and impress your guests with a show-stopping appetizer that everyone will love!
What Are Potato Baskets?
Potato baskets likely emerged sometime in European cuisine, possibly in France or England, during the 17th or 18th century. The concept of piped potato dishes, including duchess potatoes (pommes duchesse), gained popularity around this time. These were decorative mashed potato mounds piped onto baking sheets and baked or fried.
The term "Duchess" might evoke a sense of nobility, but the true origin of the name remains a mystery. Some theories suggest it could be a reference to a specific duchess who enjoyed the dish, while others believe it simply refers to its elegant and refined presentation.
The transformation of duchess potatoes into edible baskets is a more recent innovation and today potato baskets are enjoyed worldwide as a versatile appetizer. They offer a tasty combination of textures: a crispy potato shell with a soft and creamy interior, often filled with savory ingredients like cheese, bacon, vegetables, or even meats.
Tips
- Don't overcook your potatoes! Aim for fork-tender, but not mushy. This will ensure your baskets hold their shape.
- Use a potato masher or ricer for a smooth and lump-free potato mixture. A lumpy filling can be difficult to pipe.
- Don't skimp on the salt and pepper! Season your mashed potatoes generously for maximum flavor throughout the baskets.
- Adding an egg not only adds richness but also helps bind the potato mixture, preventing the baskets from cracking during baking.
- Make sure your potato mixture is warm but not too hot before piping. This will make it easier to handle and pipe smoothly. Use a large star tip for classic basket shapes, or get creative with other decorative tips. Apply gentle but consistent pressure while piping to create even mounds. Leave space between each mound for spreading.
- Dip your finger in water occasionally to smooth out any rough edges on your piped potato baskets.
- While cheese and ham are a classic, explore other fillings like roasted vegetables, herbs, or even crumbled sausage.
What Type Of Potato Can I Use?
While russet potatoes are traditional, Yukon Gold or even sweet potatoes can work. Just be sure to adjust the cooking time based on the potato variety.
My Potato Mixture Is Too Runny, How Can I Fix It?
This can happen if your potatoes are overcooked or if you add too much liquid. Try adding a tablespoon of breadcrumbs or grated Parmesan cheese to absorb excess moisture and create a firmer consistency.
Don't Have A Piping Bag, What Can I Use Instead?
No problem! Fill a zip-lock bag with the potato mixture, snip off a corner to create a small opening, and use it for piping.
My Potato Baskets Are Browning Too Quickly, What Should I Do?
If the edges are browning before the centers are cooked through, try covering the baking sheet loosely with foil for the last few minutes of baking.
Can I Make These Potato Baskets Vegetarian?
Yes, you can! Simply omit the ham and choose a vegetarian cheese. You can also add roasted vegetables like chopped peppers or sauteed mushrooms for a meatless twist.
Can I Make These Potato Nests in Advance?
Yes, of course. Prepare and bake the baskets, then store them in an airtight container in the fridge. When ready to serve, fill with cheese and ham, sprinkle with chives, and bake for 10 minutes at 180°C/360°F.
More Potato Appetizers to Try
How To Store Potato Baskets
If you have any leftover potato baskets, store them in an airtight container in the refrigerator for up to 2 days. Reheat them in the oven or Airfryer to restore their crispness.
Ingredients
How To Make Potato Baskets
;Resize,width=712;)
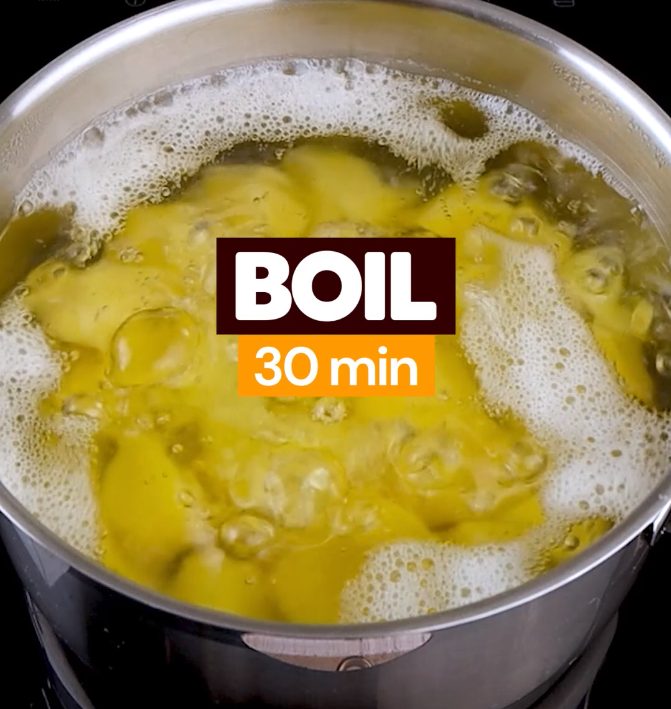
Peel the potatoes and transfer them to a pot filled with enough water to cover them comfortably. Bring the pot to a boil over high heat. Let the potatoes simmer for about 30 minutes, or until they become fork-tender. You'll know they're done when a fork easily pierces through a piece without resistance.
Peel the potatoes and transfer them to a pot filled with enough water to cover them comfortably. Bring the pot to a boil over high heat. Let the potatoes simmer for about 30 minutes, or until they become fork-tender. You'll know they're done when a fork easily pierces through a piece without resistance.
;Resize,width=712;)
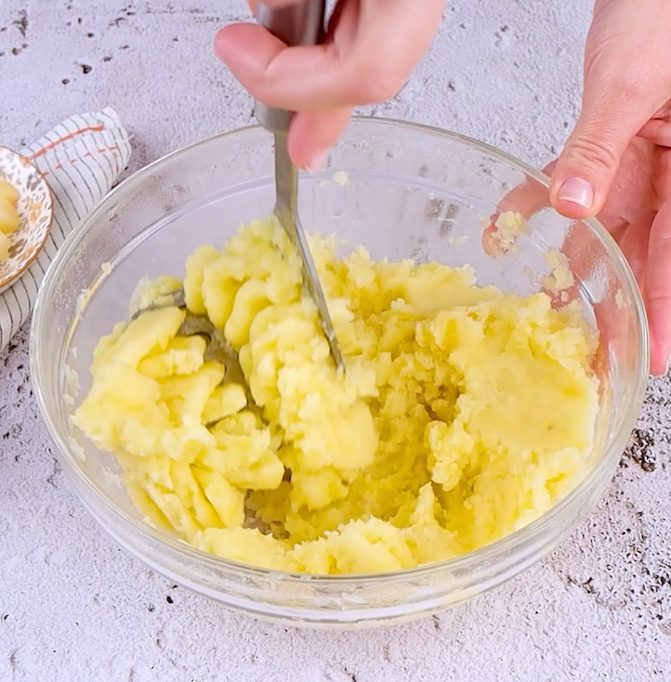
Drain the cooked potatoes thoroughly and transfer them to a large bowl. Add the softened butter to the hot potatoes and mash them together until well combined.
Drain the cooked potatoes thoroughly and transfer them to a large bowl. Add the softened butter to the hot potatoes and mash them together until well combined.
;Resize,width=712;)
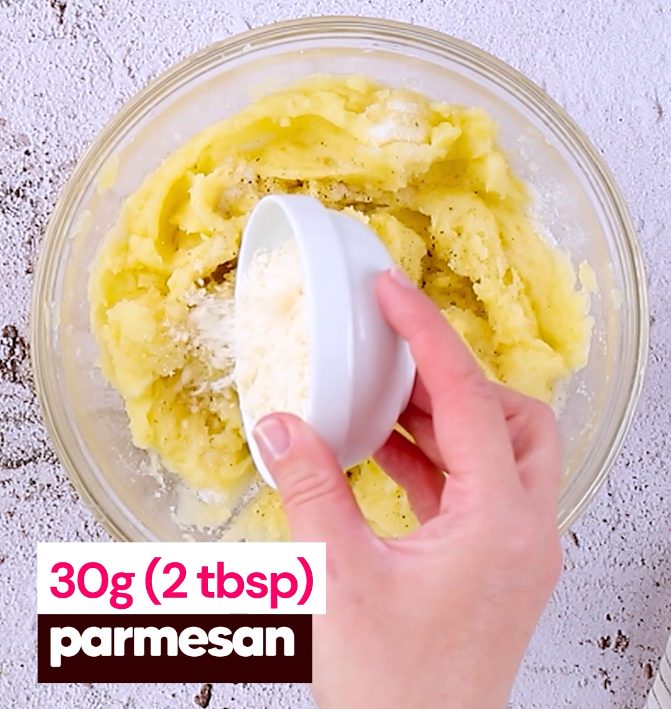
Season the mashed potatoes with salt, pepper, and Parmesan cheese. Mix everything well with a fork until evenly incorporated.
Season the mashed potatoes with salt, pepper, and Parmesan cheese. Mix everything well with a fork until evenly incorporated.
;Resize,width=712;)
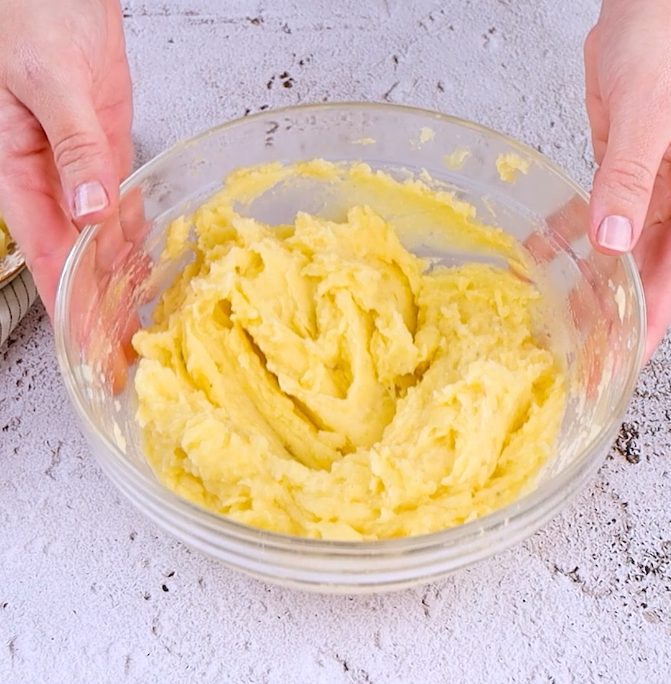
Crack an egg into the potato mixture and continue mixing until fully integrated. This will ensure your potato baskets hold their shape during baking.
Crack an egg into the potato mixture and continue mixing until fully integrated. This will ensure your potato baskets hold their shape during baking.
;Resize,width=712;)
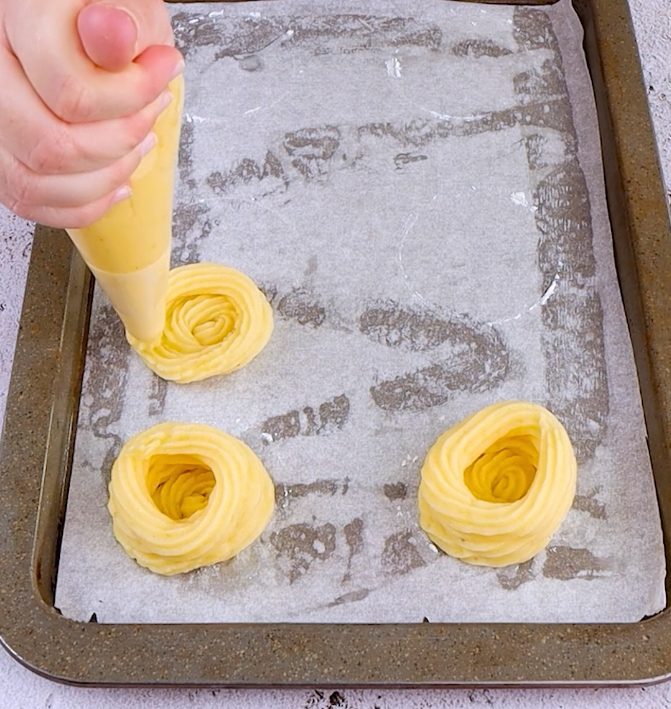
Transfer the creamy potato mixture to a piping bag fitted with a large star tip (or a zip-lock bag with a corner snipped off). Pipe small mounds of the potato mixture onto a baking sheet lined with parchment paper. Leave some space between each mound to allow for spreading during baking.
Transfer the creamy potato mixture to a piping bag fitted with a large star tip (or a zip-lock bag with a corner snipped off). Pipe small mounds of the potato mixture onto a baking sheet lined with parchment paper. Leave some space between each mound to allow for spreading during baking.
;Resize,width=712;)
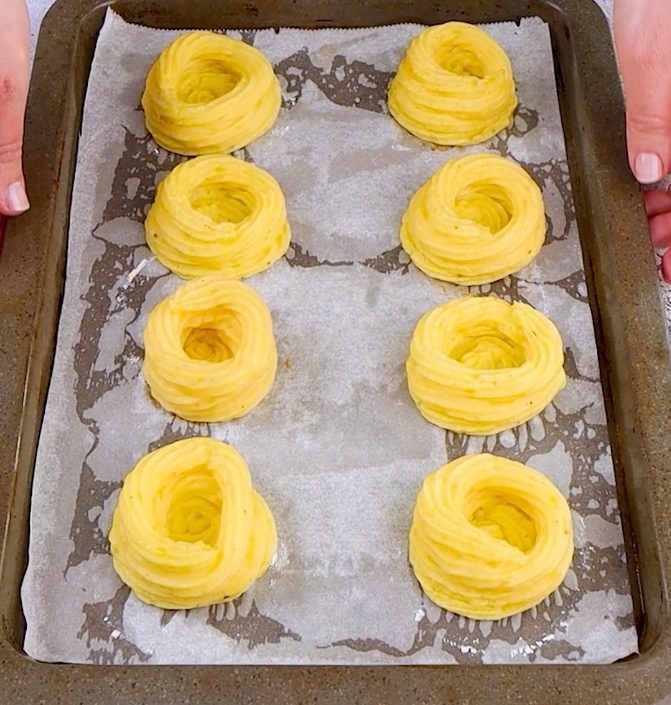
Bake the piped potato mounds in a preheated oven at 180°C (360°F) for 10 minutes.
Bake the piped potato mounds in a preheated oven at 180°C (360°F) for 10 minutes.
;Resize,width=712;)
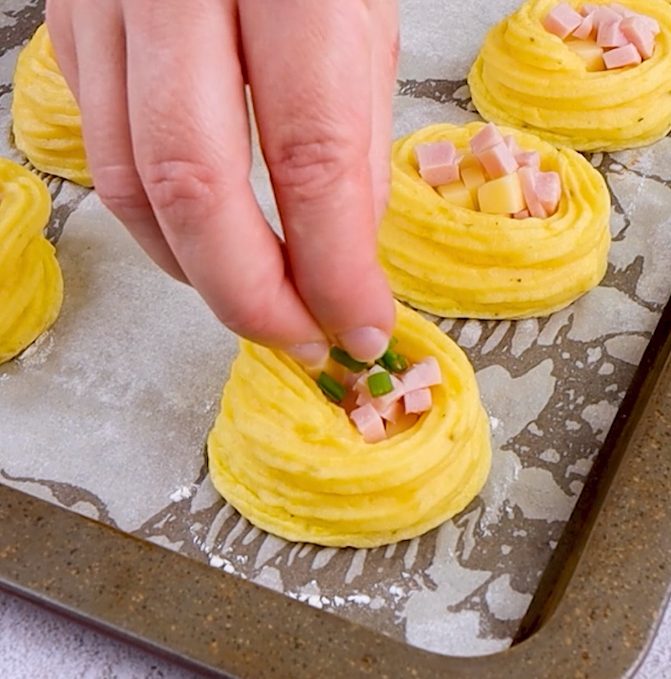
After 10 minutes, remove the baking sheet from the oven. Carefully fill each pre-baked potato basket with shredded cheese and chopped ham. Sprinkle a pinch of chopped chives over each basket.
After 10 minutes, remove the baking sheet from the oven. Carefully fill each pre-baked potato basket with shredded cheese and chopped ham. Sprinkle a pinch of chopped chives over each basket.
;Resize,width=712;)
Return the baking sheet to the oven and bake for an additional 10 minutes, or until the cheese is melted and bubbly, and the potato baskets are golden brown and crispy.
Return the baking sheet to the oven and bake for an additional 10 minutes, or until the cheese is melted and bubbly, and the potato baskets are golden brown and crispy.
;Resize,width=712;)
Remove the potato baskets from the oven and let them cool slightly before serving.
Remove the potato baskets from the oven and let them cool slightly before serving.

;Resize,width=767;)
