How to Sharpen Japanese Knives: a 7 Step-By-Step Guide to Do it Like a Japanese Chef!
Sharpening Japanese knives involves recognizing dullness signs, using a whetstone at the correct angle, and following a meticulous sharpening process. To maintain their razor edge, it's crucial to use proper cutting surfaces, clean the knives carefully, hone regularly, and store them appropriately, ensuring they remain sharp and effective for culinary excellence.

In the realm of culinary arts, Japanese knives hold a revered status, celebrated for their exceptional sharpness and precision. These blades are not just tools but precious instruments that embody the spirit of Japanese craftsmanship. Their unparalleled edge allows chefs to perform delicate cuts with ease, turning ordinary ingredients into culinary masterpieces. However, like all fine instruments, Japanese knives require meticulous care to maintain their edge. Neglect can transform these sharp marvels into dull, ineffective tools, making cooking not only laborious but also hazardous. The journey from razor-sharp to blunt doesn't happen overnight, but with continuous use, even the finest blades will inevitably dull.
When Should You Sharpen Your Japanese Knife?
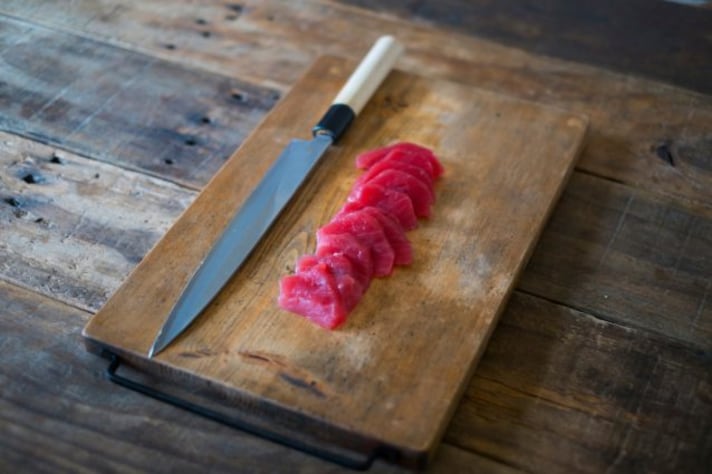
A Japanese knife's sharpness is its soul, making timely sharpening crucial. But how do you know when it's time? The first sign is resistance. If your knife no longer glides through ingredients with ease, it's likely losing its edge. Tomatoes are a good test subject; a sharp knife should slice through them with minimal effort. Another indicator is the need for excessive force. If you find yourself pressing harder than usual to cut, it's time to sharpen. Lastly, visually inspect the blade. Any visible nicks or a reflection along the edge are tell-tale signs of dullness.
A Step-by-Step Guide on How to Sharpen a Japanese Knife
Sharpening Japanese knives involves a process that blends tradition with precision. Here's how to do it:
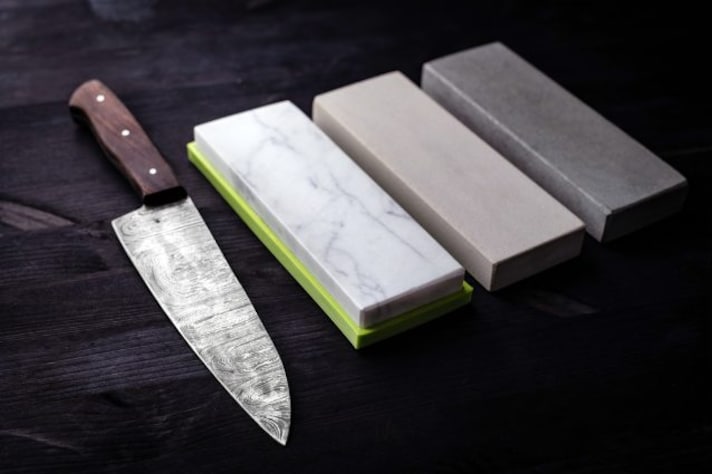
1. Choose the Right Whetstone: Start with a medium-grit stone (about 1000 to 1500 grit) for basic sharpening. If your knife is exceptionally dull, begin with a coarser grit before moving to a finer one.
2. Soak the Whetstone: Submerge the stone in water until bubbles cease to surface. This usually takes about 5 to 10 minutes.
3. Secure the Stone: Place the stone on a non-slip base or a wet cloth to ensure stability during sharpening.

4. Find the Right Angle: Hold the knife at an angle of about 10 to 15 degrees to the stone. This is crucial for maintaining the blade's geometry. Some chefs use a guide, but with practice, you'll develop a feel for it.
5. Sharpening Movements: With light pressure, glide the blade across the stone in a sweeping motion, from the heel to the tip. Repeat this process 5-10 times on one side before switching to the other, ensuring even sharpening.
6. Finishing Touches: After the initial sharpening, move to a finer grit stone (about 6000 grit) to polish the edge and remove any burrs, following the same technique.
7. Testing the Sharpness: To test sharpness, gently run the blade through a piece of paper. A sharp knife should cut cleanly and effortlessly.

Tips to Keep Your Japanese Knife Sharp
Remember to use proper cutting surfaces, because hard surfaces like glass or stone can dull your knife quickly. Opt for wooden or plastic cutting boards instead.Clean your knives carefully, hand washing it with mild soap and water, then dry it immediately. Avoid dishwashers, as they can damage the edge. Honing with a ceramic rod can realign the edge, keeping it sharp between sharpening sessions. Lastly, remember to store knives in a wooden block or on a magnetic strip to prevent the edges from touching hard surfaces.
;Resize,width=767;)


