How to Perfectly Butterfly a Lobster Tail (It’s Easier Than You Might Think!)
Butterflying a lobster tail involves splitting the shell and lifting the meat on top for even cooking and a stunning presentation. Best done before broiling, grilling, or baking, it ensures tender, flavorful results. Read ahead for the complete step-by-step guide and all the tricks to do it perfectly!

Lobster may carry the reputation of being a luxury food, reserved for indulgent dinners and white-tablecloth restaurants, but don’t let its prestige fool you. Preparing lobster at home, including the seemingly intricate task of butterflying a lobster tail, is far simpler than it looks. Like most cooking skills, it’s just a matter of practice, patience, and knowing the right steps. Butterflying a lobster tail is an essential technique for showcasing its succulent meat, whether you’re grilling, baking, or broiling.
What Does It Mean to Butterfly a Lobster Tail?
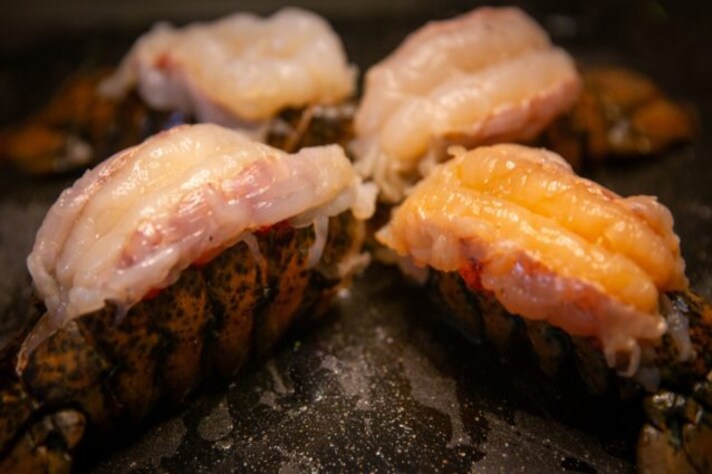
Butterflying a lobster tail isn’t as fancy as it sounds. In essence, it means splitting the tough shell and gently loosening the meat so it can be displayed on top, creating a striking presentation and ensuring even cooking. The technique is commonly used for broiling and grilling because it allows the heat to penetrate the meat evenly, preventing the chewy texture that comes from uneven cooking.
Think of it as a little lobster makeover: the shell frames the tender, juicy meat, turning it into the centerpiece it deserves to be. Beyond looks, butterflying helps you cook the lobster to perfection—no more guessing whether it’s done or struggling to pry out every morsel post-cooking.
Step-by-Step Guide to Butterflying a Lobster Tail
Let’s break it down into simple steps. First, grab a pair of sturdy kitchen shears (more on alternatives later). Hold the lobster tail firmly with the underside (the softer, lighter-colored side) resting against your palm. Snip through the top shell, starting from the thicker, rounded end and working toward the tail’s fan. Be careful to stop before cutting through the fan itself—it’s part of the visual appeal.
Next, gently loosen the meat from the shell without fully detaching it. Use your fingers or the blunt edge of a knife to pry it free, taking care not to tear it. Once the meat is loose, lift it out and lay it on top of the shell, closing the shell slightly underneath for support.
Voilà! You’ve just butterflied a lobster tail. Repeat until you’re a pro.
Does the Process Vary for Different Cooking Methods?
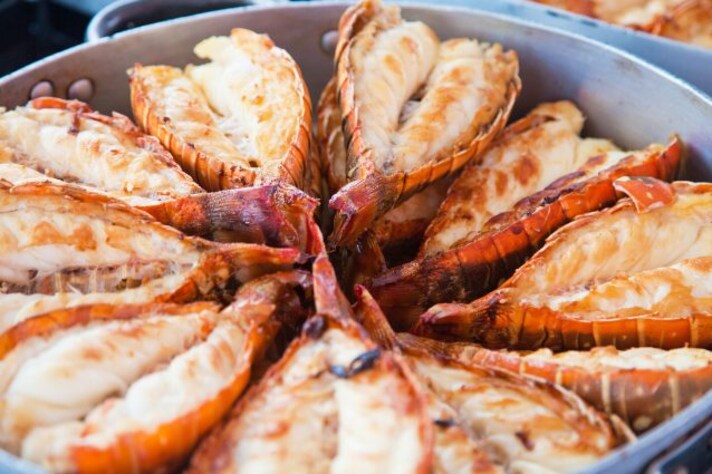
The basic butterflying technique remains the same regardless of your cooking method, but certain nuances apply. For broiling or baking, butterflying is ideal because it exposes the meat to direct heat, ensuring a golden, tender finish. Grilling also benefits from butterflying, as it allows the meat to sit on top of the shell, protecting it from the flames while still infusing it with smoky flavors.
However, if you’re boiling or steaming lobster, butterflying isn’t necessary—and can actually be counterproductive. In these methods, the shell helps retain moisture and flavor, so it’s better to cook the tail whole and butterfly it afterward for serving. Choosing when to butterfly depends largely on how you plan to cook the lobster and the final presentation you’re going for.
Should You Butterfly Before or After Cooking?
Timing matters, and the answer depends on your goals. Butterflying before cooking is recommended for dry-heat methods like grilling, broiling, and baking. By opening up the shell, you allow the meat to cook more evenly and soak up any seasonings or butter you’ve added. Plus, it delivers that impressive restaurant-style look straight out of the oven.
For boiling or steaming, it’s better to keep the tail intact while cooking. Afterward, you can butterfly the cooked tail for a stunning presentation, but you’ll miss out on seasoning opportunities during the cooking process. In short: butterfly before cooking if you’re using dry heat, and save it for after if you’re working with wet heat.
What If You Don’t Have Scissors?
No kitchen shears? No problem. A sharp, sturdy knife will do the trick—but proceed with caution. Place the tail flat on a cutting board, shell-side up, and carefully press the knife down along the centerline of the shell. Apply just enough pressure to crack the shell without cutting all the way through the meat. Once you’ve opened the shell, proceed with loosening and lifting the meat as usual.
If knives feel too risky, you can also crack the shell with your hands by squeezing it gently along the edges until it splits open. It takes a little more effort but gets the job done when scissors aren’t available.


;Resize,width=712;)
;Resize,width=767;)
