Every single one of us knows the pain of searching through the depths of the fridge to find that one elusive ingredient. Fridges have a sneaky way of turning into cluttered chaos, especially when you have a big family. And then, they rob you of your precious time when it comes to cleaning them out and tossing away expired items, forgotten in the back or tucked away in some unknown nook and cranny. Is there a way to avoid this madness? Absolutely! You just need to organize your fridge like a pro!
The Anatomy of a Perfectly Organized Fridge
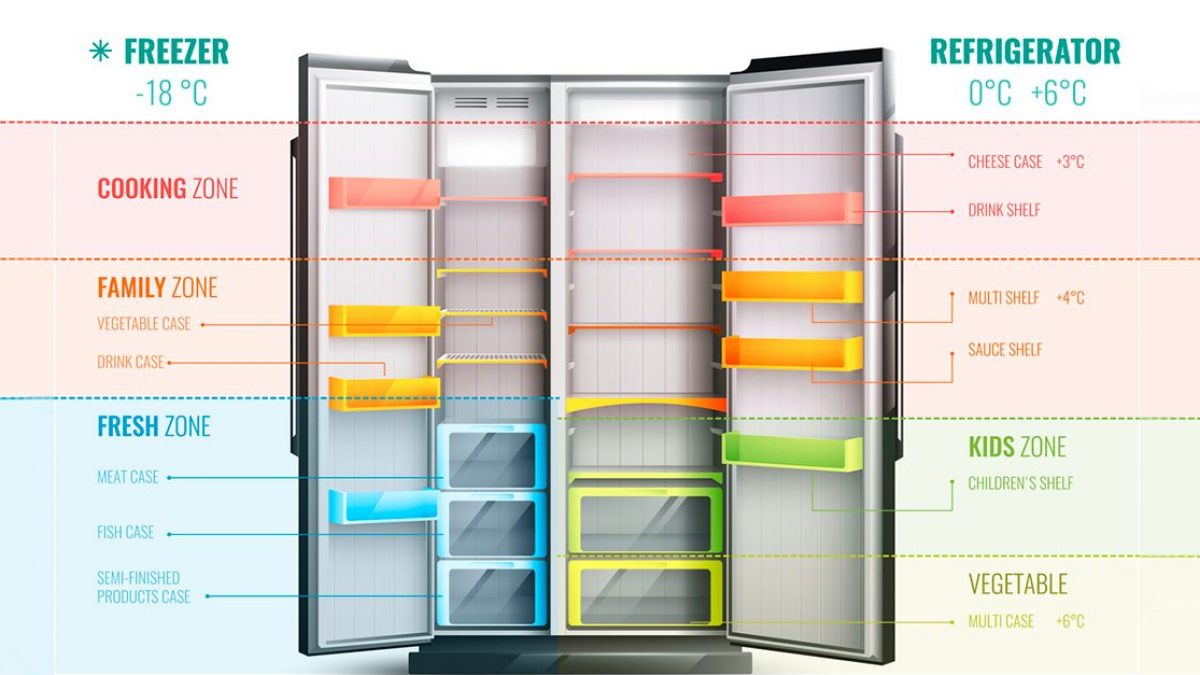
When it comes to organizing your fridge, each section has its own unique role. Let's break down what goes where:
Top Shelf
The top shelf is ideal for ready-to-eat items like leftovers, pre-cooked meals, and drinks. Since it's at eye level, it's easy to see what's available, making it the perfect spot for quick grabs. Just think of it as the VIP lounge for your favorite foods!
Middle Shelf
This is the sweet spot for dairy products. Yogurt, cheese, milk, and eggs thrive here, where the temperature is consistently cold but not too frosty. Consider this the dairy district—no trespassing for anything else!

Lower Shelf
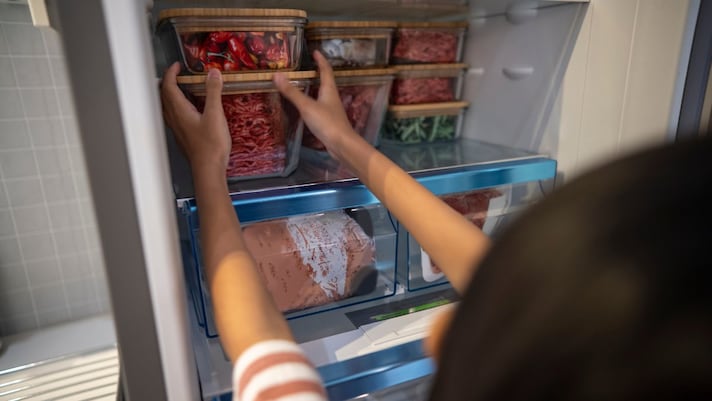
This is the coldest part of the fridge, making it perfect for raw meat, poultry, and seafood. Store these items on the bottom to prevent any drips from contaminating other foods. You don't want a salmon surprise on your salad, after all.
Drawers
If your fridge has drawers, they're likely labeled for fruits and vegetables. Use the crisper drawers to your advantage: high humidity for veggies and low humidity for fruits. These compartments help keep your produce fresher for longer, so you don't end up with a wilted garden in your fridge.
The Door
The door is the warmest part of the fridge, so avoid placing perishable items here. Condiments, sauces, and juices are best suited for this space. Think of it as the condiment carousel—round and round they go, always within easy reach.
How to Avoid Chaos in Your Fridge
Once you've got everything in its proper place, the next step is to keep track of what's inside. This doesn't require a PhD in fridgeology, just a bit of diligence. One handy trick is to use a dry-erase marker on the fridge door to jot down expiration dates and items that need to be used up soon. This way, you can easily see what needs to be eaten before it goes bad. You could also try the FIFO method—first in, first out. Just like rotating stock in a grocery store, place newer items behind older ones to ensure nothing gets forgotten.
Another pro tip? Dedicate a "use me first" bin for items that are nearing their expiration date. This can be a game-changer for avoiding waste and ensuring nothing gets lost in the shuffle. Plus, it's a great way to encourage some culinary creativity—nothing like a surprise stir-fry night with those almost-expired veggies!

How to Properly Clean The Fridge (And How Often You Should Do It!)
Even with the best organizational skills, your fridge will still need a good clean-out every once in a while. A general rule of thumb is to give your fridge a thorough cleaning every three to four months. Start by emptying out the contents and tossing anything that's expired or unrecognizable. Next, remove the shelves and drawers and give them a good scrub with warm, soapy water. Don't forget to wipe down the interior walls and door seals—those little crevices can be sneaky crumb collectors.
For those stubborn odors, a little baking soda can work wonders. Leave an open box inside your fridge, and it'll help absorb any lingering smells. And remember, the key to a clean fridge isn't just the initial scrub—it's maintaining that cleanliness. Wipe up spills immediately, and make it a habit to check for expired items weekly. After all, a clean fridge is a happy fridge, and it'll make your life a whole lot easier.
;Resize,width=767;)
