How to Keep Your Baked Ham From Drying Out: 7 Tips for The Juiciest Easter Ham
Baking a perfect ham without drying it out requires careful technique. From choosing the right cut to slow-cooking at low temperatures, covering with foil, and basting with glaze, each step ensures a juicy, tender result. Experts also recommend monitoring the internal temperature and letting the ham rest before slicing to retain moisture and flavor.

There’s nothing quite like the smell of a baked ham filling your kitchen—especially during the holidays. However, if you’re not careful, you may end up with a dry, tough roast that nobody wants to eat. The secret to a perfect, moist baked ham lies in preparation, technique, and a few expert tricks that ensure the meat stays tender and juicy throughout the cooking process. So, how can you prevent that dreaded dry ham? Here are the best tips and advice from top chefs to keep your baked ham from drying out.
1. Choosing the Right Ham
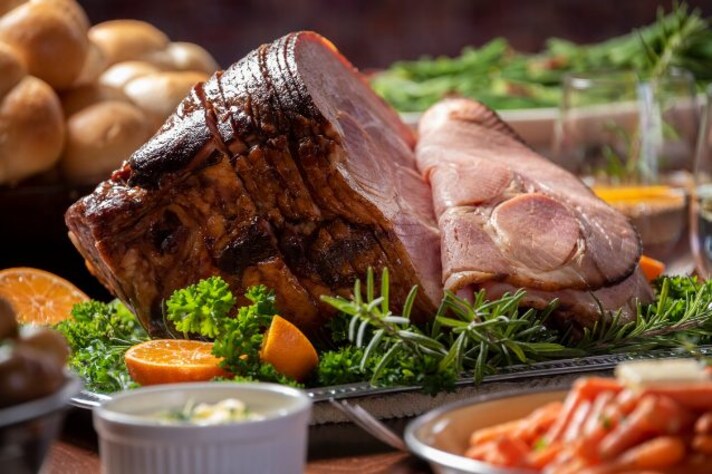
The journey to a moist, delicious ham begins long before it hits the oven. According to culinary experts, choosing the right type of ham is key. When shopping, aim for a bone-in ham rather than a pre-sliced or boneless version. Bone-in hams retain moisture better throughout the cooking process, thanks to the natural collagen in the bone. Additionally, look for a ham with a bit of fat still attached. The fat melts as it cooks, creating a natural basting mechanism that helps keep the meat moist. If you opt for a pre-cooked ham, make sure it’s labeled as "moist" or "juicy" for optimal flavor and tenderness.
2. Low Temperature Cooking
One of the most common mistakes when baking a ham is cooking it at too high of a temperature. While it might seem tempting to crank up the heat to get the job done faster, slow cooking at a lower temperature is the secret to keeping that ham tender and juicy. Chefs recommend cooking your ham at 275°F to 300°F for the best results. This slower, gentler heat allows the fat to melt evenly, basting the meat in its own juices without causing it to dry out. If you’re in a rush, consider cooking the ham at a low temperature and then turning it up for the final 15 to 20 minutes to get that golden, caramelized crust.
3. Cover It Up
Chef advice often emphasizes the importance of covering your ham while it’s cooking. Wrapping your ham in aluminum foil during the majority of the cooking process helps trap moisture and steam, essentially creating a mini-oven around the ham. This steam helps keep the meat hydrated and ensures it doesn’t dry out. When the ham is close to done, remove the foil to allow the surface to brown and become crispy. This approach allows you to enjoy both a juicy interior and a crispy exterior, the best of both worlds.
4. Baste, Baste, Baste
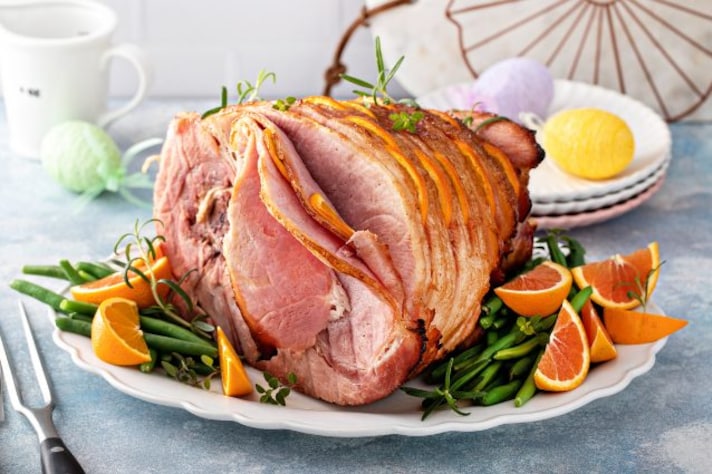
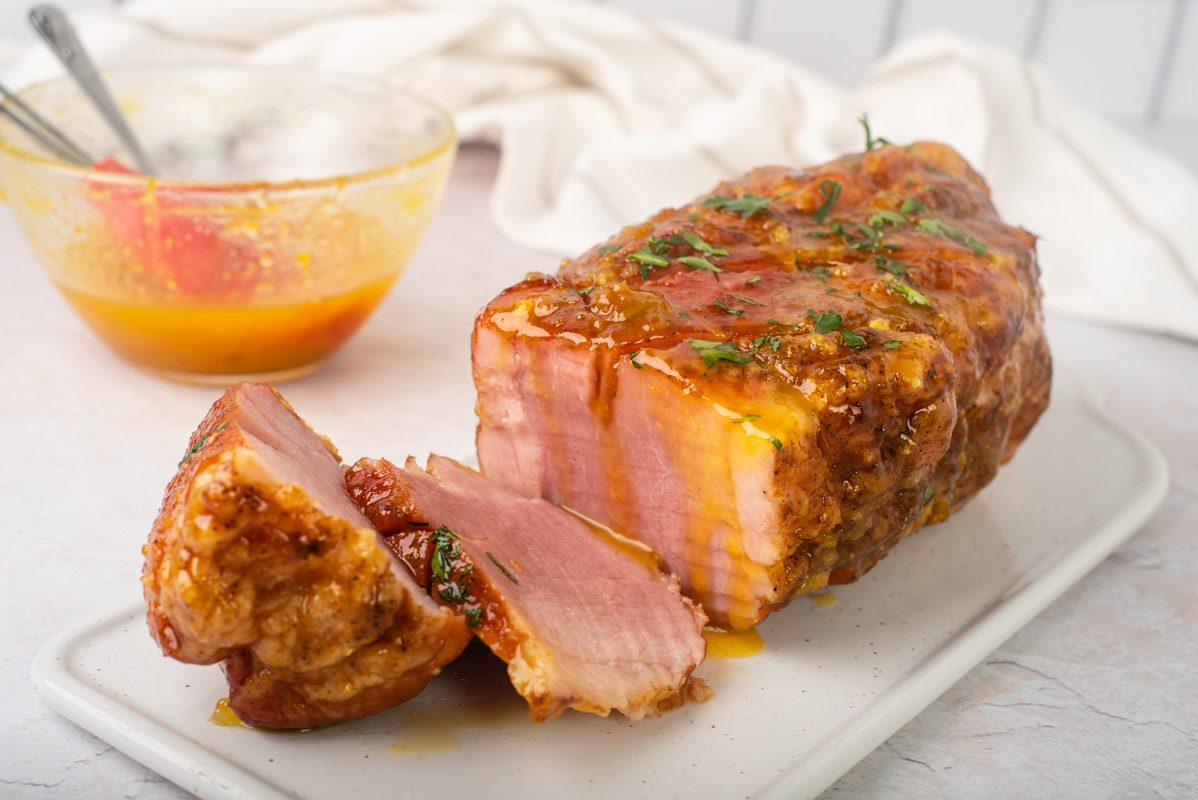
A ham glaze can do wonders not only for flavor but also for moisture retention. Basting your ham periodically with a glaze or marinade helps to keep the surface moist while enhancing the overall flavor profile. Expert chefs recommend glazing your ham every 30 minutes, especially during the final stages of baking. Glaze options can vary—from traditional brown sugar and honey glazes to more complex flavors like balsamic vinegar and mustard. These flavorful liquids don’t just add sweetness or tang but also act as a barrier that keeps moisture in the meat. Just be sure not to over-baste, as excess sugar can burn or caramelize too much.
5. Temperature Monitoring is Key
One of the fastest ways to dry out your ham is by overcooking it. A dry ham doesn’t happen overnight—it’s often the result of cooking at high temperatures or leaving it in the oven for too long. To prevent this, always monitor the internal temperature of the ham using a meat thermometer. For pre-cooked hams, you’ll want the internal temperature to reach around 140°F. For raw or partially cooked hams, aim for 145°F. Monitoring the temperature closely will ensure you’re not overcooking, which is the number one cause of dryness.
6. Let It Rest Before You Carve
After your ham is done cooking, don’t rush to carve it immediately. Just like with any other meat, letting your ham rest for 15 to 20 minutes before slicing is essential for keeping it moist. When you allow the ham to rest, the juices have time to redistribute throughout the meat, rather than running out when you start cutting. This will ensure that your slices are not only flavorful but also retain their juiciness.

7. Expert Tip: Add a Little Liquid for Extra Moisture
A final tip from professional chefs is to create a moisture reservoir during the cooking process. When baking, add a small amount of liquid—such as water, stock, or wine—to the bottom of the pan. The moisture will slowly evaporate, creating a humid environment that prevents the ham from drying out. Additionally, this liquid will help catch the drippings, which can later be used as a flavorful base for a sauce or gravy.
;Resize,width=712;)
;Resize,width=712;)

;Resize,width=767;)
