How to Get Mold Out of Your Coffee Maker (And How to Prevent It From Forming Again!)
Mold in your coffee maker doesn't mean you need to throw it out. Clean it thoroughly by washing removable parts and running a cleaning cycle with vinegar or lemon juice. Mold can return, so check for it monthly, and keep your machine dry after each use to prevent growth.

Your coffee maker is like a loyal friend, always there when you need a morning pick-me-up. But even the best friends need a little TLC. If you’ve discovered mold lurking inside your beloved machine, don’t panic—this doesn’t mean you need to toss it out. Mold in coffee makers is surprisingly common, thanks to the combination of moisture and warmth that makes for an ideal mold-growing environment. Luckily, with the right cleaning methods and maintenance, you can kick that mold to the curb and keep your coffee maker running smoothly. Here’s how.
Should You Throw Your Coffee Maker Away if There’s Mold?
If you spot mold in your coffee maker, it’s tempting to think you should just throw the whole thing away. But don’t be so quick to give up on your trusty caffeine machine! Mold doesn’t necessarily mean the coffee maker is beyond saving. In most cases, a thorough cleaning can restore it to its former glory. Coffee makers are designed to be cleaned and maintained, so as long as you tackle the mold early, there’s no need to send it to the landfill.
How to Remove Mold from a Coffee Maker (With and Without Vinegar)
Vinegar is the most popular solution for cleaning mold out of a coffee maker, and for good reason. Its natural acidity makes it great at breaking down mold and killing off any spores. To use vinegar, mix equal parts water and white vinegar, then pour the mixture into the water reservoir. Run the machine through a brew cycle, then let the vinegar solution sit in the carafe for about 30 minutes to disinfect the system. After that, run two or three cycles of plain water to flush out the vinegar and ensure your coffee won’t have a tangy aftertaste.

But what if you’re not a fan of vinegar or don’t have any on hand? No problem! You can use a commercial descaling solution or a mixture of lemon juice and water to achieve similar results. Lemon juice is also acidic and effective at breaking down mold. Just follow the same steps as the vinegar method, and you’ll have a clean, mold-free coffee maker without the strong vinegar smell.
How to Clean Your Coffee Maker After Removing the Mold
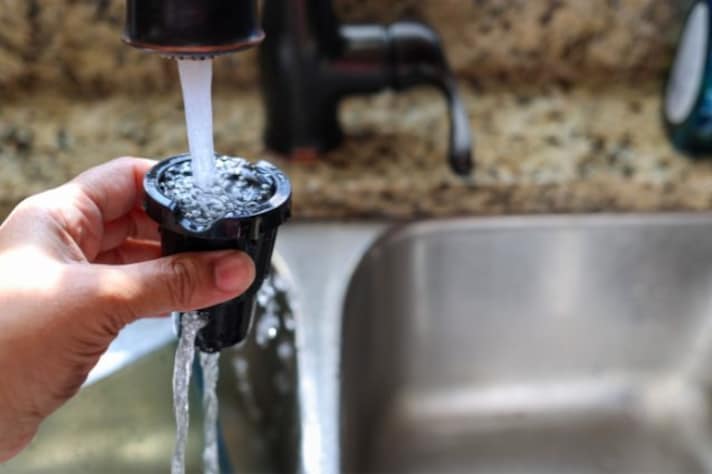
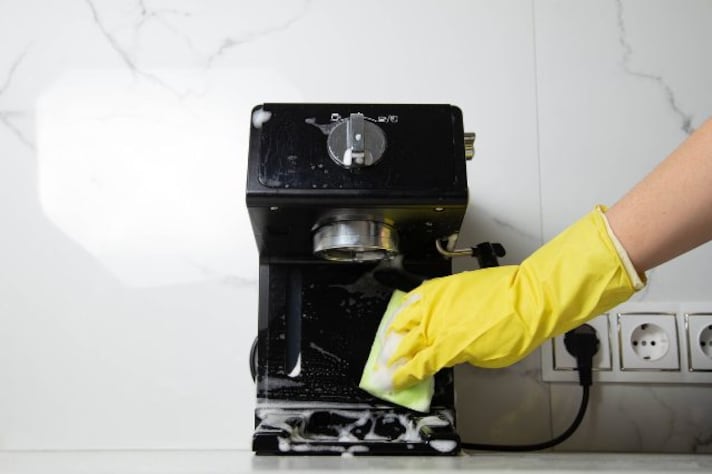
Once you’ve removed the mold, cleaning your coffee maker thoroughly is crucial to prevent future growth. Start by disassembling all the removable parts, like the carafe, filter basket, and water reservoir. Wash these with warm soapy water, scrubbing away any visible mold or residue. Don’t forget to dry everything completely before reassembling to avoid creating a damp environment for mold to regrow.
Then, run a cleaning cycle through the machine. This ensures that every part, including internal tubing, gets sanitized. After you’ve finished the cleaning cycle, run a couple of water-only cycles to remove any lingering cleaning solution. Trust us—you don’t want your next cup of coffee tasting like soap or vinegar!

Can Mold Grow Back Even After You Remove It?
Yes, unfortunately, mold can make a comeback if you don’t keep up with regular cleaning and maintenance. Coffee makers create a damp, warm environment—the perfect breeding ground for mold. Even after you remove it, mold spores can remain if you don’t take proper precautions. Regular cleaning, drying, and keeping your coffee maker in a well-ventilated area can help prevent mold from returning.
How to Prevent Mold From Growing in Your Coffee Maker
To stop mold from creeping back into your coffee maker, regular upkeep is essential. Make sure to rinse and dry the carafe, filter basket, and any removable parts after every use. Leaving leftover coffee or water sitting in the machine overnight invites mold to grow. Empty the water reservoir after brewing and keep the lid open to let air circulate, reducing the moisture inside.
As a general rule, give your coffee maker a deep clean once a month. This doesn’t mean just a quick rinse—run a cleaning cycle with a descaling solution, vinegar, or a coffee maker cleaner, and wipe down the machine thoroughly. Mold loves to hide in hard-to-reach places, so getting into all the nooks and crannies will help keep it at bay.
;Resize,width=767;)
;Resize,width=712;)
;Resize,width=712;)
;Resize,width=712;)
