How to Clean Your Nut Milk Maker: Tips for Maintaining Freshness and Hygiene
Cleaning your nut milk maker regularly is key to maintaining freshness and hygiene. Learn simple steps to disassemble, wash, and sanitize your machine, preventing residue build-up and unpleasant odors. With these easy tips, you’ll ensure your homemade nut milks taste fresh and your appliance stays in top condition.

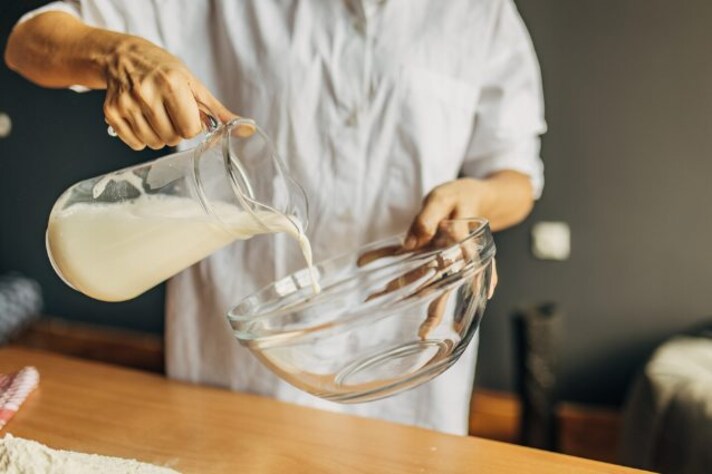
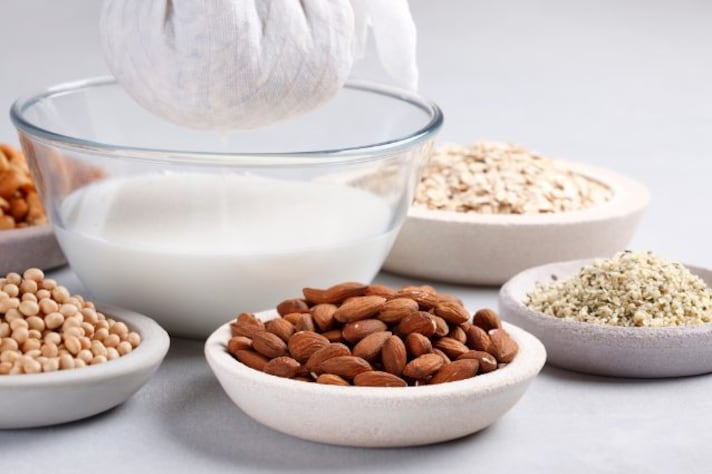
Nut milk makers are a convenient tool for making fresh, plant-based milk at home, but keeping them clean is key to ensuring the quality and taste of your beverages. Proper maintenance not only extends the life of your machine but also helps prevent the build-up of bacteria and stubborn residues that could affect flavor. These simple cleaning tips will keep your nut milk maker fresh and hygienic, so you can enjoy creamy almond, cashew, or oat milk without the hassle.
Why Clean Your Nut Milk Maker Regularly?
- Prevents Residue Build-Up: After each use, nut milk makers often accumulate nut pulp, oils, and starches that can create a sticky, greasy residue. Cleaning removes this and helps your machine run efficiently.
- Improves Flavor: Leftover residue can lead to an off taste in your next batch of nut milk. A clean machine ensures every milk is as fresh as the first.
- Promotes Hygiene: Regular cleaning reduces the risk of mold or bacteria growth in your appliance, ensuring that your homemade nut milks are safe to drink.
4 Simple Steps to Clean Your Nut Milk Maker
1. Disassemble the Machine
- Remove All Parts: Start by unplugging the nut milk maker and disassembling any removable parts like the strainer, filter, and the milk container. This will allow you to clean all the nooks and crannies effectively.
- Check for Pulp: Before cleaning, gently tap or shake the filter or container to remove any leftover nut pulp or debris. You don’t want to leave anything behind as it can dry out and become harder to clean.
Pro Tip: Always refer to the user manual for specific instructions on disassembling your model to avoid damage.
2. Wash the Components by Hand
- Warm Soapy Water: Fill your sink or a large bowl with warm water and a few drops of mild dish soap. Soak the filter, strainer, and other removable parts in the water to loosen any debris.
- Scrub Gently: Use a soft sponge or brush to scrub the parts, focusing on areas where nut pulp or milk residue may have accumulated. Avoid using abrasive sponges, as they can scratch delicate surfaces.
- Clean the Main Unit: Wipe down the main body of the nut milk maker with a damp cloth. Be careful not to let water seep into the electrical components. For stubborn spots, use a soft brush to gently remove any grime.
Pro Tip: Use a soft brush to clean small, hard-to-reach areas like the strainer mesh, ensuring all pulp is removed.
3. Sanitize with Vinegar (Occasionally)
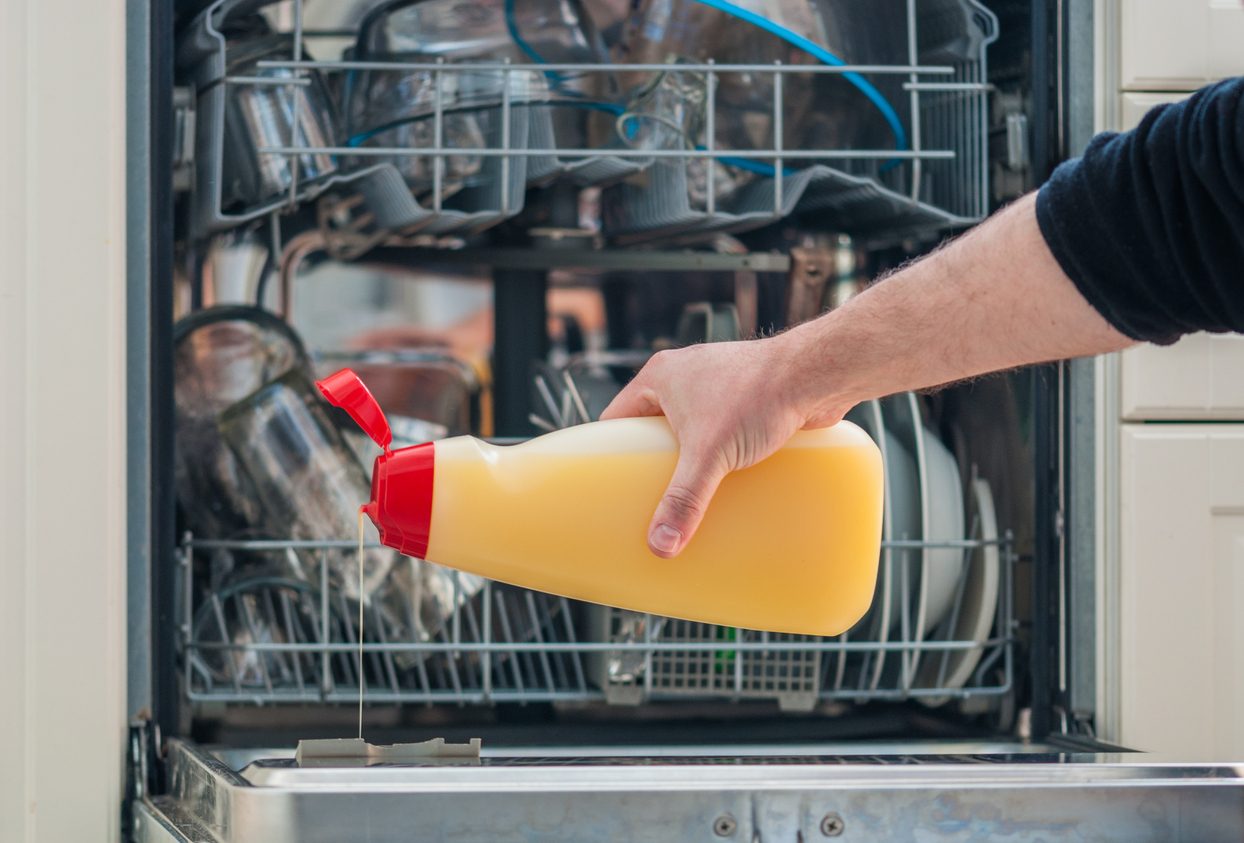
- Deep Clean with Vinegar: If you notice any lingering odors or stubborn residue, you can use a mixture of white vinegar and water to sanitize your nut milk maker. Vinegar is a natural disinfectant that helps remove built-up oils and odors.
- Run a Cleaning Cycle: Pour the vinegar solution (1 part vinegar to 2 parts water) into the nut milk maker and run a cleaning cycle without any nuts inside. This will allow the machine to thoroughly cleanse itself. After the cycle, rinse everything thoroughly with water.
Pro Tip: This vinegar cleaning should only be done occasionally—once every few uses, depending on how frequently you use the machine.
4. Dry Thoroughly Before Reassembling
- Air Dry: After cleaning all components, allow them to air dry completely. Moisture left inside the unit can lead to bacteria growth, so be sure everything is dry before reassembling.
- Wipe Down the Base: Use a dry, clean cloth to wipe down the base of the nut milk maker. Be gentle around any electrical parts to avoid damage.
Pro Tip: For extra hygiene, leave the parts out to dry on a clean towel or drying rack to ensure they are fully dry and free from water spots.
Final Thoughts on Maintaining Your Nut Milk Maker
Keeping your nut milk maker clean not only ensures that your homemade nut milk tastes fresh and delicious, but it also helps maintain the longevity of the machine. By following these simple steps after each use, you’ll prevent residue buildup, improve hygiene, and avoid unwanted flavors. A clean nut milk maker is essential for getting the most out of your plant-based milk, so you can enjoy a healthier, more sustainable lifestyle without any hassle.
By integrating regular cleaning habits into your routine, you’ll be able to enjoy your homemade nut milk for longer and keep your appliance in top condition for years to come.


;Resize,width=712;)
;Resize,width=767;)
