Butter is a powerhouse in the kitchen, a staple fat that’s indispensable in both baking and savory cooking. It’s versatile, lending a creamy richness that’s hard to replicate. From pastries to pan sauces, butter makes almost everything better. And while there are many ways to season or infuse it, there’s a simple trick to taking butter to new heights with nothing but itself. That’s right—by browning butter, you can unlock a world of complex flavors that will elevate your dish in a matter of minutes. So, if you’re ready to take butter up a notch, let us guide you to brown butter perfectly every time.
What is Brown Butter, and Why is it Worth the Effort?
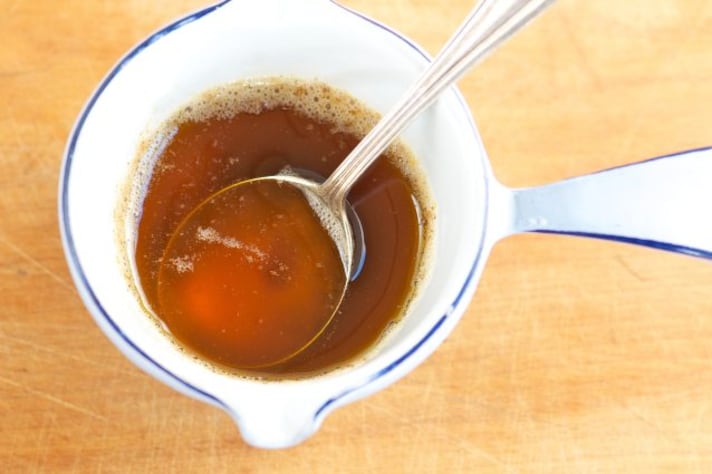
Browning butter is a straightforward transformation that involves heating it until the milk solids toast to a golden brown, releasing a deep, nutty aroma and flavor. This isn’t just melted butter; brown butter has character. It’s like the difference between a light roast and a dark roast coffee—same beans, but a whole new level of depth.
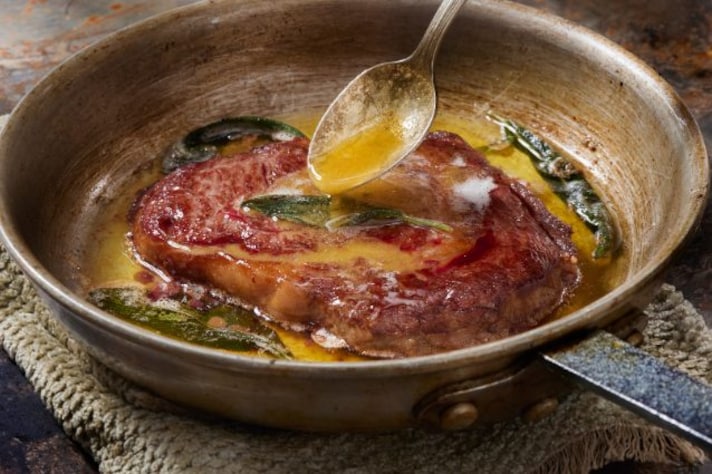
In the culinary world, brown butter (or beurre noisette in French) is prized for its versatility. It brings out the best in baked goods, adding a rich dimension to cookies, cakes, and pie crusts. But it’s equally at home in savory dishes, drizzling over pasta, vegetables, or fish, adding that extra oomph. In fact, brown butter is like a secret weapon—one that adds a dash of gourmet flair to the simplest recipes.

How to Brown Butter Like a Pro (Step-By-Step Guide)
Ready to start browning butter? It all begins with choosing the right butter. Ideally, you’ll want unsalted butter, as it gives you better control over the flavor. Place your butter in a light-colored, heavy-bottomed pan—this makes it easier to monitor the color change.
The process takes around 5–8 minutes, depending on the butter’s moisture content and the stovetop’s heat. Start on medium heat, and watch closely as it melts, foams, and finally transforms into liquid gold. You’ll know it’s ready when you smell a distinct nuttiness, and the milk solids in the butter have turned a warm brown. As soon as it’s the right color, remove it from the heat to prevent it from turning bitter.
To store, let it cool, then keep it in an airtight container in the fridge for up to a week, or freeze it for long-term use.
Should You Stir it Or Not?
Now, there’s a bit of debate in the kitchen: should you stir your butter while it’s browning, or leave it be? Gently swirling or stirring the butter can help ensure an even color, as some areas may brown faster than others. But be careful—too much movement can make it harder to track the color, and you might risk burning.

Browned butter can absolutely burn if you’re not attentive. Those nutty, caramelized notes turn bitter quickly, so keep your eyes—and your nose—on it. Once it’s reached the right stage, immediately pour it out of the pan to cool, stopping the cooking process.
Now, Can You Brown Butter in The Microwave?
Curious if the microwave can do the trick? While it’s possible, the stovetop really is the best way to brown butter. The microwave heats too unevenly, making it hard to get that golden-brown color without risking scorched milk solids. Plus, the visual and olfactory cues that guide stovetop browning are harder to notice in the microwave. In short, while the microwave might be tempting, a stovetop skillet will give you perfect, foolproof brown butter every time.
;Resize,width=767;)
