How to Avoid Botulism Contamination in Your Homemade Preserves: 6 Rules to Follow!
It's the time of year when we prepare preserves, pickles and homemade jams. How to do it safely while avoiding food poisoning and avoiding the risk of botulism proliferation? How does this bacterium grow and how can we avoid it? By following these simple tips.

Botulism is a microorganism that proliferates in the soil and survives in the absence of oxygen, a bacterium that is very dangerous for human health and finds "fertile ground" in home preserves, in oil and vinegar: spores, mold and the risk of botulism are always around the corner when we talk about foods preserved for a long time that, naturally, tend to deteriorate. If at an industrial level there are techniques that reassure us and that eliminate any possibility of bacterial proliferation in preserves, when we try our hand at home preparations, to prevent botulinum from proliferating in our gherkins, we need to pay attention to some simple rules. Let's see which ones.
What is Botulism?
Botulism is a microorganism caused by Clostridium botulinum, a bacterium that proliferates in the absence of oxygen and is able to survive in the vegetative form of a spore in any environment for a very long time. The main characteristic of this bacterium is its dangerousness: it is in fact able to produce botulinum toxin which, if ingested, acts on the muscles blocking any type of movement and causing, in extreme cases, death. Homemade preserves, since they are vacuum-packed, are the fertile ground in which the botulinum spore can hatch and slowly proliferate, thus contaminating the food, this is not the case for fresh products in which the bacterium does not have "time" to transform into botulinum.
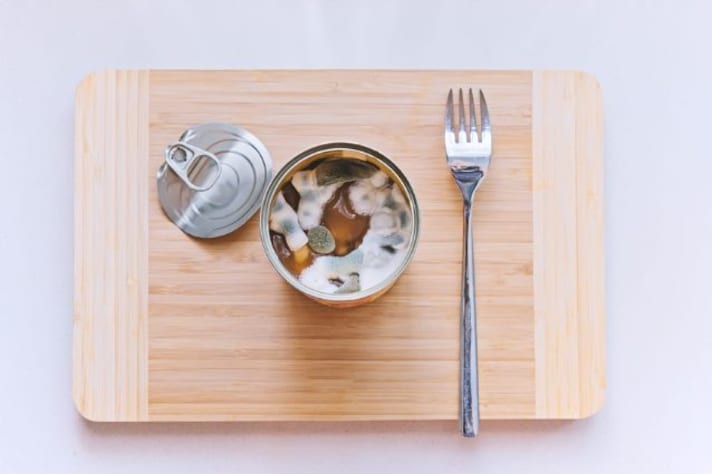
How to recognize a preserve contaminated by botulism? First of all, pay attention to suspicious swelling of the lid, a sign that botulism has perhaps found a home in your pickled gherkins; other obvious signs are the appearance of mold and rancidity of the food: in these cases, we are sorry, but your preserves will have to be thrown away.
Fun fact: 200 grams of botulinum toxin could kill all of humanity. Now do you understand why it is better to keep it away from your homemade preserves? Let's see how.
6 Rules to Follow to Avoid the Risk of Contamination
At an industrial level, there are chemical procedures capable of eliminating any possibility of bacterial proliferation in preserves, but when we try our hand at homemade oil and vinegar preserves, the risk is unfortunately there. Don't worry, this doesn't mean you have to give up, you just need to follow these simple rules.
1. Pay Attention to Hygiene
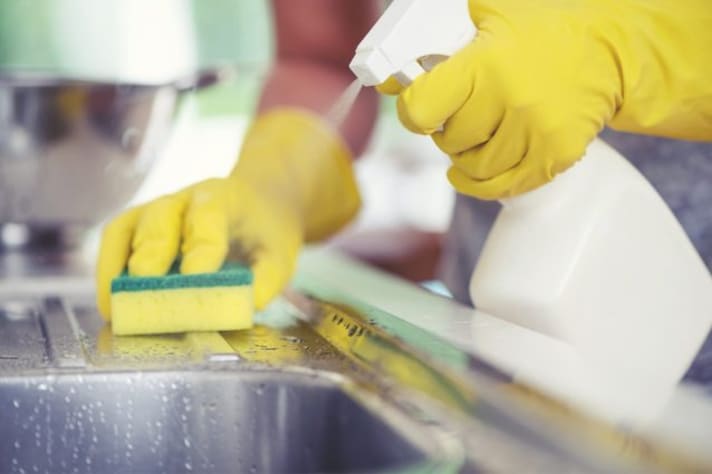
In the kitchen, it is always the first rule and, when it comes to preserves, it is a must: the work surface, the utensils and the foods you are going to treat must be cleaned and sanitized in the best possible way. This is because it goes without saying that a dirty surface is the ideal place for the proliferation of bacteria, precisely those we want to avoid.
2. Choose Fresh and Quality Products
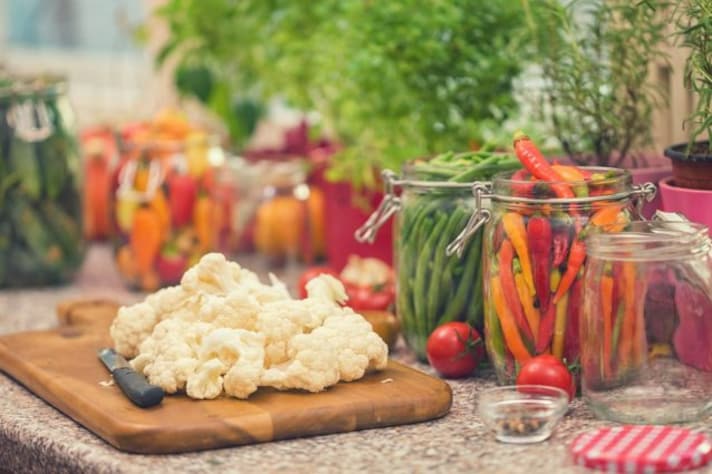
To prevent the proliferation of botulism, it is important that the raw materials chosen are fresh and of high quality: clean the vegetables well, remove any damaged or bruised parts and wash them with cold running water and bicarbonate, then dry them well (a very important step). If you are preparing pickled preserves, choose a vinegar that contains a percentage of acetic acid of no less than 5%.
3. Boil the Containers at The Right Temperature
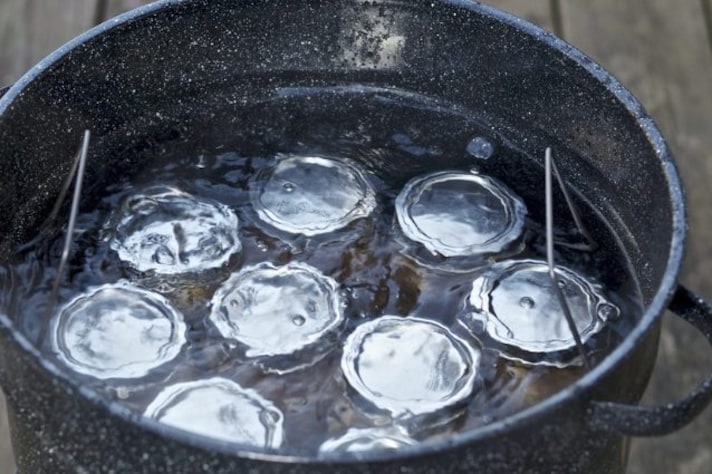
Whether they are in oil or vinegar, after filling the jars, you will have to close them hermetically and boil them for 20 minutes in plenty of water (pay attention to rule number 4). The surest way to eliminate the possibility of botulism is to reach a temperature of 250°F (121°C) but often when it comes to home methods, it is difficult to reach that point of heat: alternatively, you can block the germination of bacteria and botulism by adding salt or sugar to your preserves. Once boiled, dry the jars and let them cool to room temperature and store them in a dry place, away from heat sources and possibly in the dark. When you open them, check that the lid makes a "click", a sign that the vacuum has succeeded.
4. Use the Right Containers
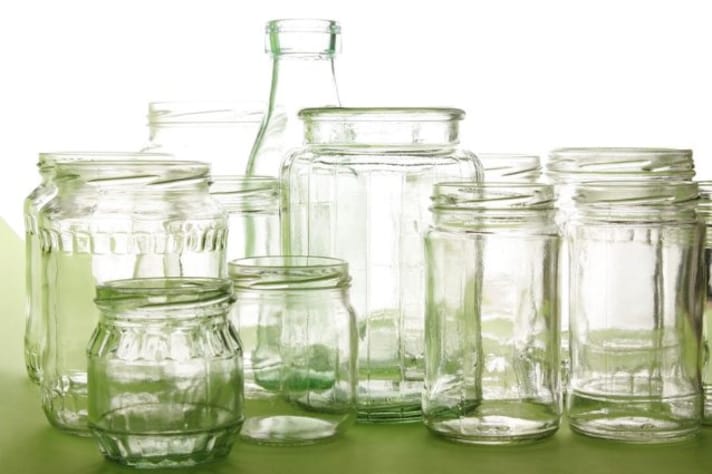
To ensure the correct pasteurization of the jars, they must be completely immersed in water: therefore, obtain tall and capacious pots in which you can place them and ensure at least 5 centimeters of water above the lids. The choice of jars must also be made carefully: the larger they are, the more time they will need to pasteurize and to be consumed once opened, so it is better to choose smaller jars. During the boiling operation, to prevent the jars from banging together, you can separate them with a rigorously clean cloth, immersed in the hot water of the pot.
5. Don't Fill to The Brim
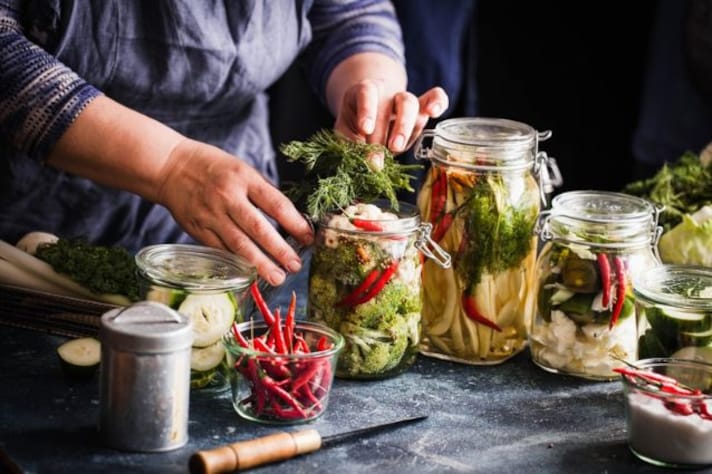
The jars and containers that you will then boil must never be filled to the brim: a so-called "headspace" is needed , that is, an empty space between the level of liquid (be it oil or vinegar) and the neck of the jar. The space is necessary for the "vacuum" to form correctly and to prevent the contents from overflowing during pasteurization. Obviously, do not forget to sanitize and sterilize the containers before filling them.
6. Store in The Right Way
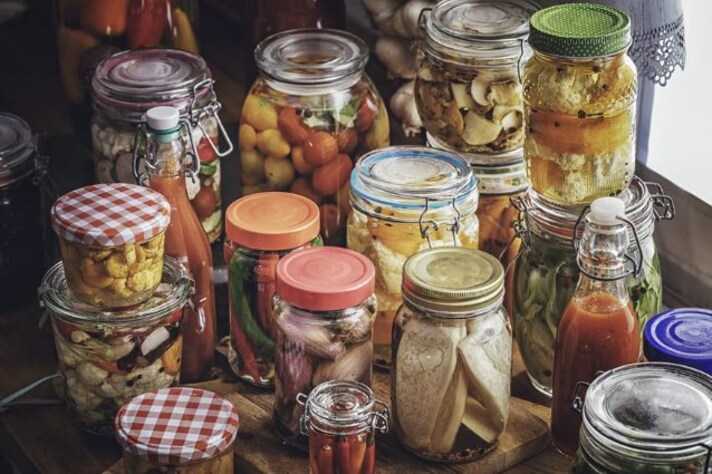
Once ready, your jars should be stored and kept in a dry place away from heat sources (botulism friendly). Once opened, always be careful to completely cover the vegetables (or whatever ingredient you used) with the liquid part (oil or vinegar) to avoid mold and, if you can, replace caps and gaskets after each use.
;Resize,width=767;)
;Resize,width=712;)
;Resize,width=712;)

