Homemade Ladyfingers: the Classic Recipe for the Italian Biscuits to Make Tiramisu

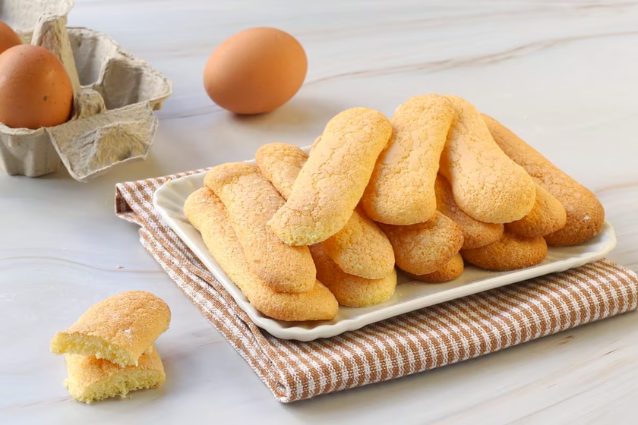
Ladyfingers are spongy and light biscuits, typical of the Italian pastry making. With their golden crust and consistency reminiscent of the classic sponge cake, in Italy they take their name from the royal house of Savoy and due to their characteristic elongated shape, they are also known as "ladyfingers". Simple and delicious, homemade ladyfingers are created to be soaked and are perfect for breakfast, dipped in a latte or in a cup of tea. With these, one of the most loved desserts around the whole world is made: tiramisù. But you can also make charlotte and zuccotto. Find out how to make them by following our step-by-step recipe.
Ingredients
How to Prepare Ladyfingers
;Resize,width=712;)
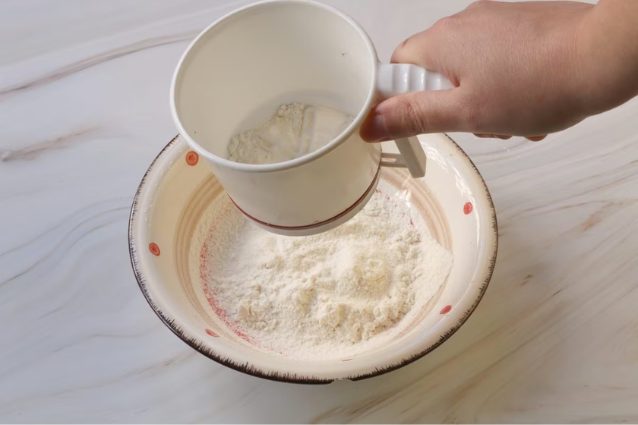
Sift the flour for a couple of times, and keep it aside.
Sift the flour for a couple of times, and keep it aside.
;Resize,width=712;)
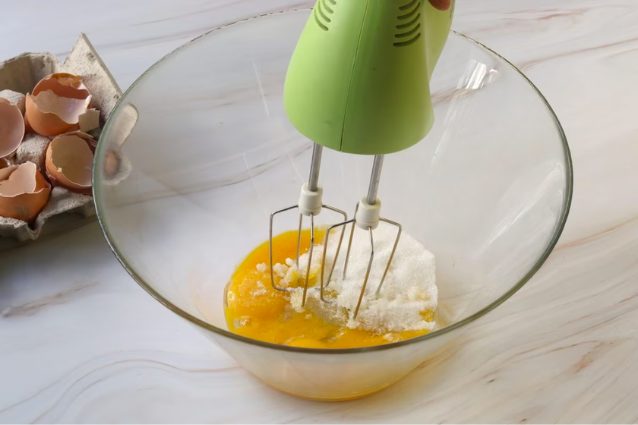
Collect the egg yolks and caster sugar into a large bowl, then whip them with an electric whisk until the mixture is light, frothy and quadrupled in volume.
Collect the egg yolks and caster sugar into a large bowl, then whip them with an electric whisk until the mixture is light, frothy and quadrupled in volume.
;Resize,width=712;)
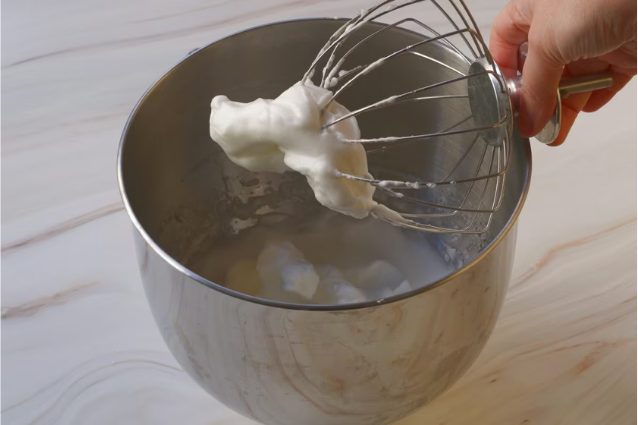
Separately, whip the egg whites with a few drops of lemon juice at maximum speed, until you have a shiny and very firm mass.
Separately, whip the egg whites with a few drops of lemon juice at maximum speed, until you have a shiny and very firm mass.
;Resize,width=712;)
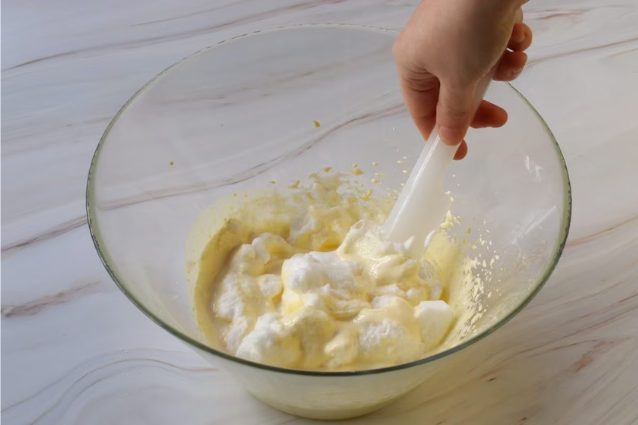
Add the egg whites to the yolks in two batches, mixing delicately with a spatula and moving it from bottom to top.
Add the egg whites to the yolks in two batches, mixing delicately with a spatula and moving it from bottom to top.
;Resize,width=712;)
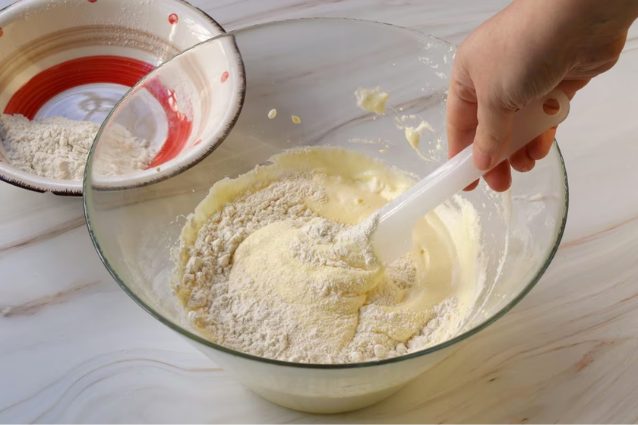
Finally, incorporate the flour two or three times, always with slow movements to avoid dismantling the mixture.
Finally, incorporate the flour two or three times, always with slow movements to avoid dismantling the mixture.
;Resize,width=712;)
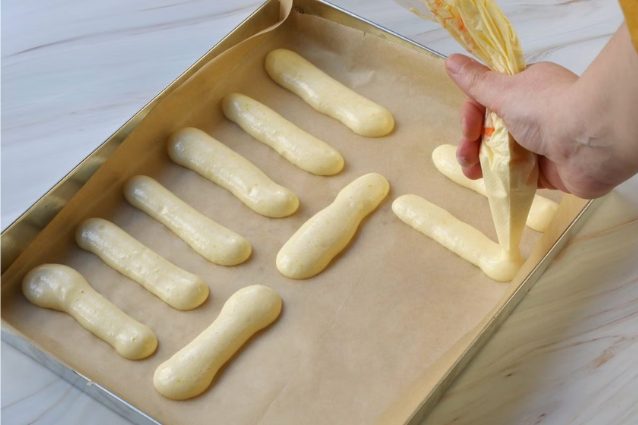
Transfer the dough into a piping bag, cut the tip (or use a smooth nozzle) and form 8-10 cm long sticks on a baking tray, lined with a sheet of baking paper.
Transfer the dough into a piping bag, cut the tip (or use a smooth nozzle) and form 8-10 cm long sticks on a baking tray, lined with a sheet of baking paper.
;Resize,width=712;)
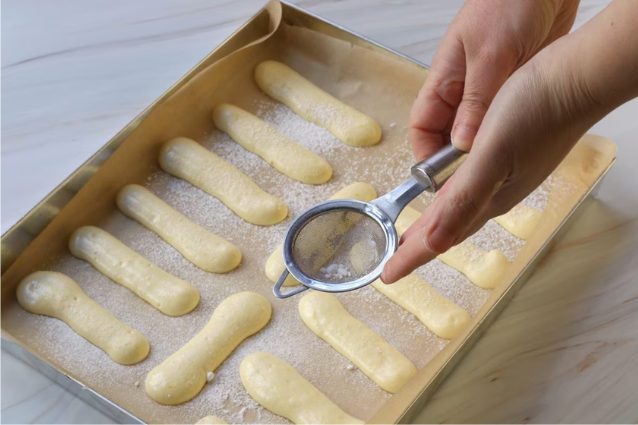
Sprinkle the biscuits with plenty of icing sugar.
Sprinkle the biscuits with plenty of icing sugar.
;Resize,width=712;)
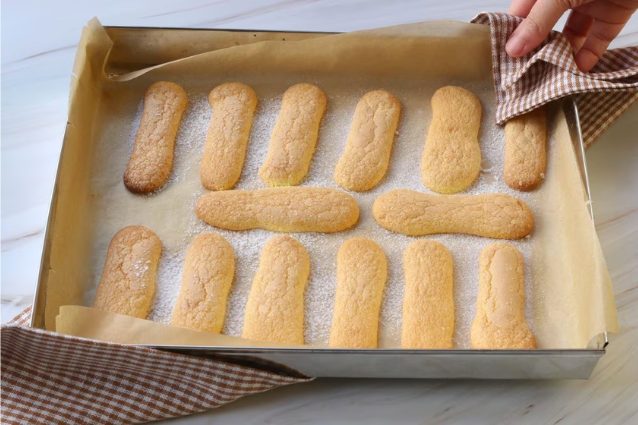
Cook in a pre-heated static oven at 392°F/200°C for 8 minutes, monitoring the level of browning; open the door slightly and continue for another 1-2 minutes. Bake and then, let them cool.
Cook in a pre-heated static oven at 392°F/200°C for 8 minutes, monitoring the level of browning; open the door slightly and continue for another 1-2 minutes. Bake and then, let them cool.
;Resize,width=712;)
Gently separate the ladyfingers with the blade of a knife or a spatula, then serve them or use them for your preparations.
Gently separate the ladyfingers with the blade of a knife or a spatula, then serve them or use them for your preparations.
Advice
With the doses indicated in the recipe you will obtain about 20-25 ladyfinger biscuits.
The trick to obtaining soft and spongy ladyfingers is to whip the egg whites very well (the mixture must be stable and firm) and incorporate the egg yolks with a spatula, mixing delicately and with movements from the bottom to the top.
If you want even smoother and silkier biscuits, add 50 grams of 00 flour and 20 grams of starch.
Sprinkle the ladyfingers with a little icing sugar before baking them: it will give them their irresistible golden crust on the surface and in this way they will keep for longer.
With the same dough, once collected in the piping bag, you can also make disks (or small spirals) and thus obtain biscuits with different shapes.
Be careful to space the ladyfingers apart from each other in the pan, so as to prevent them from sticking together: the dough will tend to swell during cooking. If they expand too much, lower the oven temperature slightly.
You can also add 1 teaspoon of cocoa powder to the mixture: you will obtain chocolate ladyfingers, perfect for dipping in coffee or in a delicious crème anglaise.
How to Store Homemade Ladyfingers
The ladyfingers can be stored at room temperature in a tin box: they will remain fragrant and perfect for at least 1-2 weeks.
;Resize,width=767;)


