
Homemade Ice Cream Cake: the No-Churn Recipe for a Fresh and Delicious Summer Dessert

Want a showstopping dessert perfect for sweltering summer days? Look no further than the Homemade No-Churn Ice Cream Cake! This isn't your average store-bought treat—the cake is baked from scratch, including two decadent no-churn ice cream flavors! This impressive dessert is the ultimate finale for any summer gathering, a guaranteed crowd-pleaser that's surprisingly easy to make. This simple ice cream is made with cream and condensed milk to create smooth, homemade vanilla and chocolate ice cream. A light and fluffy whipped cream frosting will bind everything together and add a touch of sweetness. So, ditch the store-bought tubs and get ready to impress with a homemade ice cream cake that's as delicious as it is beautiful. With a little planning and our no-churn ice cream trick, you'll be a summer dessert hero in no time!
What is Ice Cream Cake?
The Ice Cream Cake, a summertime favorite featuring layers of cake and ice cream, is a delicious descendant of earlier layered desserts. The earliest connections might lie with the 14th-century trifle, a British dessert featuring layers of cake, fruit, and custard. Fast forward to the Victorian era, and we see the emergence of bombes, molded ice cream desserts often decorated with fruit and sometimes lined with cake or biscuits. These creations paved the way for the layered ice cream cakes we know today.
Recipes for ice cream cakes have been found dating back to the 1870s, suggesting this delightful dessert has been around for quite some time. While popular in North America and Australia, ice cream cakes aren't as common in Europe. The UK, however, has its own version—the Arctic roll, a rolled cake filled with ice cream. In the US, ice cream cakes decorated with red, white, and blue are a popular choice for Fourth of July celebrations. Carvel, a popular American ice cream chain, is famous for its themed ice cream cakes, like Fudgie the Whale. This version takes the classic ice cream cake a step further by featuring homemade ice cream made with cream and condensed milk. This "no-churn" method skips the traditional ice cream maker, making it easier than ever to create delicious vanilla and chocolate ice cream layers for your cake!
Tips
- Success with no-churn ice cream relies heavily on using very cold ingredients. Ensure your cream is chilled for at least 24 hours before whipping. Consider chilling your mixing bowl as well.
- Patience is key when whipping your cream. Start on low speed and gradually increase until stiff peaks form. Over-whipping can lead to a curdled texture.
- Once you've folded in the condensed milk and any flavorings, be gentle! Overmixing can deflate the whipped cream and make the ice cream dense.
- When cutting your cake, use a sharp knife dipped in warm water for clean, even slices.
- Get creative with your ice cream flavors! Add mix-ins like chocolate chips, chopped nuts, or swirls of fruit puree for an extra burst of taste and texture.
- Dress up your ice cream cake with toppings like sprinkles, chocolate shavings, or fresh fruit for that extra wow factor.
What Other Flavors Can I Use For The Ice Cream Layers?
The possibilities are endless! Some popular options include strawberry, coffee, mint chocolate chip, or even a swirl of multiple flavors.
How Can I Decorate My Ice Cream Cake?
Get creative! Use toppings like sprinkles, chocolate shavings, chopped nuts, fresh fruit, or even cookie crumbles.
Do I Have To Use Heavy Cream?
While heavy cream is ideal for a richer texture, you can substitute it with whipping cream. The ice cream might be slightly softer, but it will still be delicious.
My No-Churn Ice Cream Isn't Setting Properly. What Went Wrong?
There could be a few reasons. The cream might not have been cold enough, it might have been over-whipped, or the ice cream wasn't frozen for long enough.
Can I Add Mix-Ins To The No-Churn Ice Cream?
Absolutely! Once you've folded in the condensed milk, gently fold in your favorite mix-ins like chocolate chips, chopped nuts, or fruit pieces.
How to Store Ice Cream Cake
The ice cream cake will stay good in the freezer for up to 2 weeks when stored properly. While technically safe for longer periods, the quality of the ice cream can deteriorate after 2 weeks. Ice crystals may form, and the texture may become a bit icy.
More Ice Cream Recipes
Banana and Peanut Butter Nice Cream
Ingredients
How To Make Ice Cream Cake
;Resize,width=712;)
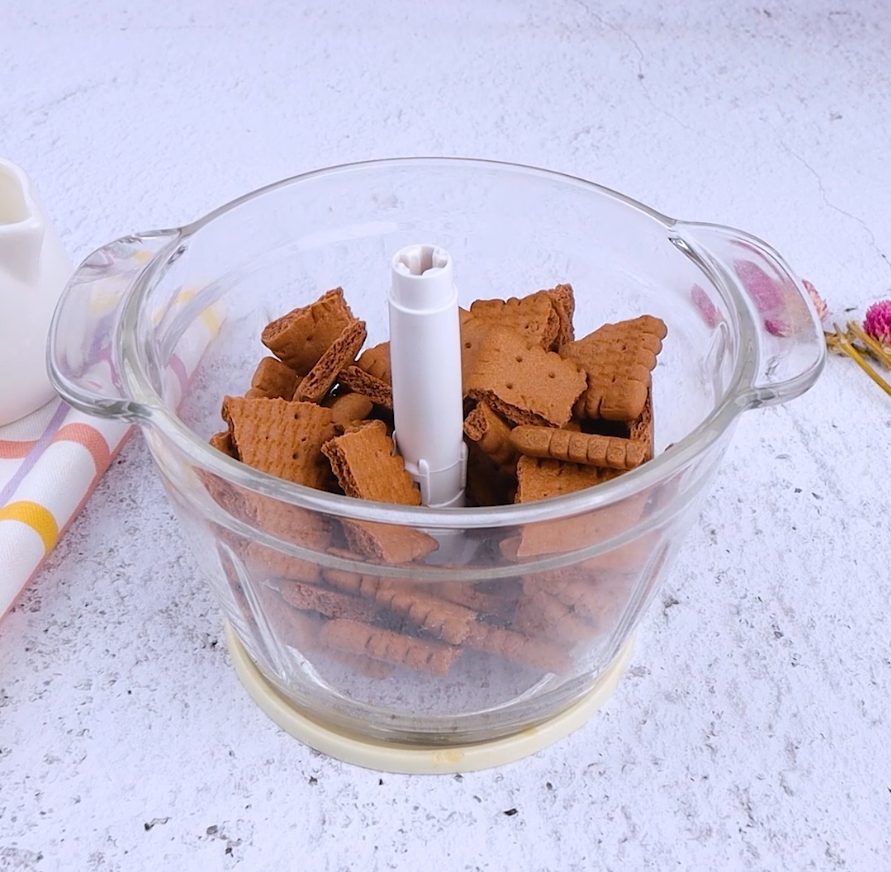
Pulse the cookies in a food processor.
Pulse the cookies in a food processor.
;Resize,width=712;)
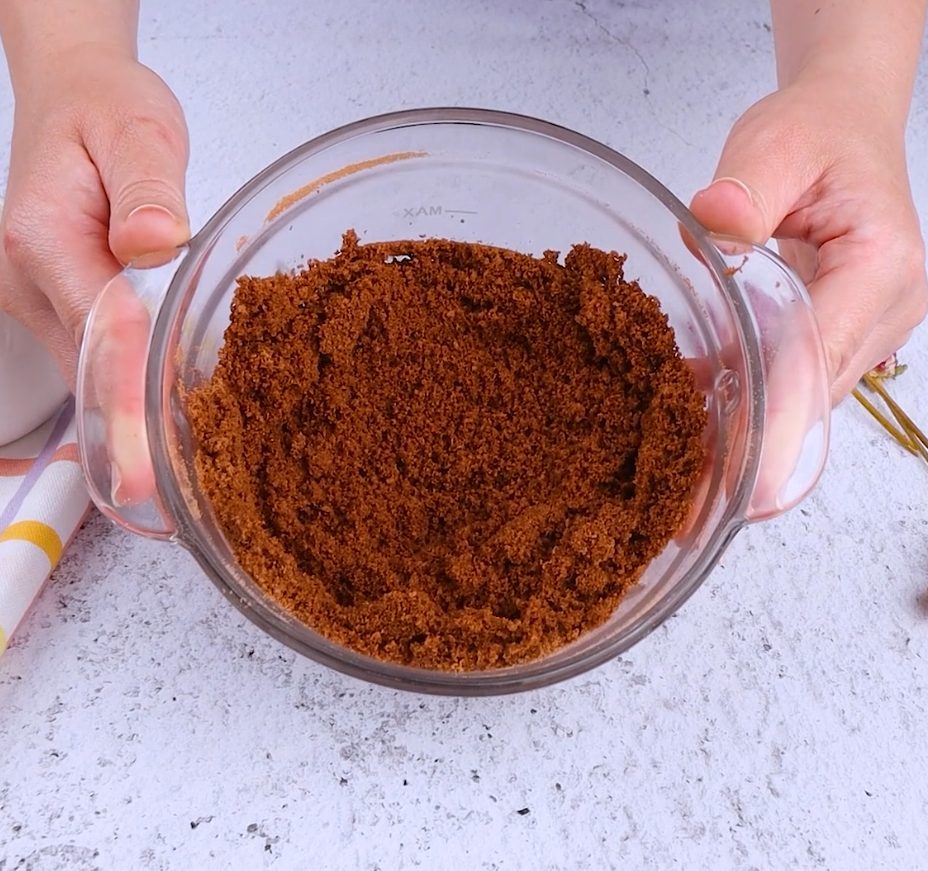
Pour in the melted butter and pulse the mixture again until it resembles coarse crumbs.
Pour in the melted butter and pulse the mixture again until it resembles coarse crumbs.
;Resize,width=712;)
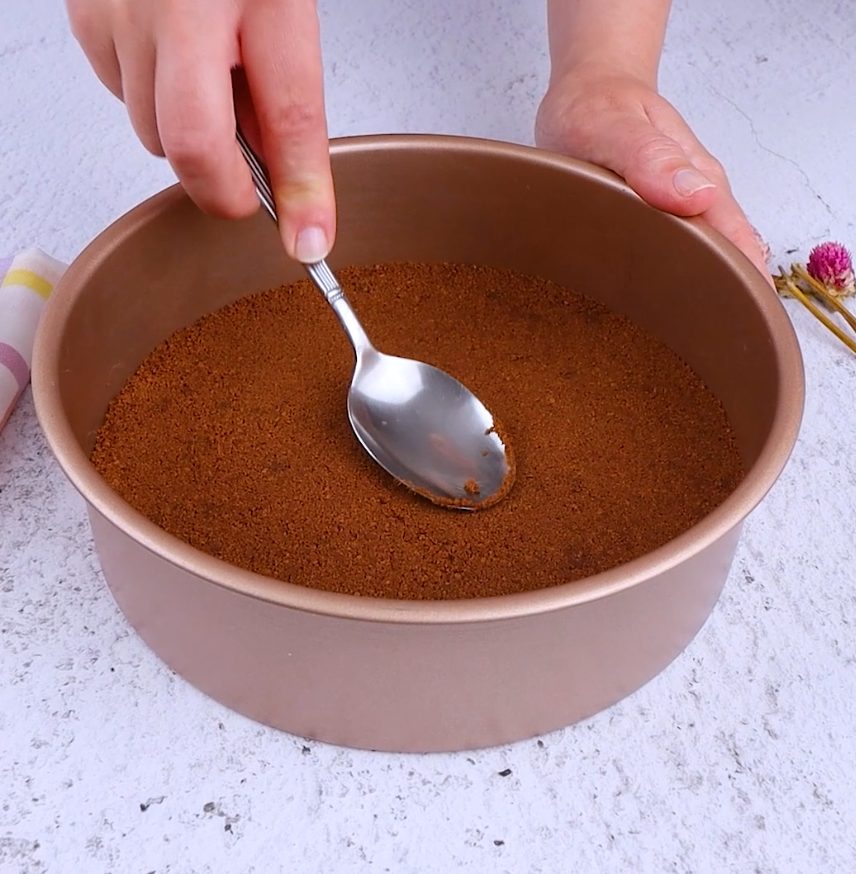
Transfer the biscuit mixture to your cake mold and press it firmly into the bottom using the back of a spoon. This will create a compact base for the cake. Chill it in the fridge for 30 minutes to set.
Transfer the biscuit mixture to your cake mold and press it firmly into the bottom using the back of a spoon. This will create a compact base for the cake. Chill it in the fridge for 30 minutes to set.
;Resize,width=712;)
In a clean bowl, whisk together the condensed milk, vanilla extract, and cocoa powder until smooth.
In a clean bowl, whisk together the condensed milk, vanilla extract, and cocoa powder until smooth.
;Resize,width=712;)
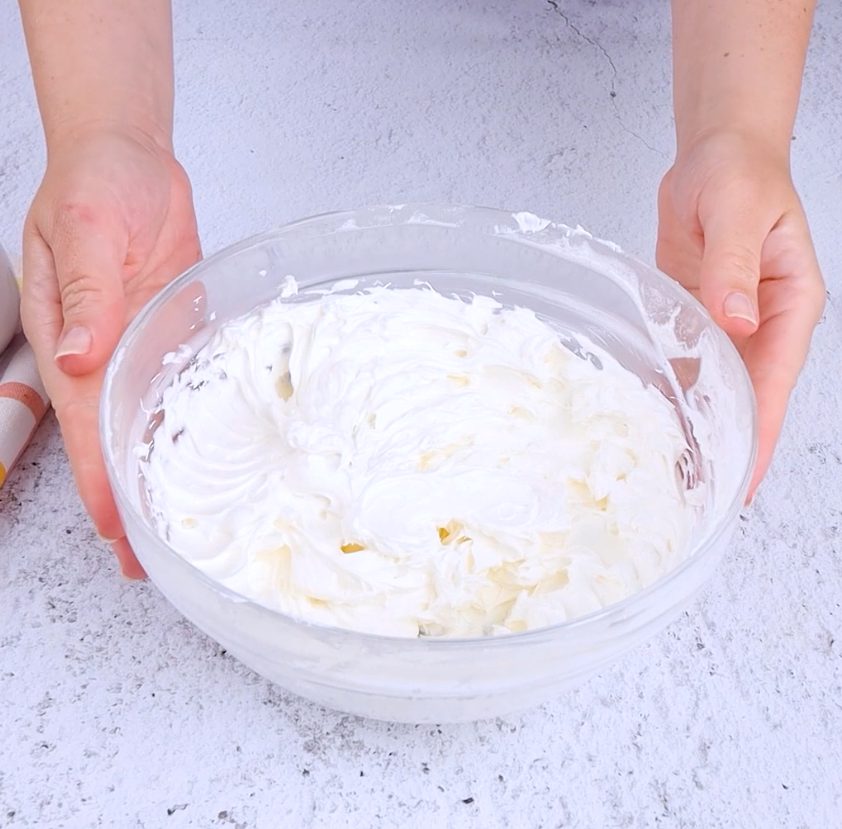
In another bowl, whip the fresh cream until stiff peaks form.
In another bowl, whip the fresh cream until stiff peaks form.
;Resize,width=712;)
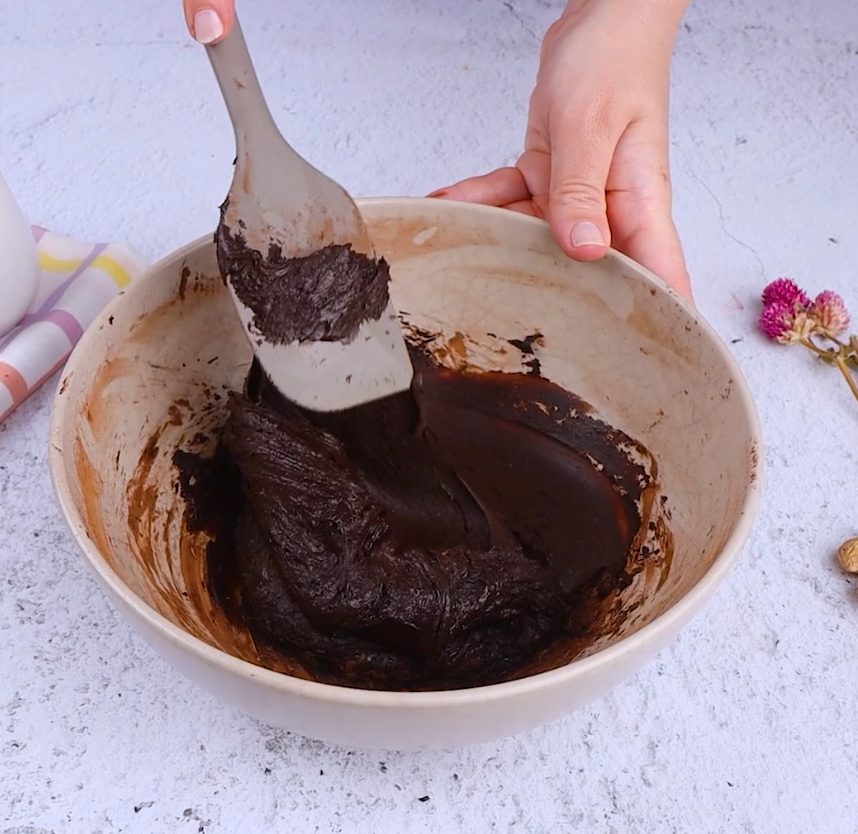
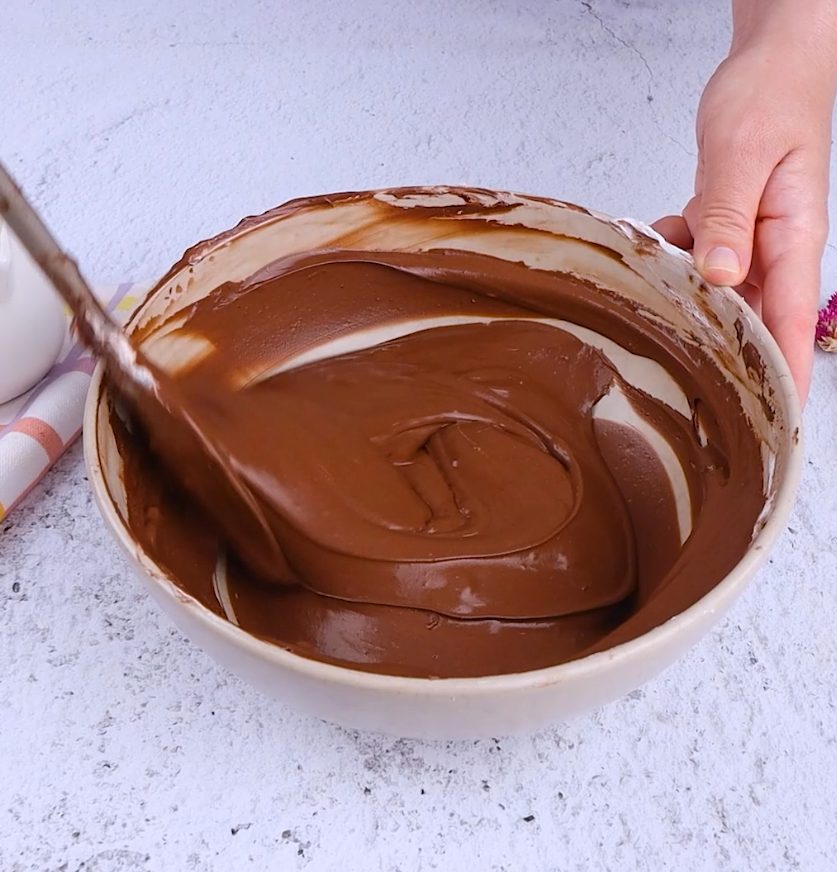
Gently fold the whipped cream into the chocolate mixture to create a light and airy cocoa cream.
Gently fold the whipped cream into the chocolate mixture to create a light and airy cocoa cream.
;Resize,width=712;)
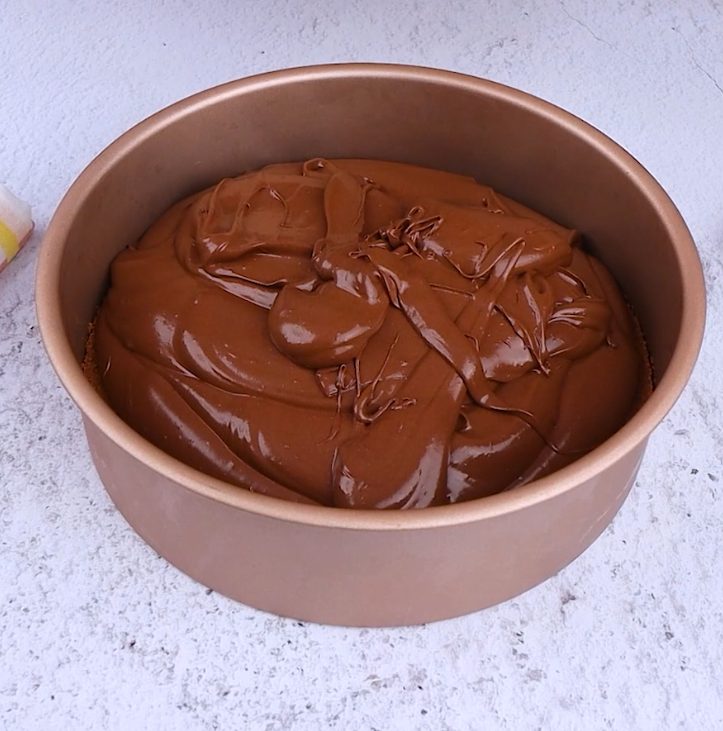
Take the chilled cake mold out of the fridge and pour the cocoa cream layer on top of the cookie base. Use a spatula to spread it evenly. Pop it back in the freezer for 2 hours to solidify.
Take the chilled cake mold out of the fridge and pour the cocoa cream layer on top of the cookie base. Use a spatula to spread it evenly. Pop it back in the freezer for 2 hours to solidify.
;Resize,width=712;)
In another clean bowl, whip the fresh cream until it forms soft peaks. Then, gently whisk in the condensed milk and vanilla extract until well combined.
In another clean bowl, whip the fresh cream until it forms soft peaks. Then, gently whisk in the condensed milk and vanilla extract until well combined.
;Resize,width=712;)
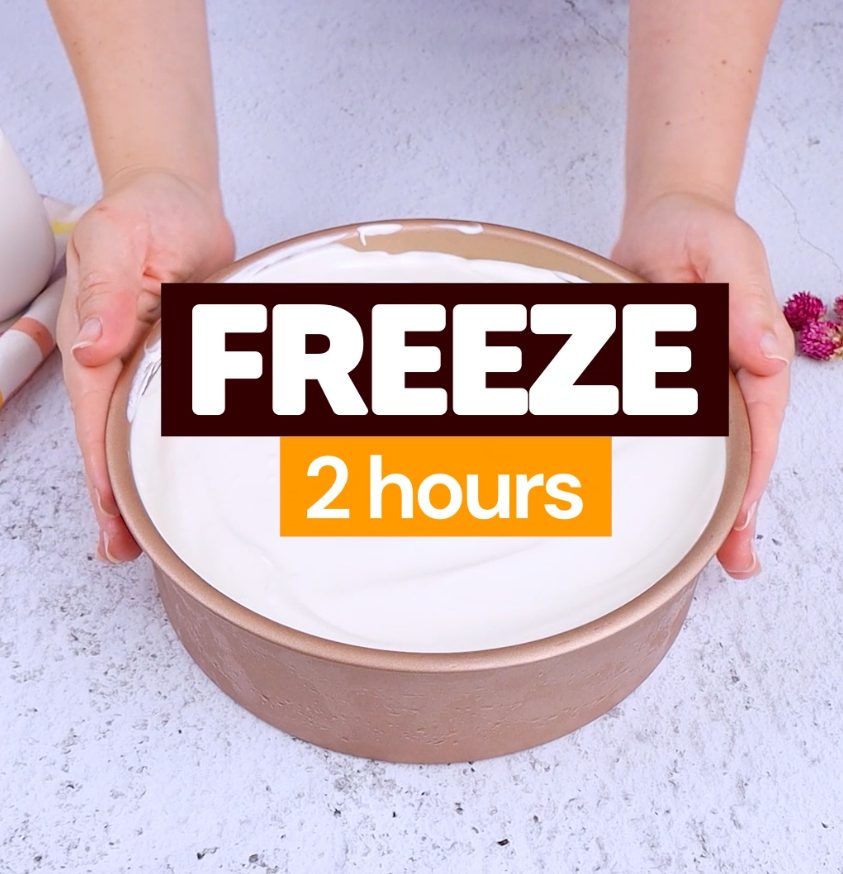
Take the cake mold out of the freezer again and carefully pour the vanilla layer over the frozen cocoa cream. Smooth the top with a spatula and return it to the freezer for another 2 hours to set completely.
Take the cake mold out of the freezer again and carefully pour the vanilla layer over the frozen cocoa cream. Smooth the top with a spatula and return it to the freezer for another 2 hours to set completely.
;Resize,width=712;)
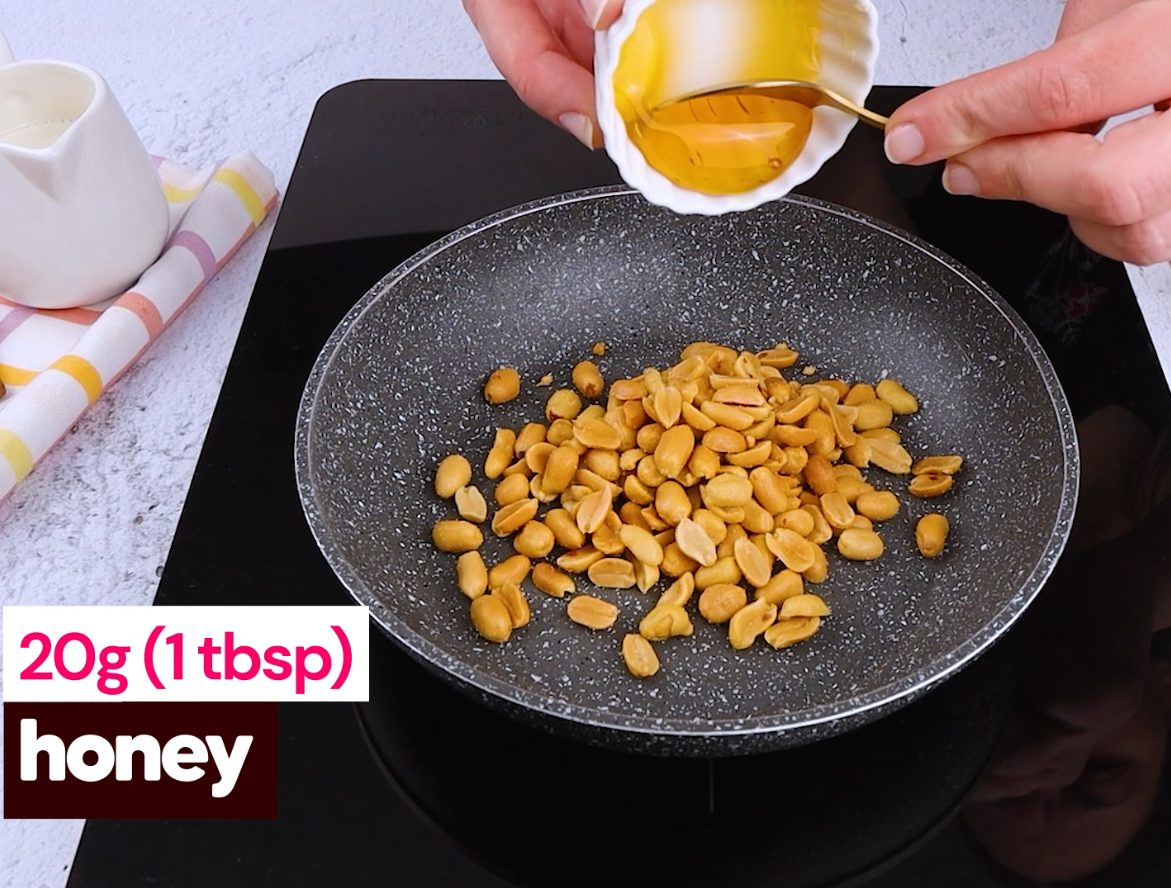
Heat a pan over low heat and toast the peanuts with some honey for a few minutes, stirring occasionally. Let the mixture cool slightly before decorating.
Heat a pan over low heat and toast the peanuts with some honey for a few minutes, stirring occasionally. Let the mixture cool slightly before decorating.
;Resize,width=712;)
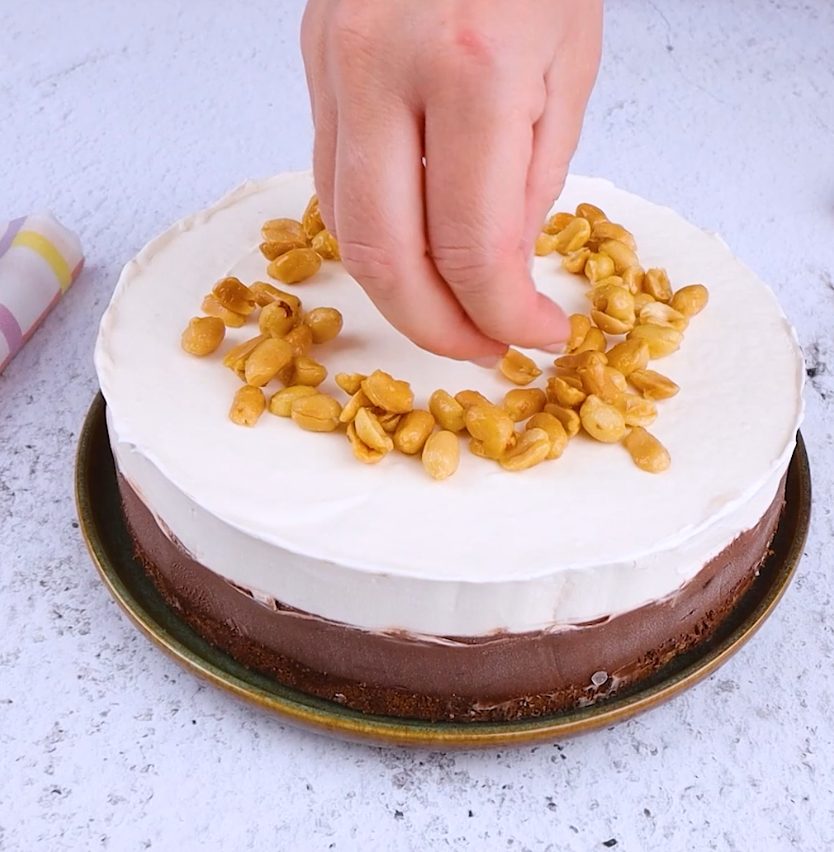
Carefully remove the ice cream cake from the freezer and transfer it to a serving platter. Decorate the top with your peanut mixture (if using) and prepare to be amazed!
Carefully remove the ice cream cake from the freezer and transfer it to a serving platter. Decorate the top with your peanut mixture (if using) and prepare to be amazed!
;Resize,width=712;)
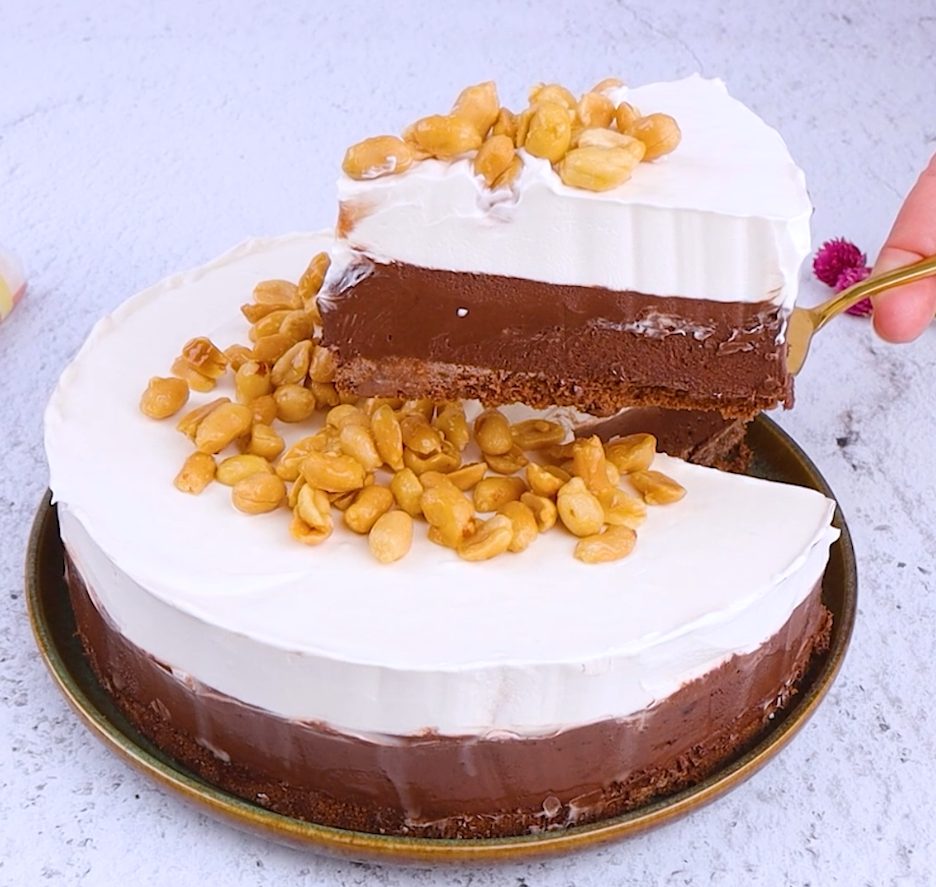
Use a sharp knife dipped in warm water for clean, perfect slices!
Use a sharp knife dipped in warm water for clean, perfect slices!


;Resize,width=767;)
