
Delicious Homemade Garlic Dinner Rolls
;Resize,width=742;)
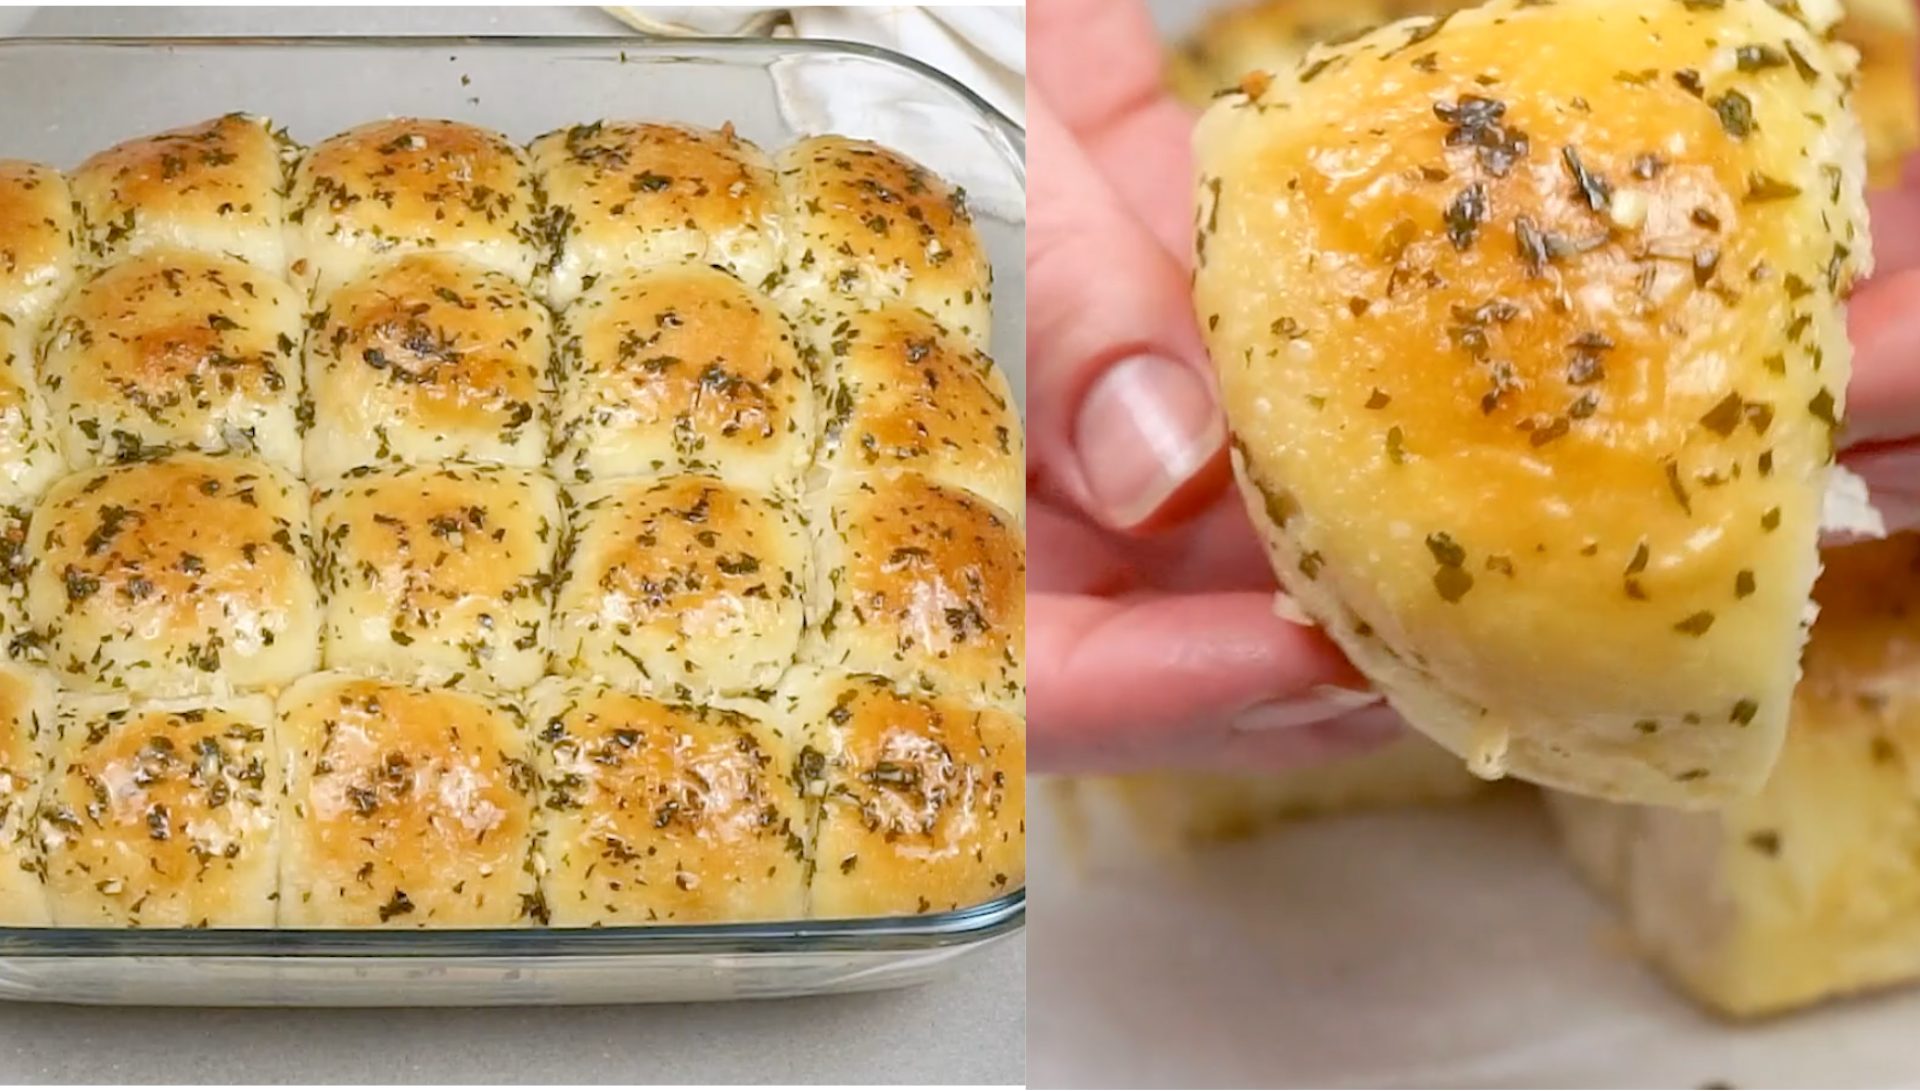
Let’s be real, bread is great, but garlic bread? Even better. These Homemade Garlic Dinner Rolls are here to up your bread game and add a burst of flavor to your meals. With just a handful of simple ingredients, you can transform ordinary dinner rolls into irresistible, garlic-infused treat. That’s exactly what these homemade garlic dinner rolls bring to the table, a great alternative to ordinary bread, suitable for any meal, snack, or even as a star side dish.
What Makes These Rolls So Special?
Let’s dive into the unique traits that are homemade garlic dinner rolls. First off, you’ve got the soft texture of classic dinner rolls, made from all-purpose flour, yeast, and a touch of sweetness from sugar. But then, you add a little something extra: a burst of garlic and butter kneaded right into the dough itself. Oh, and don’t forget the final touch, the garlic butter glaze brushed on top for that perfect finish. Garlic rolls, are often served as the perfect complement to dishes like pasta or roasted meats.
Pro Tips for the Best Homemade Garlic Dinner Rolls
- Kneading the dough for at least 5 minutes ensures you get a smooth and elastic texture.
- Adding garlic and butter directly into the dough infuses the rolls with incredible flavor right from the start, making each bite extra savory.
- Letting the dough rise until it doubles in size gives it the light texture you want.
- When dividing the dough, use a gentle hand. Tuck the dough into neat balls, making sure they aren’t too tight so that they expand properly during baking.
- Brush with more garlic butter. The more you brush on top, the more flavor you’ll lock into each roll.
Can I Use Whole Wheat Flour?
You can swap all-purpose flour with whole wheat flour for a healthier twist. Just note that it may change the texture slightly, making it denser, but still delicious.
Can I Make These Rolls Ahead of Time?
Yes! You can prepare the dough up until the second rise, then refrigerate it overnight. Let it come to room temperature before shaping and baking. This can save you time on the day you want to serve them.
How Long Will These Rolls Stay Fresh?
Fresh garlic rolls are best enjoyed within 2-3 days. After that, they might lose some of their fluffiness, but they’ll still taste amazing. You can always reheat them for a soft, warm bite.
How Can I Make These Rolls Less Garlicy?
If you’re not a huge fan of garlic, feel free to reduce the amount used in both the dough and the butter. You can still enjoy soft, buttery rolls without an overpowering garlic flavor.
Can I Use a Stand Mixer?
Yes, using a stand mixer with a dough hook can save time and energy while kneading. Just be sure to mix on low speed to avoid overworking the dough.
Why Are My Rolls so Dense and Not Fluffy?
The rolls might be dense and not fluffy if the yeast is inactive, the dough wasn’t kneaded enough to develop gluten, or if the rising times were too short. Additionally, using too much flour or not letting the dough rise in a warm environment could also result in denser rolls.
How to Store Homemade Garlic Dinner Rolls
To store these garlic rolls, let them cool completely first. Place them in an airtight container or resealable bag and keep them at room temperature for up to 2 days.
For longer storage, freeze them in a freezer-safe bag or container for up to 3 months. Reheat at 180°C/350°F for a few minutes to refresh their texture and flavor before serving.
Ingredients
How to Make Homemade Garlic Dinner Rolls
;Resize,width=712;)
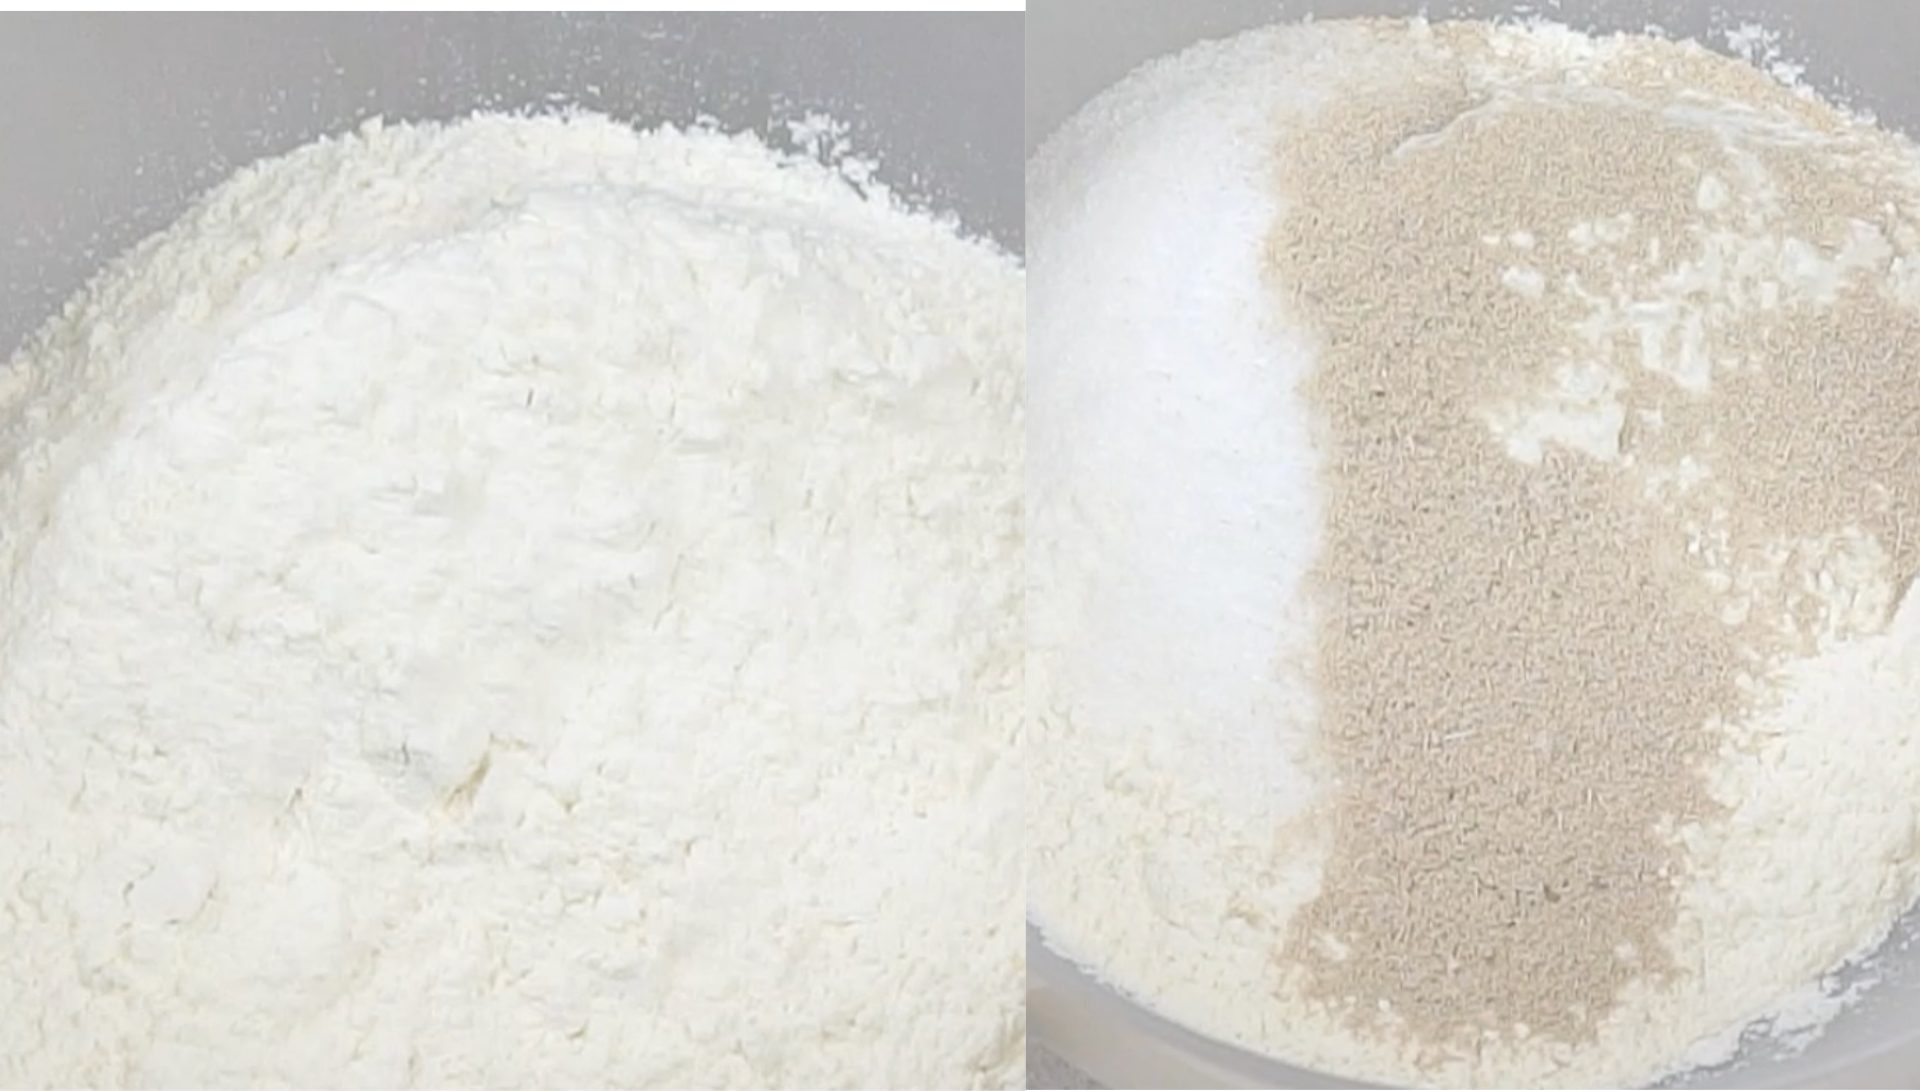
In a bowl, combine the flour, sugar, salt, and instant yeast. Mix well until all dry ingredients are evenly distributed.
In a bowl, combine the flour, sugar, salt, and instant yeast. Mix well until all dry ingredients are evenly distributed.
;Resize,width=712;)
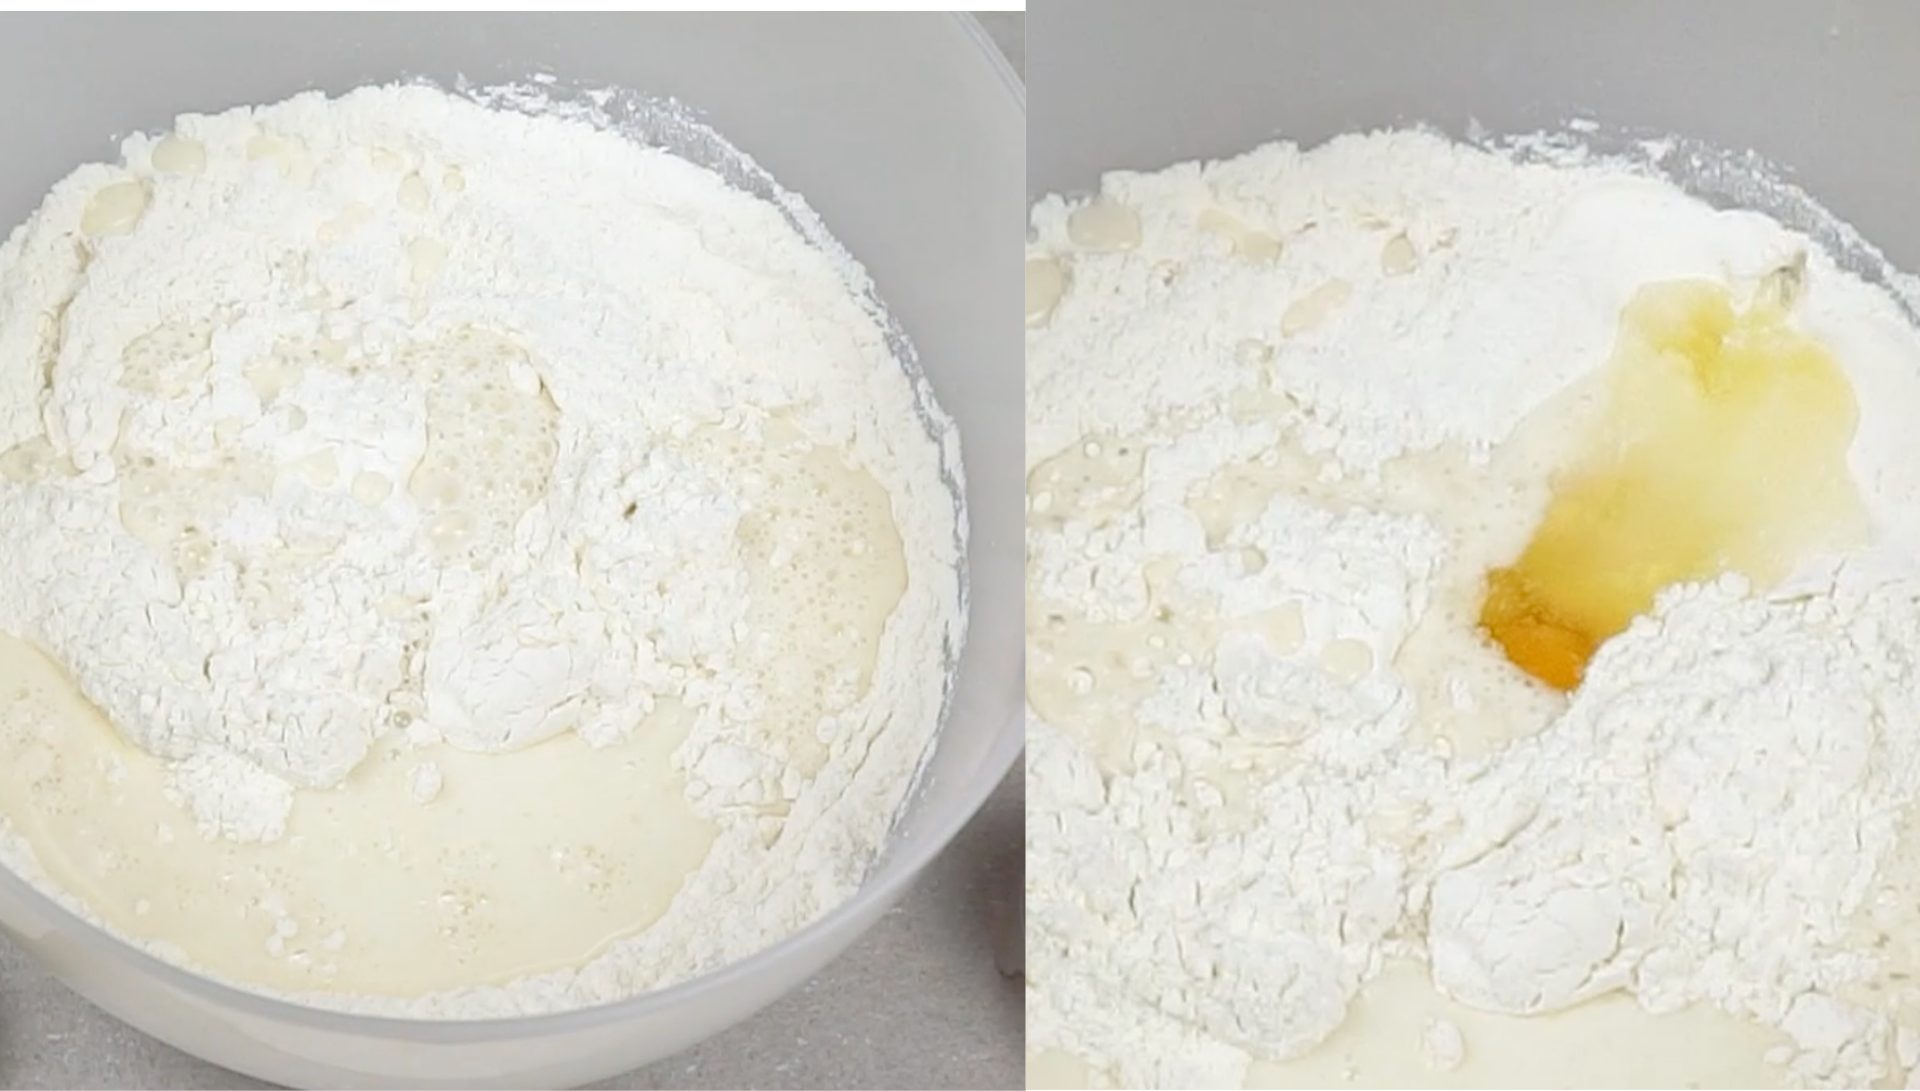
Pour in the lukewarm milk and crack in the egg. Stir to combine until the mixture begins to form a dough.
Pour in the lukewarm milk and crack in the egg. Stir to combine until the mixture begins to form a dough.
;Resize,width=712;)
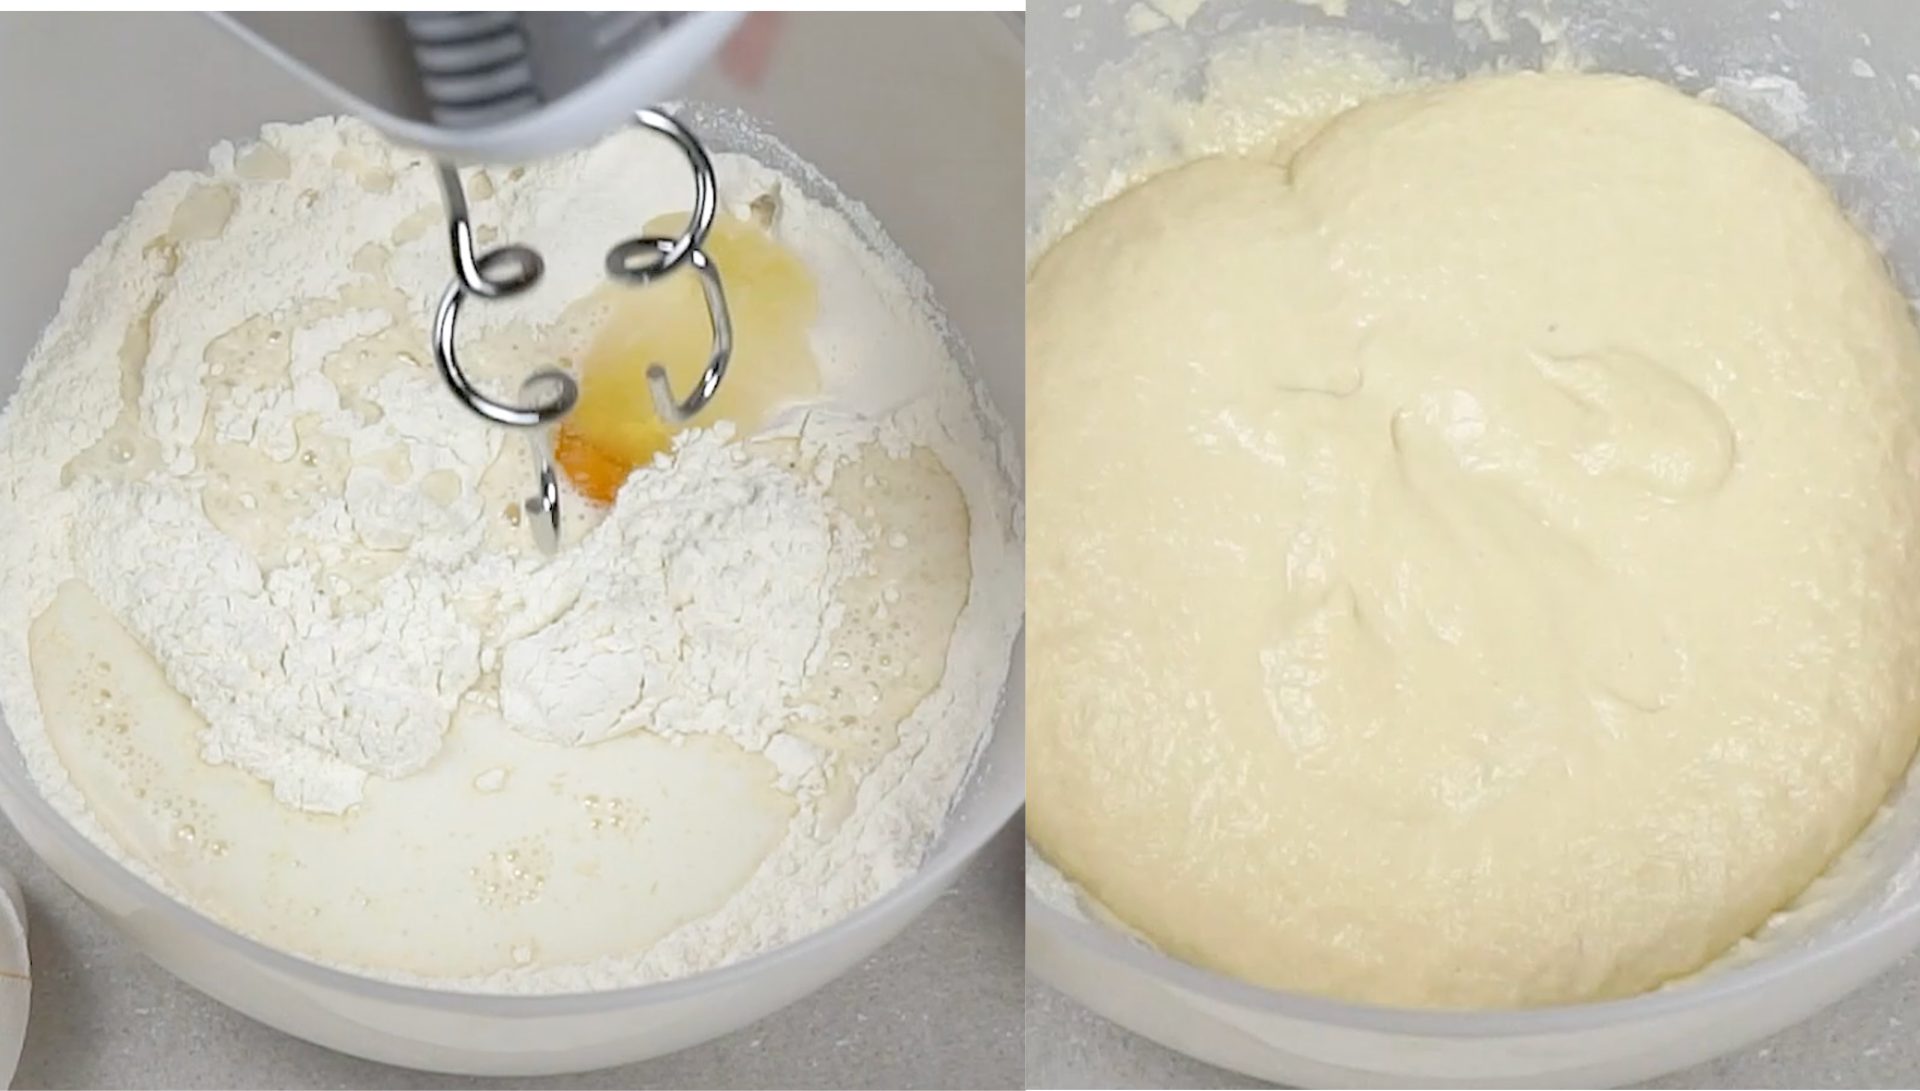
Using a mixer, knead the dough for 5 minutes until it becomes smooth and elastic. Cover with a kitchen cloth and let it sit for 20 minutes.
Using a mixer, knead the dough for 5 minutes until it becomes smooth and elastic. Cover with a kitchen cloth and let it sit for 20 minutes.
;Resize,width=712;)
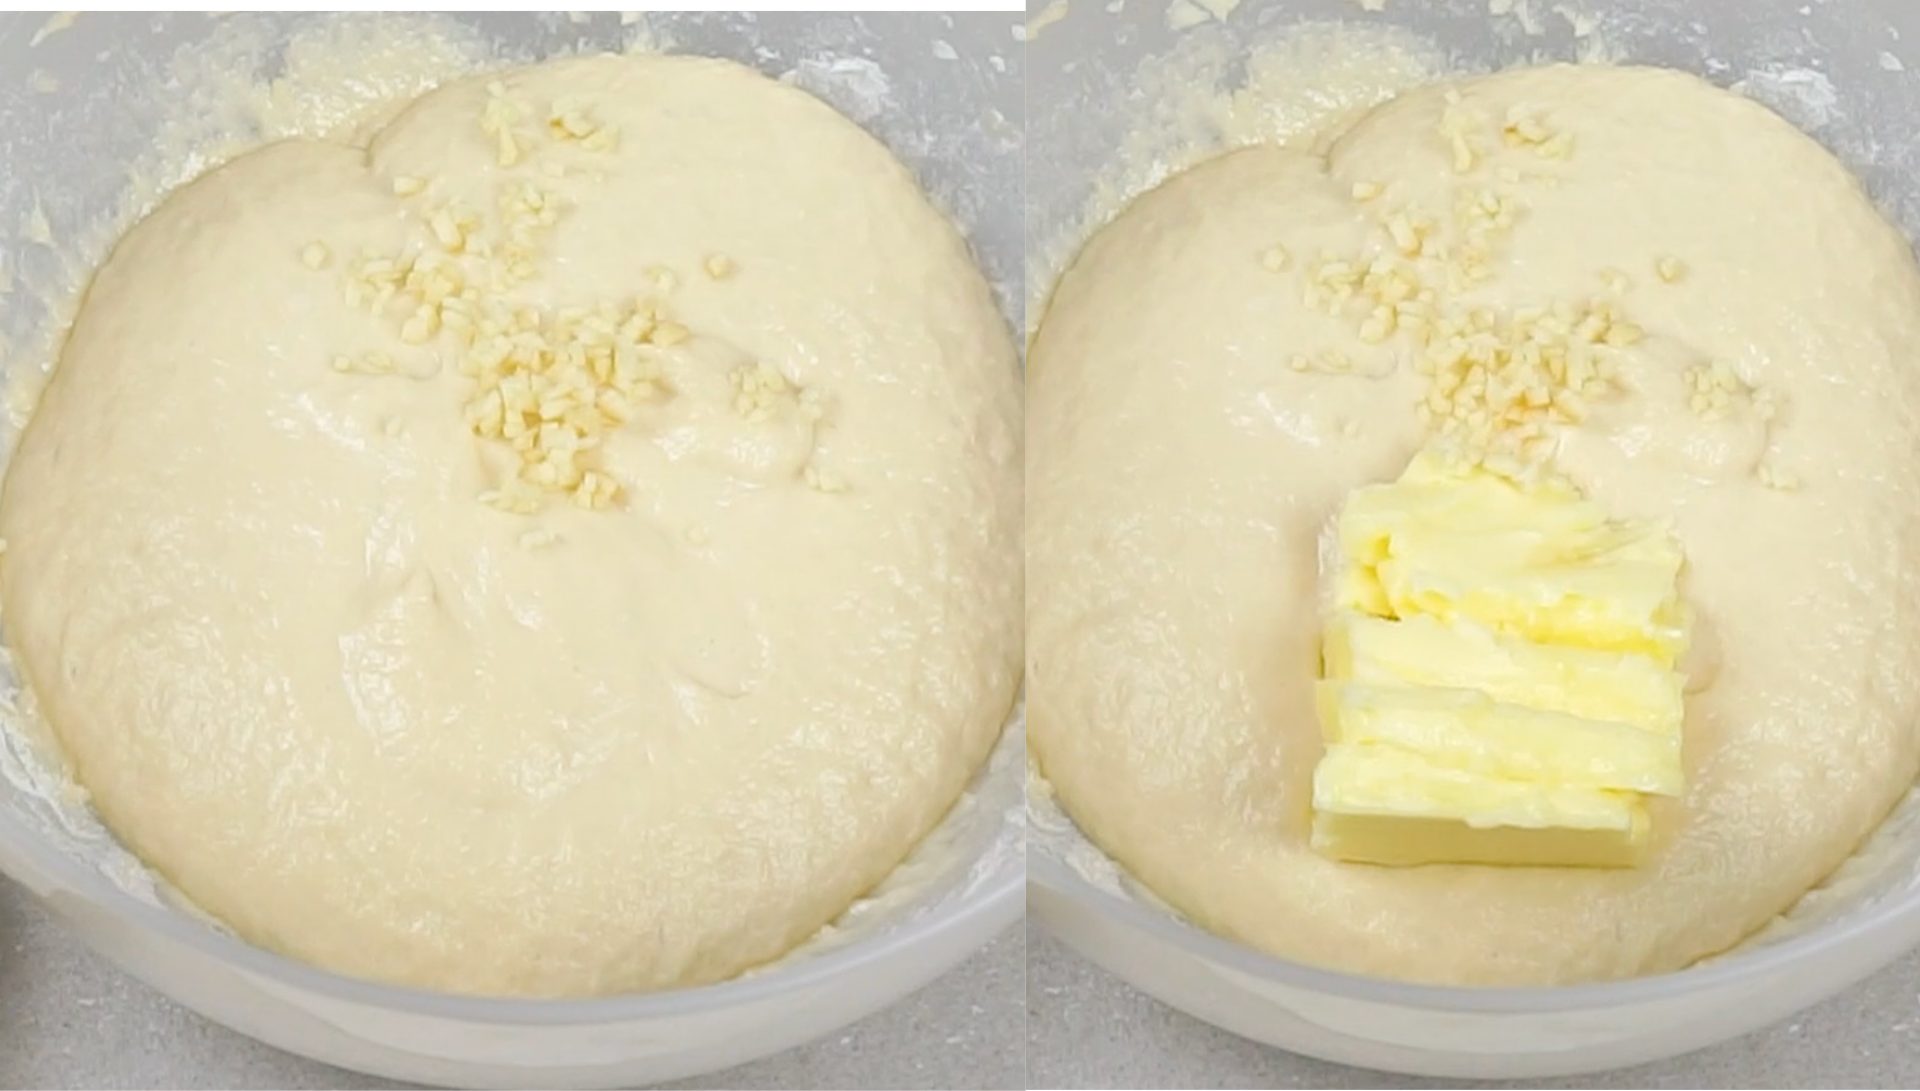
Once rested, add softened butter and minced garlic to the dough. Continue kneading until fully incorporated and the dough is smooth.
Once rested, add softened butter and minced garlic to the dough. Continue kneading until fully incorporated and the dough is smooth.
;Resize,width=712;)
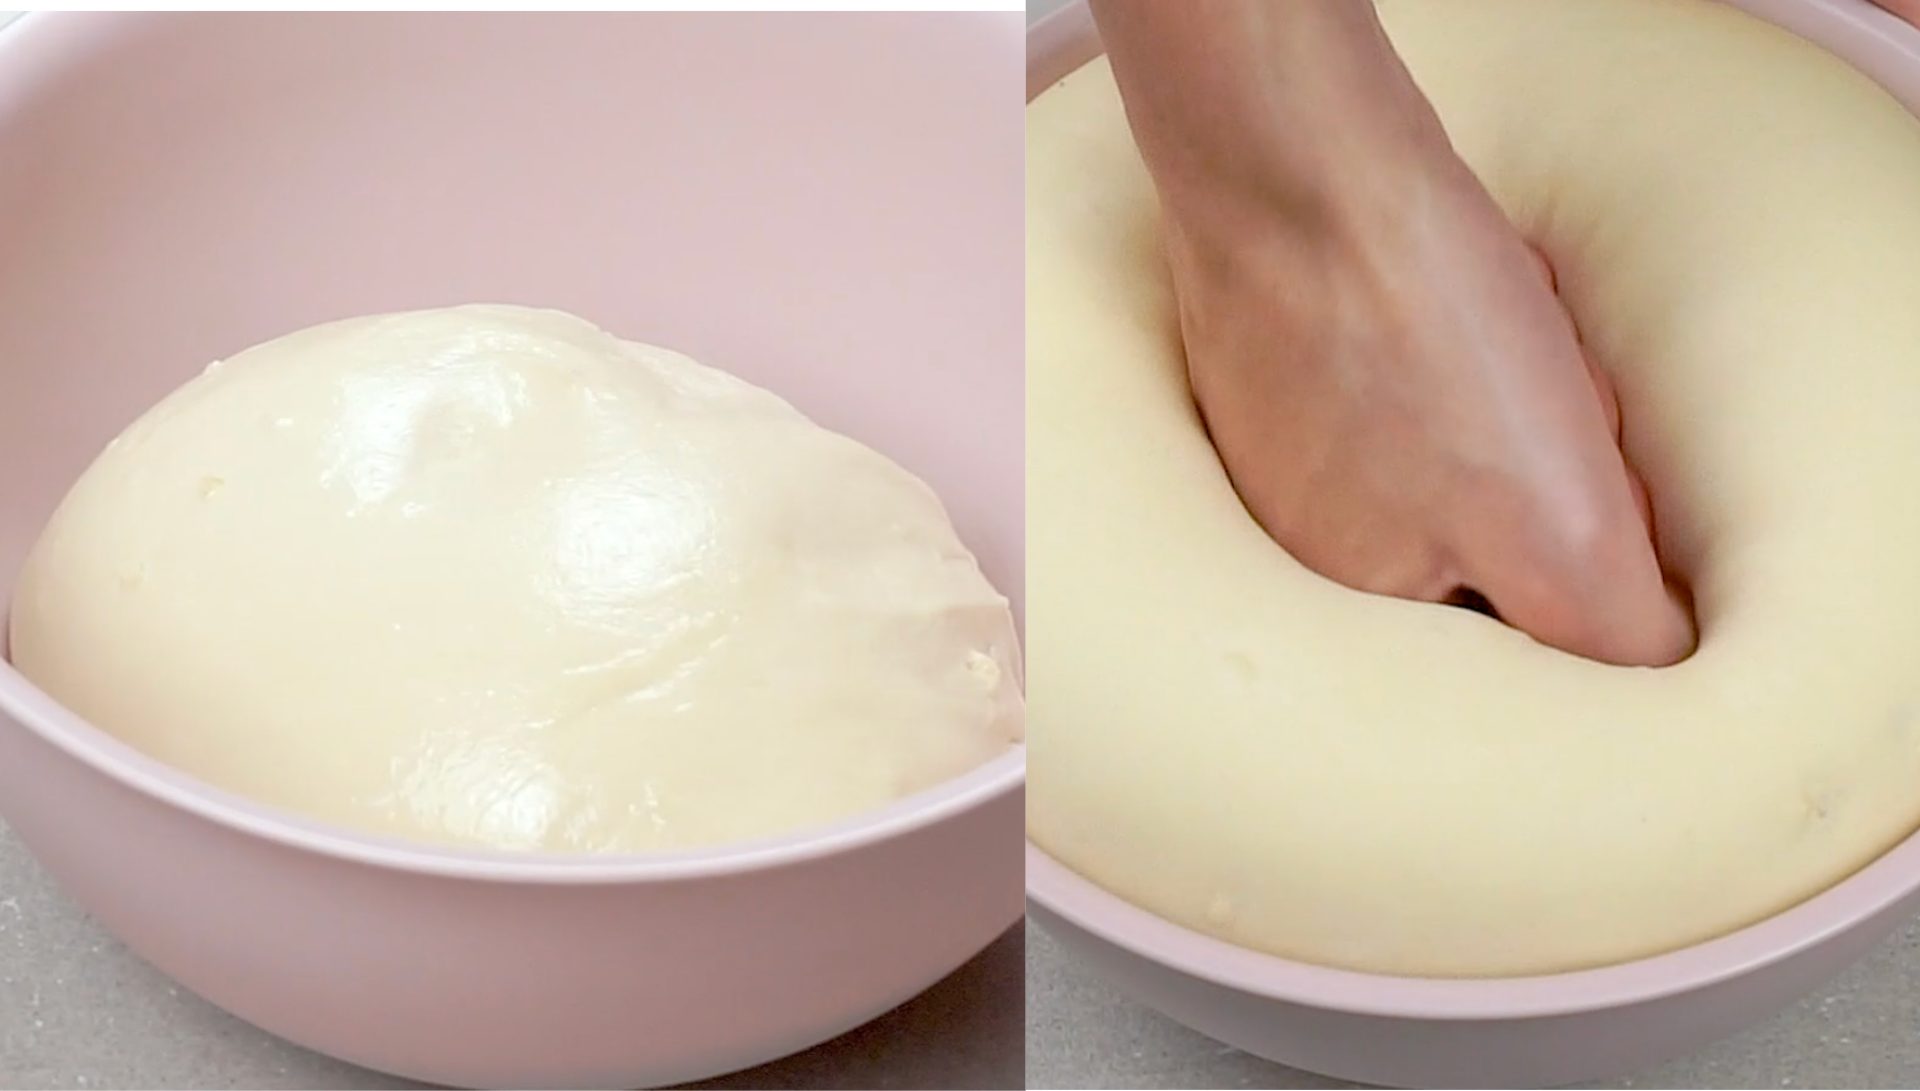
Transfer the dough to a greased bowl, cover, and let rise in a warm place for 1 hour, or until it has doubled in size.
Transfer the dough to a greased bowl, cover, and let rise in a warm place for 1 hour, or until it has doubled in size.
;Resize,width=712;)
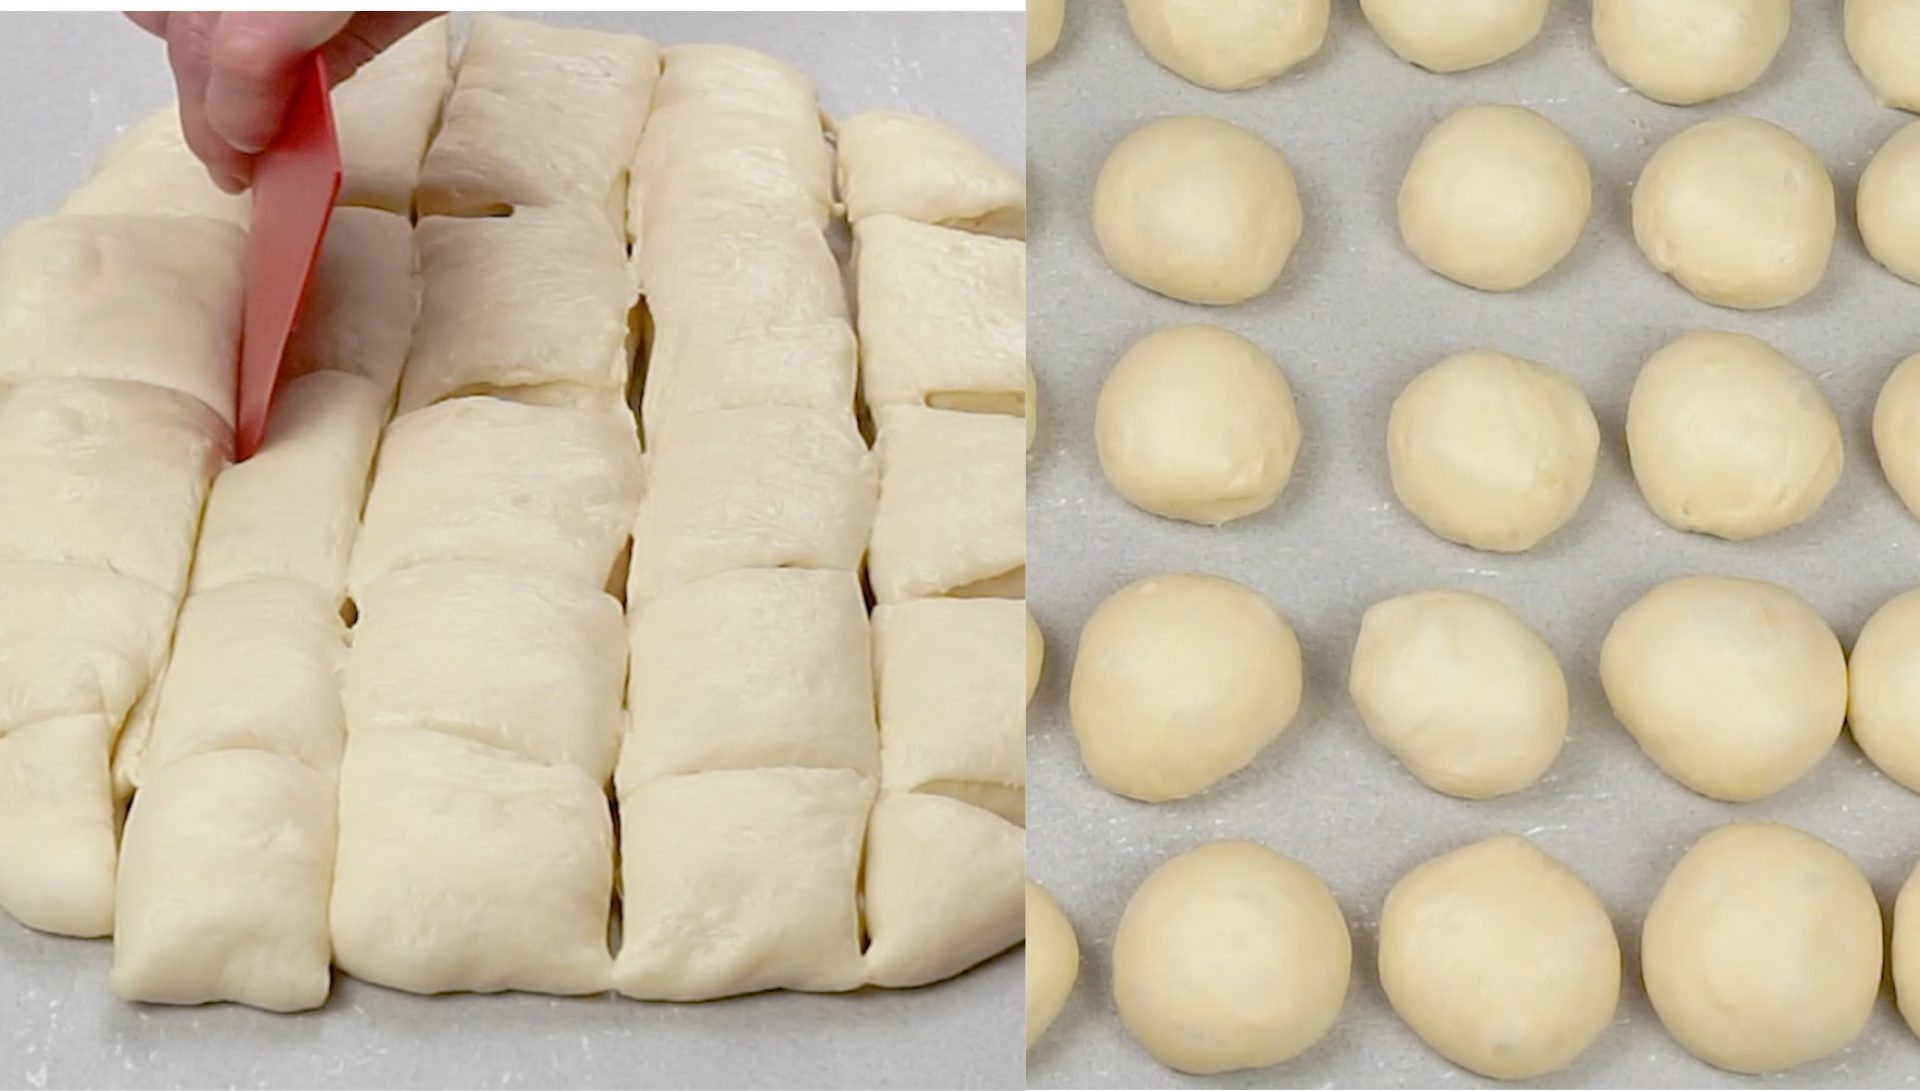
After the dough has risen, transfer it to a clean surface, shape it into a square, and cut it into 25 equal pieces. Roll each piece into a ball, cover, and let rest for 15 minutes.
After the dough has risen, transfer it to a clean surface, shape it into a square, and cut it into 25 equal pieces. Roll each piece into a ball, cover, and let rest for 15 minutes.
;Resize,width=712;)
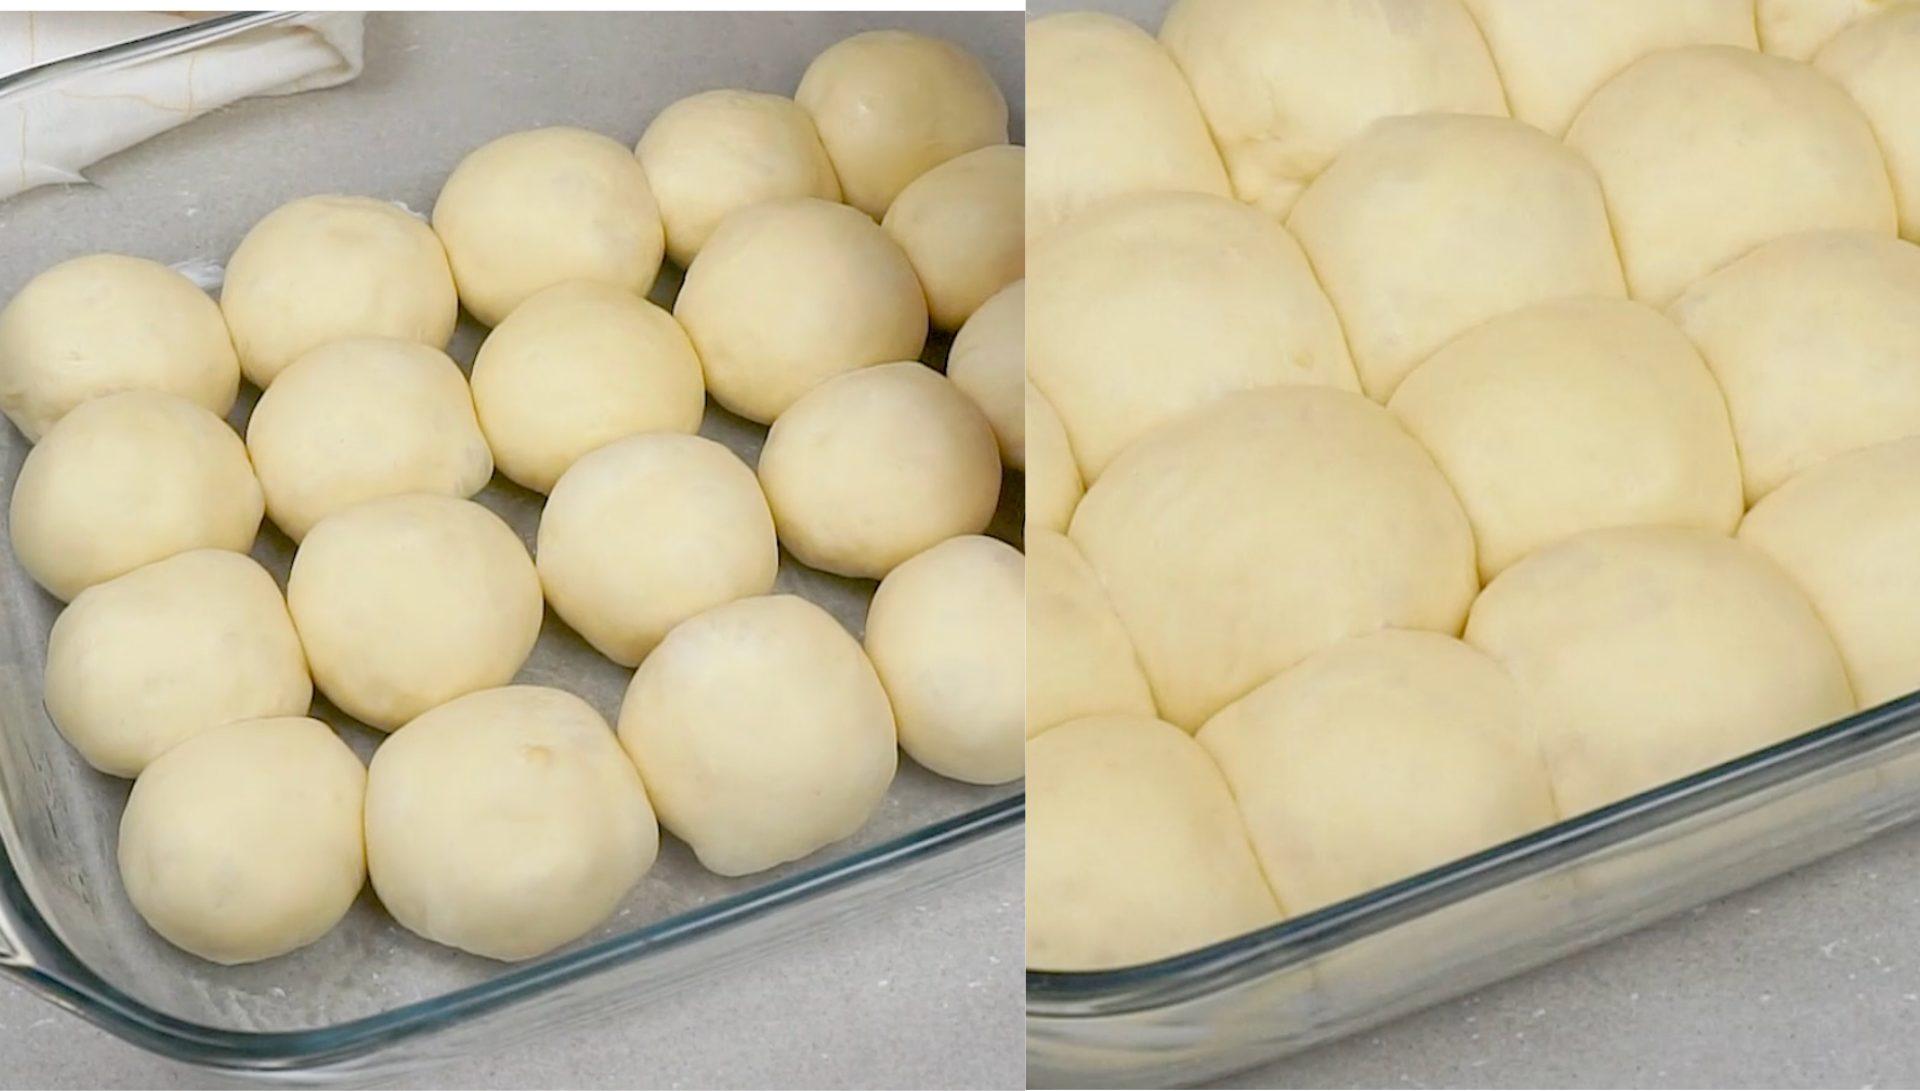
Gently tuck in the edges of each dough ball and arrange them in a greased baking pan. Cover and let them rise for another 30 minutes.
Gently tuck in the edges of each dough ball and arrange them in a greased baking pan. Cover and let them rise for another 30 minutes.
;Resize,width=712;)
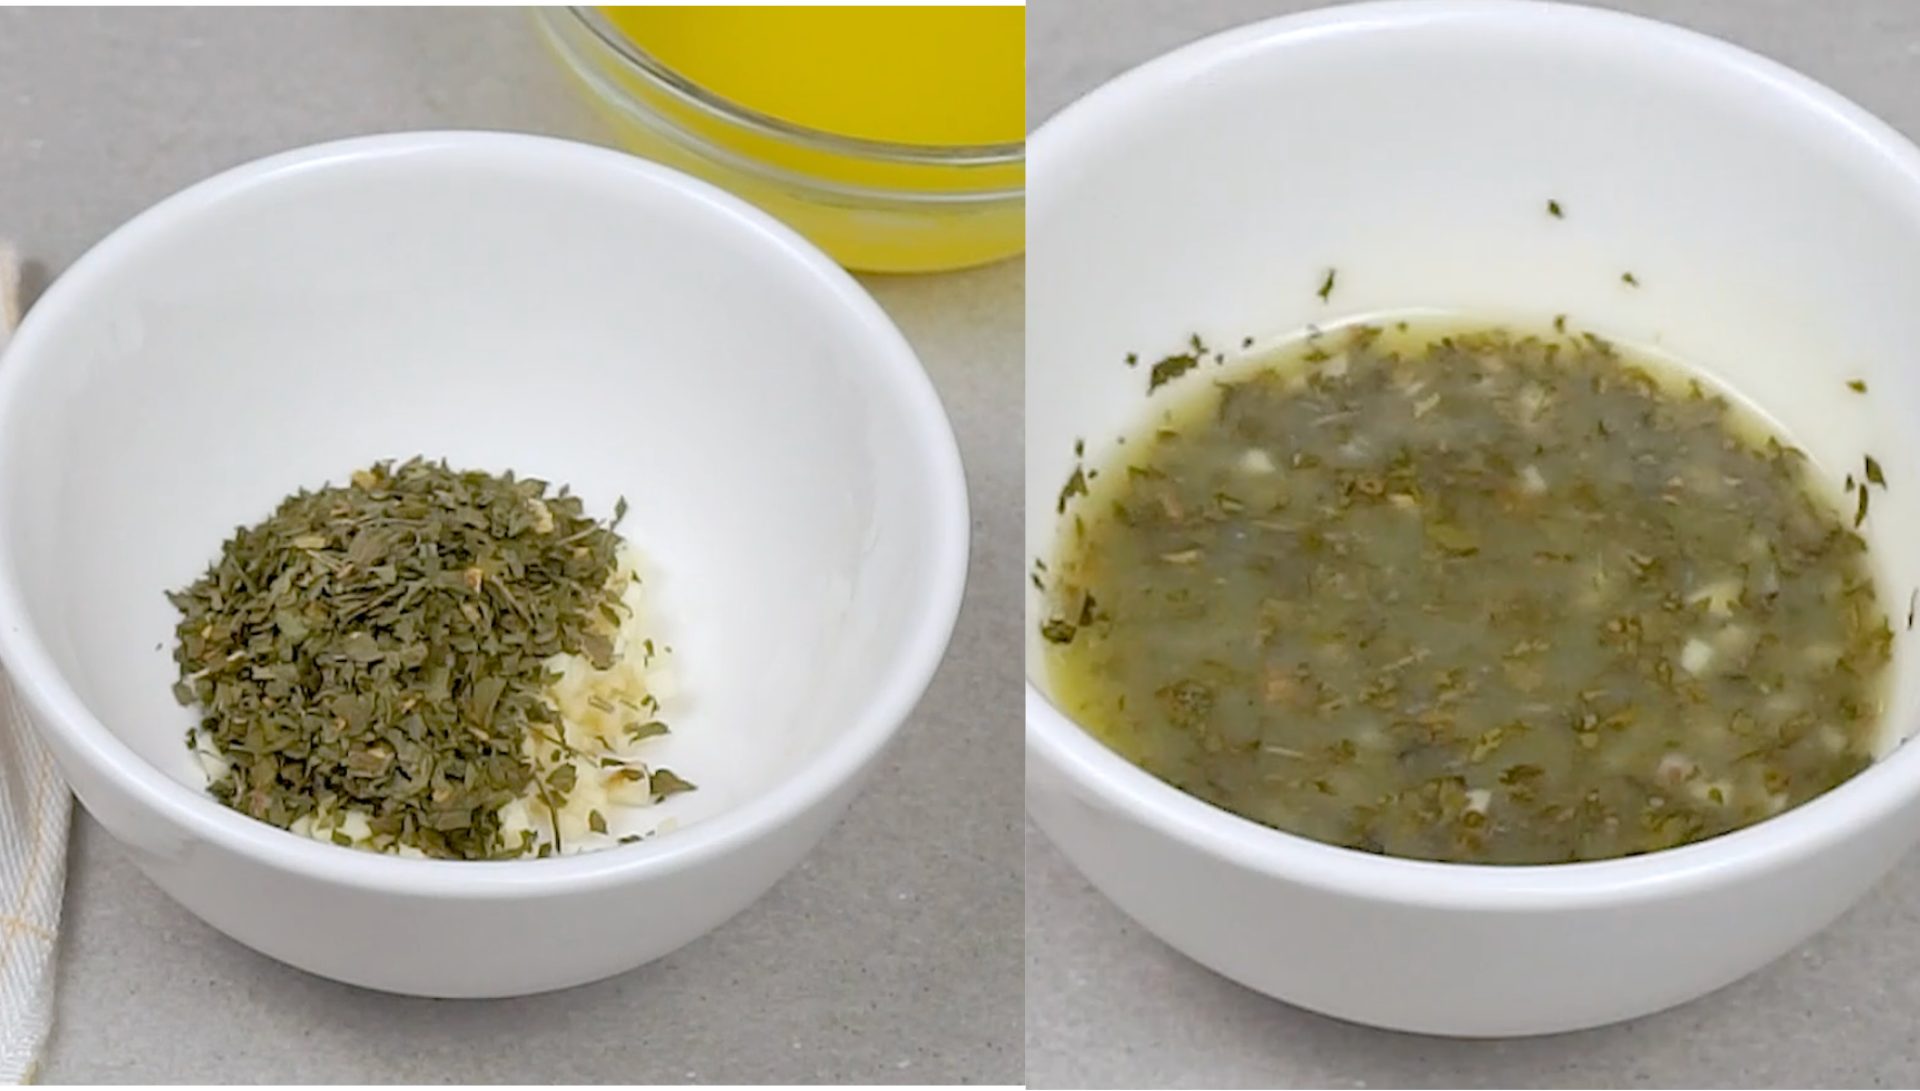
In a small bowl, combine the minced garlic, parsley, and melted butter. Mix until smooth.
In a small bowl, combine the minced garlic, parsley, and melted butter. Mix until smooth.
;Resize,width=712;)
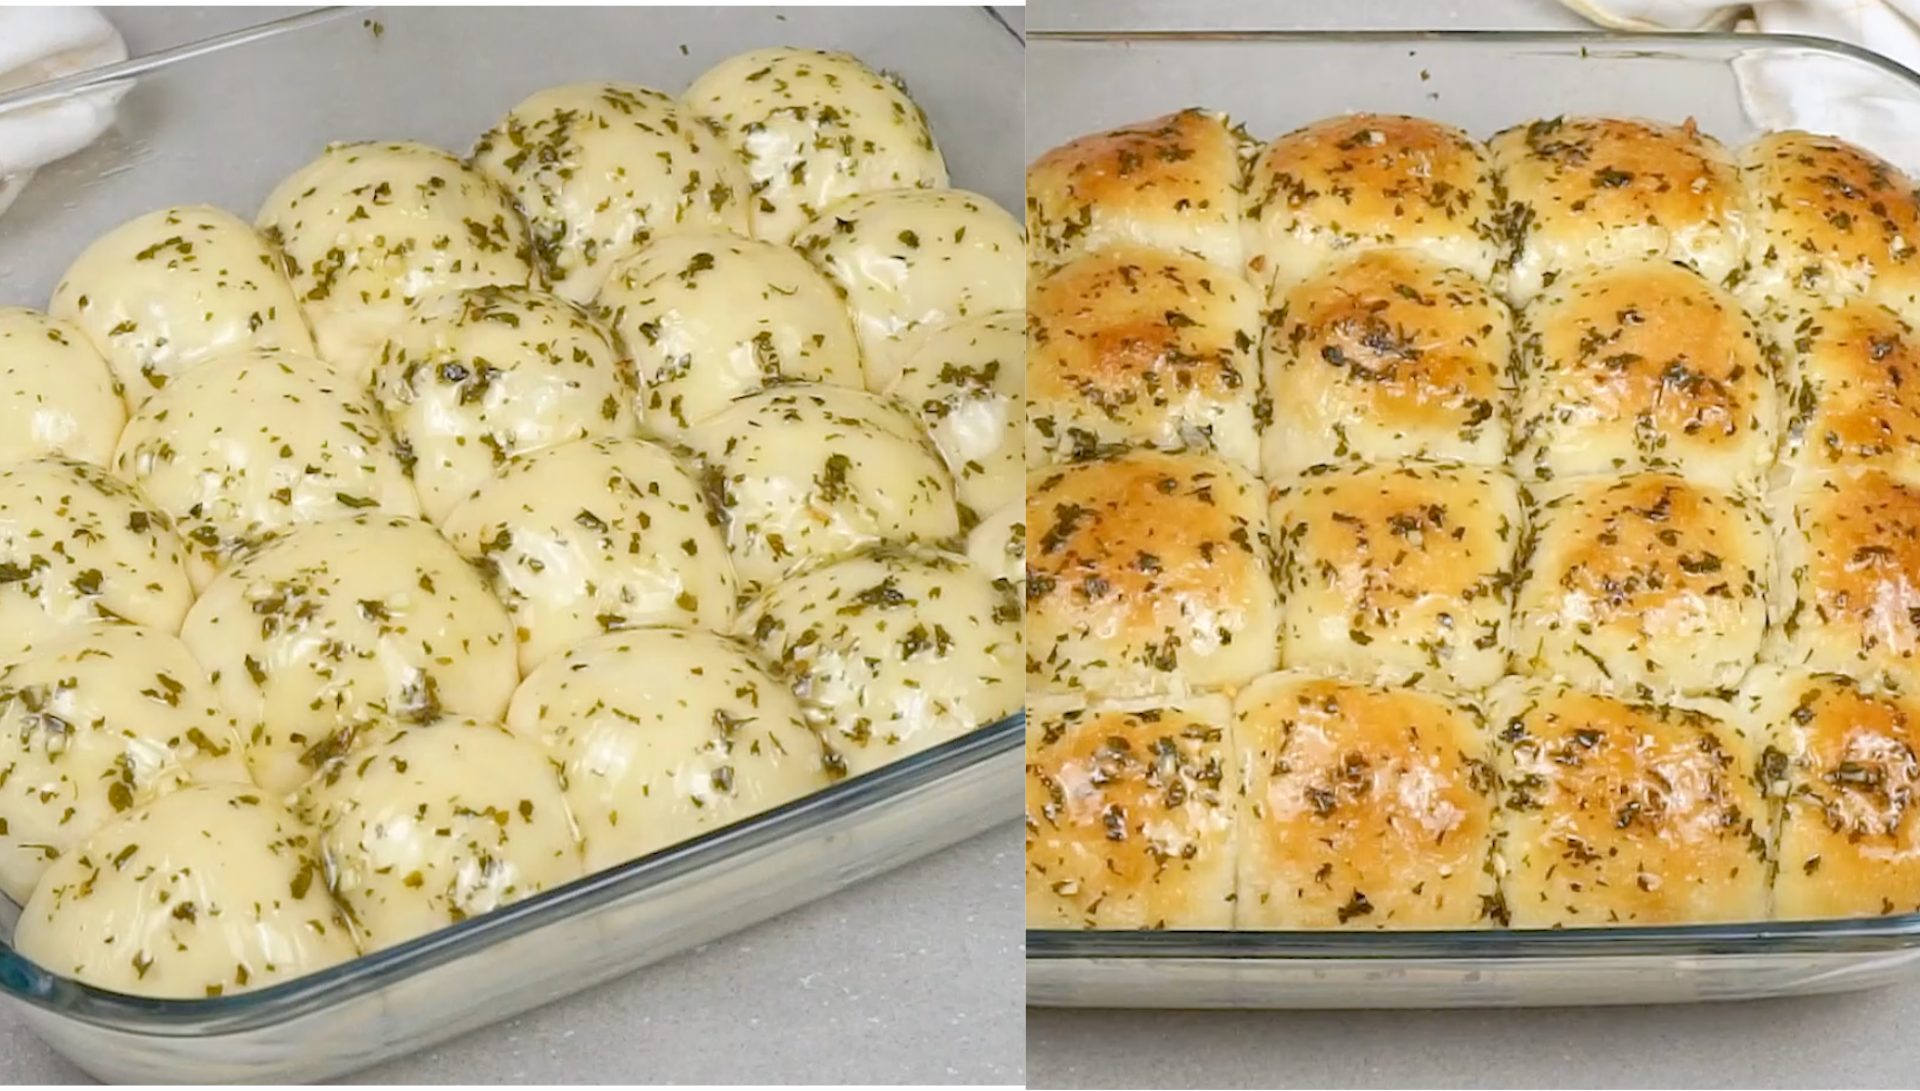
Preheat your oven to 180°C (350°F). Brush the tops of the risen rolls with garlic butter, and bake for 15-17 minutes, until golden brown.
Preheat your oven to 180°C (350°F). Brush the tops of the risen rolls with garlic butter, and bake for 15-17 minutes, until golden brown.
;Resize,width=712;)
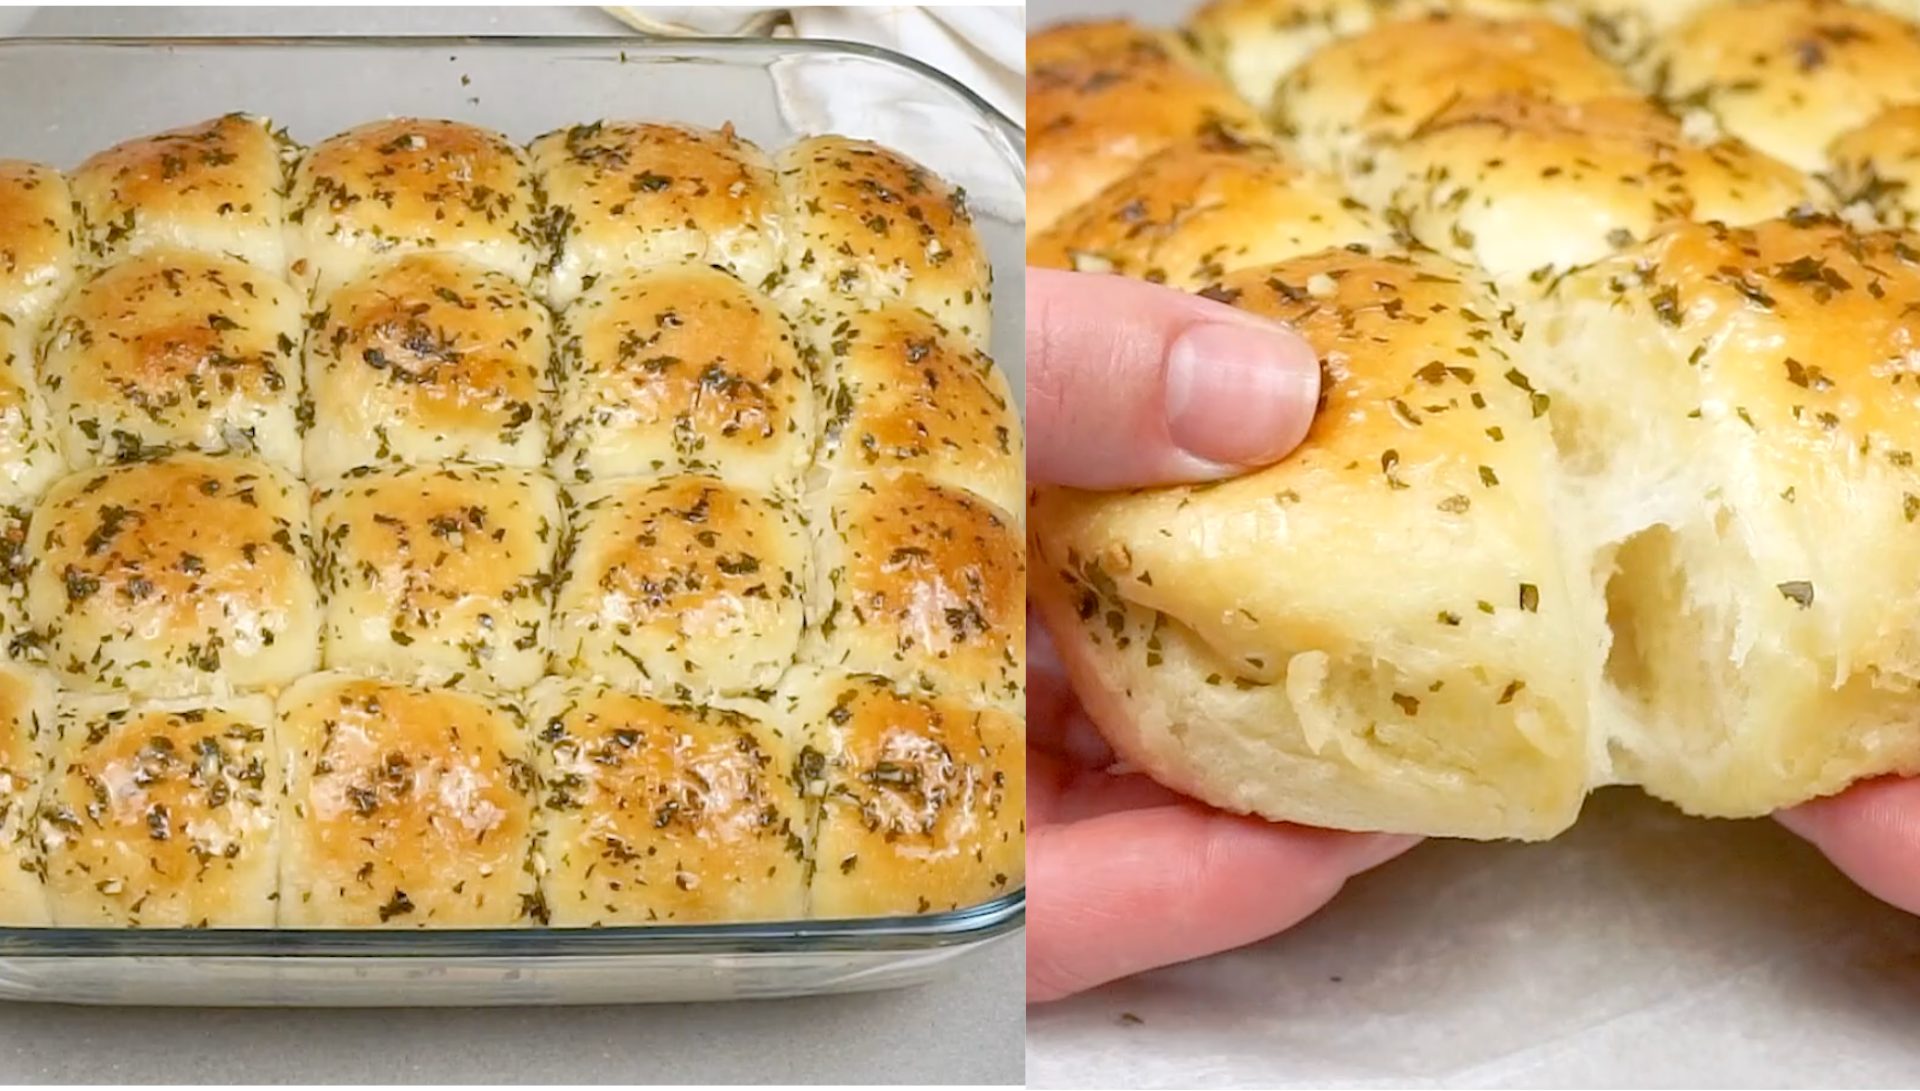
For extra flavor, brush the rolls with more garlic butter while they’re still warm. Serve and enjoy!
For extra flavor, brush the rolls with more garlic butter while they’re still warm. Serve and enjoy!
;Resize,width=767;)

;Resize,width=712;)

