
Homemade Garlic Bread: the easy and fragrant bread recipe
;Resize,width=742;)
There are many ways you can get garlic bread on the table. You can choose a store-bought one, you can buy a baked bread and spread it with ready-made garlic butter, or you can go the extra mile and make everything from scratch. It’s easier than you think.
By adding a pre-made fermented dough into the rest of the mixture, you get that homemade bread flavor you want. After baking, garlic butter is added and it’s baked again. You don’t need any special ingredients either: flour, sugar, yeast, milk, and of course the garlic butter ingredients.
This Homemade Garlic Bread is so much better than the store-bought ones and makes a great side dish to any meal… try it today!
How to make Homemade Garlic Bread from scratch
This Homemade Garlic Bread makes use of a pre-fermented dough. A small amount of flour is mixed with yeast and water and left to ferment for 12 hours. (Using a preferment in your bread dough improves the texture, flavor, and the shelf life of your bread). It’s then mixed with the rest of the ingredients to form a smooth dough. The dough is flattened, rolled, and left to rise in the bread pan. After baking, the bread is sliced (but not completely through!), where it’s then spread with homemade garlic butter. After a short bake in the oven, it’s ready to eat.

Tips for Easy Garlic Bread
If you like your Homemade Garlic Bread cheesy, be sure to add a sprinkle of grated cheddar cheese between the slices together with the garlic butter.
If you’re in a pinch and don’t have fresh garlic, you can use dried garlic powder, as well as dried herbs (just remember that dried herbs are stronger than fresh ones, so use less than you would fresh herbs).
This Easy Garlic Bread goes so well as a side with pasta, soup, or sautéed mushrooms.

How to store Garlic Bread
This Homemade Garlic Bread will keep best when kept at room temperature. If you refrigerate it, it will dry out more quickly.
Can I freeze Homemade Garlic Bread?
If you want to store it for longer, you can wrap it tightly in plastic wrap and keep it in the freezer for up to 3 months.
Ingredients
Instructions
;Resize,width=712;)
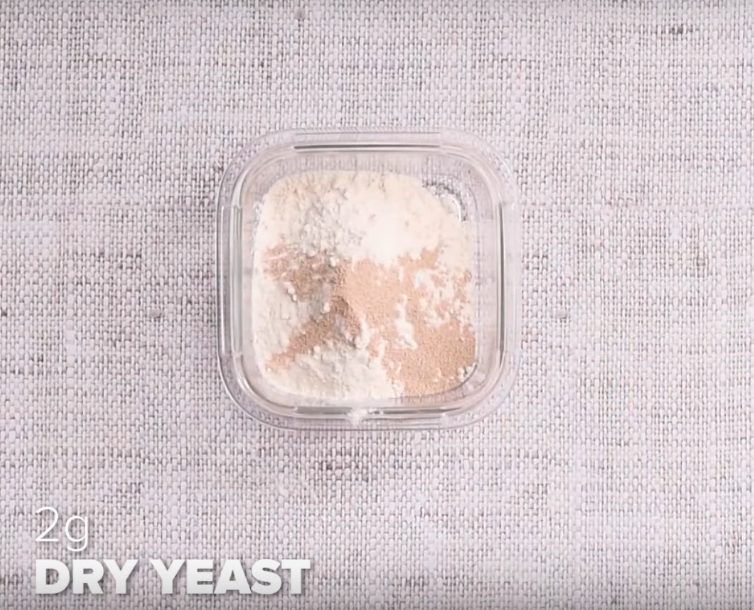
Place 80g flour in a small bowl (fitted with a lid), and add the 2g yeast. Stir to combine.
Place 80g flour in a small bowl (fitted with a lid), and add the 2g yeast. Stir to combine.
;Resize,width=712;)
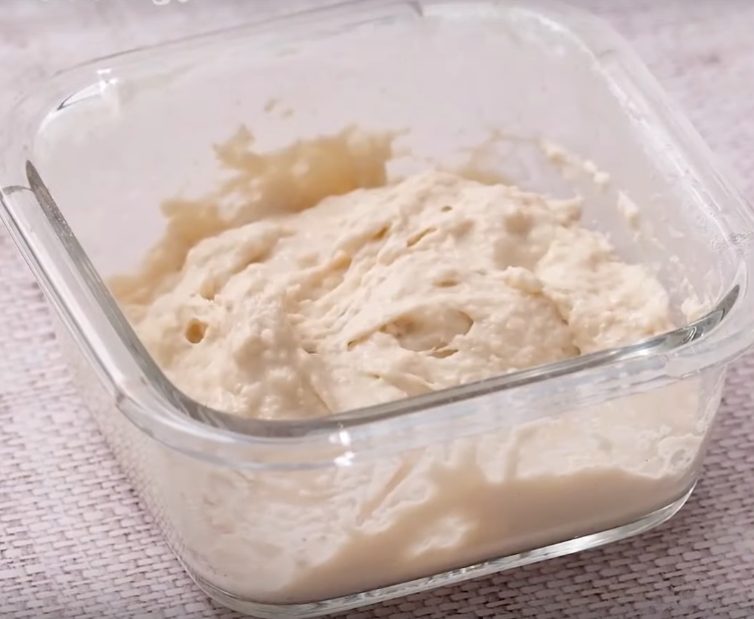
Add the water, and mix through until the flour is no longer visible.
Add the water, and mix through until the flour is no longer visible.
;Resize,width=712;)
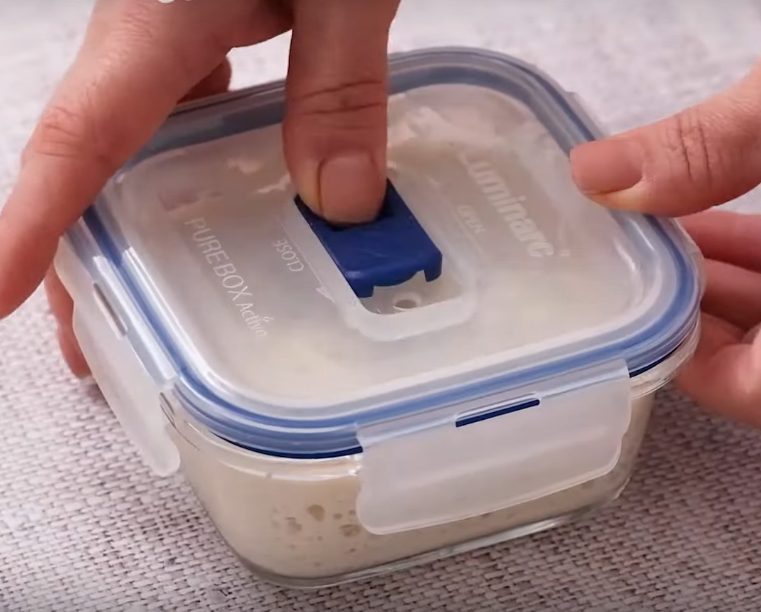
Cover with a lid and refrigerate for 12 hours.
Cover with a lid and refrigerate for 12 hours.
;Resize,width=712;)
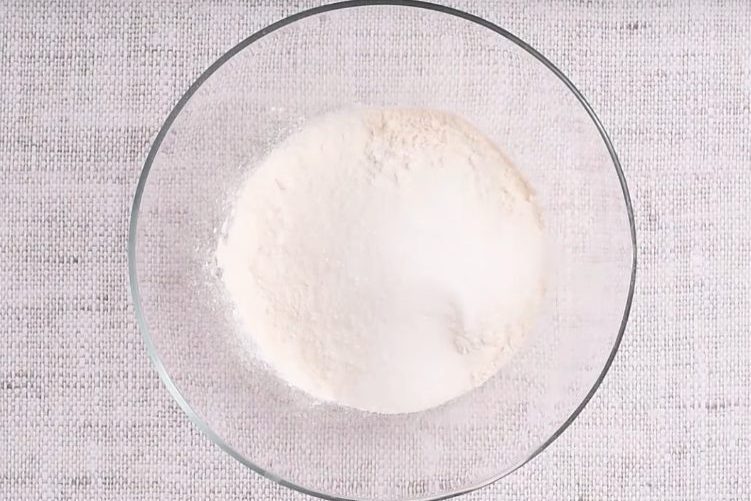
In a large mixing bowl, add the remaining flour, sugar, yeast, salt, and mix.
In a large mixing bowl, add the remaining flour, sugar, yeast, salt, and mix.
;Resize,width=712;)
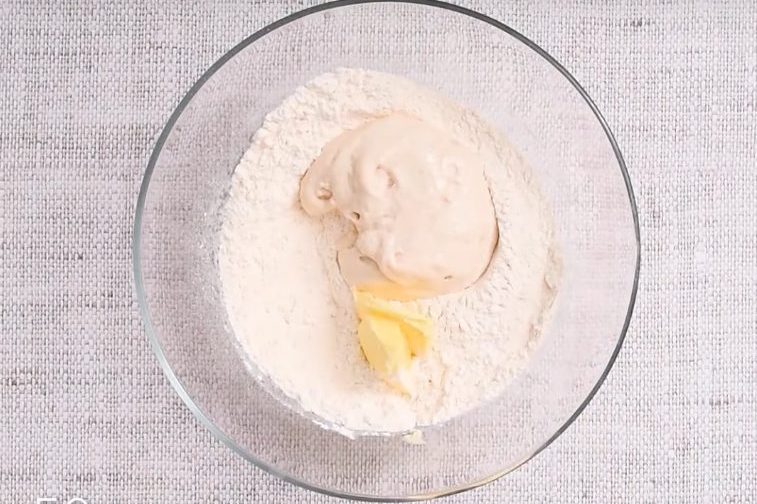
Add the refrigerated dough, butter, and milk. Mix until a dough forms.
Add the refrigerated dough, butter, and milk. Mix until a dough forms.
;Resize,width=712;)
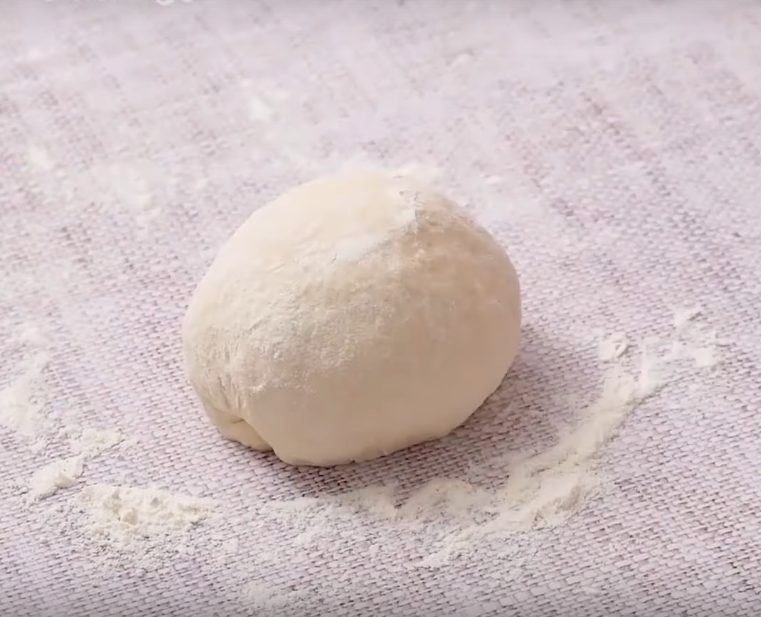
Divide into 2 portions and knead each portion slightly.
Divide into 2 portions and knead each portion slightly.
;Resize,width=712;)
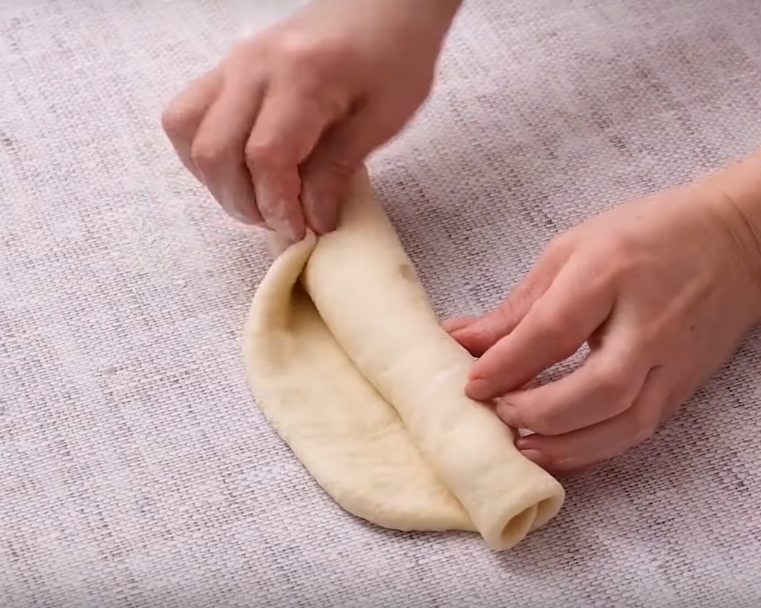
Use a rolling pin to flatten and the roll.
Use a rolling pin to flatten and the roll.
;Resize,width=712;)
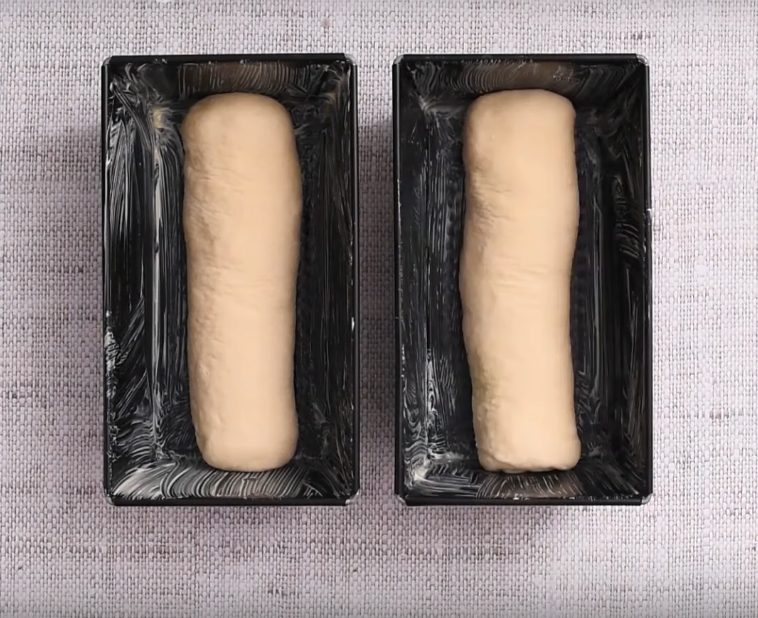
Place the dough rolls into greased bread pans.
Place the dough rolls into greased bread pans.
;Resize,width=712;)
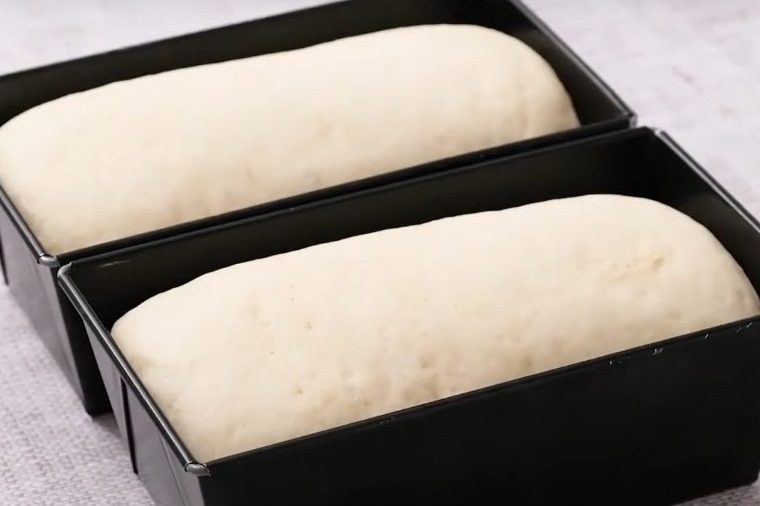
Allow to rise for one hour.
Allow to rise for one hour.
;Resize,width=712;)
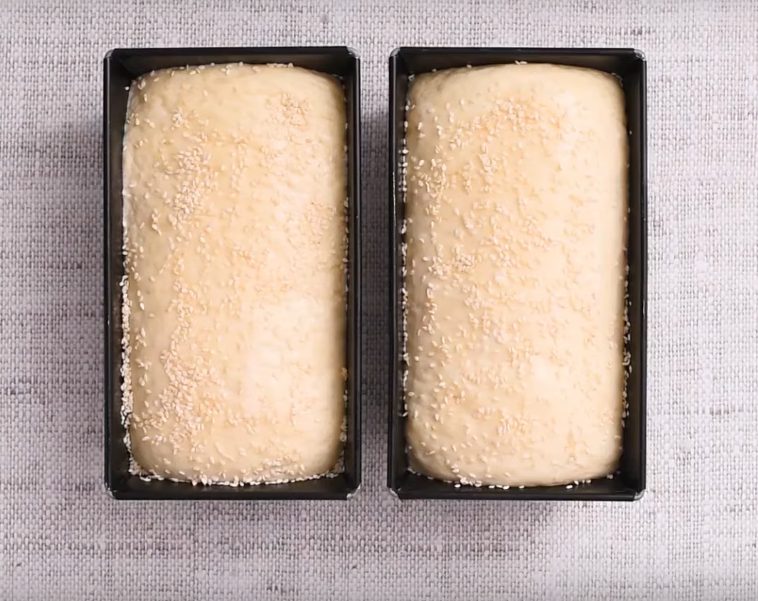
Grease each bread with milk and sprinkle with sesame seeds. Bake at 180C/ 350°F for 20-25 minutes.
Grease each bread with milk and sprinkle with sesame seeds. Bake at 180C/ 350°F for 20-25 minutes.
;Resize,width=712;)
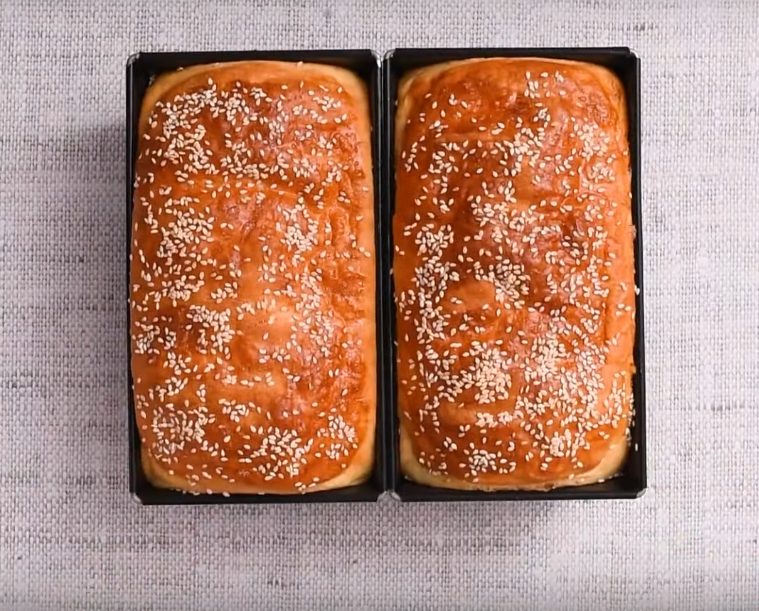
Remove the bread from the mold.
Remove the bread from the mold.
;Resize,width=712;)
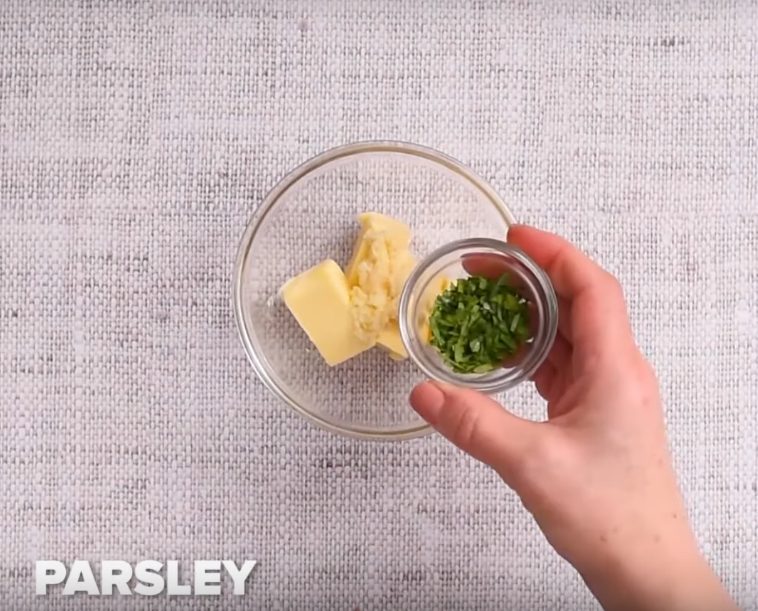
Mix butter with garlic and parsley.
Mix butter with garlic and parsley.
;Resize,width=712;)
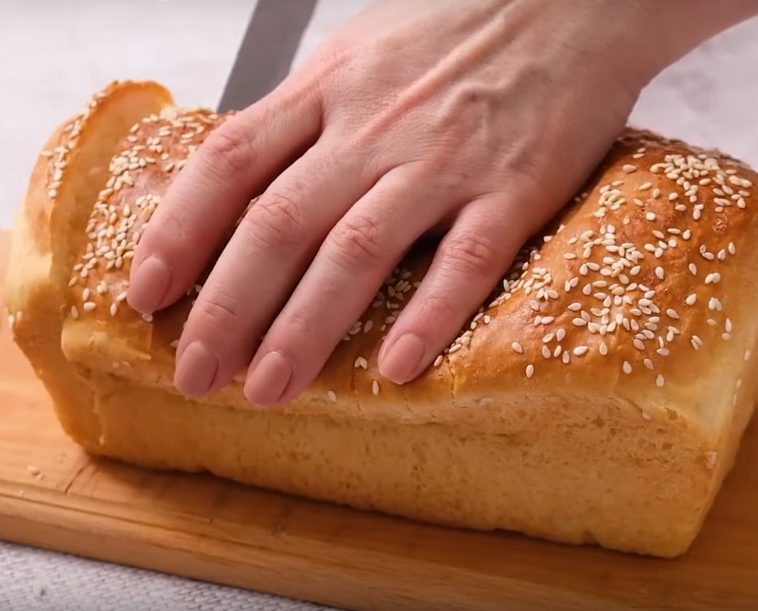
Slice the bread, but make sure not to cut all the way through.
Slice the bread, but make sure not to cut all the way through.
;Resize,width=712;)
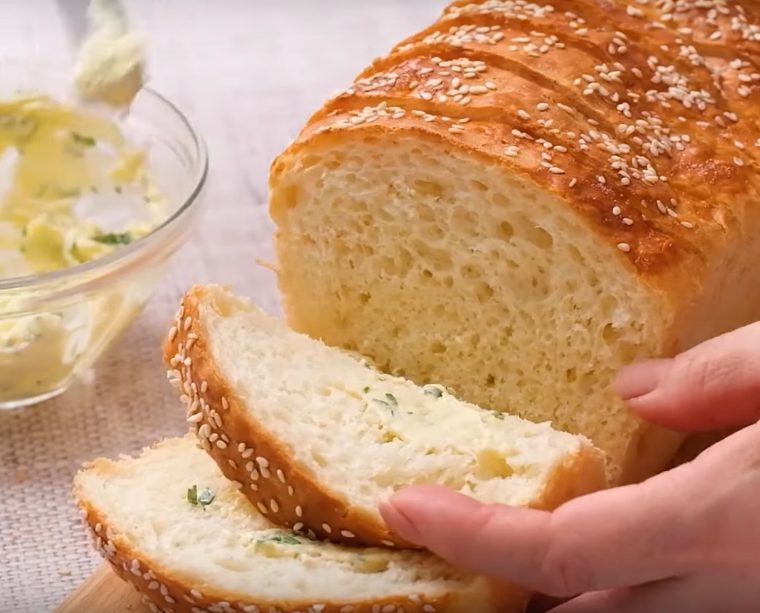
Spread the slices on both sides with the garlic butter mixture.
Spread the slices on both sides with the garlic butter mixture.
;Resize,width=712;)
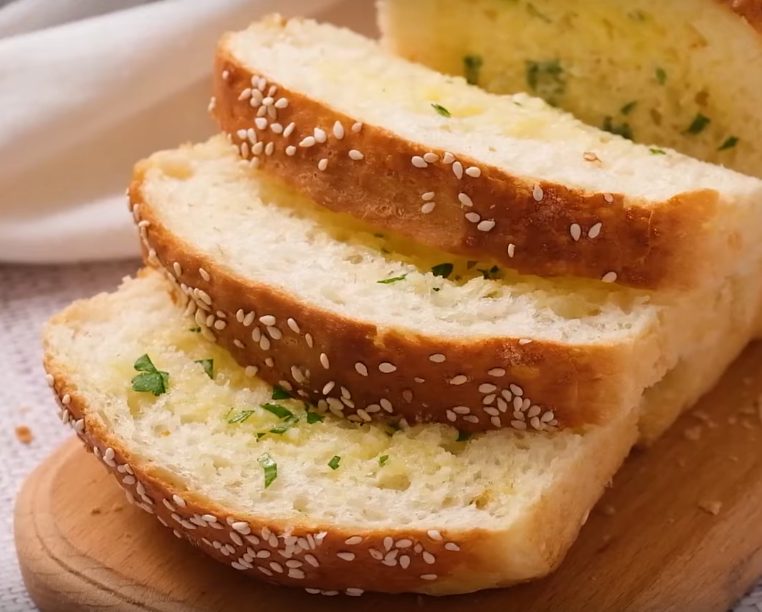
Bake another 3-5 minutes at 180°C / 350°F.
Bake another 3-5 minutes at 180°C / 350°F.

Notes
For crispier bread, you can turn on the broiler for the last 5 minutes.
;Resize,width=767;)


