Homemade DIY Brownie Mix in a Jar (Perfect for Gifts!)

Homemade Brownie Mix is a delicious and very simple preparation to make: a mix in a jar that is ideal as a Christmas gift for making brownies, the soft dessert typical of American tradition.
Very easy to make at home, you simply have to distribute the dry ingredients in layers in an airtight jar: in our recipe we have arranged the flour, sifted with the yeast, salt and vanilla powder, then the bitter cocoa, the sugar, both granulated and raw cane, the chopped hazelnuts and finally the chocolate chips (or chopped chocolate, if you prefer).
Ready to use like the classic industrial preparations, this home made version is certainly more genuine and healthy: you can, in fact, carefully select the ingredients and choose the best quality ones.
What is Homemade Brownie Mix?
Ready-made brownie mix is a product of mid-20th century convenience, born during the rise of packaged foods in post-war America. Companies like Pillsbury and Betty Crocker introduced these mixes, aiming to simplify baking for busy households. The idea capitalized on the growing demand for quick, easy-to-make desserts without sacrificing taste. Over time, home bakers started creating DIY versions of brownie mix, combining flour, cocoa powder, sugar, and baking essentials into pre-measured portions. This allowed for the convenience of a boxed mix with the customizable flavor of homemade baking, blending nostalgia and practicality in one fudgy bite.
Pro Tips for The Best Homemade Brownie Mix
- The cocoa is the star of your brownies, so opt for a rich, unsweetened variety for deeper chocolate flavor.
- Stir just until combined to avoid dense or tough brownies.
- Precision matters—especially with dry ingredients like flour and cocoa—to get the right texture.
Is This Cheaper Than Buying a Ready-Made One?
Making your own brownie mix at home is typically cheaper than buying ready-made ones from the store, especially if you already have baking staples like flour, sugar, and cocoa powder in your pantry. DIY versions also let you control the quality and quantity of ingredients, adding extra value compared to store-bought mixes with added preservatives or premium pricing.
Can I Mix All The Ingredients Instead of Making Layers?
Yes, you can mix all the dry ingredients together instead of layering them—it won’t affect the final taste or texture of the brownies. Layering is mostly for visual appeal, especially if gifting the mix. Mixing ensures even distribution of ingredients, making it a bit more practical for home use.
What is The Best Container to Use to Store The Mix?
The best container for homemade brownie mix is an airtight jar or container, like a mason jar or a BPA-free plastic container with a secure lid. It keeps the mix fresh, protects it from moisture and pests, and is easy to store or gift. Opt for a clear jar if you want a decorative touch!
What Else Can I Add to The Mix?
You can customize the preparation according to your personal tastes, adding walnuts or almonds instead of hazelnuts, milk or white chocolate instead of dark chocolate, a pinch of cinnamon or cardamom in addition to vanilla.
What Do I Need to Add to Make Brownies?
Once you have poured the mixture into a bowl, all you need to do is add eggs and melted butter to obtain a smooth and velvety mixture, ready to bake: the final result will be irresistible brownies with a moist and melting centre, excellent to enjoy for breakfast or as a snack with a cup of milk or a hot infusion.
To prepare the brownies, you will need to pour the mixture into a large bowl, add 4 medium eggs and 130 grams of melted butter, then mix with a spatula until you obtain a smooth and creamy mixture. Pour it into a square pan of about 20 cm on each side, buttered and floured, then cook at 360°F (180°C) in a static oven for about 25 minutes.
Can This Brownie Mix Be Frozen?
Yes! Store it in an airtight, freezer-safe container or bag to prevent moisture and odors. It will stay fresh for up to 3 months. Thaw at room temperature before using for best results.
Some Ideas of Brownies You Can Make With This Homemade Mix!
How to Store Homemade Brownie Mix
Since these are dry ingredients, brownie mix will keep for a long time in a cool, dry place.
Ingredients
How to Make Homemade Brownie Mix
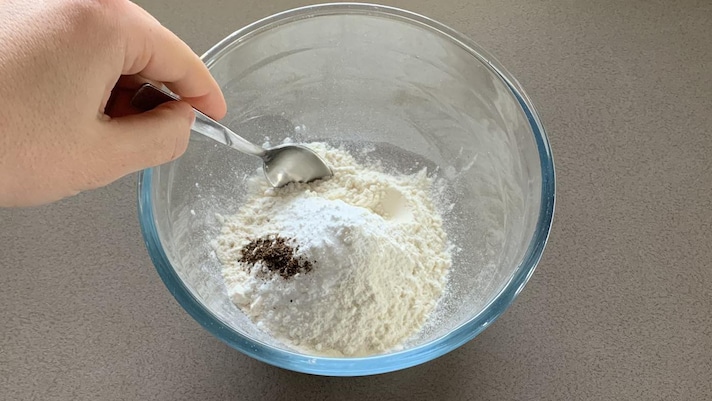
Mix the flour with the yeast, vanilla powder and a pinch of salt in a bowl.
Mix the flour with the yeast, vanilla powder and a pinch of salt in a bowl.
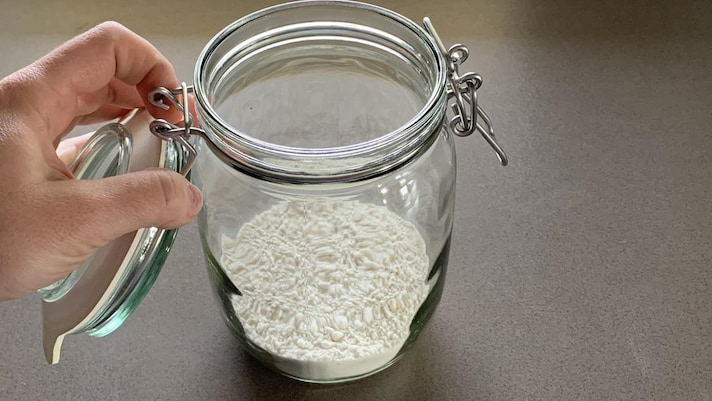
Pour this first layer into an airtight jar with a capacity of approximately 750 grams.
Pour this first layer into an airtight jar with a capacity of approximately 750 grams.
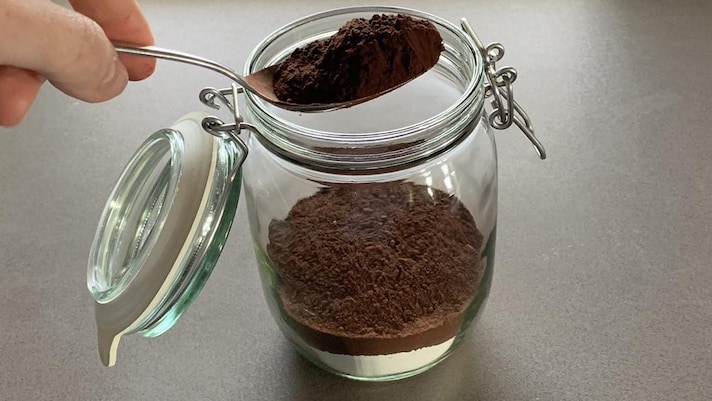
Continue with the second layer of bitter cocoa.
Continue with the second layer of bitter cocoa.
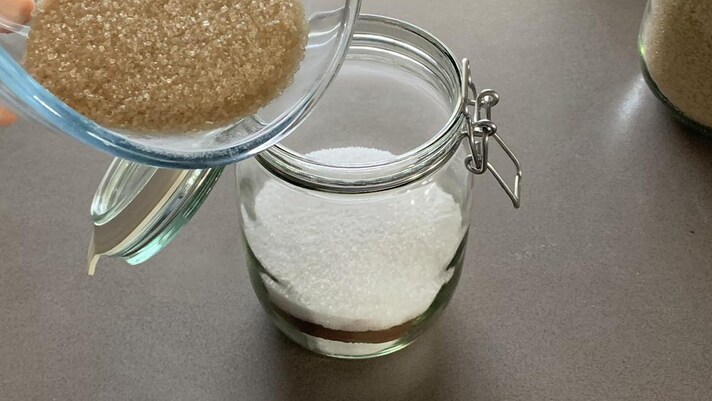
Add the granulated sugar and then the brown sugar.
Add the granulated sugar and then the brown sugar.
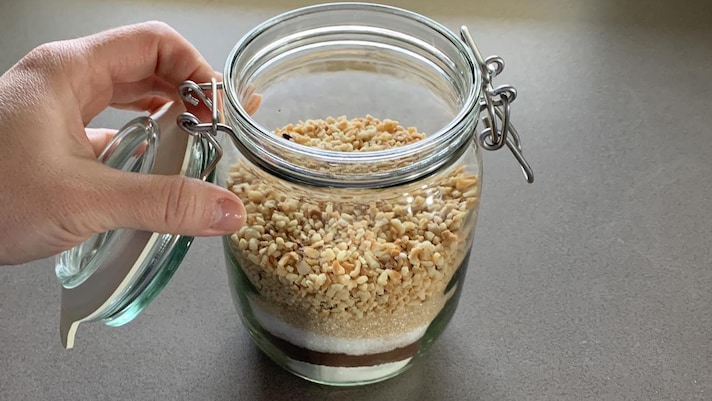
Sprinkle the copped hazelnuts on top.
Sprinkle the copped hazelnuts on top.
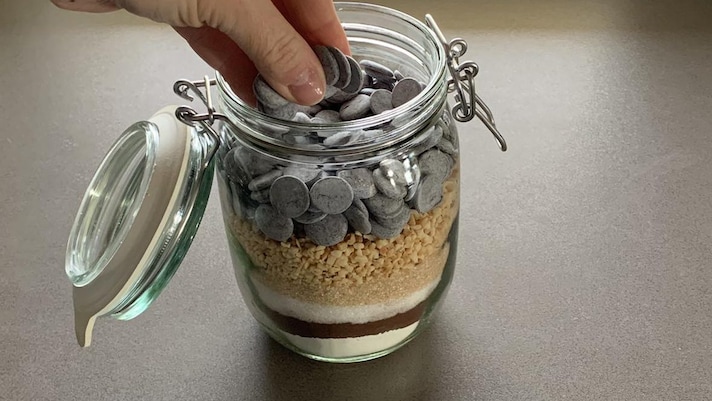
Finally, finish with chopped chocolate or chocolate chips.
Finally, finish with chopped chocolate or chocolate chips.
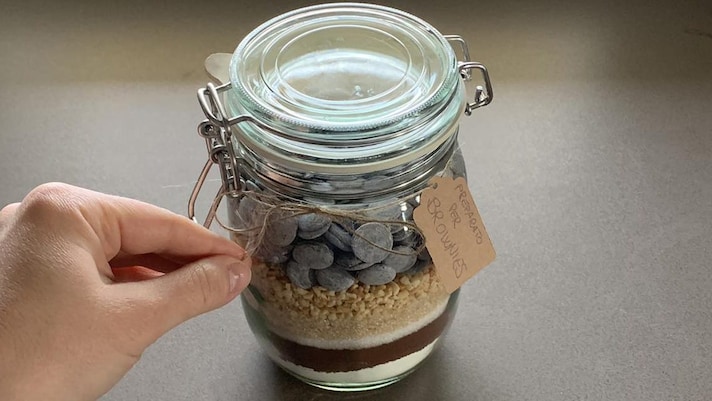
Close the jar and decorate it by adding a note with the instructions for preparation and some ribbons.
Close the jar and decorate it by adding a note with the instructions for preparation and some ribbons.
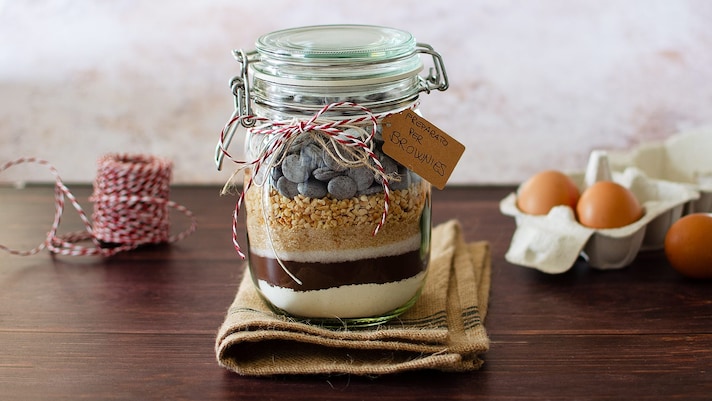
Enjoy!
Enjoy!
;Resize,width=767;)

;Resize,width=712;)

