
Homemade Chocolate Wafers: the Recipe for The Delicious and Fun Biscuits for

Have you ever dreamt of making your favorite candy bar at home? Well, with this recipe for homemade chocolate wafer candy bars, you can! These delicious treats are surprisingly simple to make and taste even better than store-bought versions. Plus, you get the satisfaction of knowing exactly what ingredients go into your candy bars. To make them, you’ll make a vanilla wafer (in a pan, no oven needed!), then coat them in melted chocolate. It’s not only tasty, but the recipe is also a fun activity to do with friends or family, especially during the holiday season. So, ditch the store-bought bars and whip up a batch of these homemade treats – the only limit is your imagination!
What Are Chocolate Wafer Candy Bars?
Homemade chocolate wafer candy bars are inspired by the classic candy bar combination of crispy wafers and decadent chocolate. Chocolate wafer candy bars emerged as the chocolate bar industry boomed in the late 19th and early 20th centuries. Manufacturers began experimenting with adding textures and flavors to solid chocolate bars, and wafers offered a delicious contrast.
While commercially produced chocolate wafer bars like Kit Kat (introduced in 1935) are the most famous, similar treats exist worldwide. In Scotland, Tunnock's Caramel Wafers (1952) feature layers of wafer and caramel enrobed in chocolate.
These homemade chocolate wafer candy bars give you the taste of store-bought favorites but with a personal touch. You make the thin, crispy vanilla wafers from scratch, allowing you to control the ingredients and potentially add a hint of your favorite spice. These homemade wafers are then layered with your choice of chocolate (milk, dark, or white) creating a textural and flavor explosion. Homemade versions allow for endless creativity. Play around with flavored wafers (like adding cocoa powder for a chocolate twist) or explore different fillings like fruit jams, chopped nuts, or even a touch of sea salt for a sweet and salty surprise.
Tips
- Feel free to experiment with different types – dark, milk, or even white chocolate – to create your own personalized flavor combinations.
- If you want that professional-looking, shiny chocolate finish with a satisfying snap, tempering your chocolate is the way to go. It creates a stable and delicious chocolate coating.
- To temper the chocolate, you will need a thermometer. Heat the chocolate over a double boiler, until it reaches the correct temperature. Then continue stirring while it cools down again to the right temperature (see below).
- For dark chocolate, the melting temperature is 122 – 131°F (50 – 55°C) and the cooling temperature is 88 – 90°F (31 – 32°C).
- For milk chocolate, the melting temperature is 113 – 122°F (45 – 50°C) and the cooling temperature is 86 – 88°F (30 – 31°C).
- For white chocolate, the melting temperature is 113 – 122°F (45 – 50°C) and 84 – 86°F (29 – 30°C).
- Aim for a thin layer of chocolate coating on your wafers. This allows the delicious wafer texture to shine through.
- Let your chocolate-coated wafers cool completely before storing or packaging. This prevents them from sticking together.
- Don't be afraid to experiment! Explore chopped nuts, dried fruits, caramel drizzle, or even a sprinkle of sea salt for a sweet and salty twist.
How Can I Make the Wafers Gluten-Free?
Use a gluten-free flour blend or alternatives like almond flour or oat flour.
How Can I Add Flavor to The Wafers?
You can experiment with adding spices like cinnamon or nutmeg to the batter, or cocoa powder for a chocolate twist.
Do I Have to Temper the Chocolate?
Tempering creates a beautiful, shiny chocolate coating with a nice snap. It's optional but recommended for a professional look.
What Can I Use as A Filling for My Candy Bars?
The possibilities are endless! Try nut butters, fruit jams, caramel sauce, chopped nuts, dried fruits, or even a sprinkle of sea salt for a sweet and salty surprise.
How Can I Decorate My Candy Bars?
Get creative! Use sprinkles, chopped nuts, edible glitter, or drizzle with melted chocolate or white chocolate for a festive touch.
How To Store Chocolate Wafers
Wrap the finished candy bars tightly in plastic wrap or store them in an airtight container in a cool, dry place.
Ingredients
How To Make Homemade Chocolate Wafer Candy Bars
;Resize,width=712;)
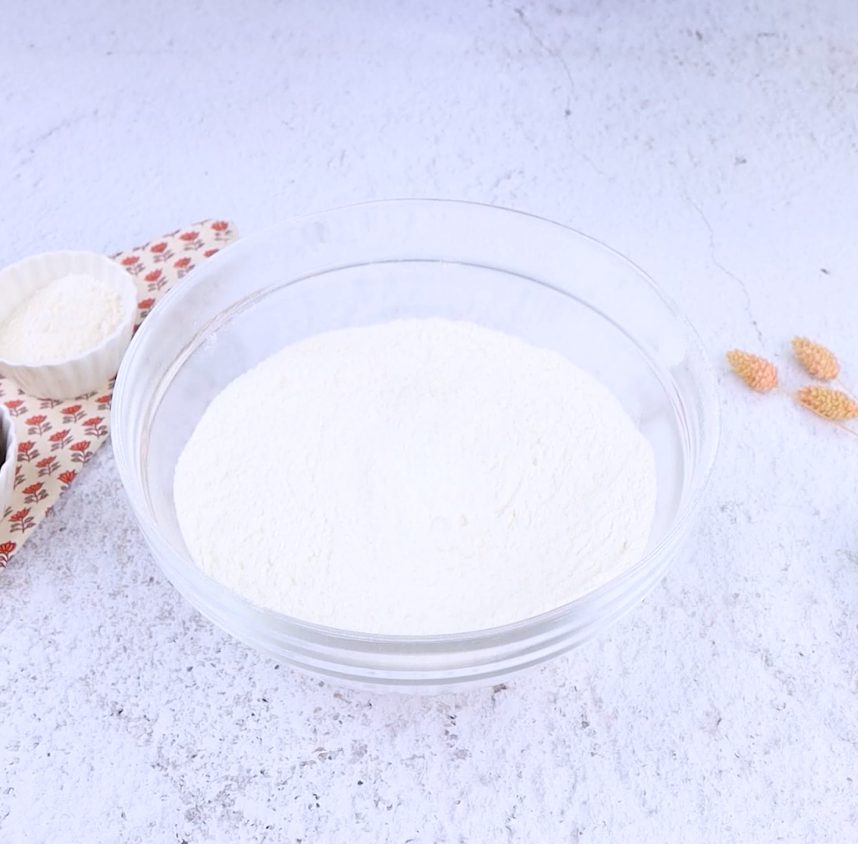
In a bowl, whisk together the flour, powdered sugar, and baking powder.
In a bowl, whisk together the flour, powdered sugar, and baking powder.
;Resize,width=712;)
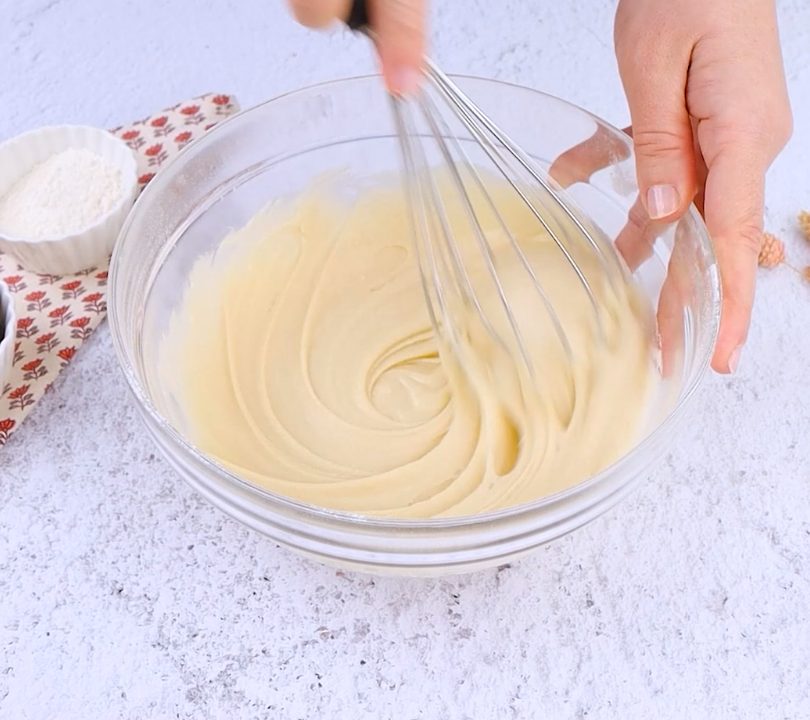
Add the salt, milk, vanilla extract, and vegetable oil to the dry ingredients and whisk until a smooth batter forms.
Add the salt, milk, vanilla extract, and vegetable oil to the dry ingredients and whisk until a smooth batter forms.
;Resize,width=712;)
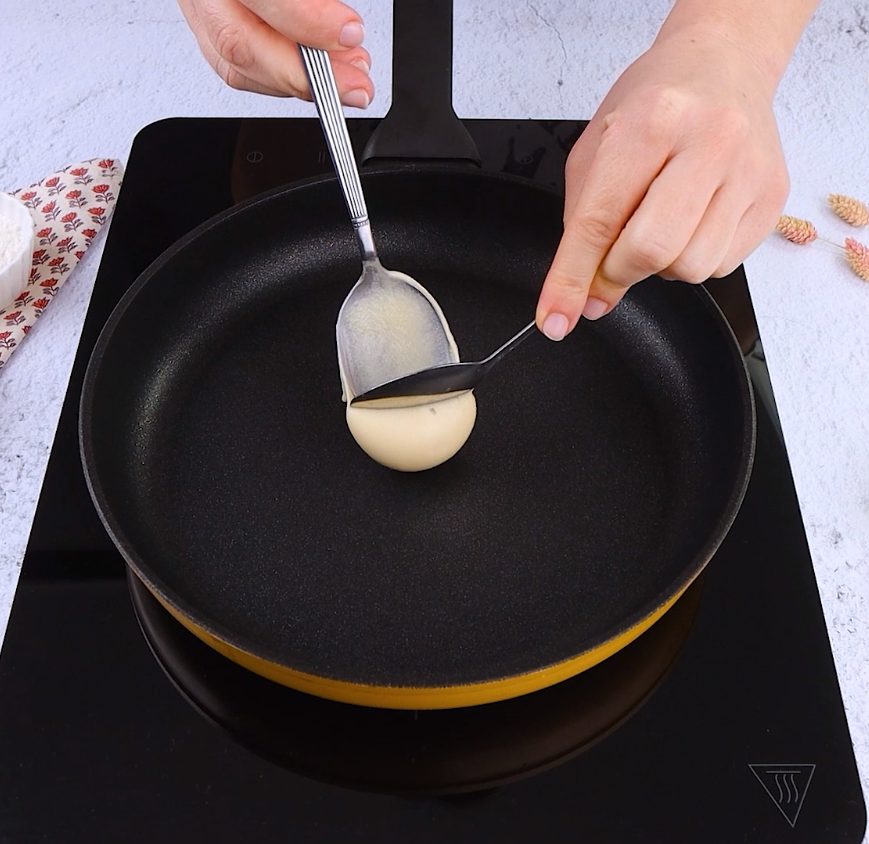
Pour about 1 1/2 tablespoons of batter onto a greased preheated pan.
Pour about 1 1/2 tablespoons of batter onto a greased preheated pan.
;Resize,width=712;)
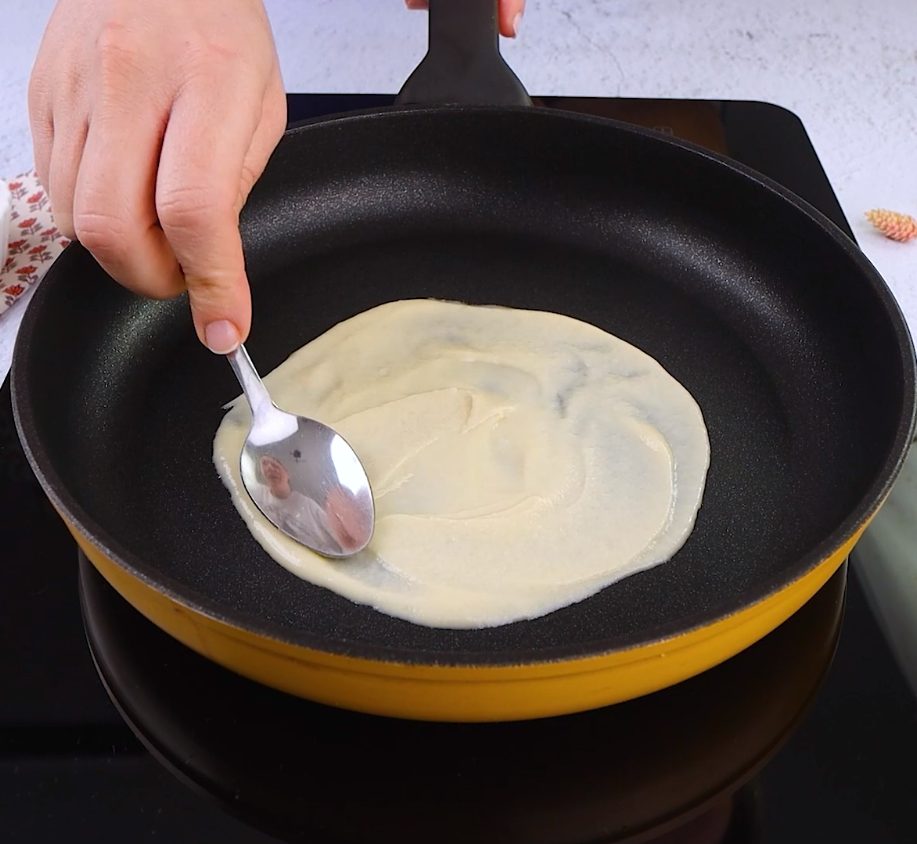
Use the back of a teaspoon to spread the batter thinly.
Use the back of a teaspoon to spread the batter thinly.
;Resize,width=712;)
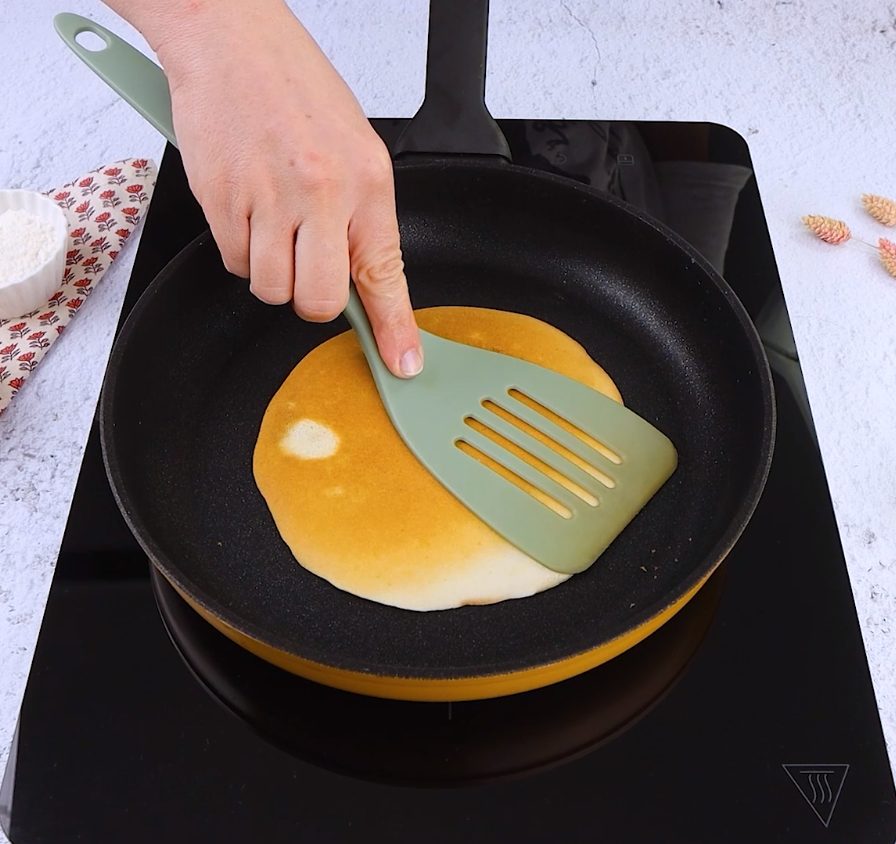
Bake the cookies on both sides until golden brown.
Bake the cookies on both sides until golden brown.
;Resize,width=712;)
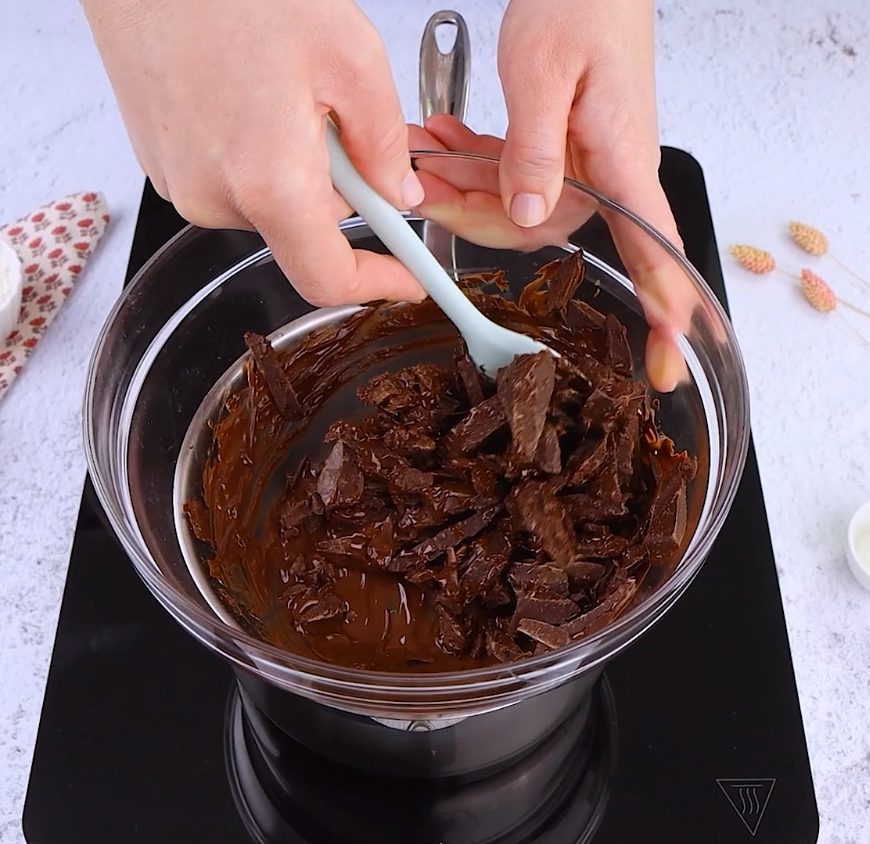
Place a heat-resistant bowl over a saucepan filled with simmering water (not boiling). Add the chocolate pieces to the bowl and stir on low heat until melted and smooth.
Place a heat-resistant bowl over a saucepan filled with simmering water (not boiling). Add the chocolate pieces to the bowl and stir on low heat until melted and smooth.
;Resize,width=712;)
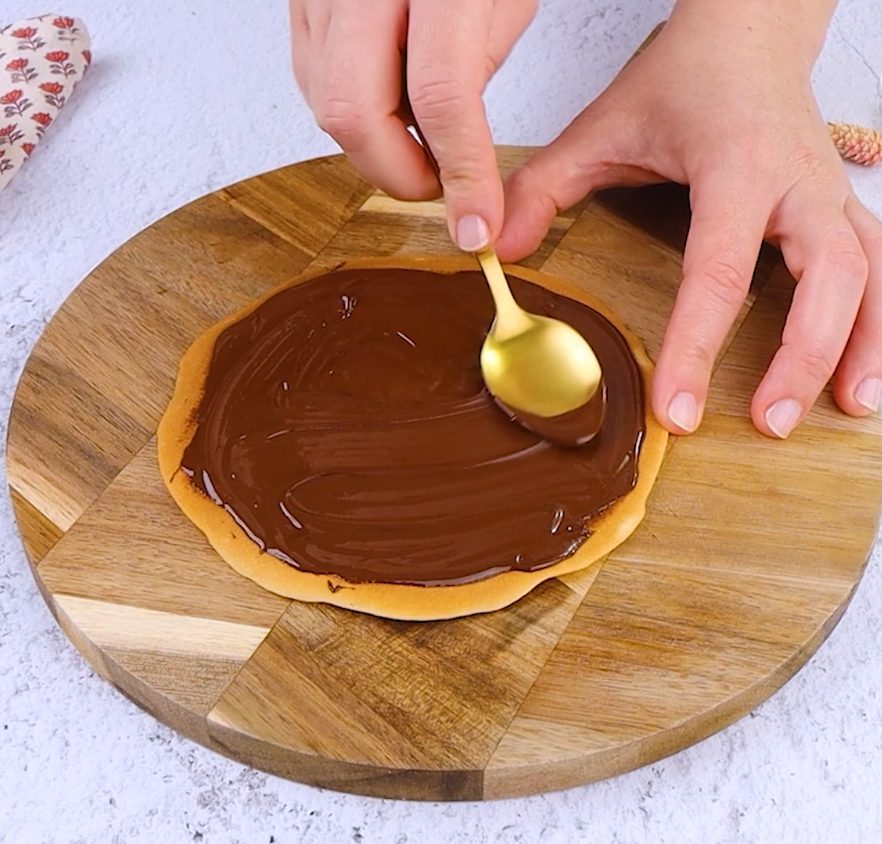
Arrange half the cookies on a baking sheet lined with parchment paper. Spread melted chocolate over the cookies.
Arrange half the cookies on a baking sheet lined with parchment paper. Spread melted chocolate over the cookies.
;Resize,width=712;)
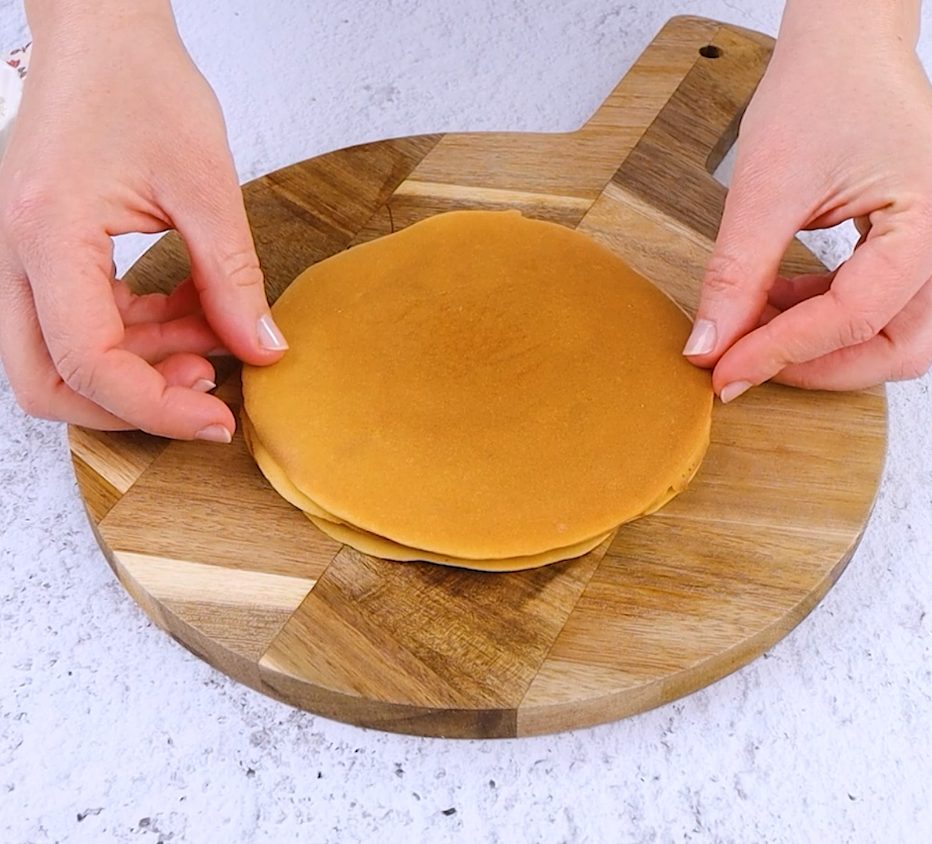
Top with the remaining cookies to create a chocolate sandwich.
Top with the remaining cookies to create a chocolate sandwich.
;Resize,width=712;)
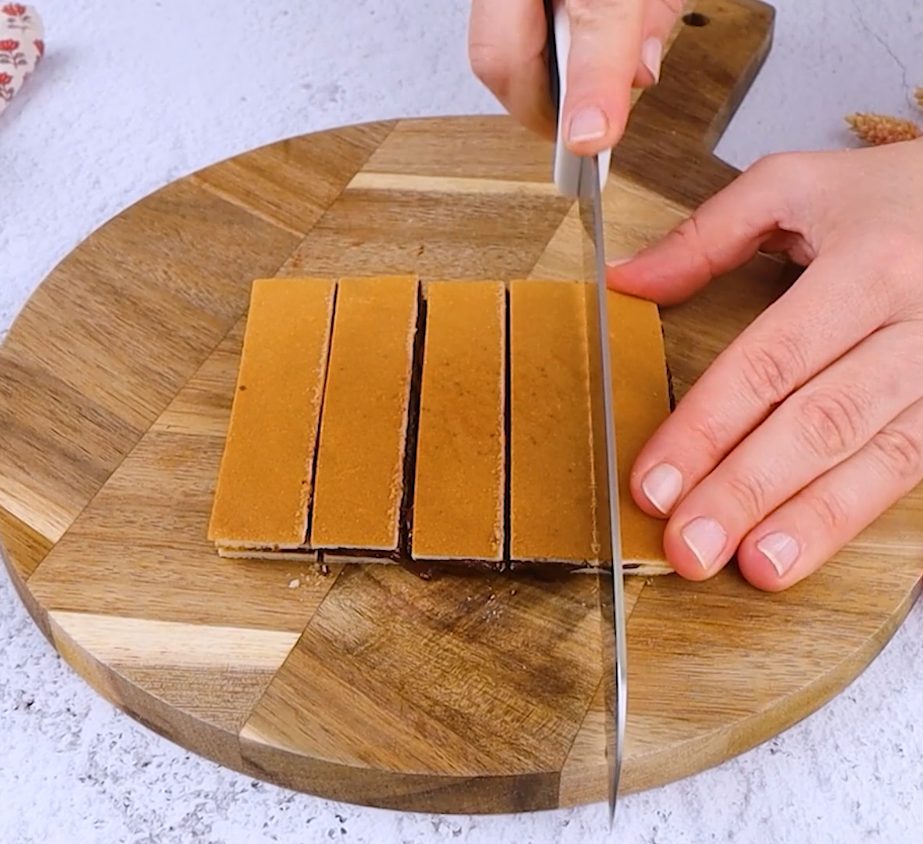
Refrigerate the assembled cookies for 5 minutes to allow the chocolate to firm up slightly. Then, use a sharp knife to cut the cookies into desired shapes.
Refrigerate the assembled cookies for 5 minutes to allow the chocolate to firm up slightly. Then, use a sharp knife to cut the cookies into desired shapes.
;Resize,width=712;)
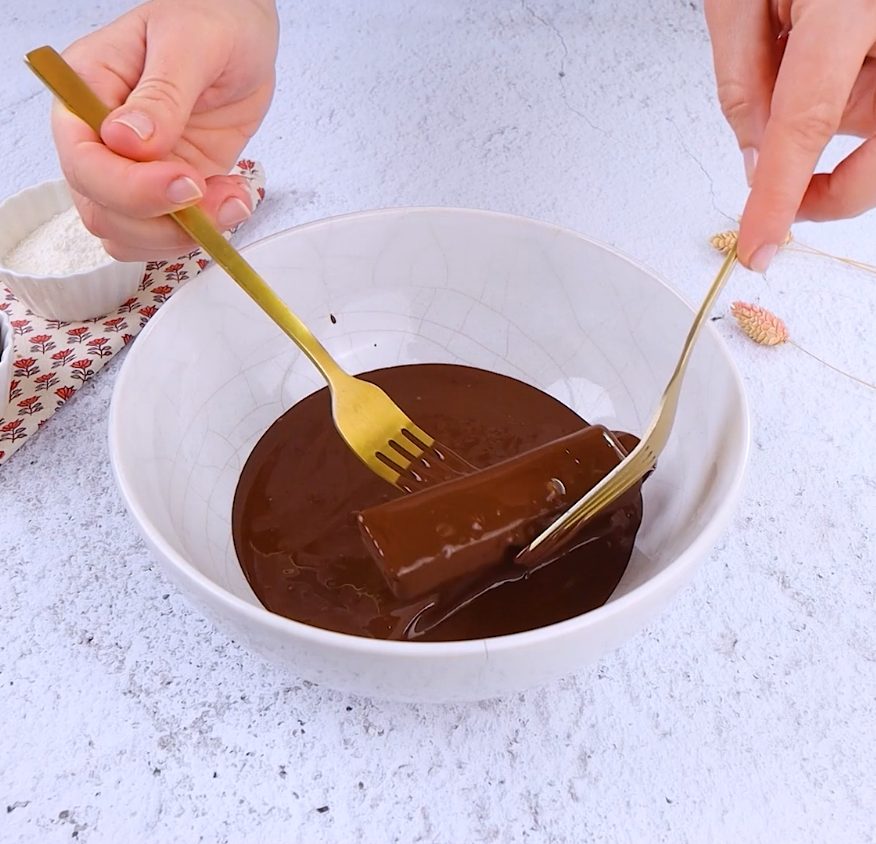
Dip each cookie completely in the remaining melted chocolate.
Dip each cookie completely in the remaining melted chocolate.
;Resize,width=712;)
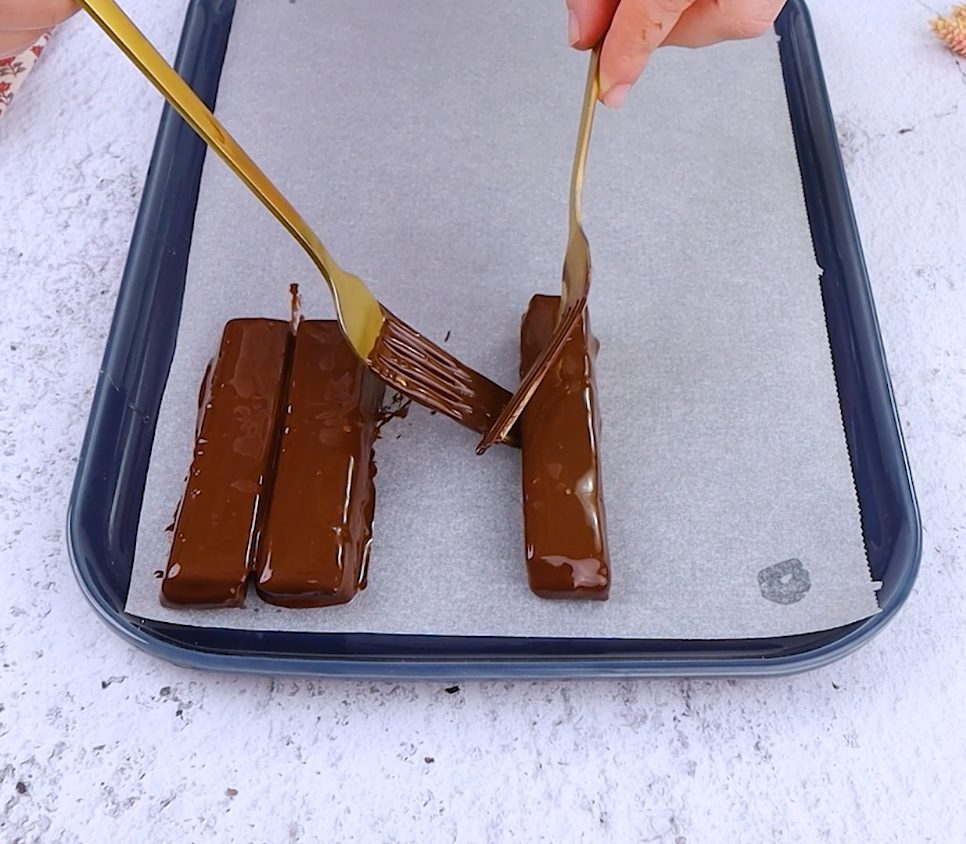
Carefully transfer the dipped cookies back to the baking sheet lined with parchment paper. You can decorate them with sprinkles or chopped nuts while the chocolate is still wet.
Carefully transfer the dipped cookies back to the baking sheet lined with parchment paper. You can decorate them with sprinkles or chopped nuts while the chocolate is still wet.
;Resize,width=712;)
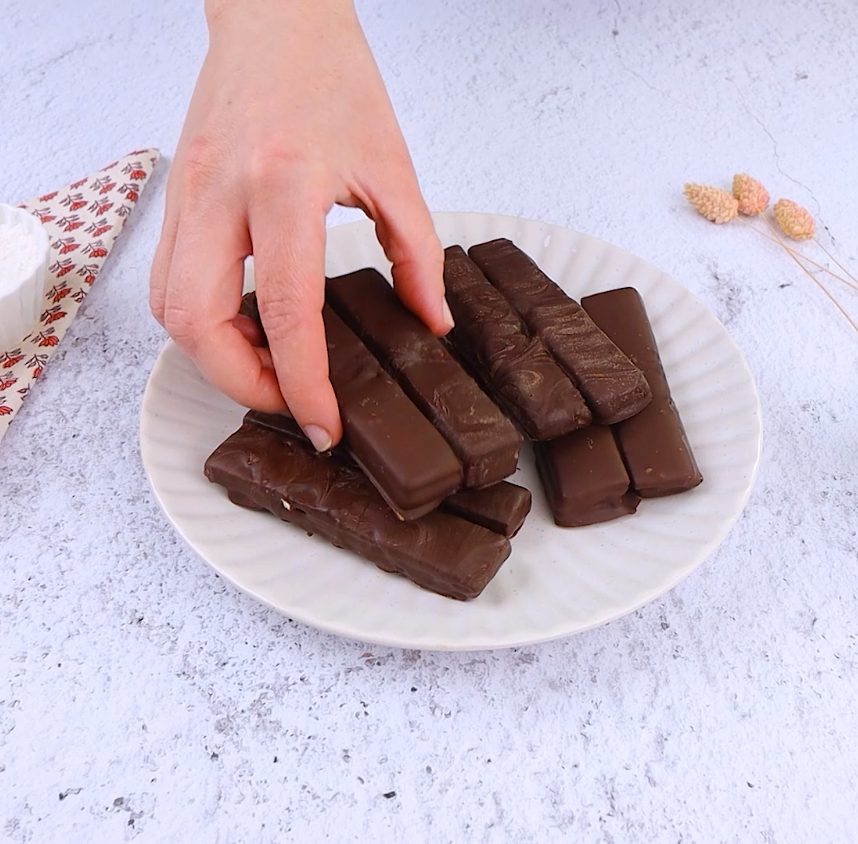
Allow the chocolate to set completely before serving. You can store the cookies in the refrigerator for a chilled treat.
Allow the chocolate to set completely before serving. You can store the cookies in the refrigerator for a chilled treat.
;Resize,width=767;)


