
Cool off this summer with irresistible Homemade Chocolate Dip Vanilla Popsicles! These rich and creamy treats are like a taste of childhood in every bite. They're perfect for when you want something cool and refreshing, but still a bit indulgent. Don't worry, they're surprisingly easy to make! All you need are a few ingredients: whipping cream, cream cheese, powdered sugar, vanilla extract, and chocolate eggs. Melt the chocolate eggs to make an ice cream shell. Then whip up the ice cream mixture, pour it into paper cups lined with lollipop sticks, and freeze. These frozen treats are perfect for both kids and adults, and they're sure to be a hit at any party!
What Are Popsicles?
Popsicles, also known as ice pops in some places, are a frozen treat on a stick. Traditionally, they’re made with flavored water, juice, or cream that's frozen solid. Unlike ice cream, popsicles aren't churned while freezing, resulting in a denser, icy texture.
The story of the popsicle is an accidental invention! In 1905, 11-year-old Frank Epperson in San Francisco left a cup of flavored soda outside with a stirring stick in it overnight. The next morning, it was frozen solid, and the Popsicle was born!
Popsicles became a popular treat in the early 1900s and have come a long way since then. They were originally called "Epsicles" but were later renamed based on a nickname by Epperson's children. Early popsicles likely came in various flavors, including chocolate and vanilla, mirroring popular ice cream options.
These frozen treats are incredibly popular for a reason: they're simple, refreshing, and perfect for hot summer days.
Did you know the trademark for the chocolate and vanilla combo popsicle, known as the Creamsicle, is actually held by the Popsicle brand?
Tips
- For a fruity twist in the vanilla layer, consider using puréed strawberries, mangoes, or peaches. Just make sure the fruit is ripe to avoid any icy chunks.
- Don't limit yourself to chocolate and vanilla! Experiment with different flavored creams or melted candies for the center. Think peanut butter, mint chocolate chip, or even a coffee swirl.
- Add some extra fun and nutrients by mixing in chopped nuts, mini chocolate chips, or sprinkles into the vanilla mixture.
- Lightly coat your paper cups with cooking spray before pouring the chocolate. This will make them easier to peel off later.
- When unmolding, run a warm knife around the edges of the cup to loosen the popsicle before peeling.
- After the final freeze, dip the entire popsicle in melted chocolate for an extra thick shell. Top it with sprinkles or chopped nuts for an impressive presentation.
How Long Does It Take to Make Chocolate Vanilla Popsicles?
The prep time is fairly quick, but they will need to freeze for several hours, so plan ahead.
What Chocolate Should I Use to Dip the Popsicles In?
For dipping ice cream, dark chocolate and milk chocolate are both excellent choices. Dark chocolate offers a rich, intense flavor, while milk chocolate provides a sweeter, creamier taste. Combining both can balance the flavors perfectly. Melt the chocolate until smooth for a perfect coating that hardens beautifully around the ice cream.
Can I Make Chocolate Vanilla Popsicles Without an Ice Cream Maker?
Absolutely! This recipe is a no-churn option.
Are There Any Dairy-Free Alternatives for Making Chocolate Vanilla Popsicles?
Yes! You can use coconut milk or dairy-free cream cheese for the vanilla layer and vegan chocolate for the coating.
Can I Decorate the Popsicles?
Absolutely! Dip them in melted chocolate, add sprinkles, chopped nuts, or even drizzle them with caramel.
My Popsicles Won't Come Out of The Mold!
Try running warm water around the outside of the mold for a few seconds to loosen the popsicle. You can also use a non-stick spray on the cups before pouring the chocolate.
More Ice Cream Bars Recipes For You
How To Store the Popsicles
The chocolate popsicles can be stored in the freezer for up to 3 months. Just make sure to store them in a sealable plastic bag or an airtight container.
Ingredients
How To Make Chocolate And Vanilla Popsicles
;Resize,width=712;)
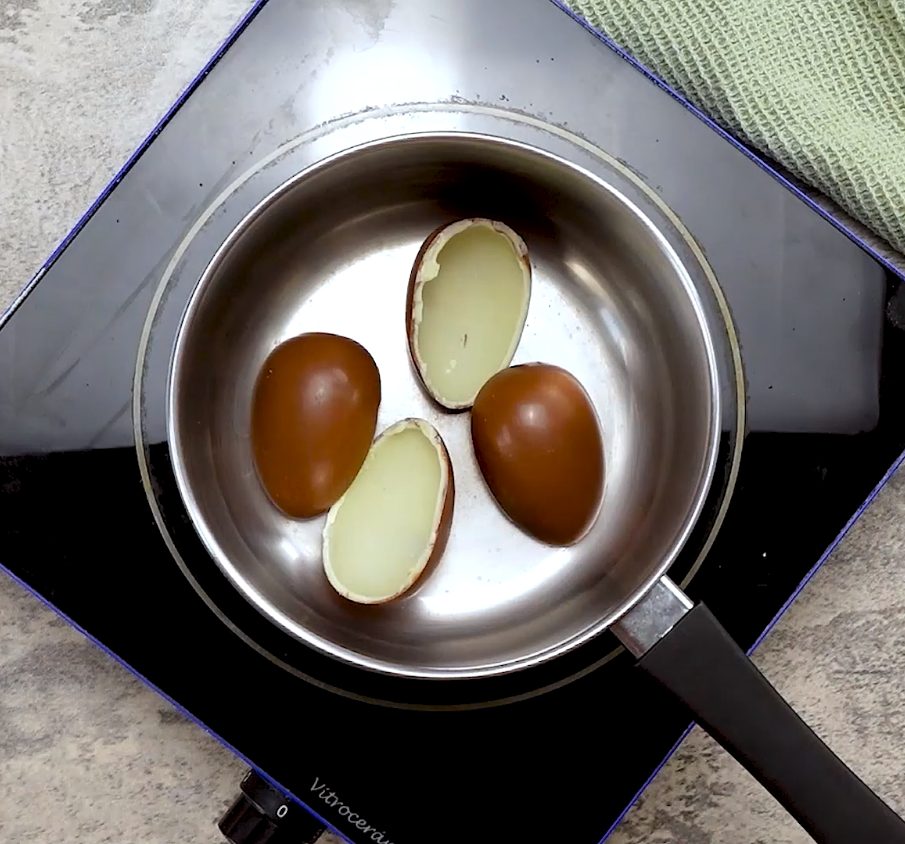
In a pot, melt chocolate eggs (use all milk chocolate, all dark chocolate, or a fun mix of both!).
In a pot, melt chocolate eggs (use all milk chocolate, all dark chocolate, or a fun mix of both!).
;Resize,width=712;)
Enjoy your homemade chocolate vanilla popsicles!
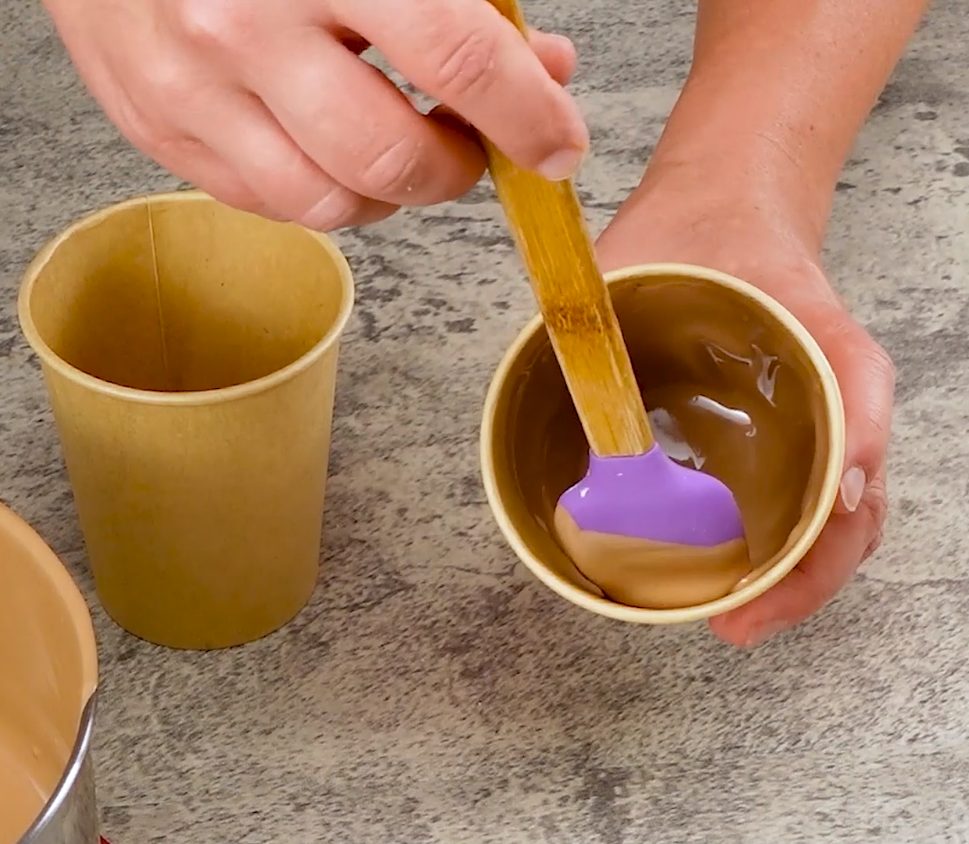
Pour the melted chocolate into paper cups. Swirl it to coat the entire inside.
;Resize,width=712;)
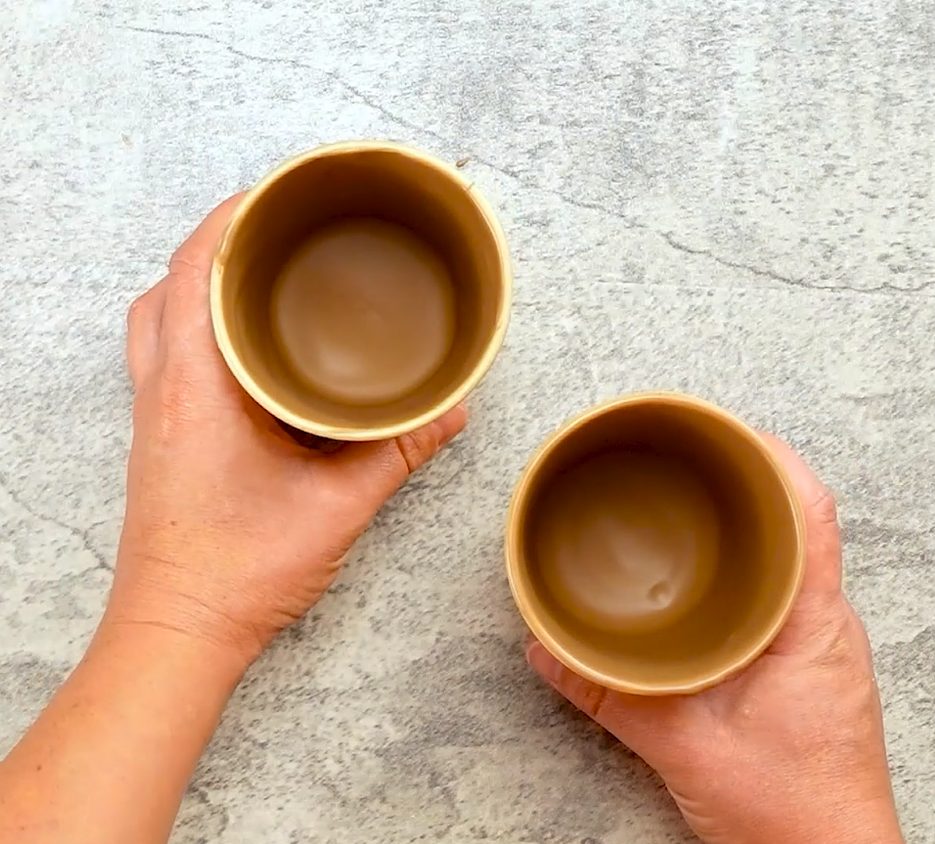
Refrigerate for 30 minutes to let the chocolate harden.
;Resize,width=712;)
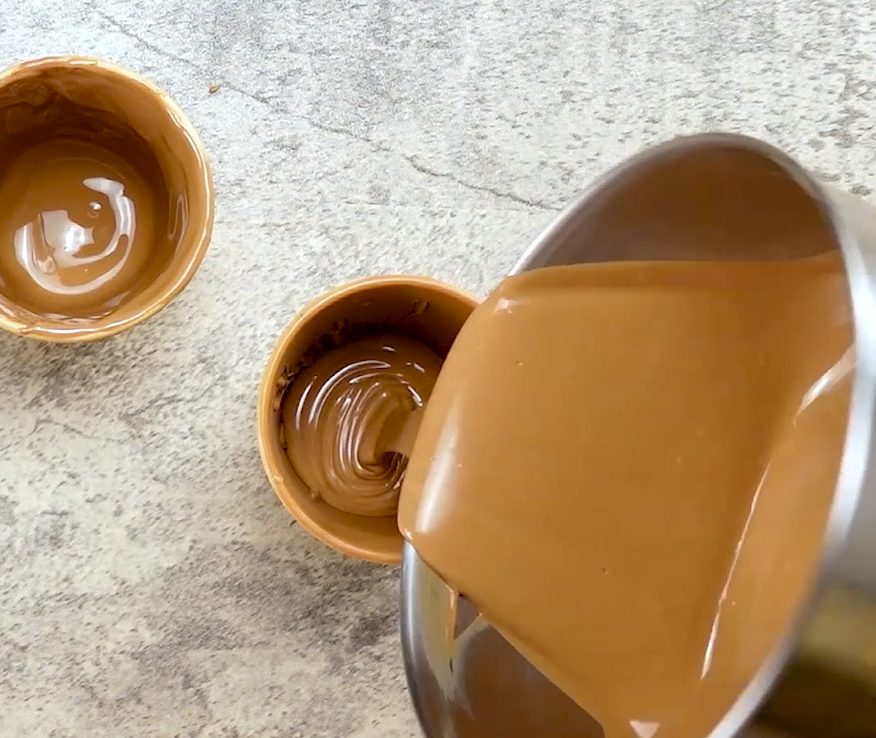
After the first layer hardens, add another layer of melted chocolate and refrigerate for 15 minutes.
;Resize,width=712;)
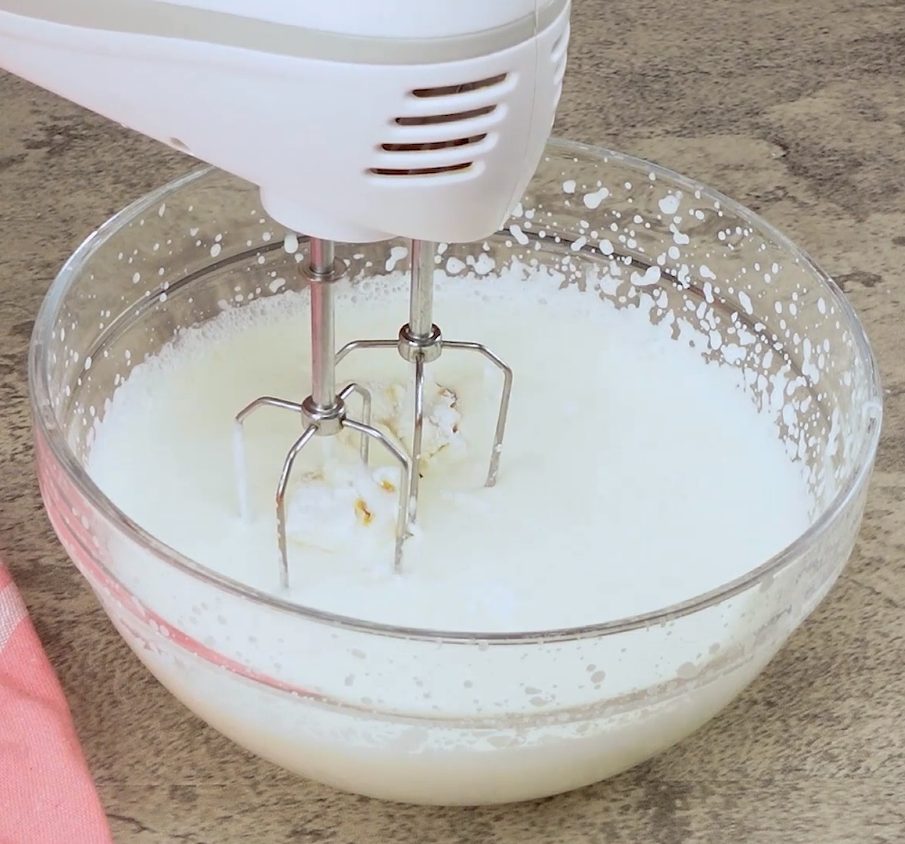
Combine cream, powdered sugar, cream cheese, and vanilla extract in a bowl and whip until it forms stiff peaks.
;Resize,width=712;)
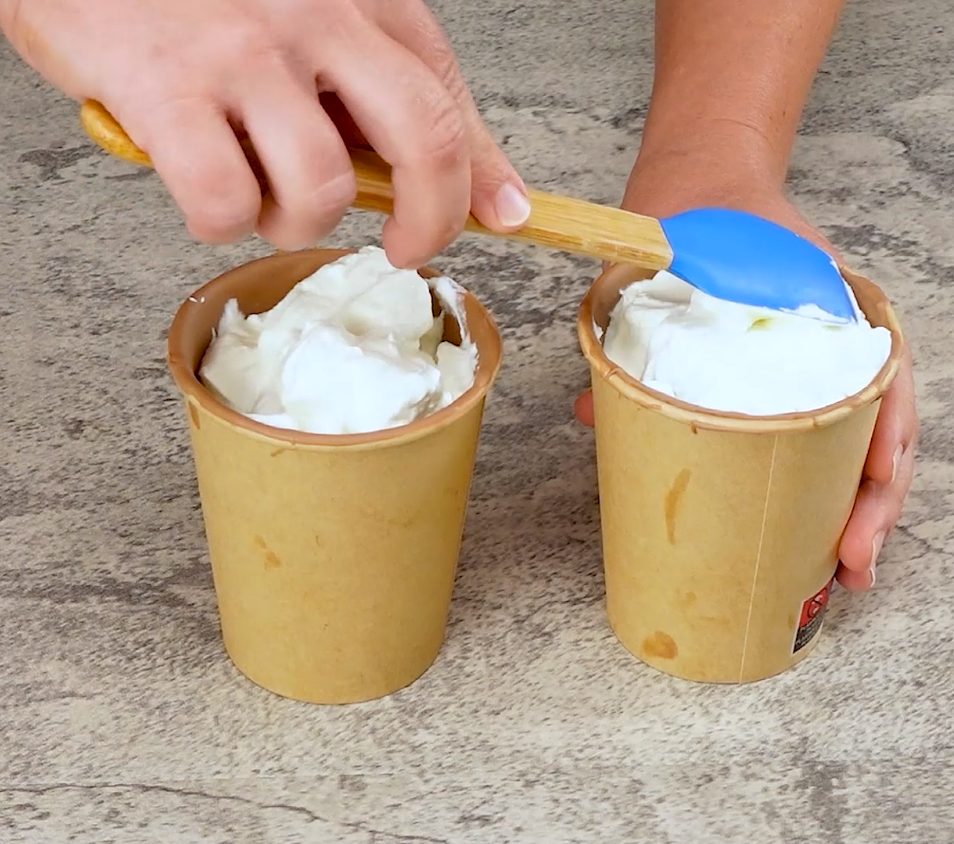
Fill the chilled chocolate cups with the whipped cream mixture.
;Resize,width=712;)
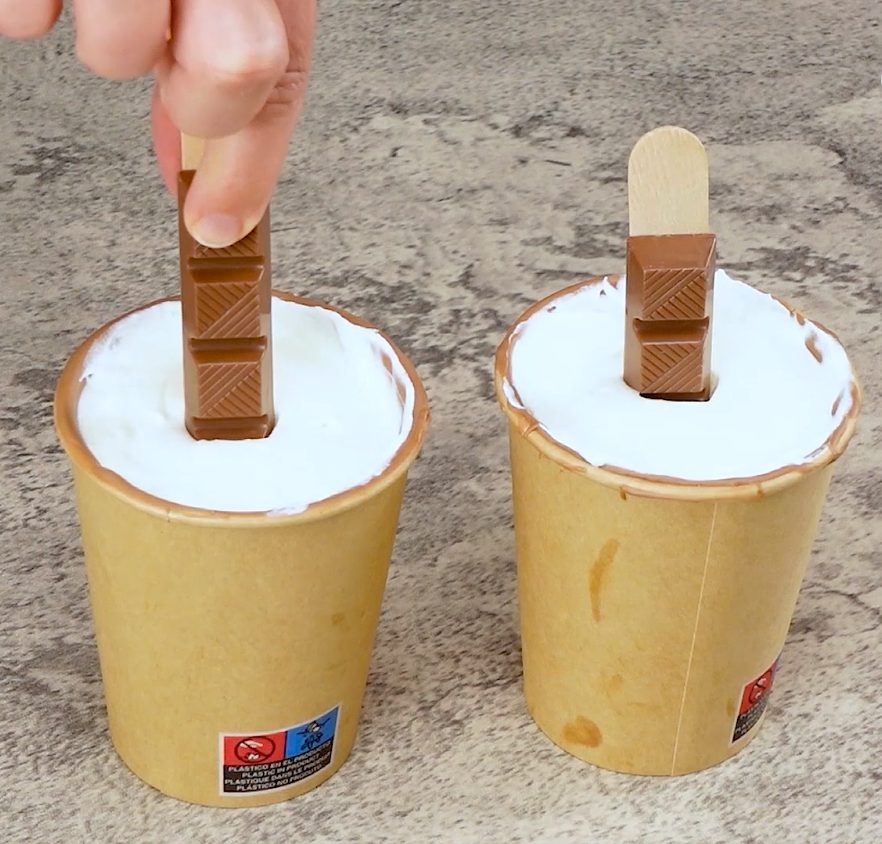
Gently press a chocolate bar strip and a lollipop stick into each cup. Freeze for 30 minutes.
;Resize,width=712;)
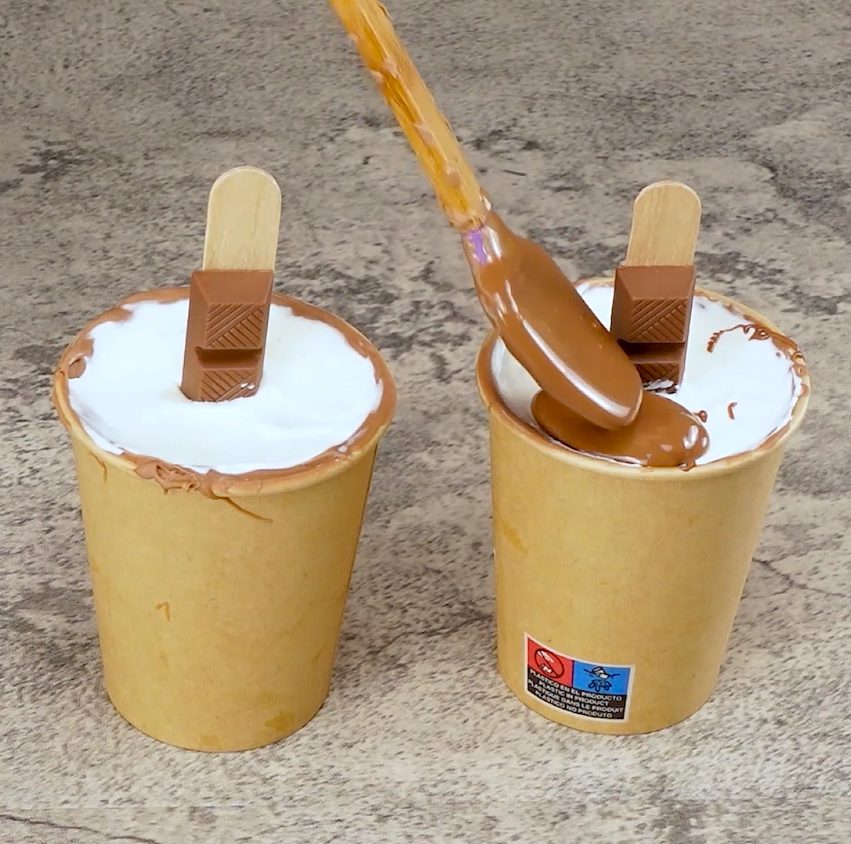
Once frozen, cover the top of each cup in melted chocolate to create a secure seal.
;Resize,width=712;)
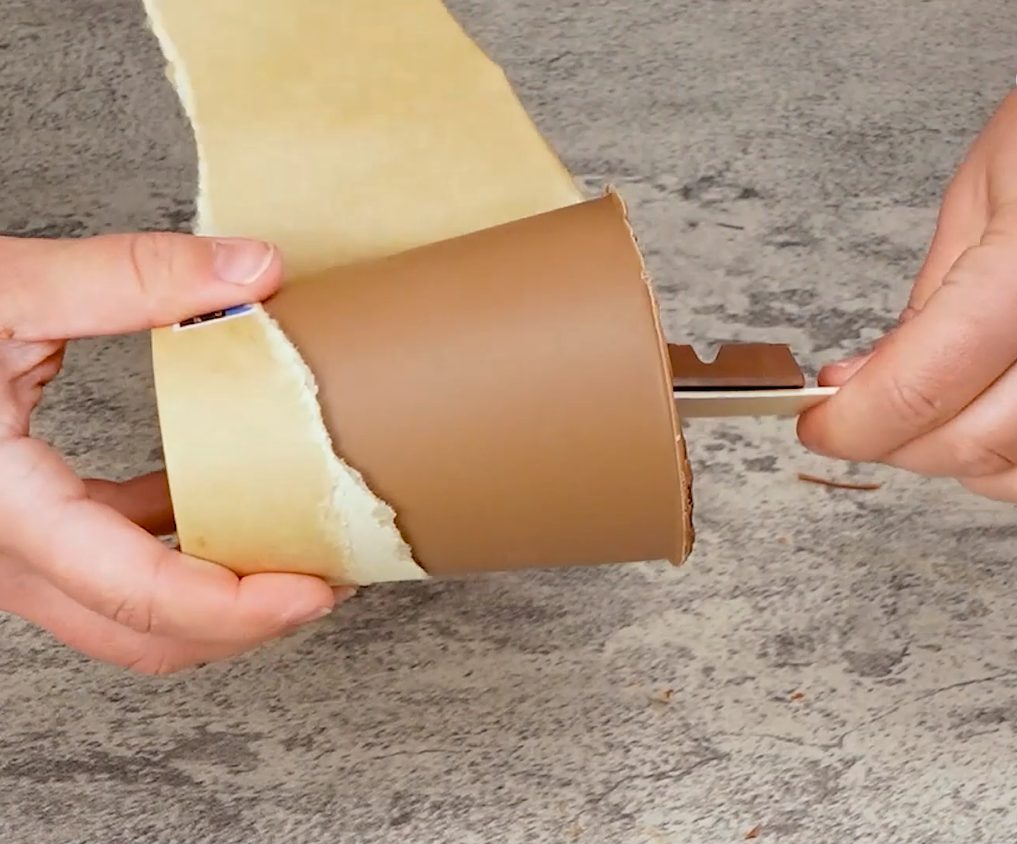
Freeze for several hours or overnight, then carefully peel away the paper cups.
;Resize,width=712;)
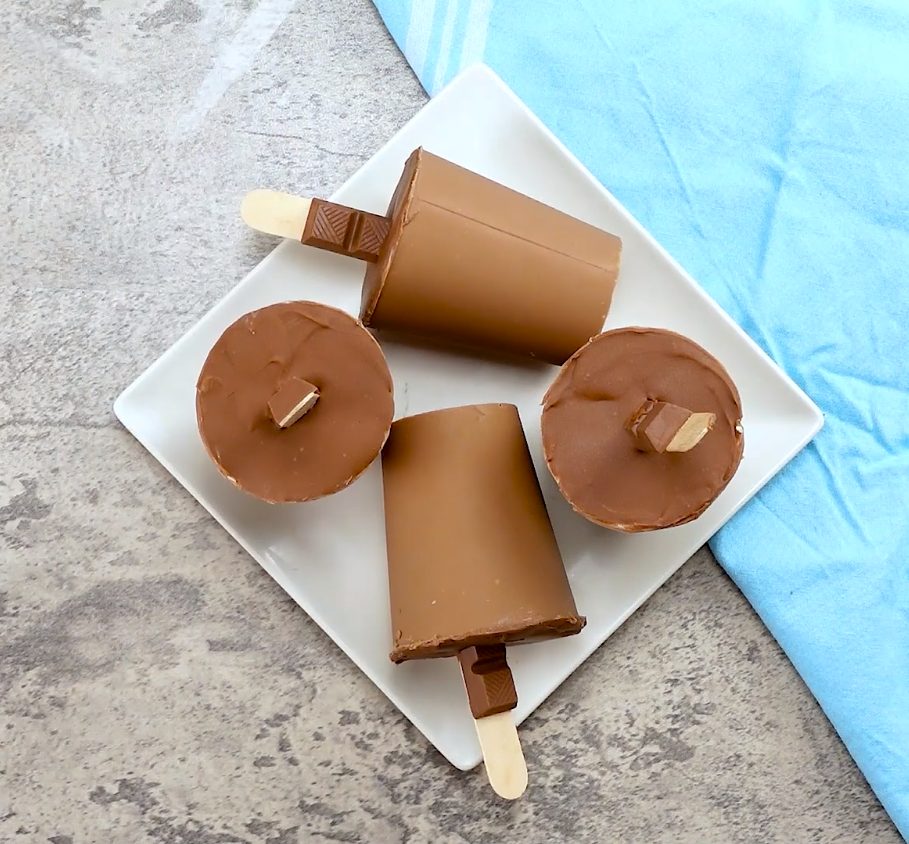
Enjoy your homemade chocolate vanilla popsicles!

;Resize,width=767;)
