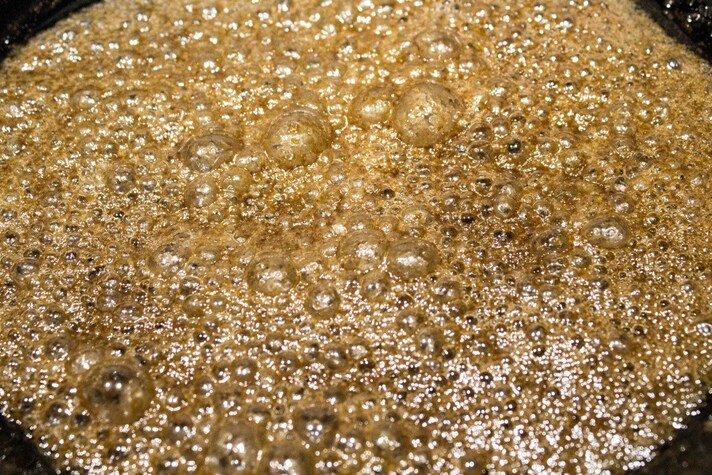
Here’s Why You Should Never Forget to Coat Your Pan When Making Homemade Candy
Coating your pan is a crucial step in candy-making to prevent sugar mixtures from sticking and ruining the texture of your treats, even when it comes to non-stick pans. Whether using butter, oil, or non-stick spray, this simple action ensures your candy comes out smoothly, saving you from frustrating cleanup and maintaining perfect consistency.

Making homemade candy can be a deliciously rewarding experience, but it’s not without its little tricks and techniques. One of the most important steps—often overlooked—is coating your pan. Whether you're making caramel, fudge, or any other sticky confection, forgetting to coat your pan can lead to a sticky, frustrating mess that no amount of elbow grease can fix.
What Happens When You Forget to Coat Your Pan
It’s easy to assume that your candy will simply slide right out of the pan once it cools. Unfortunately, sugar has a mind of its own. As it heats up, it transforms into a sticky, molten substance that clings to almost anything it touches. If you skip the step of coating your pan, your candy can become fused to the surface, making it a nightmare to remove. In fact, you might end up with chunks of your candy still stubbornly attached to the bottom, wasting precious time and ingredients. In some cases, it can even cause the candy to lose its perfect texture, as bits of the sugary mix harden in unwanted places. A quick coat of butter, oil, or cooking spray keeps that from happening, ensuring that the candy comes out with ease and retains its smooth, glossy finish.

How Coating Your Pan Makes Candies Come Out Perfectly
When you take the time to properly coat your pan, the difference is night and day. The sugar doesn’t get a chance to stick and harden to the surface, which means your candies slide out effortlessly when it's time to remove them. A well-coated pan also helps your candy to cool evenly, ensuring a smoother texture and more consistent results. Whether you’re making brittle, caramels, or chewy toffees, the process becomes a whole lot easier when you don’t have to wrestle with your candy stuck to the sides of the pan. Think of it as a little insurance policy to save you from hours of scraping and frustration later. It’s a simple step that makes your candy-making experience far more enjoyable and your results more professional.
Should Non-Stick Pans Be Coated Too?
If you’re using a non-stick pan, you might think, "Why bother? The whole point is that it’s non-stick!" Well, while non-stick pans do offer some relief when it comes to minimizing food sticking, candy-making is a different animal. Non-stick coatings, especially on older pans, can sometimes lose their effectiveness over time, and sticky, high-sugar mixtures like caramel or taffy can still find their way into any little crevice. Additionally, candy-making often requires the pan to be heated to higher temperatures than other recipes, which might affect the performance of the non-stick surface. Even if you're using a non-stick pan, it's still a good idea to lightly coat it with butter or oil. The extra layer creates a more consistent surface and ensures that even the trickiest candies won’t cling to your pan. So, don’t assume that just because your pan is non-stick, you’re off the hook. A little coating goes a long way in guaranteeing that your candy-making adventure stays smooth and sweet.

The Best Ways to Coat Your Pan
Now that we’ve established that coating your pan is a must, let's talk about the best ways to do it. For many candy recipes, butter is the go-to option. It’s easy, effective, and adds a subtle richness to the candy that pairs perfectly with many sweet treats. However, vegetable oil or coconut oil are great alternatives, especially if you want to avoid the dairy. Non-stick cooking spray is another popular option, as it’s quick and hassle-free. If you prefer a more natural approach, you can also use parchment paper, which not only helps with the release but makes cleanup a breeze. Just make sure whatever method you choose, the pan is evenly coated, including the sides and corners. A little extra time spent here can make all the difference when it’s time to remove your candy.
;Resize,width=767;)


