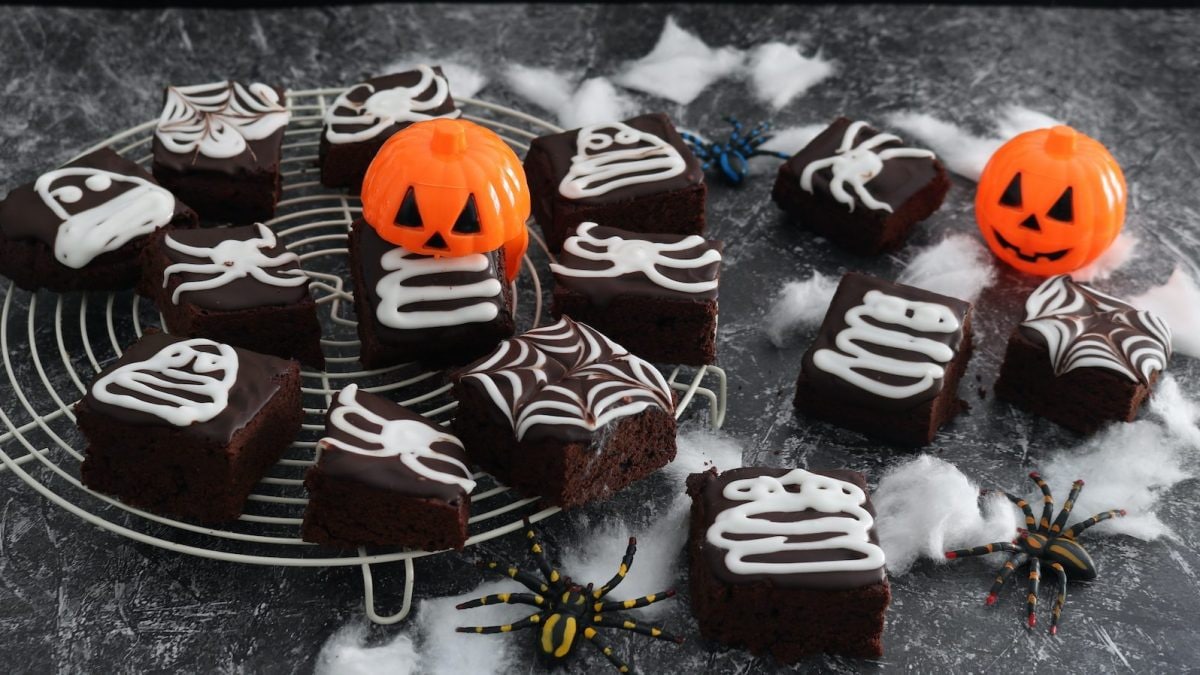
Fudgy Halloween Brownie Bars are the scary version of the classic brownies of Anglo-Saxon origin. These are delicious desserts, prepared with a dense dough made of melted chocolate and butter, flour, bitter cocoa powder, eggs, brown sugar and vanilla extract, covered on the surface with a dark icing and then decorated with royal icing spider webs: for an original and surprising result that will conquer adults and children. Making them is incredibly easy! The result will be fragrant and melt-in-the-mouth bars, to serve as a dessert at the end of the meal for dinner on October 31st or bring to the table for a party for the kids.
What Are Halloween Brownies?
Halloween brownies are a modern twist on classic brownies, adding spooky decorations like spider webs or ghost designs for the holiday. The origin of brownies dates back to the late 19th century in the United States, likely first appearing when a chef added chocolate to a cookie recipe. Fun fact: the name “brownie” comes from their rich, dark color. For Halloween, these treats are jazzed up with decorations like icing “cobwebs” or candy eyes, making them a playful and delicious addition to any spooky celebration!
Pro Tips for The Best Halloween Brownie Bars
- High-quality chocolate or cocoa powder gives a richer, fudgier flavor.
- Stir until just combined to avoid dense, tough brownies.
- Brownies should be set but slightly gooey; a toothpick should come out with a few moist crumbs.
- If you wait for the brownies to cool before decorating your spooky designs will stay intact.
- Refrigerate before slicing for neat, sharp edges.
What is The Best Type of Chocolate to Use For These Brownies?
The best type of chocolate for Halloween brownies is high-quality dark chocolate with at least 60-70% cocoa content. It provides a rich, deep flavor and fudgy texture, perfect for brownies. Avoid milk chocolate, as it may make the brownies too sweet and less intense.
Can I Add Anything Else to These Brownie Batter?
To enhance the brownie batter, you can add ingredients like chopped nuts (walnuts or pecans), chocolate chips for extra gooeyness, or even a swirl of peanut butter for a rich flavor twist. For a Halloween touch, mix in orange and black sprinkles or crushed candy pieces before baking.
Can I Use a Brownie Mix, Instead?
Of course you can! It’s a quick and convenient option that still yields delicious results. Just make sure to follow the package instructions and feel free to customize it with extra ingredients like chocolate chips or festive sprinkles for a personal touch.
Can I Double This Recipe?
Simply double all the ingredients, but be sure to use a larger baking pan to maintain the same thickness and adjust the baking time slightly, checking for doneness with a toothpick.
What Else Can I Add as A Decoration?
For decorating Halloween brownies, you can add spooky details like candy eyes, spider web designs with white icing, or even ghost shapes made from marshmallows. Colored sprinkles, gummy worms, and edible glitter can also give a festive, fun touch. Get creative with your decorations to match the Halloween theme!
Can I Decorate The Brownies Before Baking?
It's best to add decorations to Halloween brownies after baking. Baking candy eyes, icing, or gummy elements can cause them to melt, lose their shape, or change color. For the best results, let the brownies cool, then decorate with icing designs, candies, or sprinkles for a perfect, spooky look.
Why Are My Brownies So… Hard and Not Fudgy?
Brownies can turn out dry and not fudgy if they’re overbaked or if the oven temperature is too high. Additionally, using too much flour or not enough fat (like butter or oil) can lead to a dry texture.
Can I Make These Brownies Ahead of Time?
Yes, these Halloween brownies can be made ahead of time. You can bake them a day or two in advance and store them in an airtight container at room temperature. For longer storage, keep them in the fridge and decorate just before serving to maintain freshness and visual appeal.
Do They Freeze Well?
They do! Let them cool completely, then wrap each brownie tightly in plastic wrap and place them in an airtight container or freezer bag. They can be stored in the freezer for up to 2-3 months. When ready to enjoy, thaw them at room temperature and add any fresh decorations just before serving.
How to Store Halloween Brownie Bars
Store leftover Halloween brownies in an airtight container at room temperature for up to 3 days. If you prefer to keep them longer, place them in the fridge for up to a week. To maintain their freshness and fudginess, avoid stacking them or wrap each piece individually with plastic wrap.
Ingredients
How to Make Halloween Brownie Bars
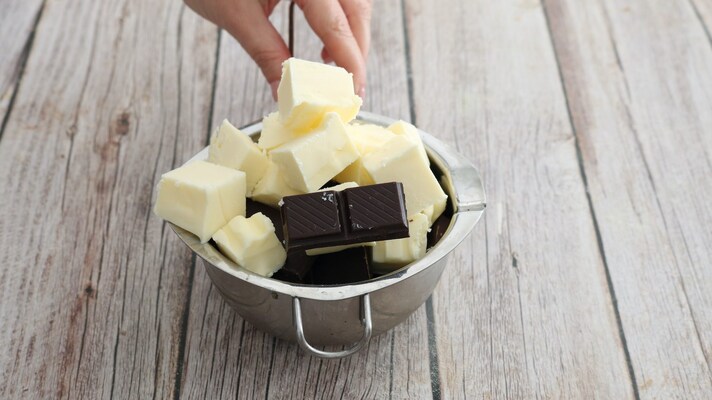
Place the butter in cubes and the chopped dark chocolate in a bowl.
Place the butter in cubes and the chopped dark chocolate in a bowl.
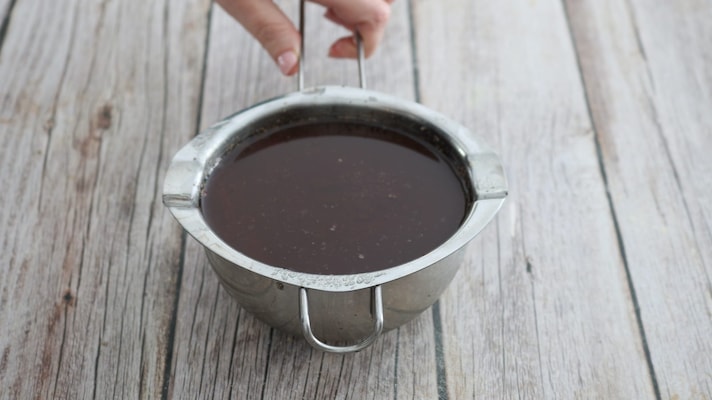
Let everything melt in a bain-marie until you obtain a fluid and homogeneous mixture; then remove from the heat and let cool.
Let everything melt in a bain-marie until you obtain a fluid and homogeneous mixture; then remove from the heat and let cool.
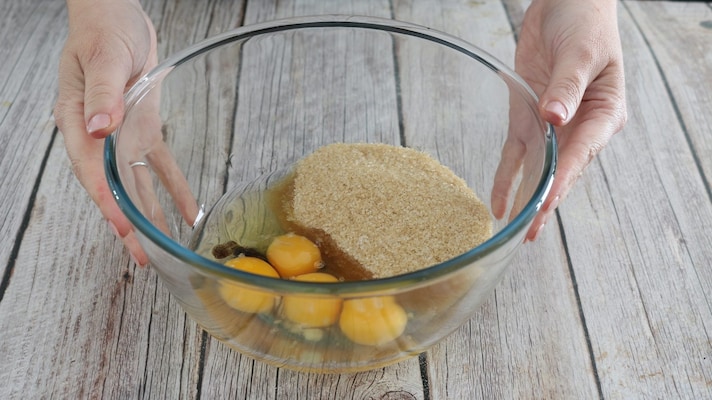
Collect the eggs in a bowl with the brown sugar and a pinch of salt, and flavor with the vanilla extract.
Collect the eggs in a bowl with the brown sugar and a pinch of salt, and flavor with the vanilla extract.
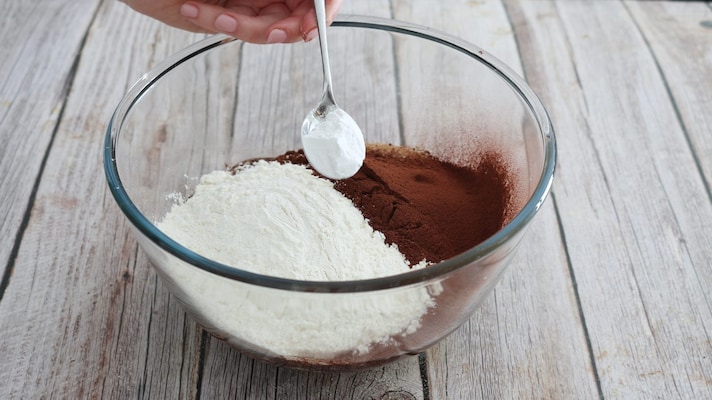
Sift the flour and the bitter cocoa, and add a leveled teaspoon of baking powder.
Sift the flour and the bitter cocoa, and add a leveled teaspoon of baking powder.
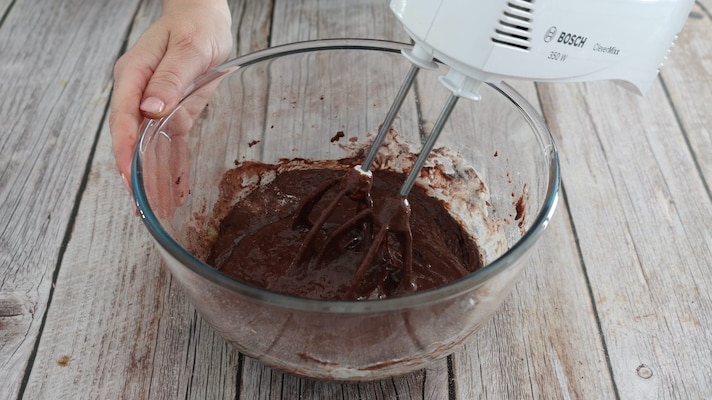
Work the ingredients with a pair of electric whisks.
Work the ingredients with a pair of electric whisks.
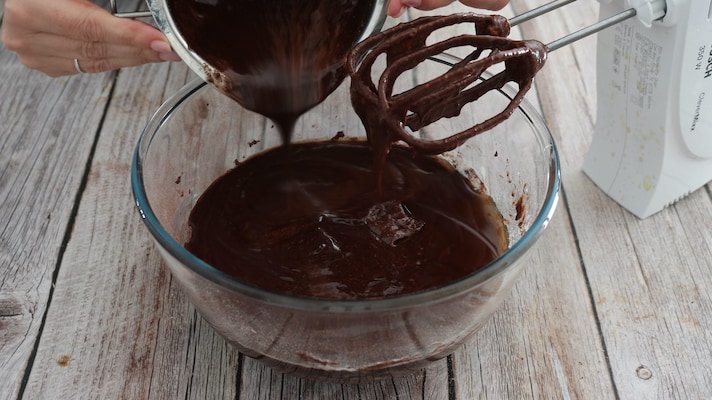
Pour the melted chocolate and butter.
Pour the melted chocolate and butter.
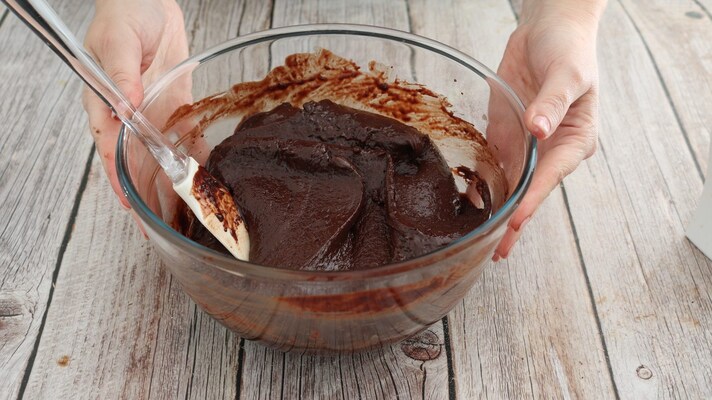
Mix carefully with the help of a spatula until you obtain a creamy mixture; then distribute it inside a well-buttered 23cm mould, lined with a sheet of baking paper, and level the surface with the back of a spoon.
Mix carefully with the help of a spatula until you obtain a creamy mixture; then distribute it inside a well-buttered 23cm mould, lined with a sheet of baking paper, and level the surface with the back of a spoon.
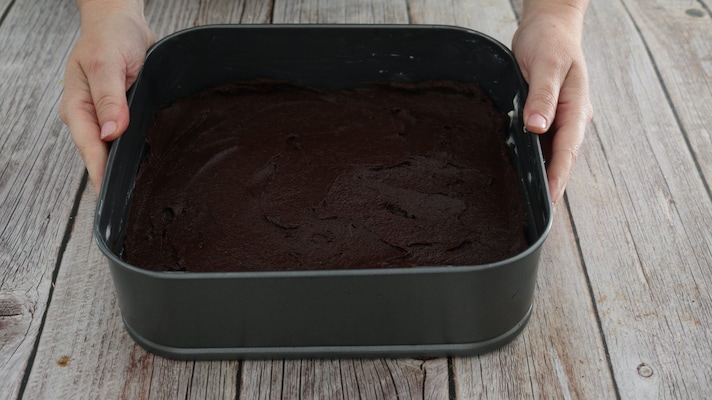
Place in a preheated oven at 350°F (180°C) and leave to cook for about 35 minutes. At the end, take the brownies out of the oven and let it cool.
Place in a preheated oven at 350°F (180°C) and leave to cook for about 35 minutes. At the end, take the brownies out of the oven and let it cool.
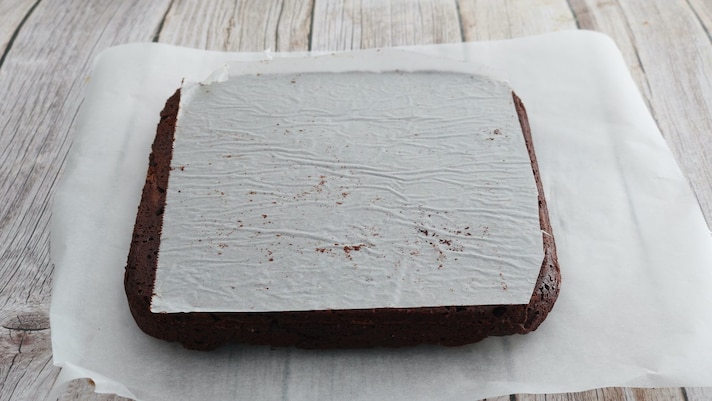
Unmold the cake and turn it upside down onto a clean sheet of baking paper.
Unmold the cake and turn it upside down onto a clean sheet of baking paper.
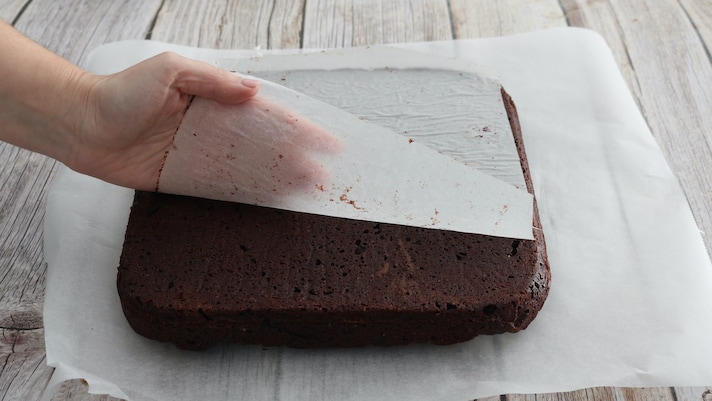
Gently remove the baking paper.
Gently remove the baking paper.
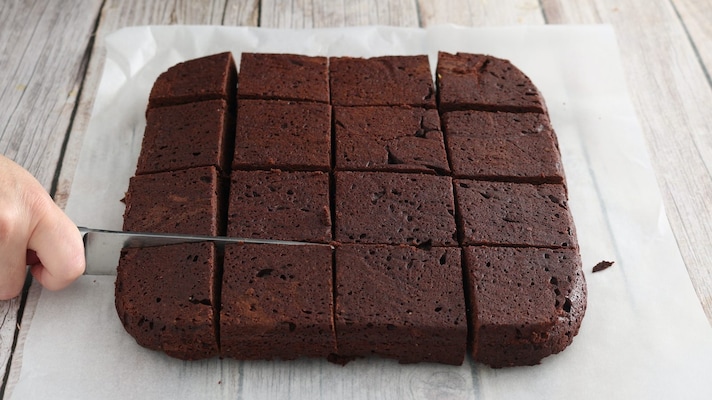
Cut the brownie into bars.
Cut the brownie into bars.
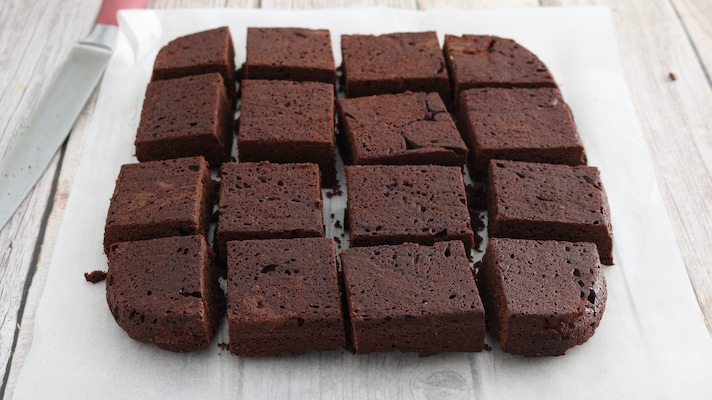
At the end you should get about 16 bars of the same size.
At the end you should get about 16 bars of the same size.
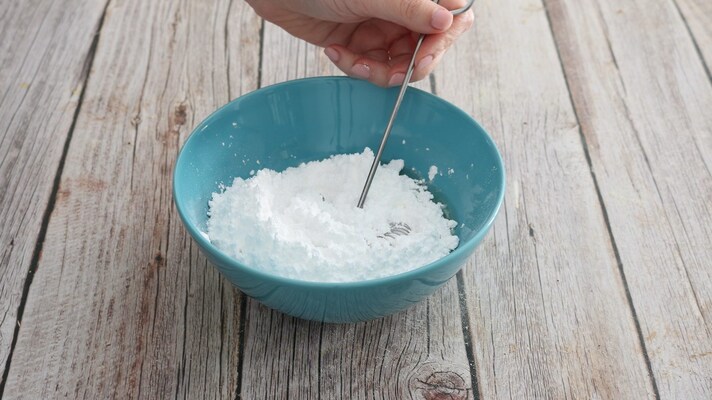
Prepare the royal icing: sift the powdered sugar into a bowl, and add the egg white and a few drops of lemon juice.
Prepare the royal icing: sift the powdered sugar into a bowl, and add the egg white and a few drops of lemon juice.
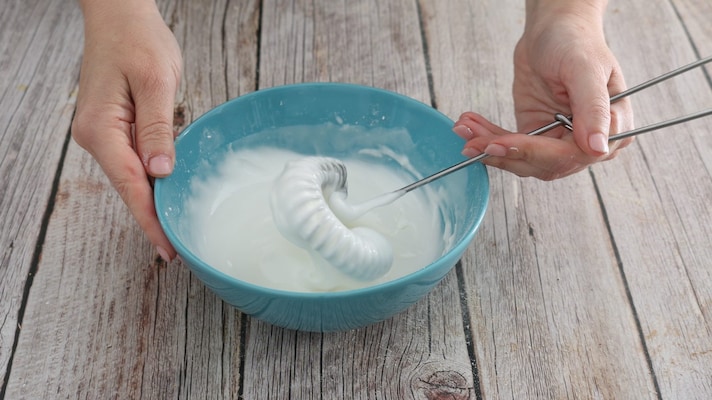
Mix well with a whisk until you get a smooth, lump-free icing.
Mix well with a whisk until you get a smooth, lump-free icing.
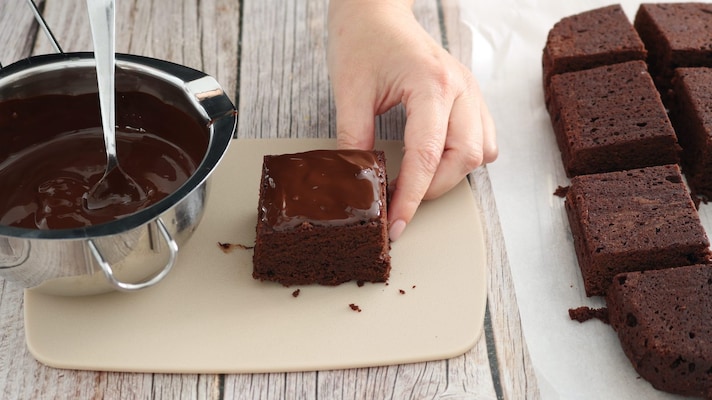
Melt the dark chocolate, in the microwave or in a bain-marie, and pour it over the surface of the bars, taking care not to let it drip down the edges.
Melt the dark chocolate, in the microwave or in a bain-marie, and pour it over the surface of the bars, taking care not to let it drip down the edges.
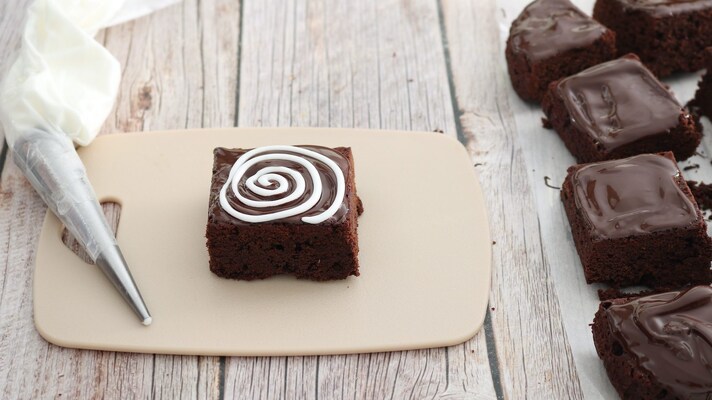
Once the chocolate has set, transfer the royal icing into a piping bag with a small smooth nozzle and create a spiral.
Once the chocolate has set, transfer the royal icing into a piping bag with a small smooth nozzle and create a spiral.
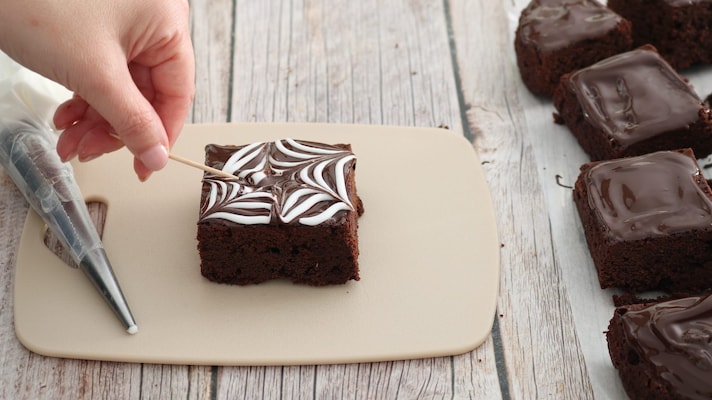
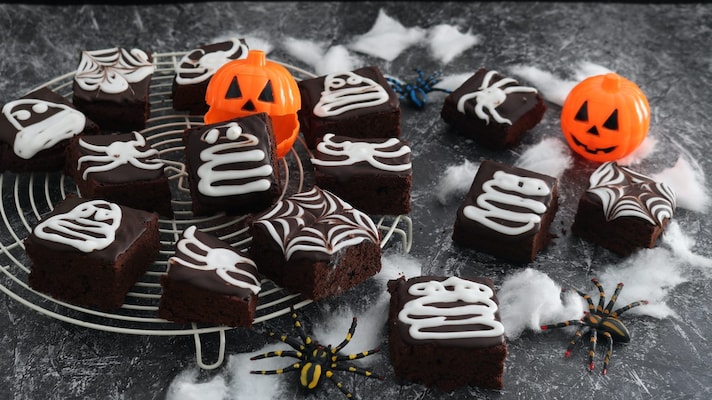
Using a toothpick, draw rays starting from the center of the spiral, so as to obtain a spider web. Then continue to decorate the brownie bars by making spiders, mummies, ghosts or other favorite images as you like, and let them harden in the fridge.
Using a toothpick, draw rays starting from the center of the spiral, so as to obtain a spider web. Then continue to decorate the brownie bars by making spiders, mummies, ghosts or other favorite images as you like, and let them harden in the fridge.
Enjoy!
Enjoy!
;Resize,width=767;)
