Extra Easy No-Bake Chocolate Easter Nests With Mini Eggs!
;Resize,width=742;)
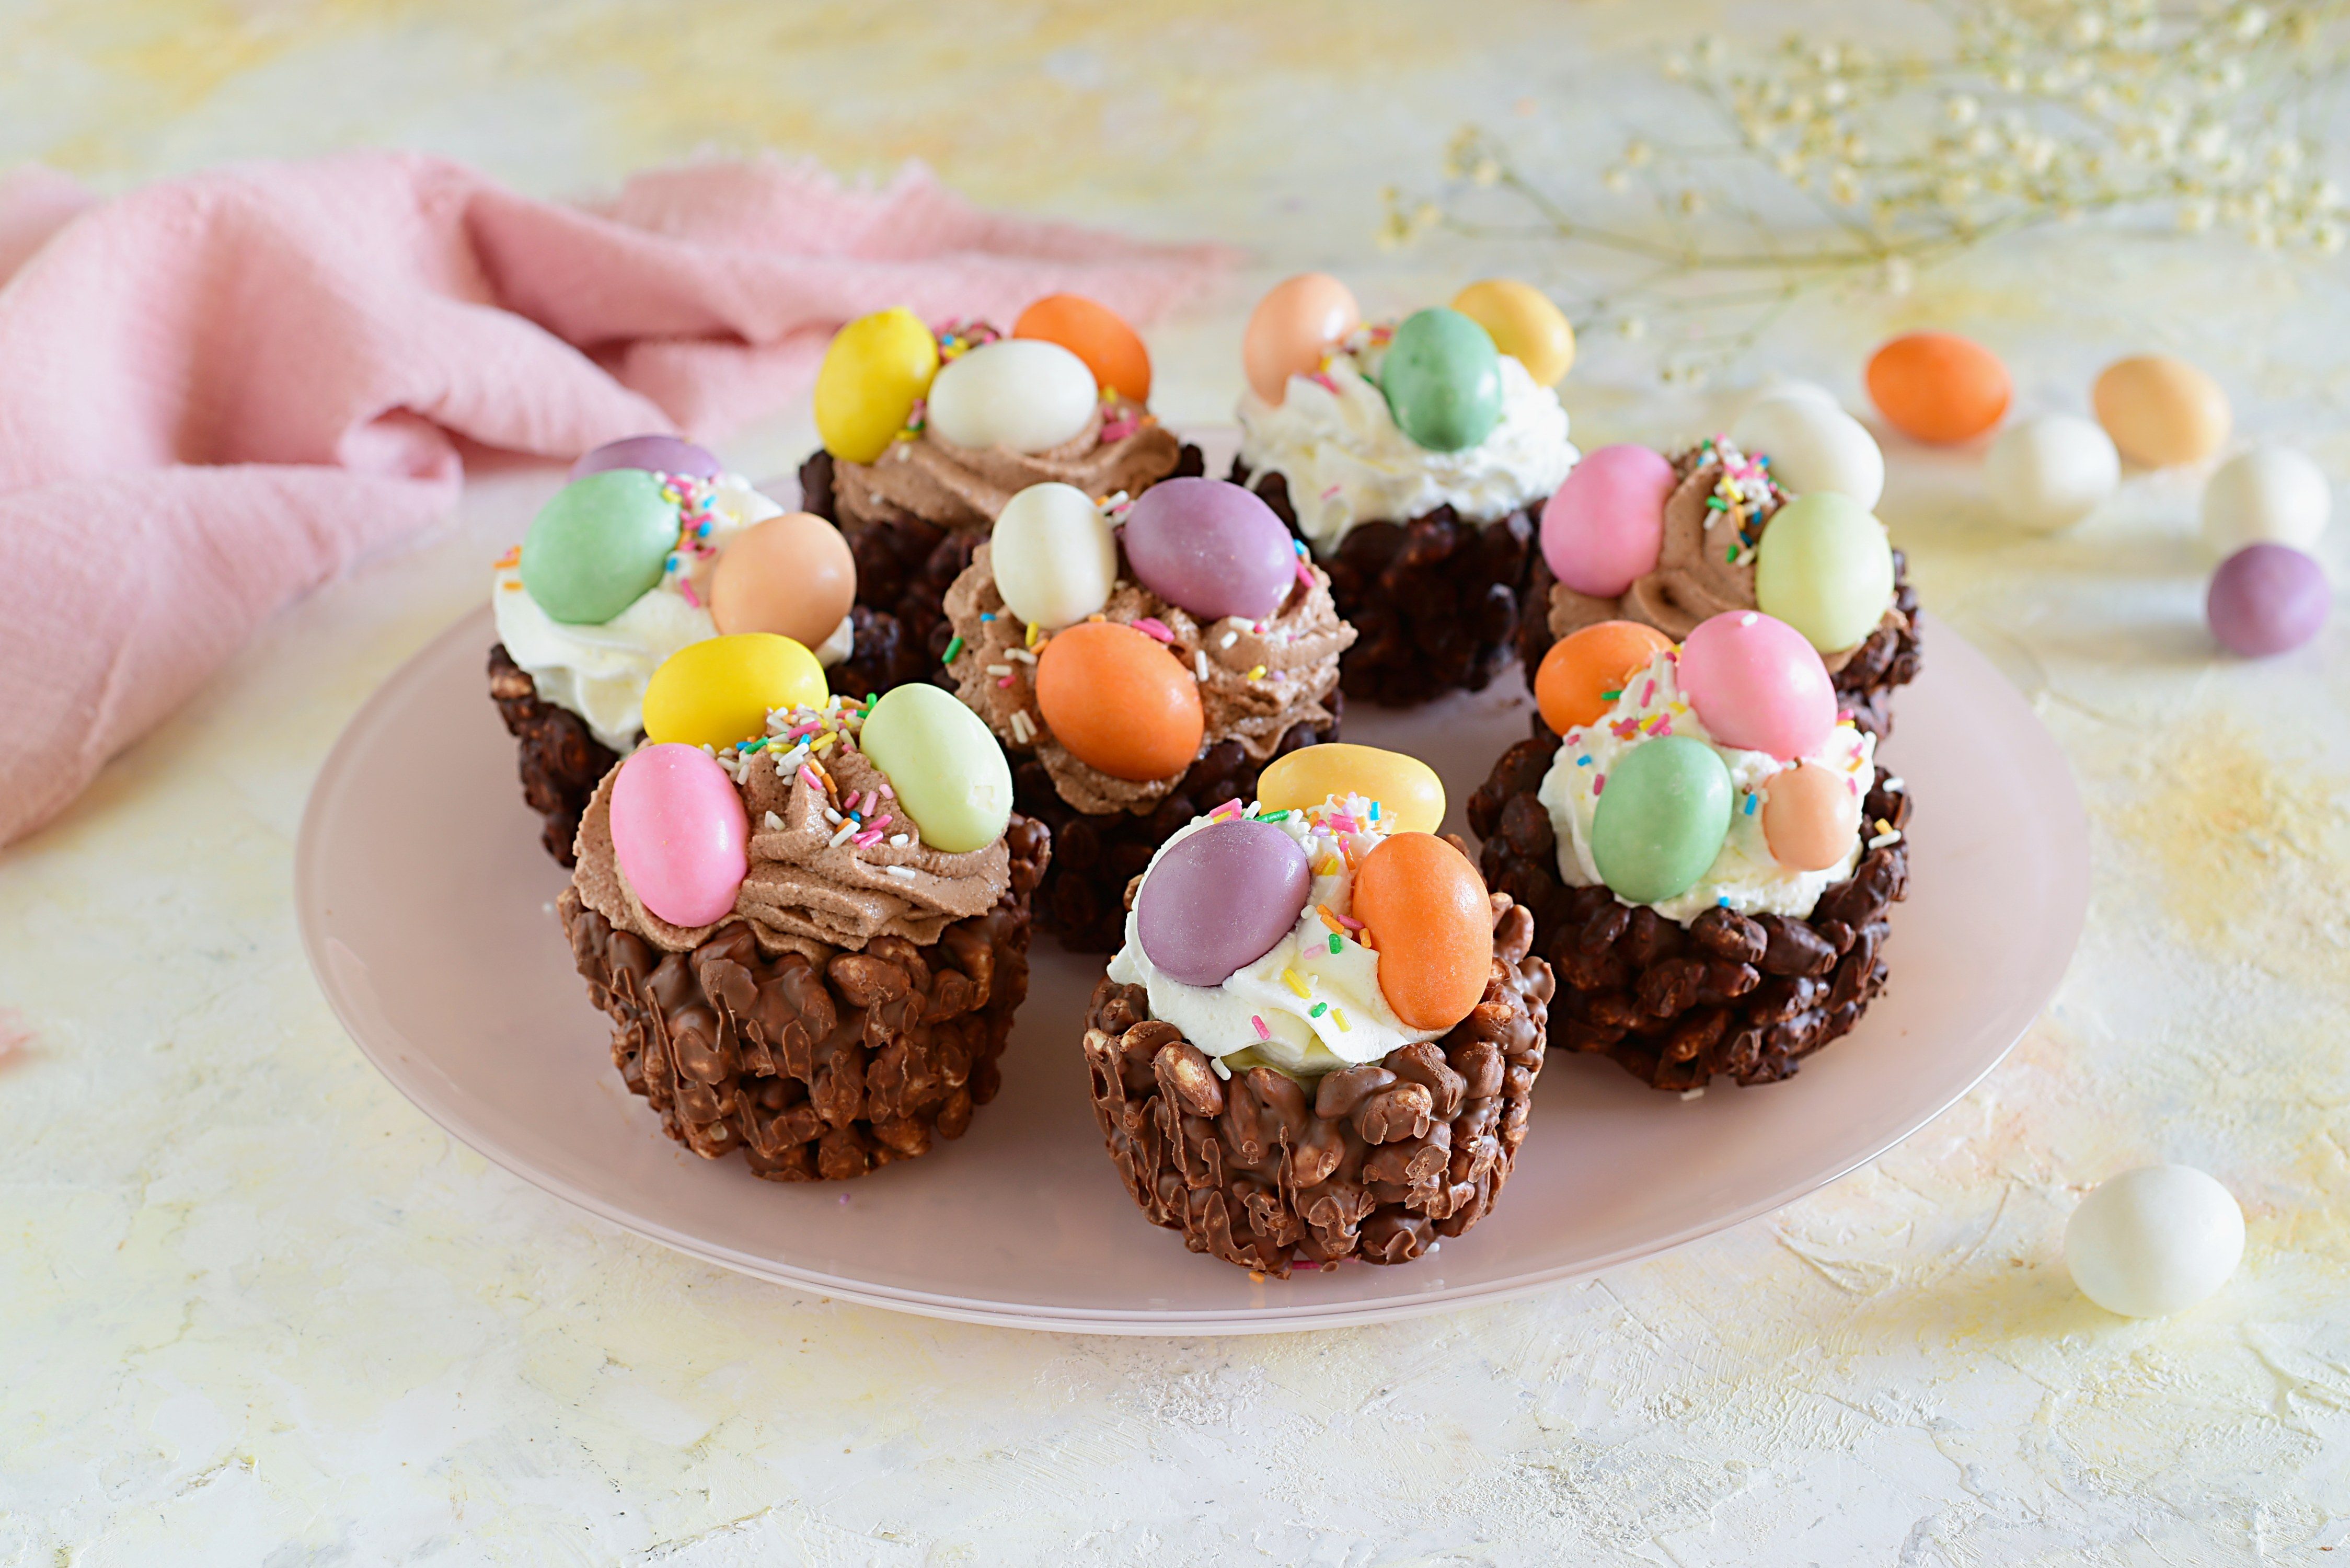
Chocolate Easter Nests are delicious and surprising Easter treats that you can have fun customizing in a thousand different ways. Ideal to bring to the table for the traditional holiday breakfast or as a happy ending to a meal to accompany a slice of cake, they will win over adults and children for their goodness and ease of execution.
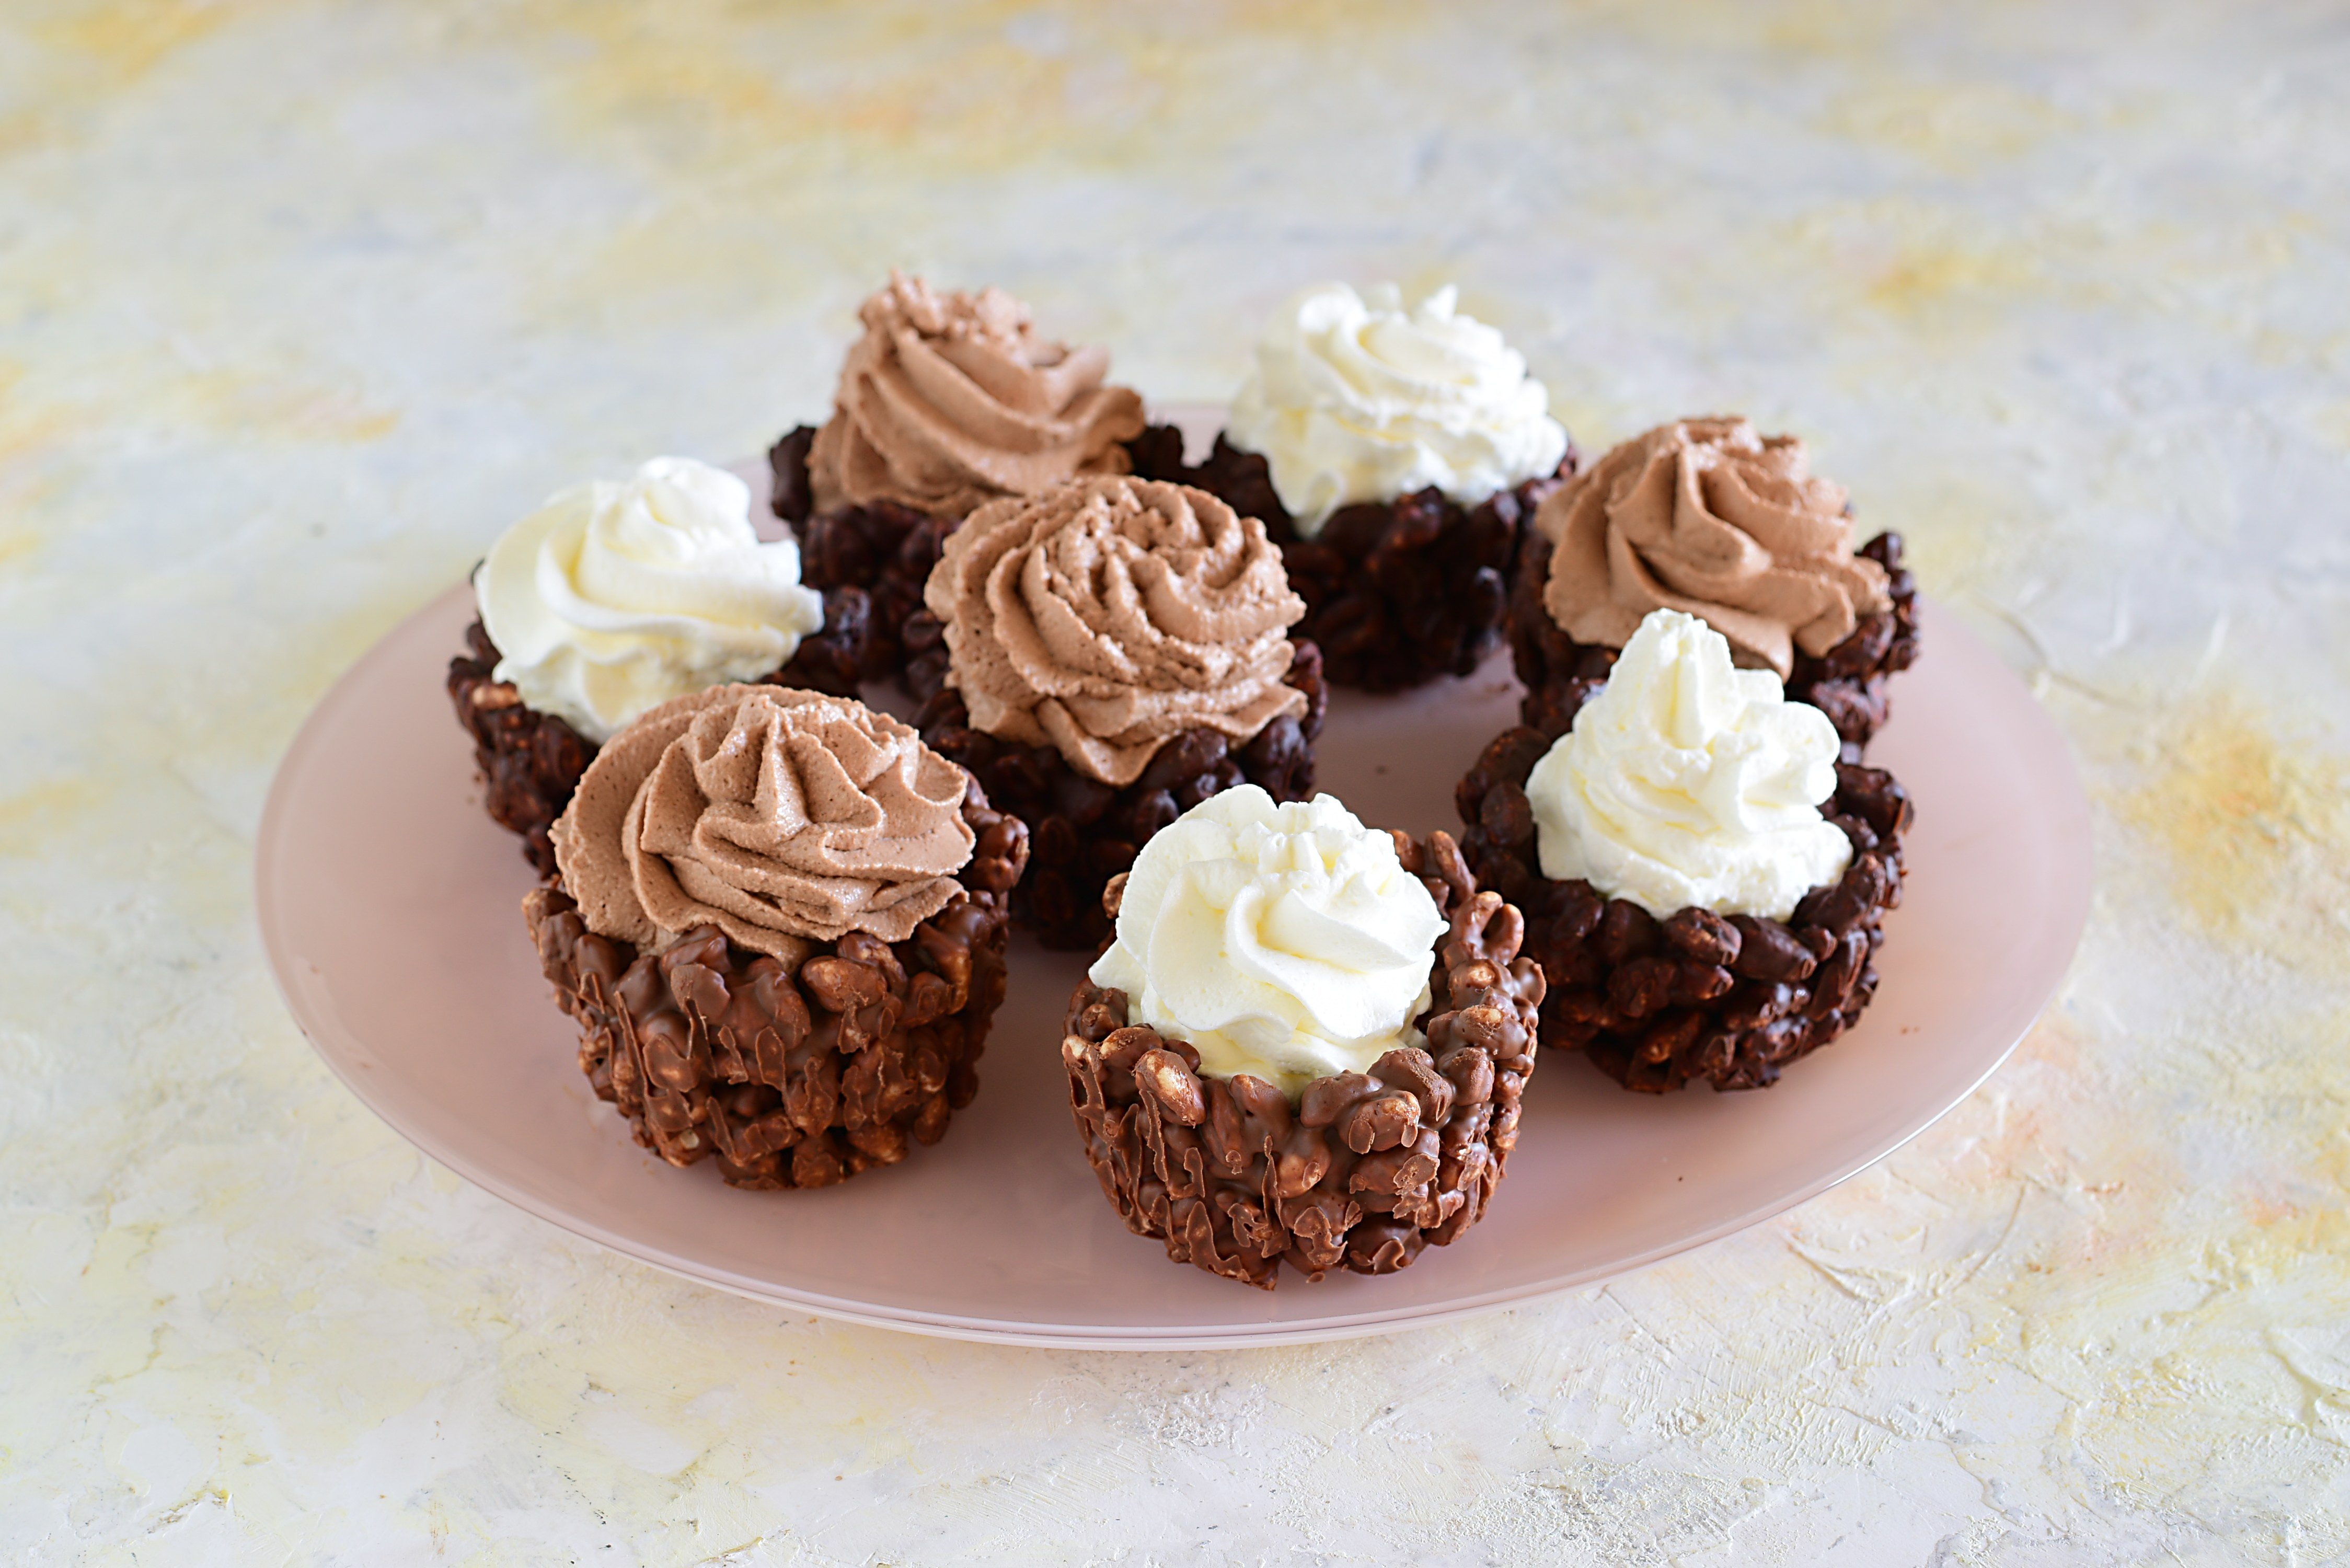
To make them at home, you just need to mix in two separate bowls a part of the puffed spelt called for in the recipe with the melted dark chocolate, and a part with the milk chocolate melted in a bain-marie. The two compounds will then be placed, separately, inside a muffin mold, lined with paper cups, then pressed in the center to create a cavity ready to accommodate the filling and finally left to harden in the refrigerator for at least half an hour. The result will be crunchy and delicious baskets, to be filled with whipped cream, classic and added half with a few spoonfuls of hazelnut cream, and then finished with sugar sprinkles and colored eggs.
What Are Chocolate Easter Nests?
The tradition of Easter egg nests and chocolate nests has become a popular part of Easter celebrations around the world, with these sweet creations symbolizing new life and the renewal of spring. The idea of chocolate nests likely originated from the concept of Easter eggs, which have been associated with the holiday for centuries. Easter eggs symbolize fertility, rebirth, and the resurrection of Jesus Christ. Over time, the classic egg was transformed into a creative form using chocolate, which, combined with crunchy elements like puffed rice or farro, became a perfect medium to mimic a bird's nest. The nests, often filled with colorful candy eggs, represent the nurturing of new life, making them an ideal treat for Easter gatherings.
Pro Tips for The Best Chocolate Easter Nests
- When melting the chocolate, use a double boiler to avoid direct heat, which can burn the chocolate. Stir constantly to ensure the chocolate melts evenly and becomes glossy.
- After shaping the nests and adding the candy eggs, place them in the fridge for at least 30 minutes to let them set properly. This will ensure they firm up and maintain their shape when serving.
- Feel free to get creative with your chocolate nests by using a variety of small, colorful candies, or even mini chocolate eggs. You could also add edible gold dust or a sprinkle of sea salt for an extra touch of sophistication.
- If you’re using muffin tins or molds, make sure to leave enough space between the nests so they can set properly without sticking to each other.
Can I Use Another Type of Chocolate?
Yes, you can definitely use other types of chocolate for these nests! You can opt for dark chocolate for a rich, slightly bitter flavor, or white chocolate for a sweeter, creamier taste. You could even mix different types of chocolate to create a layered effect. Just make sure the chocolate is of good quality for the best taste and texture. Each variety will offer a unique twist to the traditional chocolate nests!
What Else Can I Use, Instead of Spelt?
Yes, you can substitute puffed spelt with other crunchy ingredients like puffed rice, cornflakes, or even crushed biscuits. These alternatives will give your chocolate nests the same crunchy texture, making them a great option depending on your preference or availability. Just ensure whatever you use is light and crispy to mimic the nest-like effect.
What Else Can I Use as a Filling For These Nests?
In addition to the classic candy eggs, you can fill your chocolate nests with a variety of treats like mini marshmallows, chocolate chips, dried fruits (such as raisins or cranberries), or even small candy pieces. You can also get creative and use nut butter-filled chocolates or sugar-coated almonds for a unique twist. The possibilities are endless, so feel free to personalize your nests!
Can They Be Made Ahead of Time?
Sure! Chocolate nests can be made ahead of time and stored in an airtight container for up to a week. This makes them perfect for preparing for Easter celebrations without the last-minute rush.
Do They Freeze Well?
Yes, chocolate nests freeze well! You can store them in an airtight container and freeze them for up to a month. Just make sure to let them cool completely before freezing to avoid condensation. When you're ready to serve, simply thaw them in the fridge for a few hours. Freezing won't affect their taste, but the texture might be slightly less crunchy if stored too long.
How to Store Chocolate Easter Nests
To store chocolate nests, place them in an airtight container to keep them fresh. You can store them at room temperature for up to a week. If you need to keep them longer, you can refrigerate them, but be sure to let them come to room temperature before serving for the best texture and flavor. Avoid storing them in a humid environment to prevent them from becoming soft.
Ingredients
How to Make Chocolate Easter Nests
;Resize,width=712;)
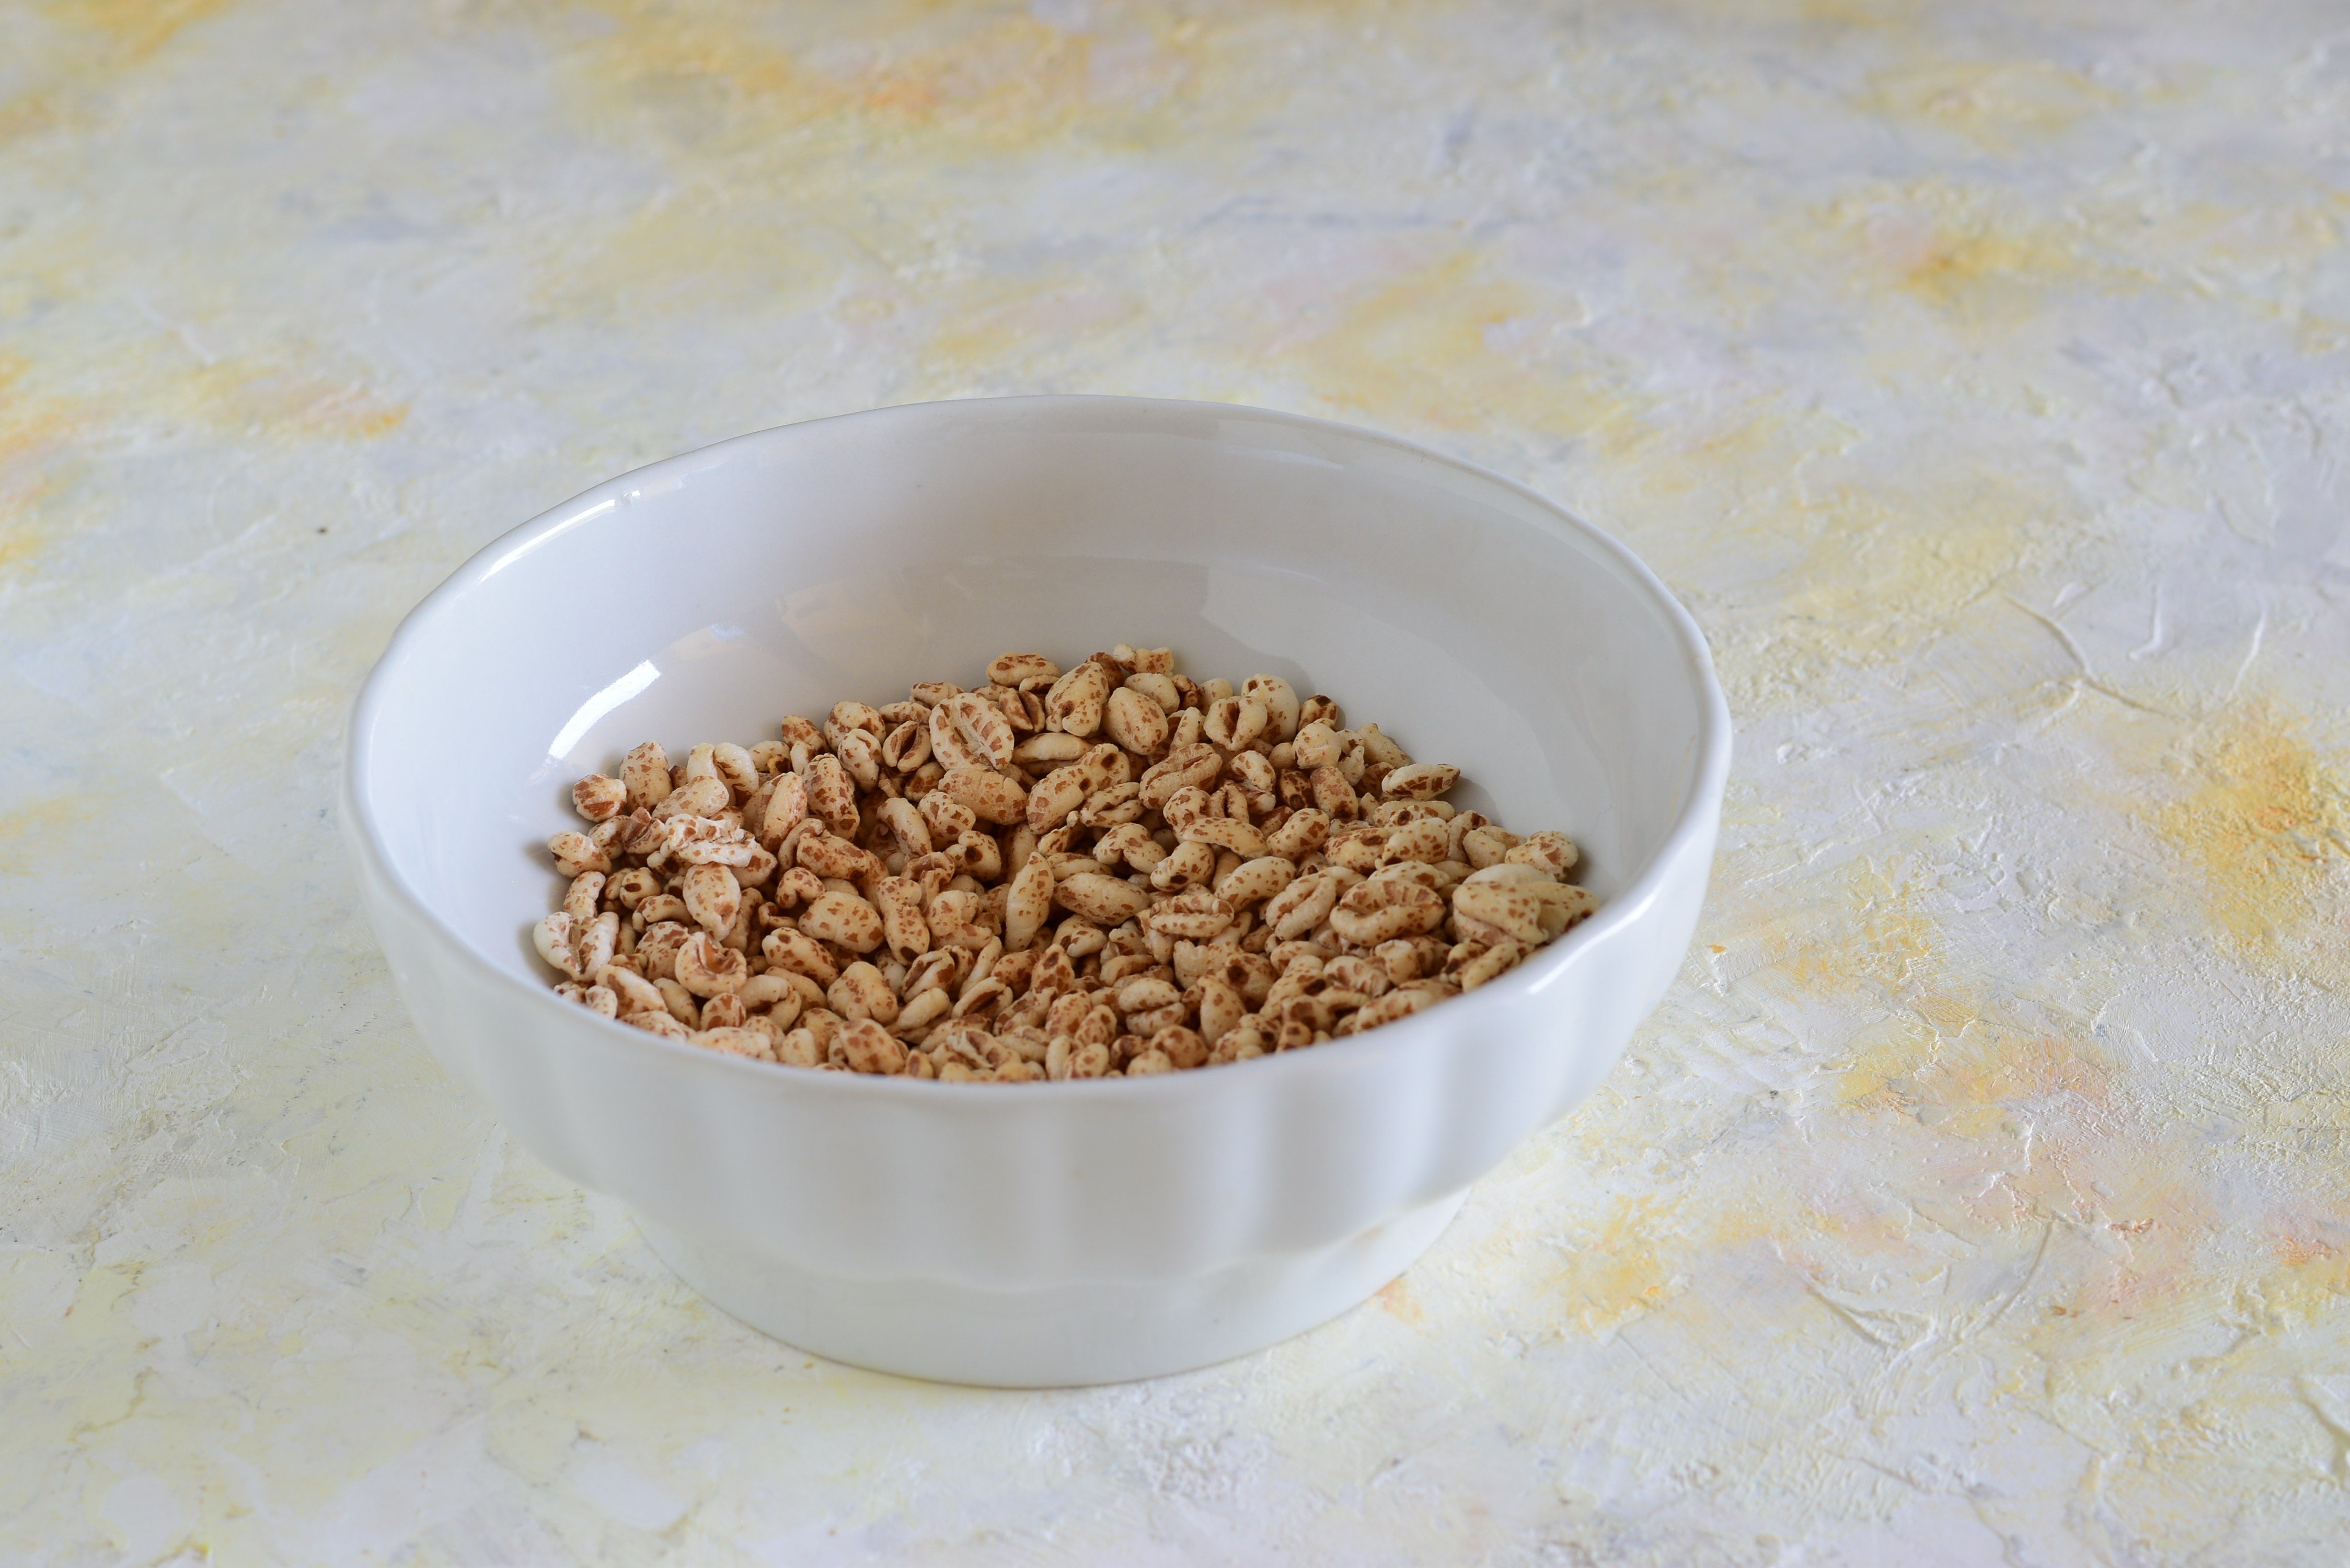
Collect 40 grams of puffed spelt in a bowl.
Collect 40 grams of puffed spelt in a bowl.
;Resize,width=712;)
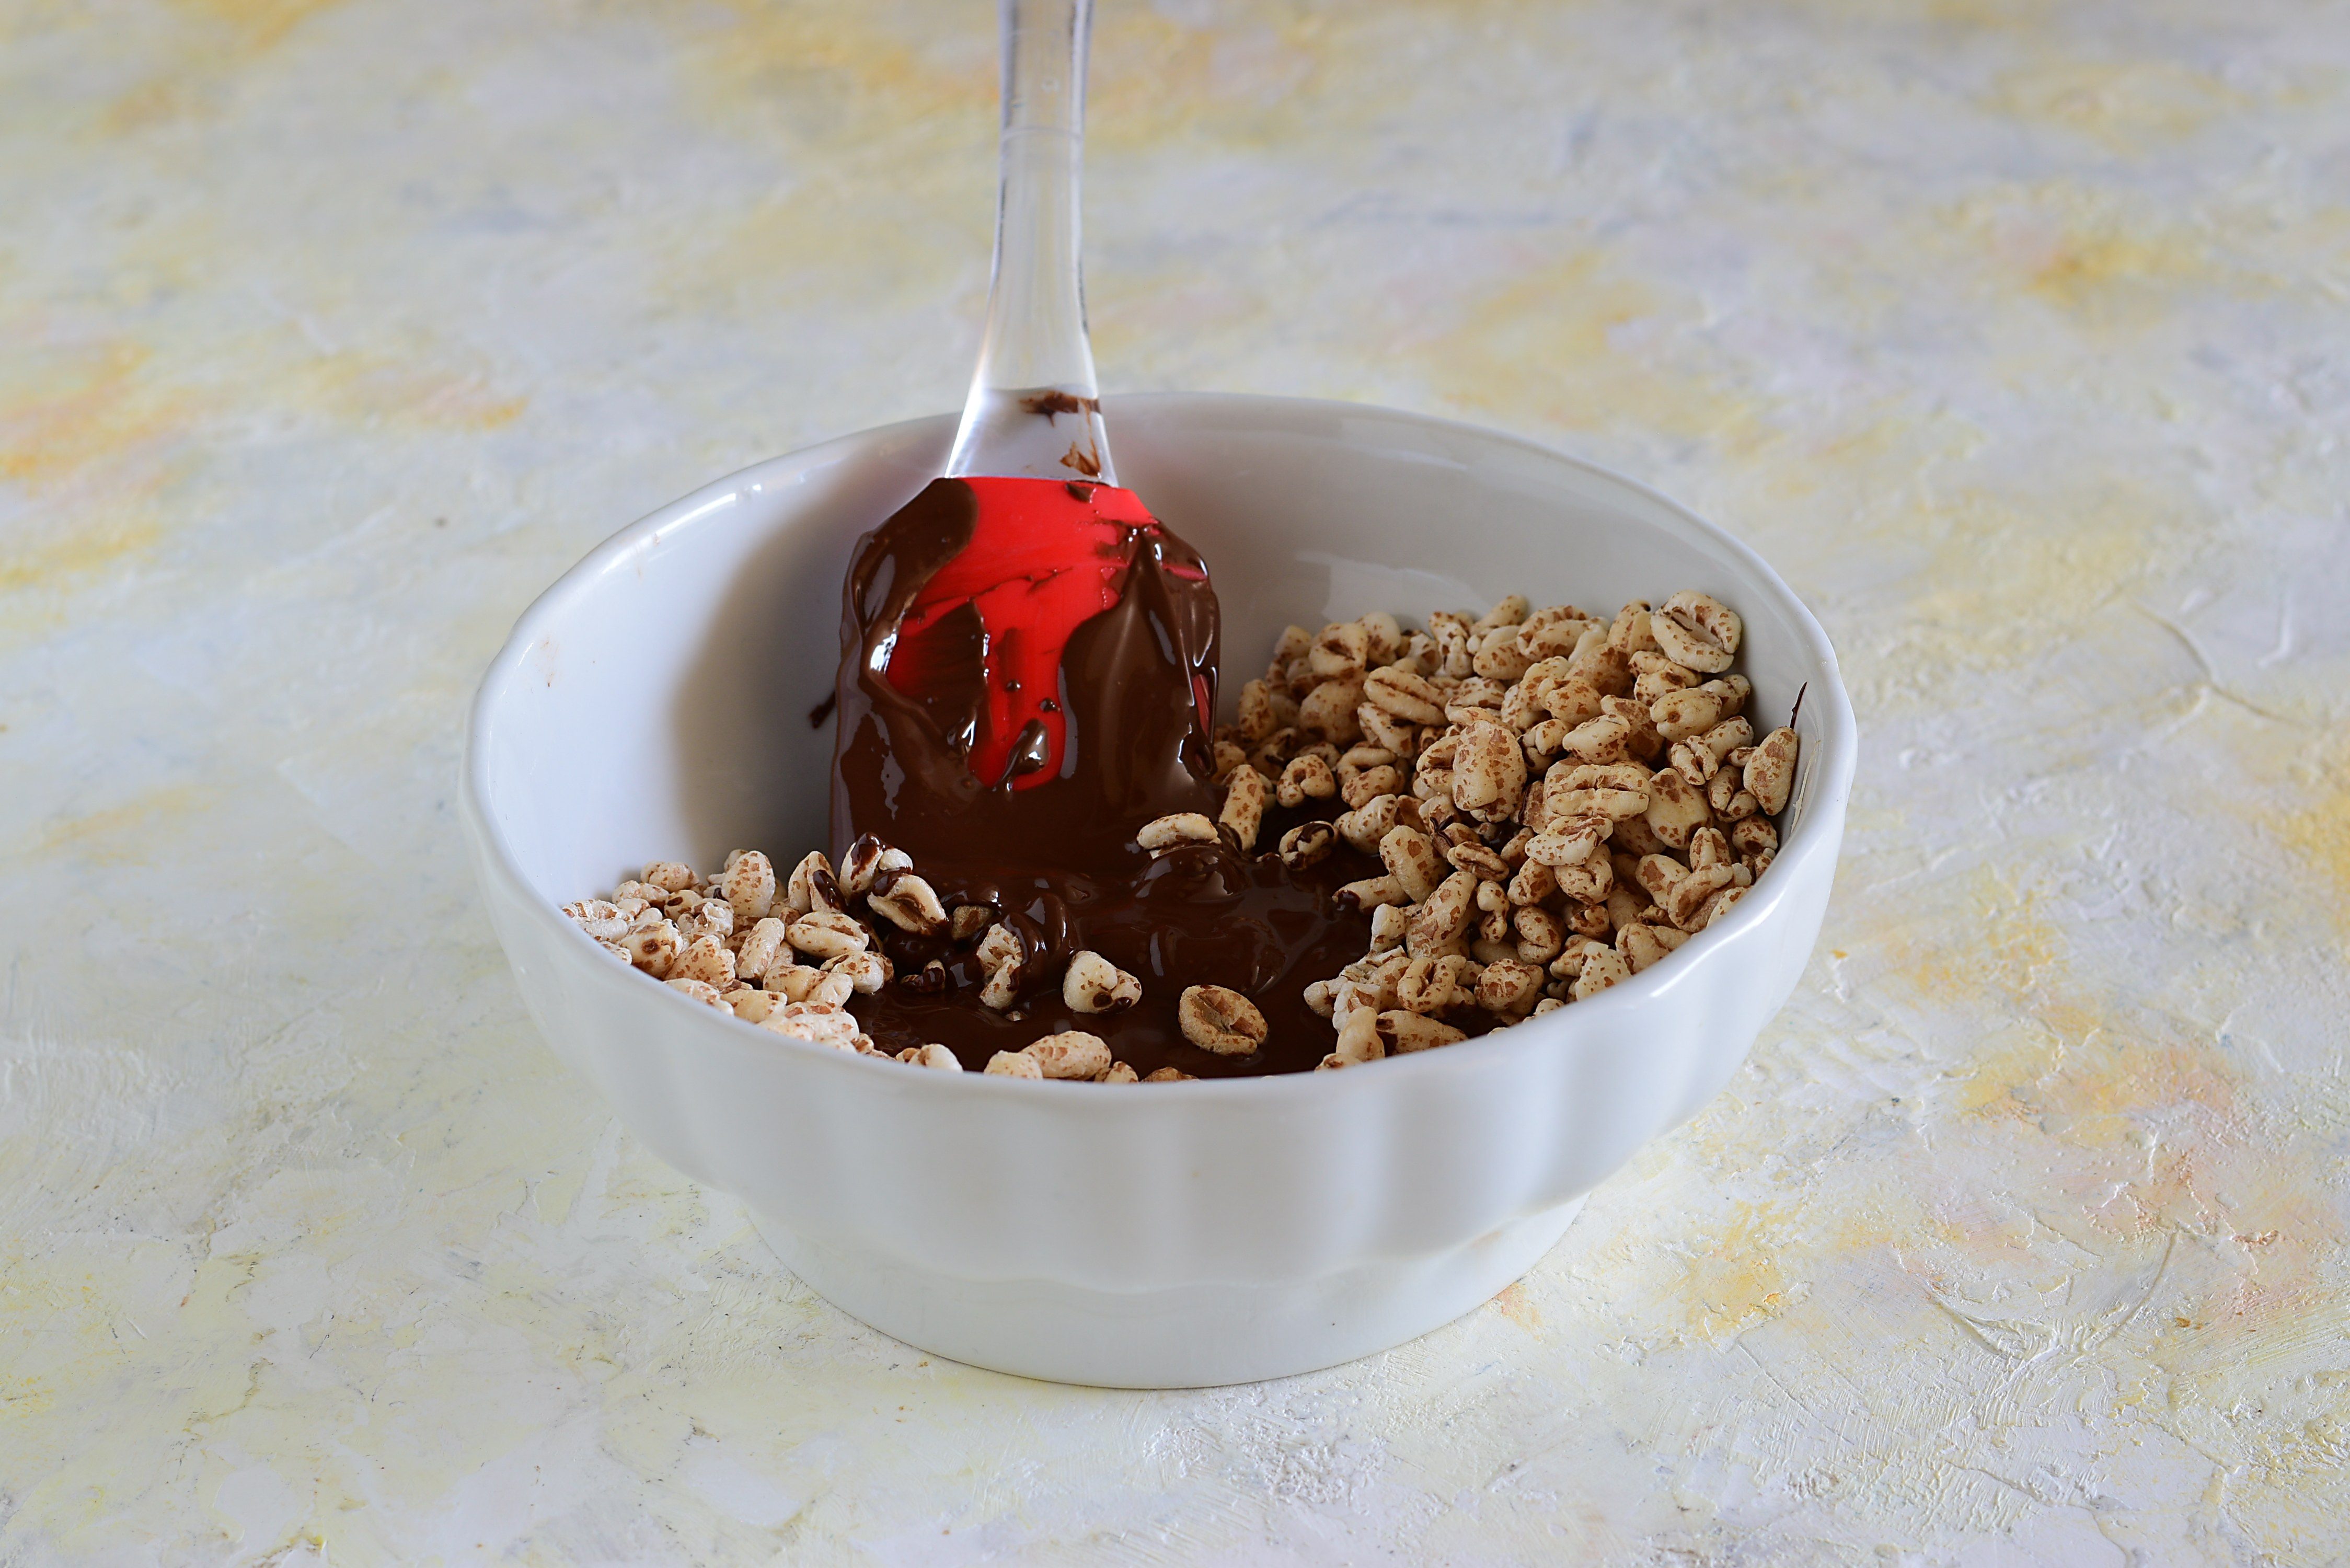
Add the melted dark chocolate.
Add the melted dark chocolate.
;Resize,width=712;)
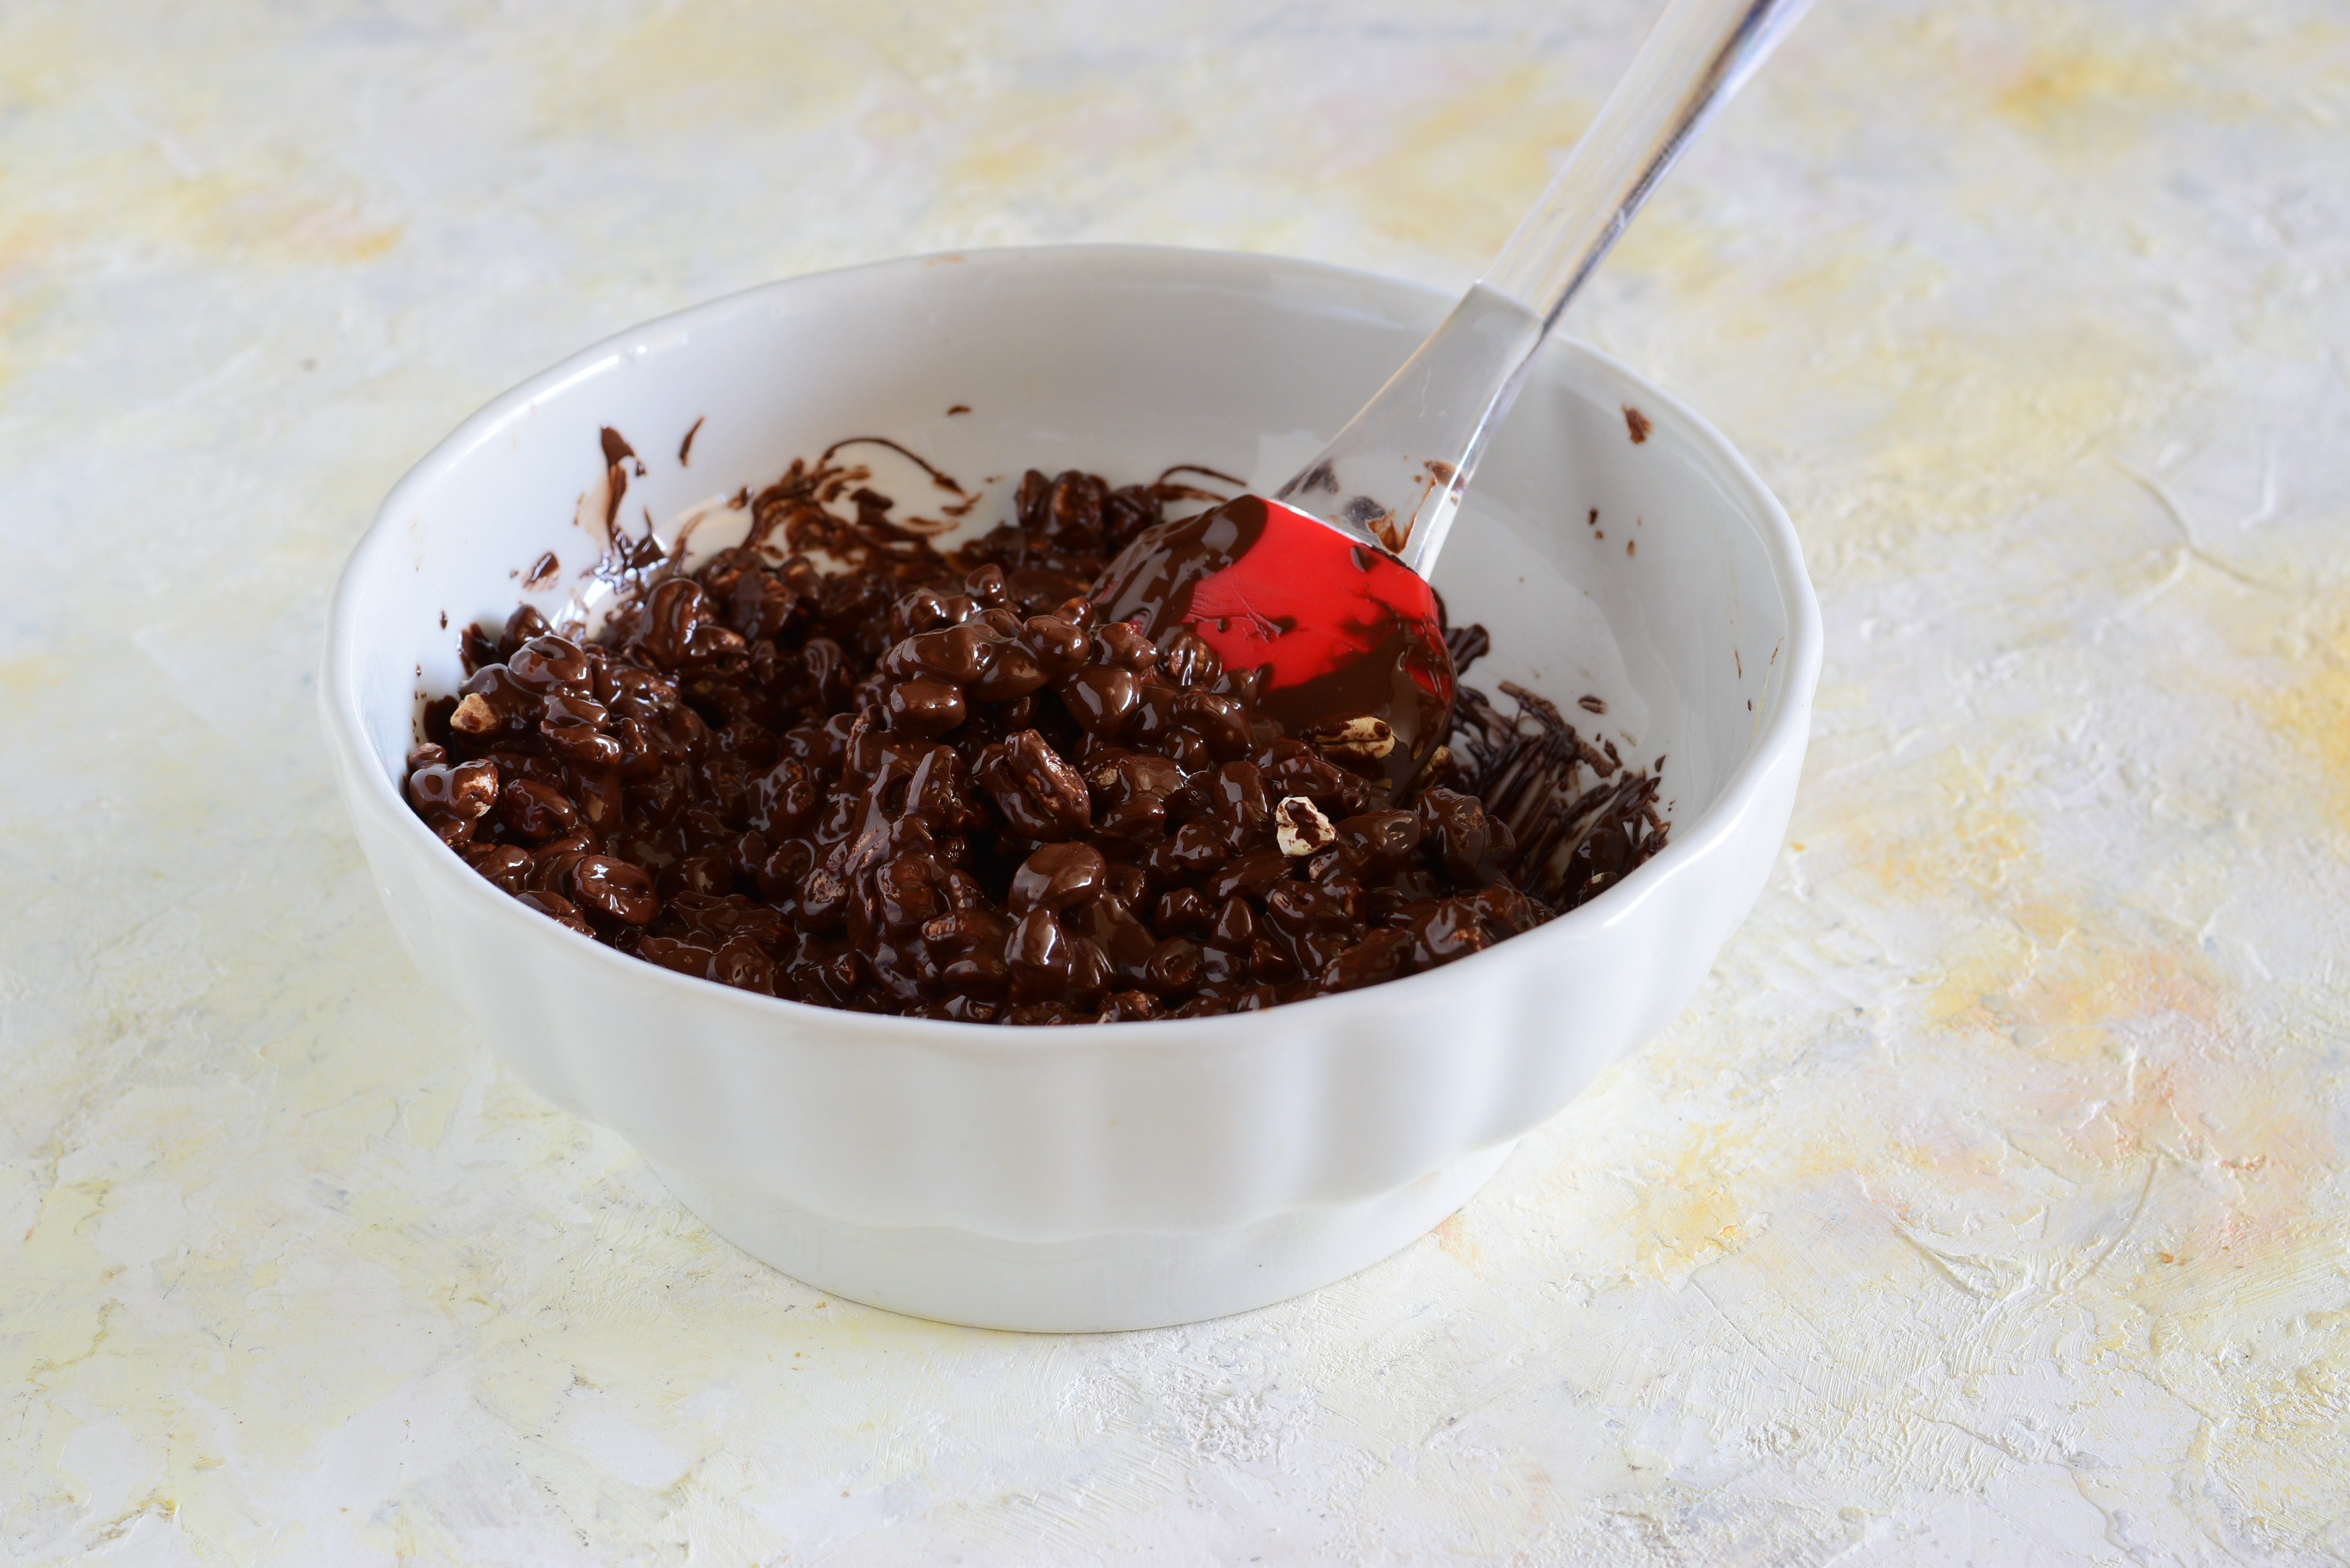
Mix well with a spatula and set aside; then pour the remaining puffed spelt and the milk chocolate melted in a bain-marie into another bowl and mix carefully.
Mix well with a spatula and set aside; then pour the remaining puffed spelt and the milk chocolate melted in a bain-marie into another bowl and mix carefully.
;Resize,width=712;)
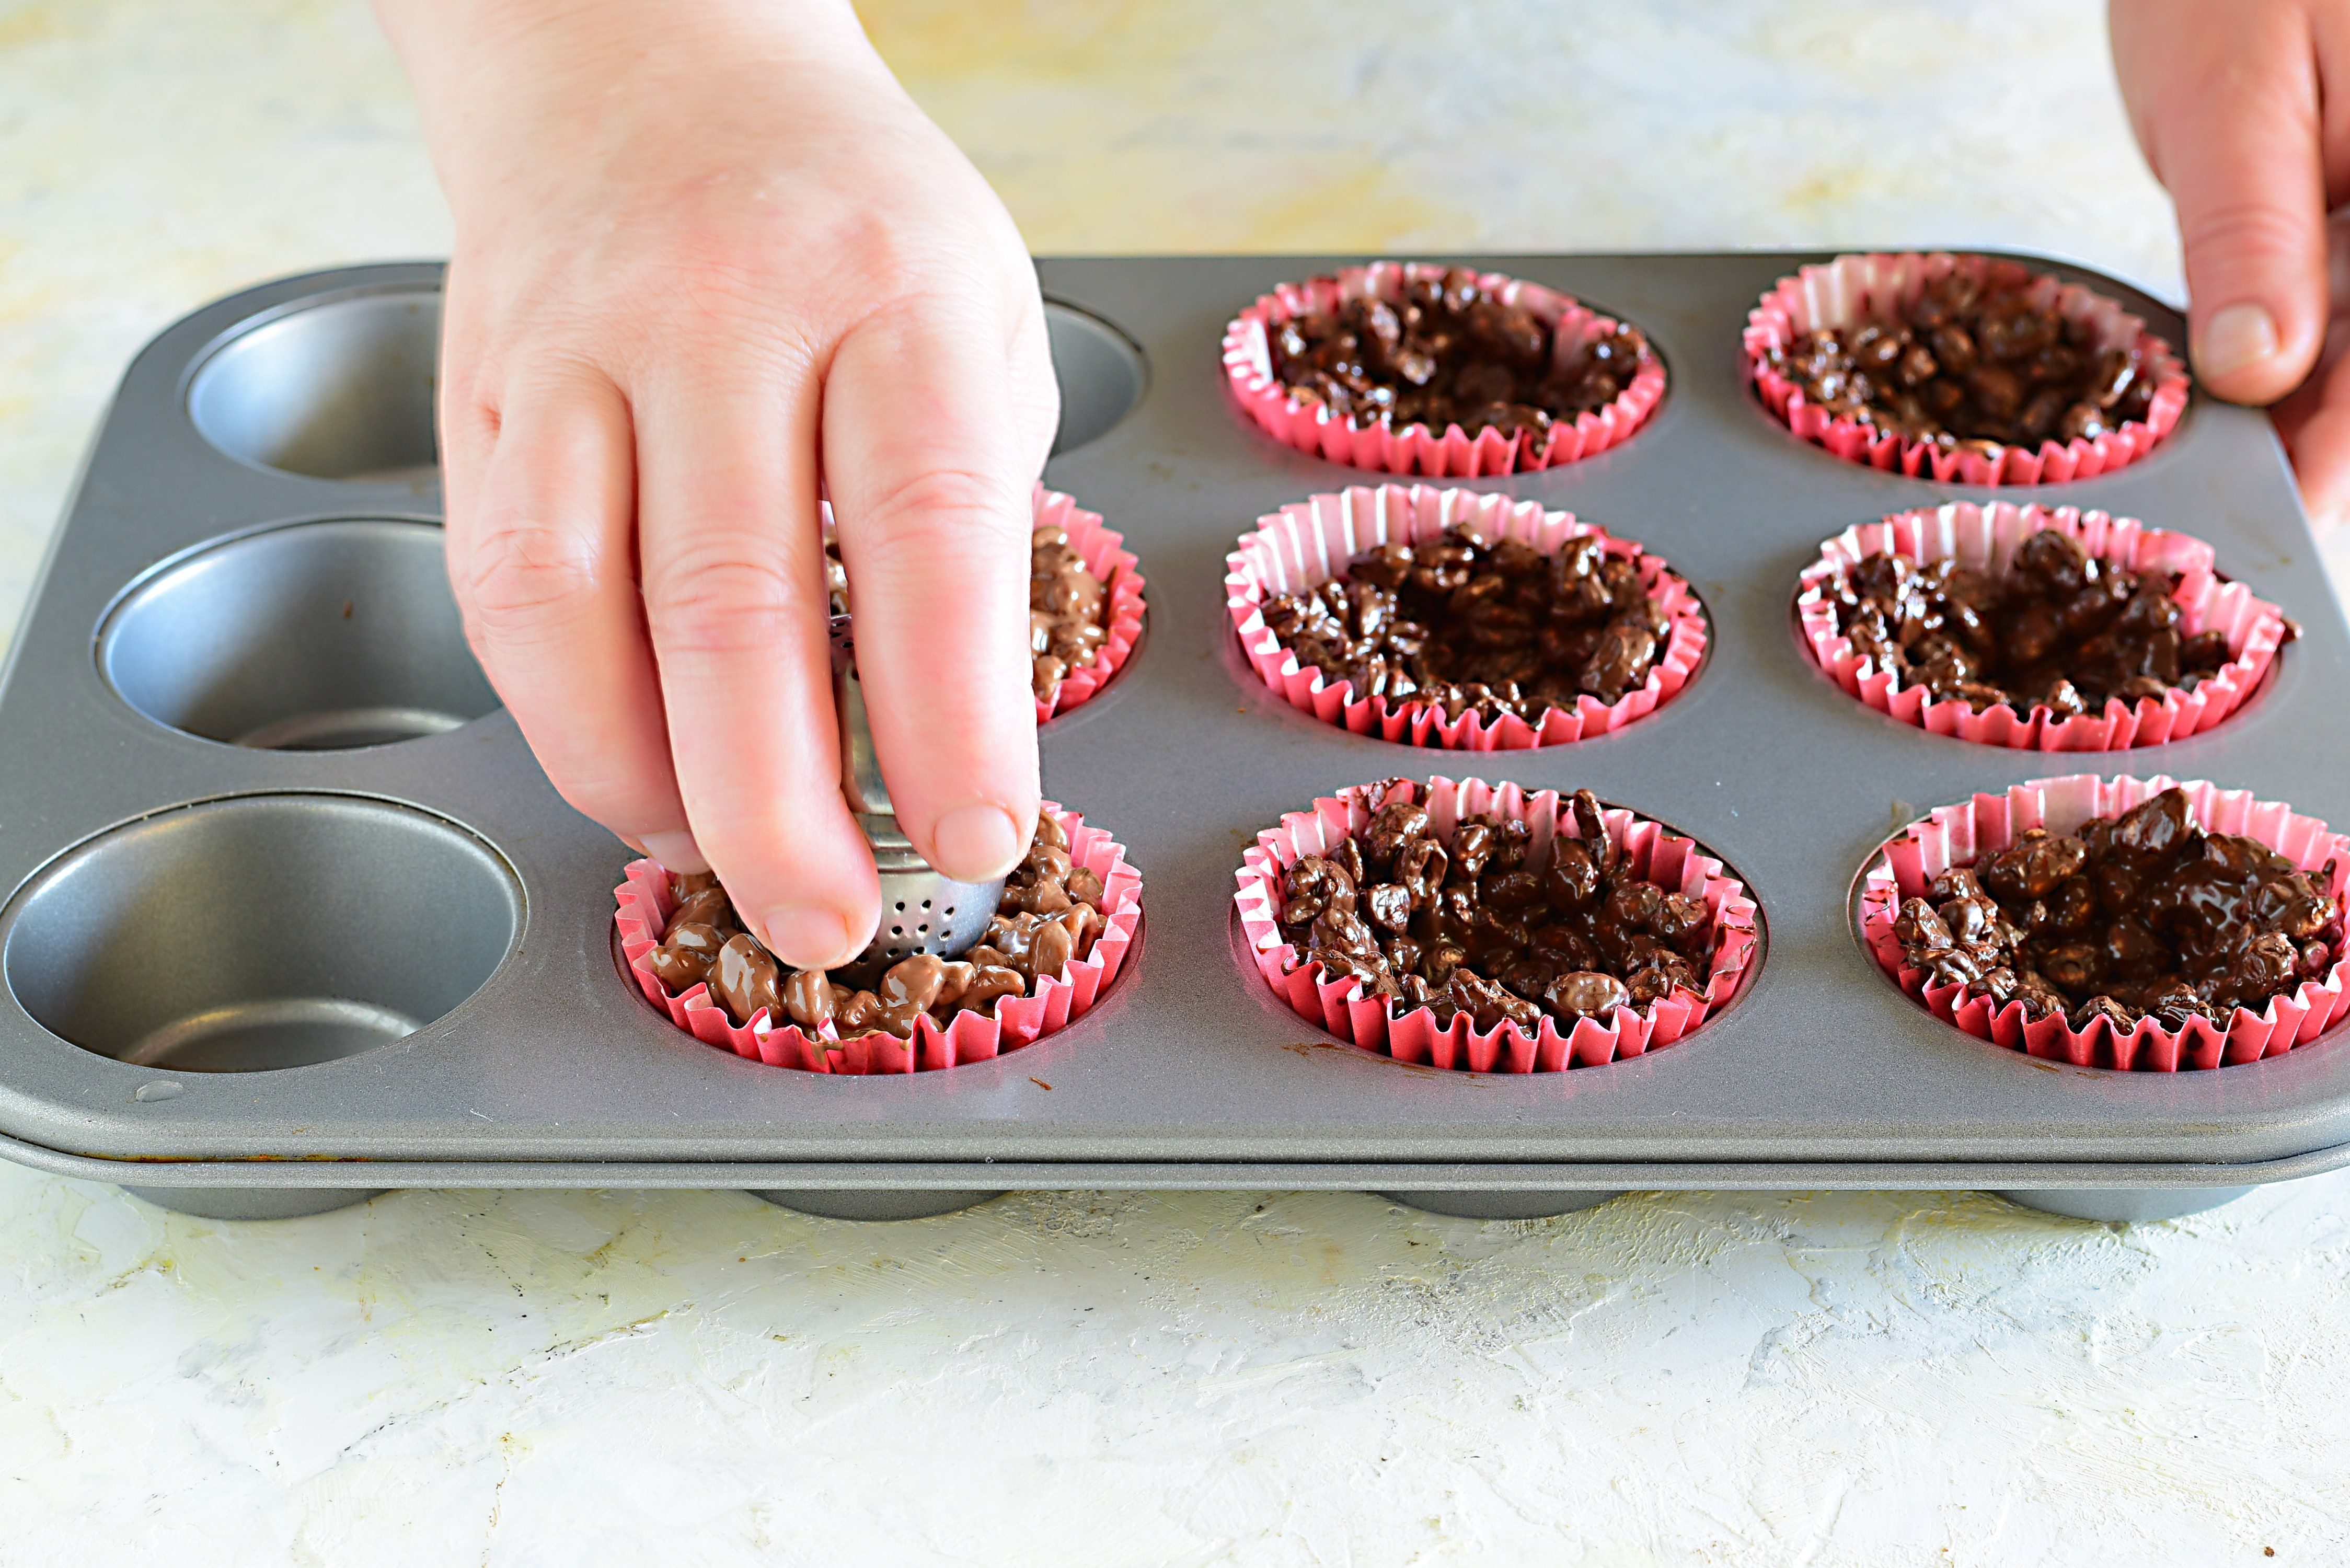
Place the dark chocolate and milk chocolate mixtures into a muffin tin lined with paper liners and press down in the center with a cup or tea infuser so as to create a cavity. Then put the resulting baskets in the fridge and let them harden for half an hour.
Place the dark chocolate and milk chocolate mixtures into a muffin tin lined with paper liners and press down in the center with a cup or tea infuser so as to create a cavity. Then put the resulting baskets in the fridge and let them harden for half an hour.
;Resize,width=712;)
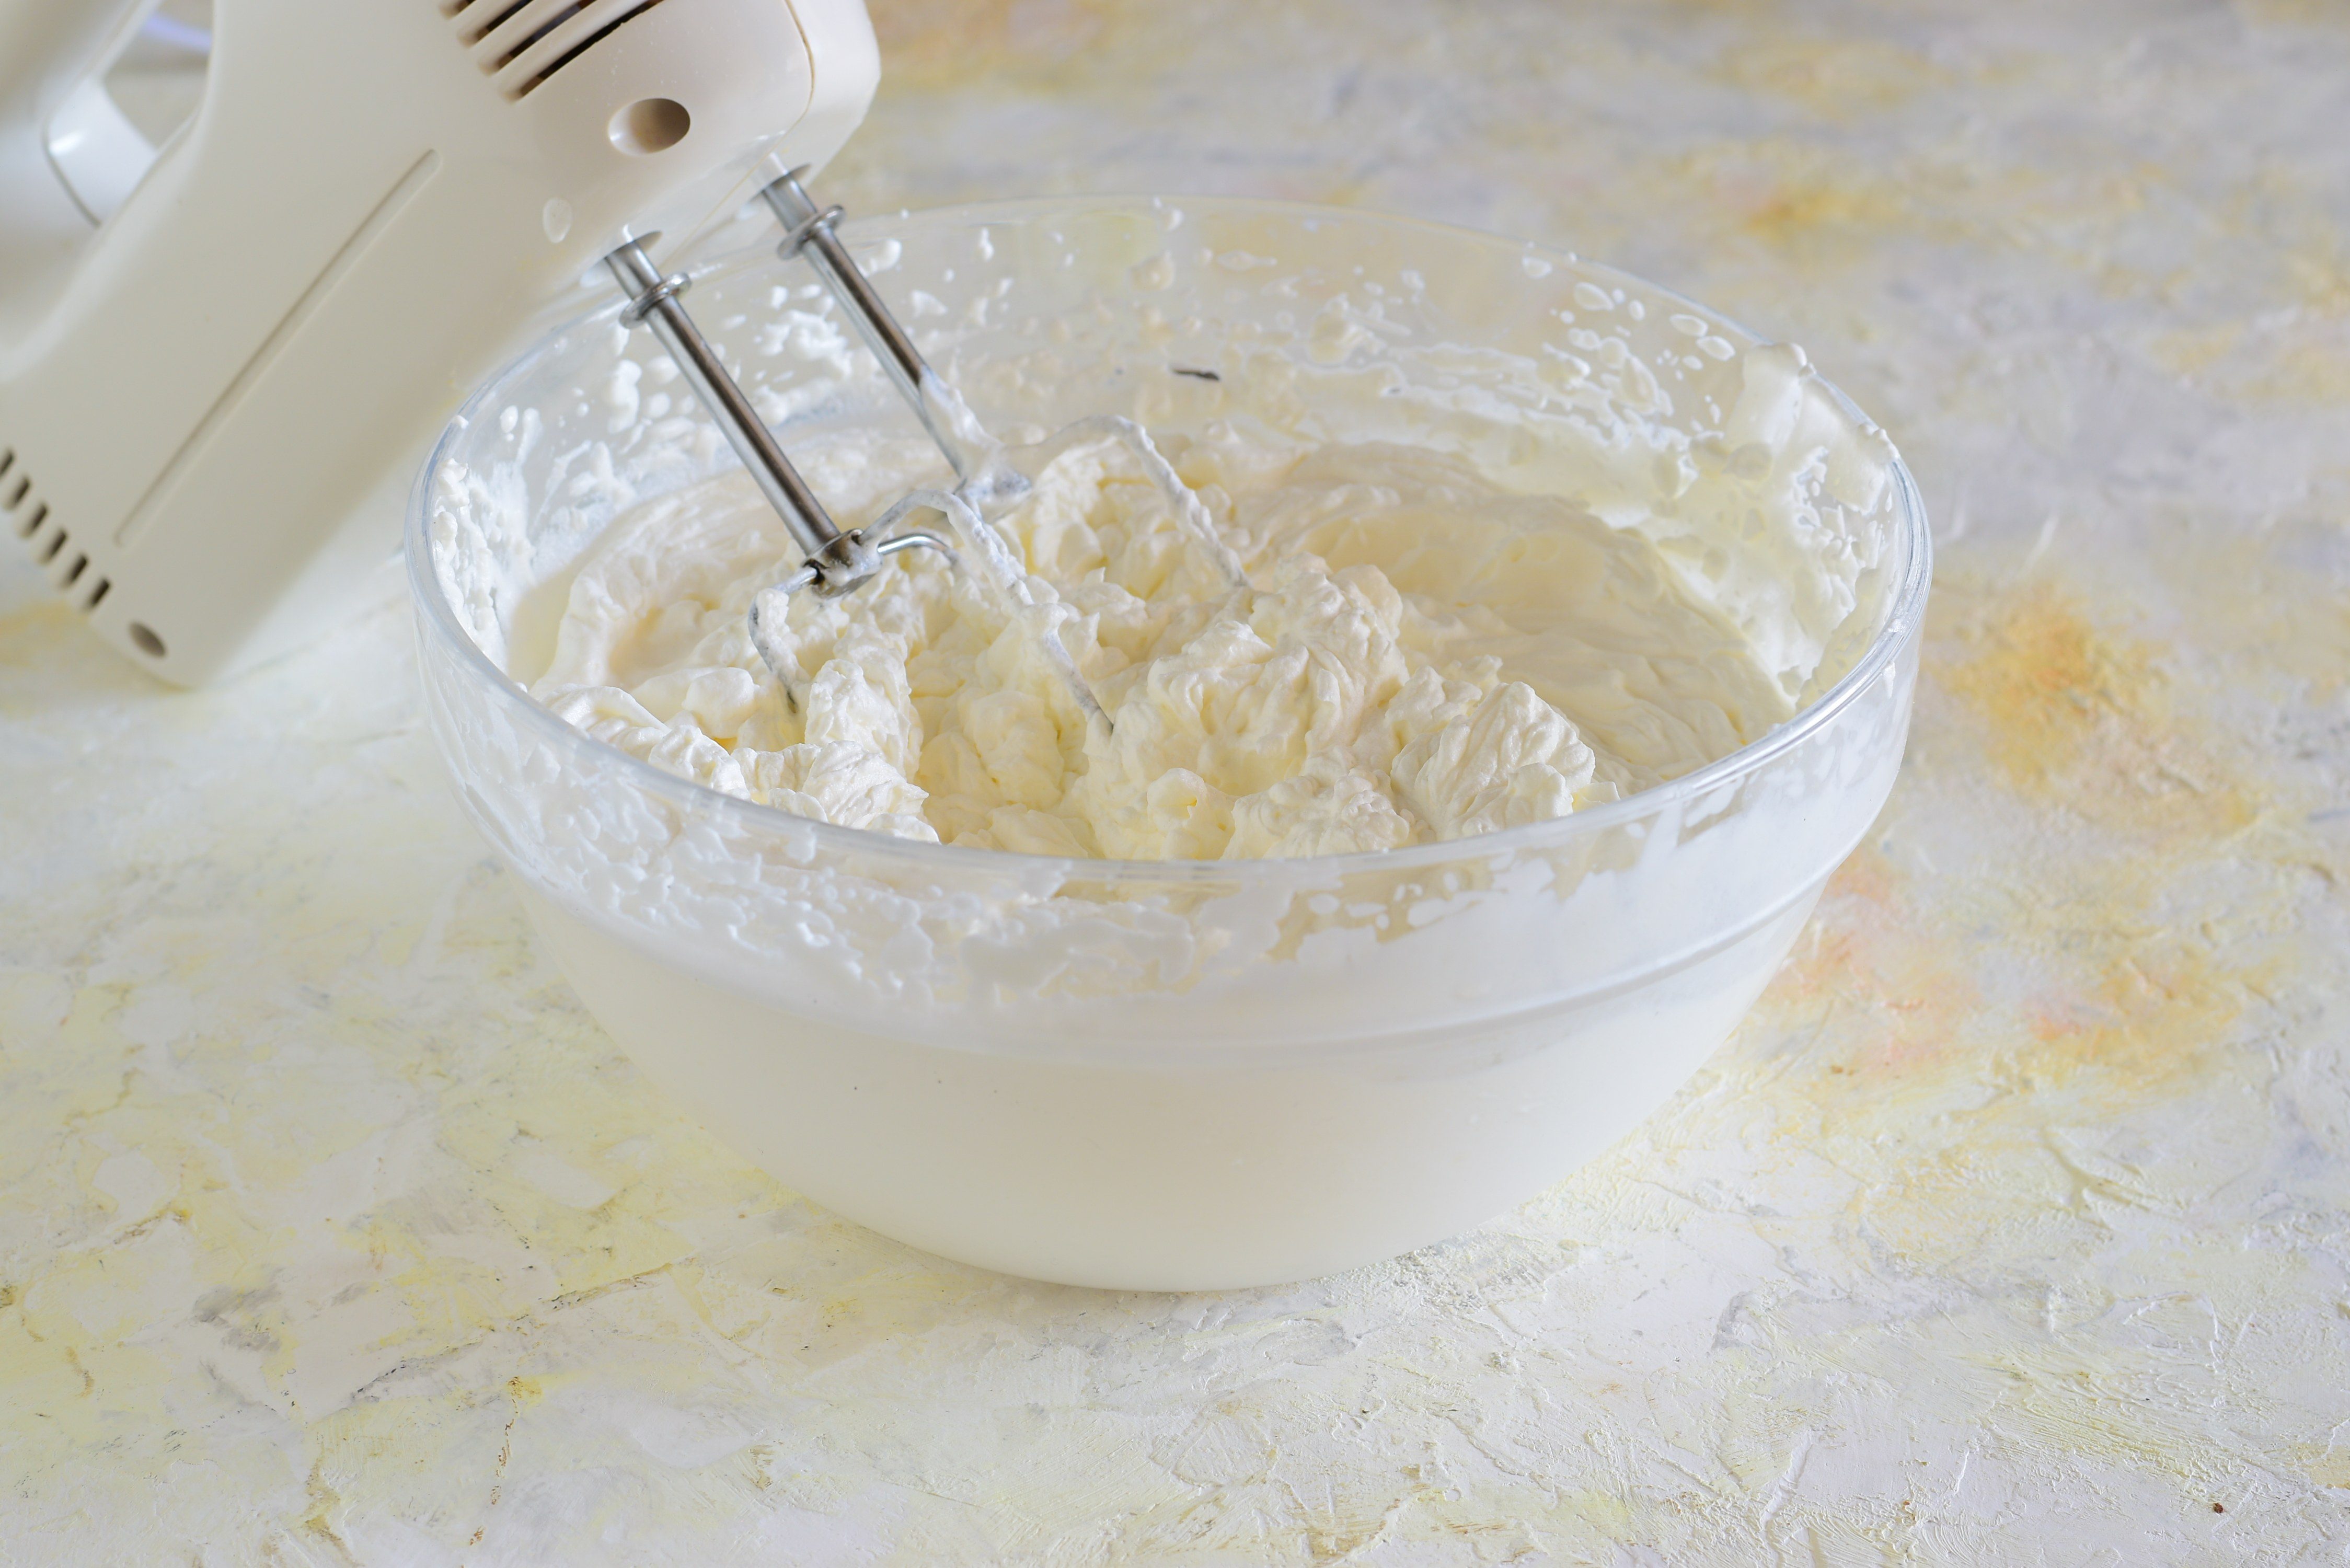
Meanwhile, whip the cream with an electric whisk.
Meanwhile, whip the cream with an electric whisk.
;Resize,width=712;)
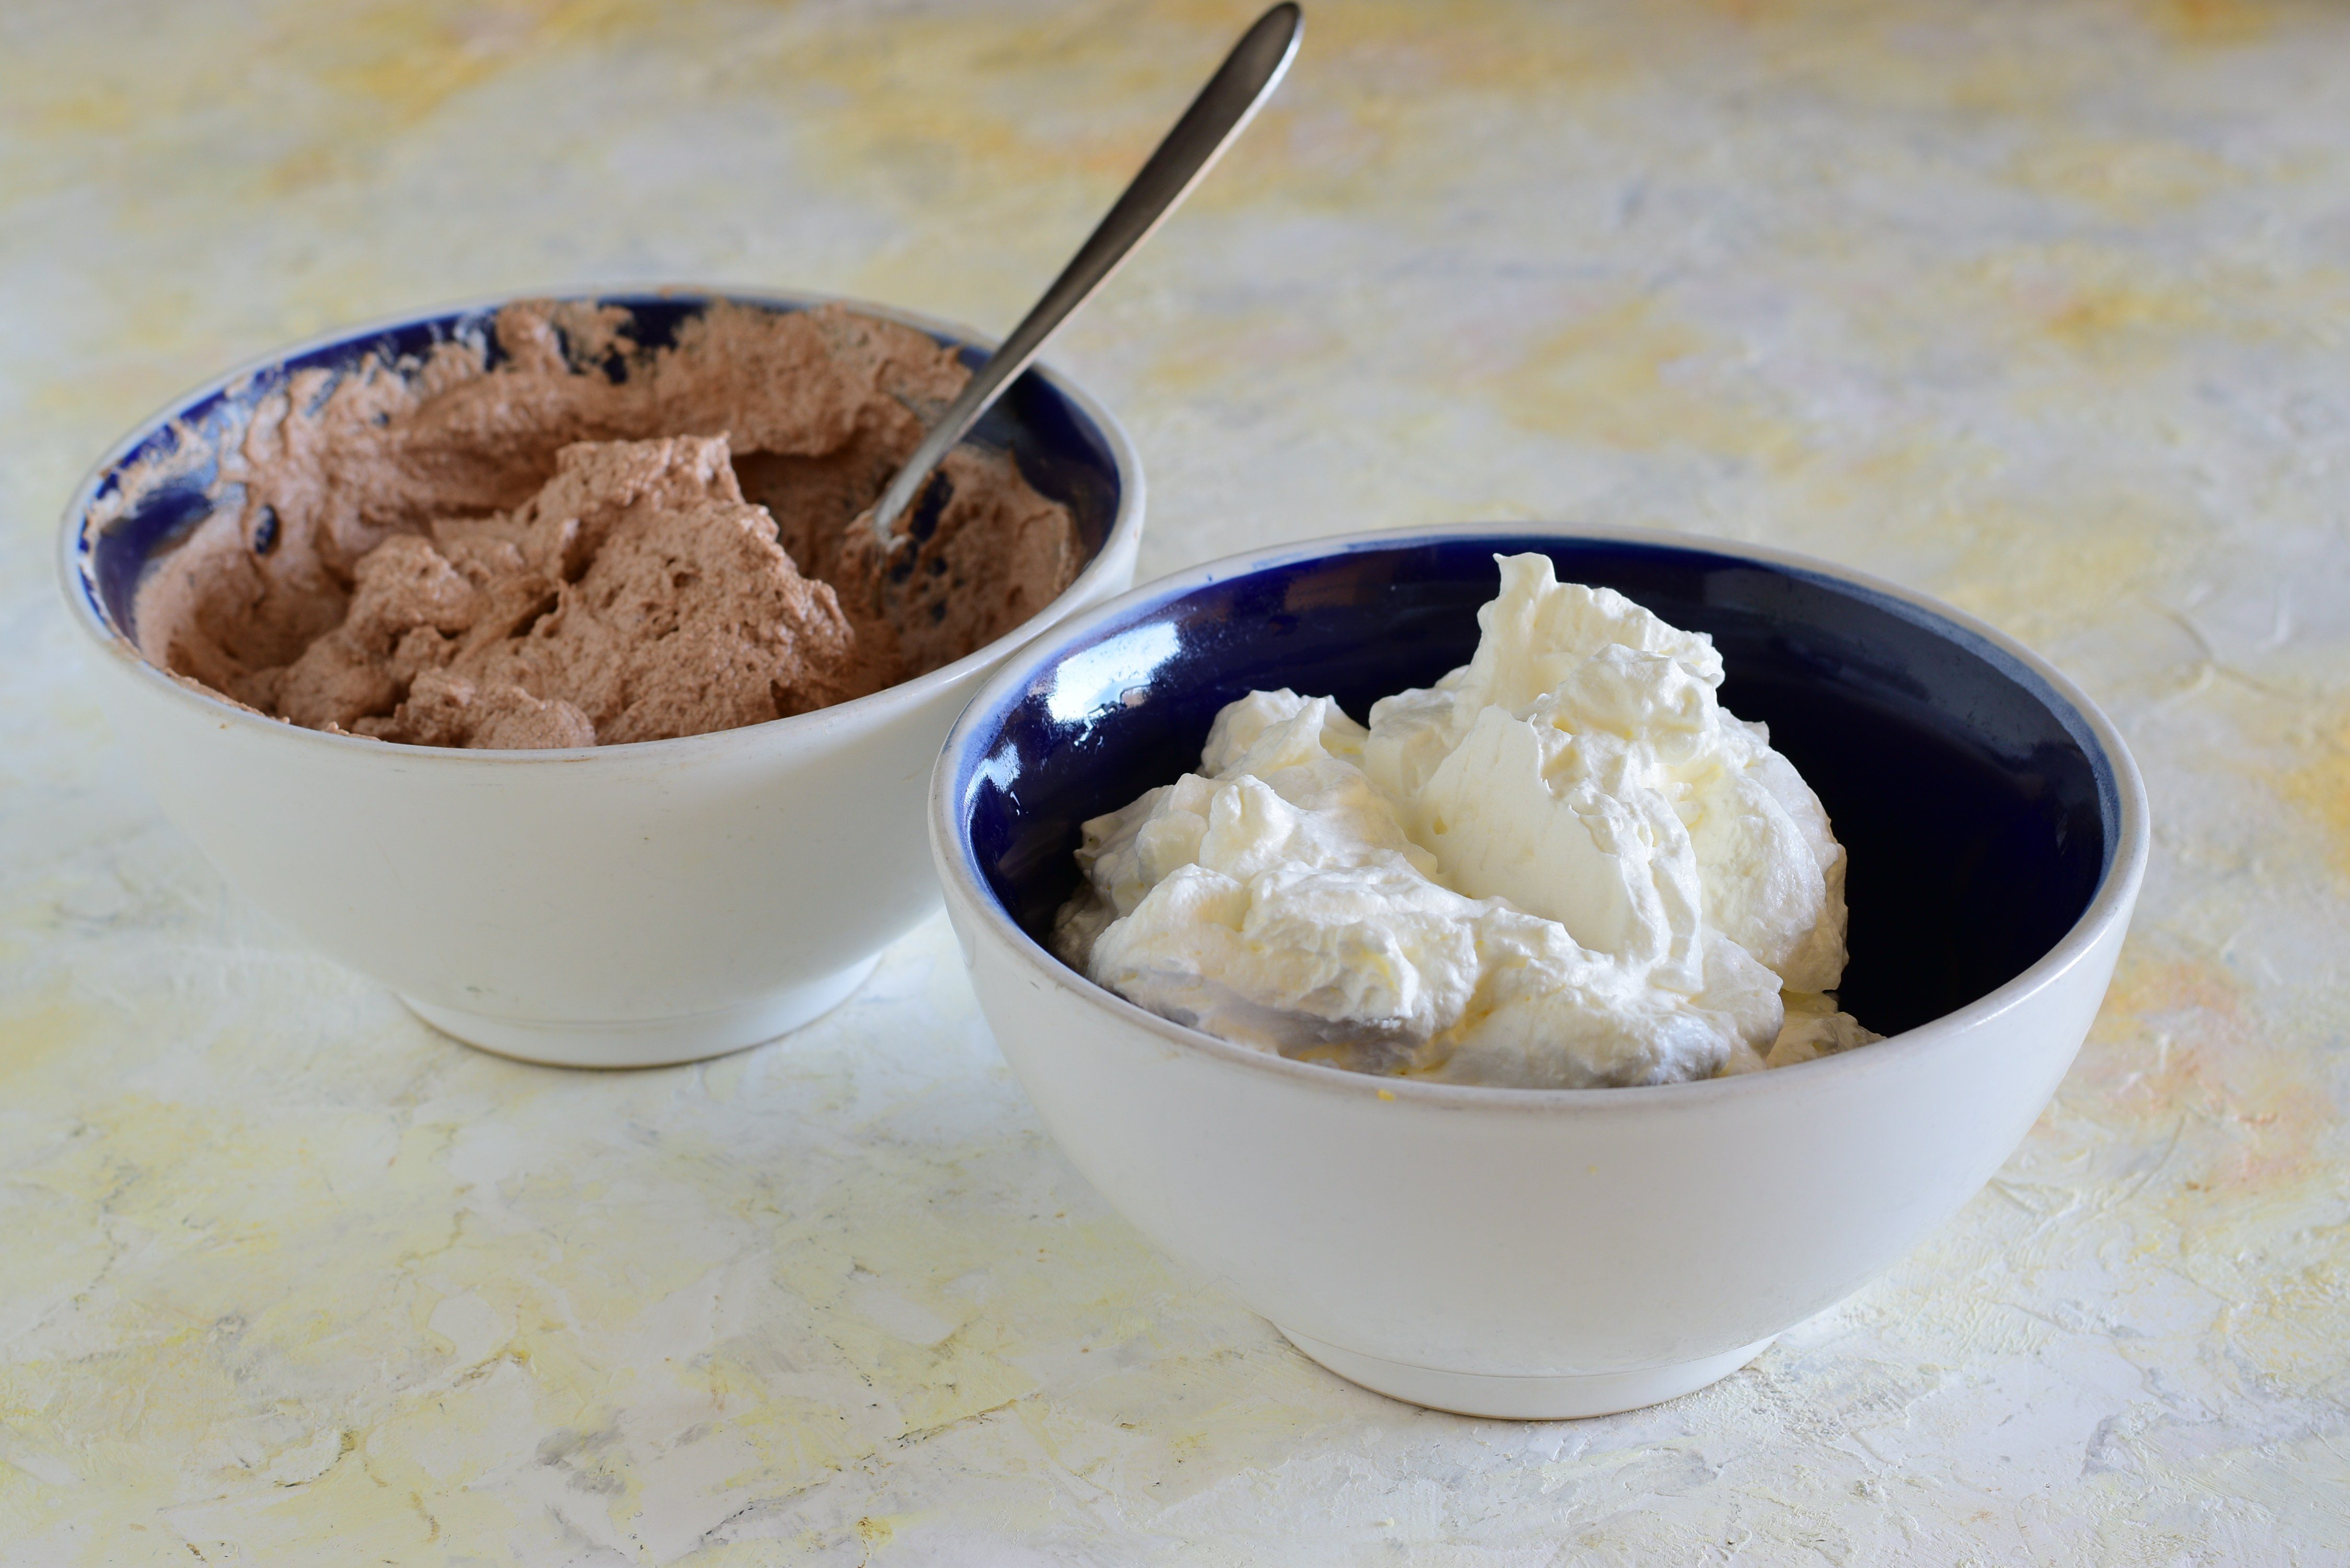
Divide it into two bowls and gently incorporate the hazelnut cream into one.
Divide it into two bowls and gently incorporate the hazelnut cream into one.
;Resize,width=712;)
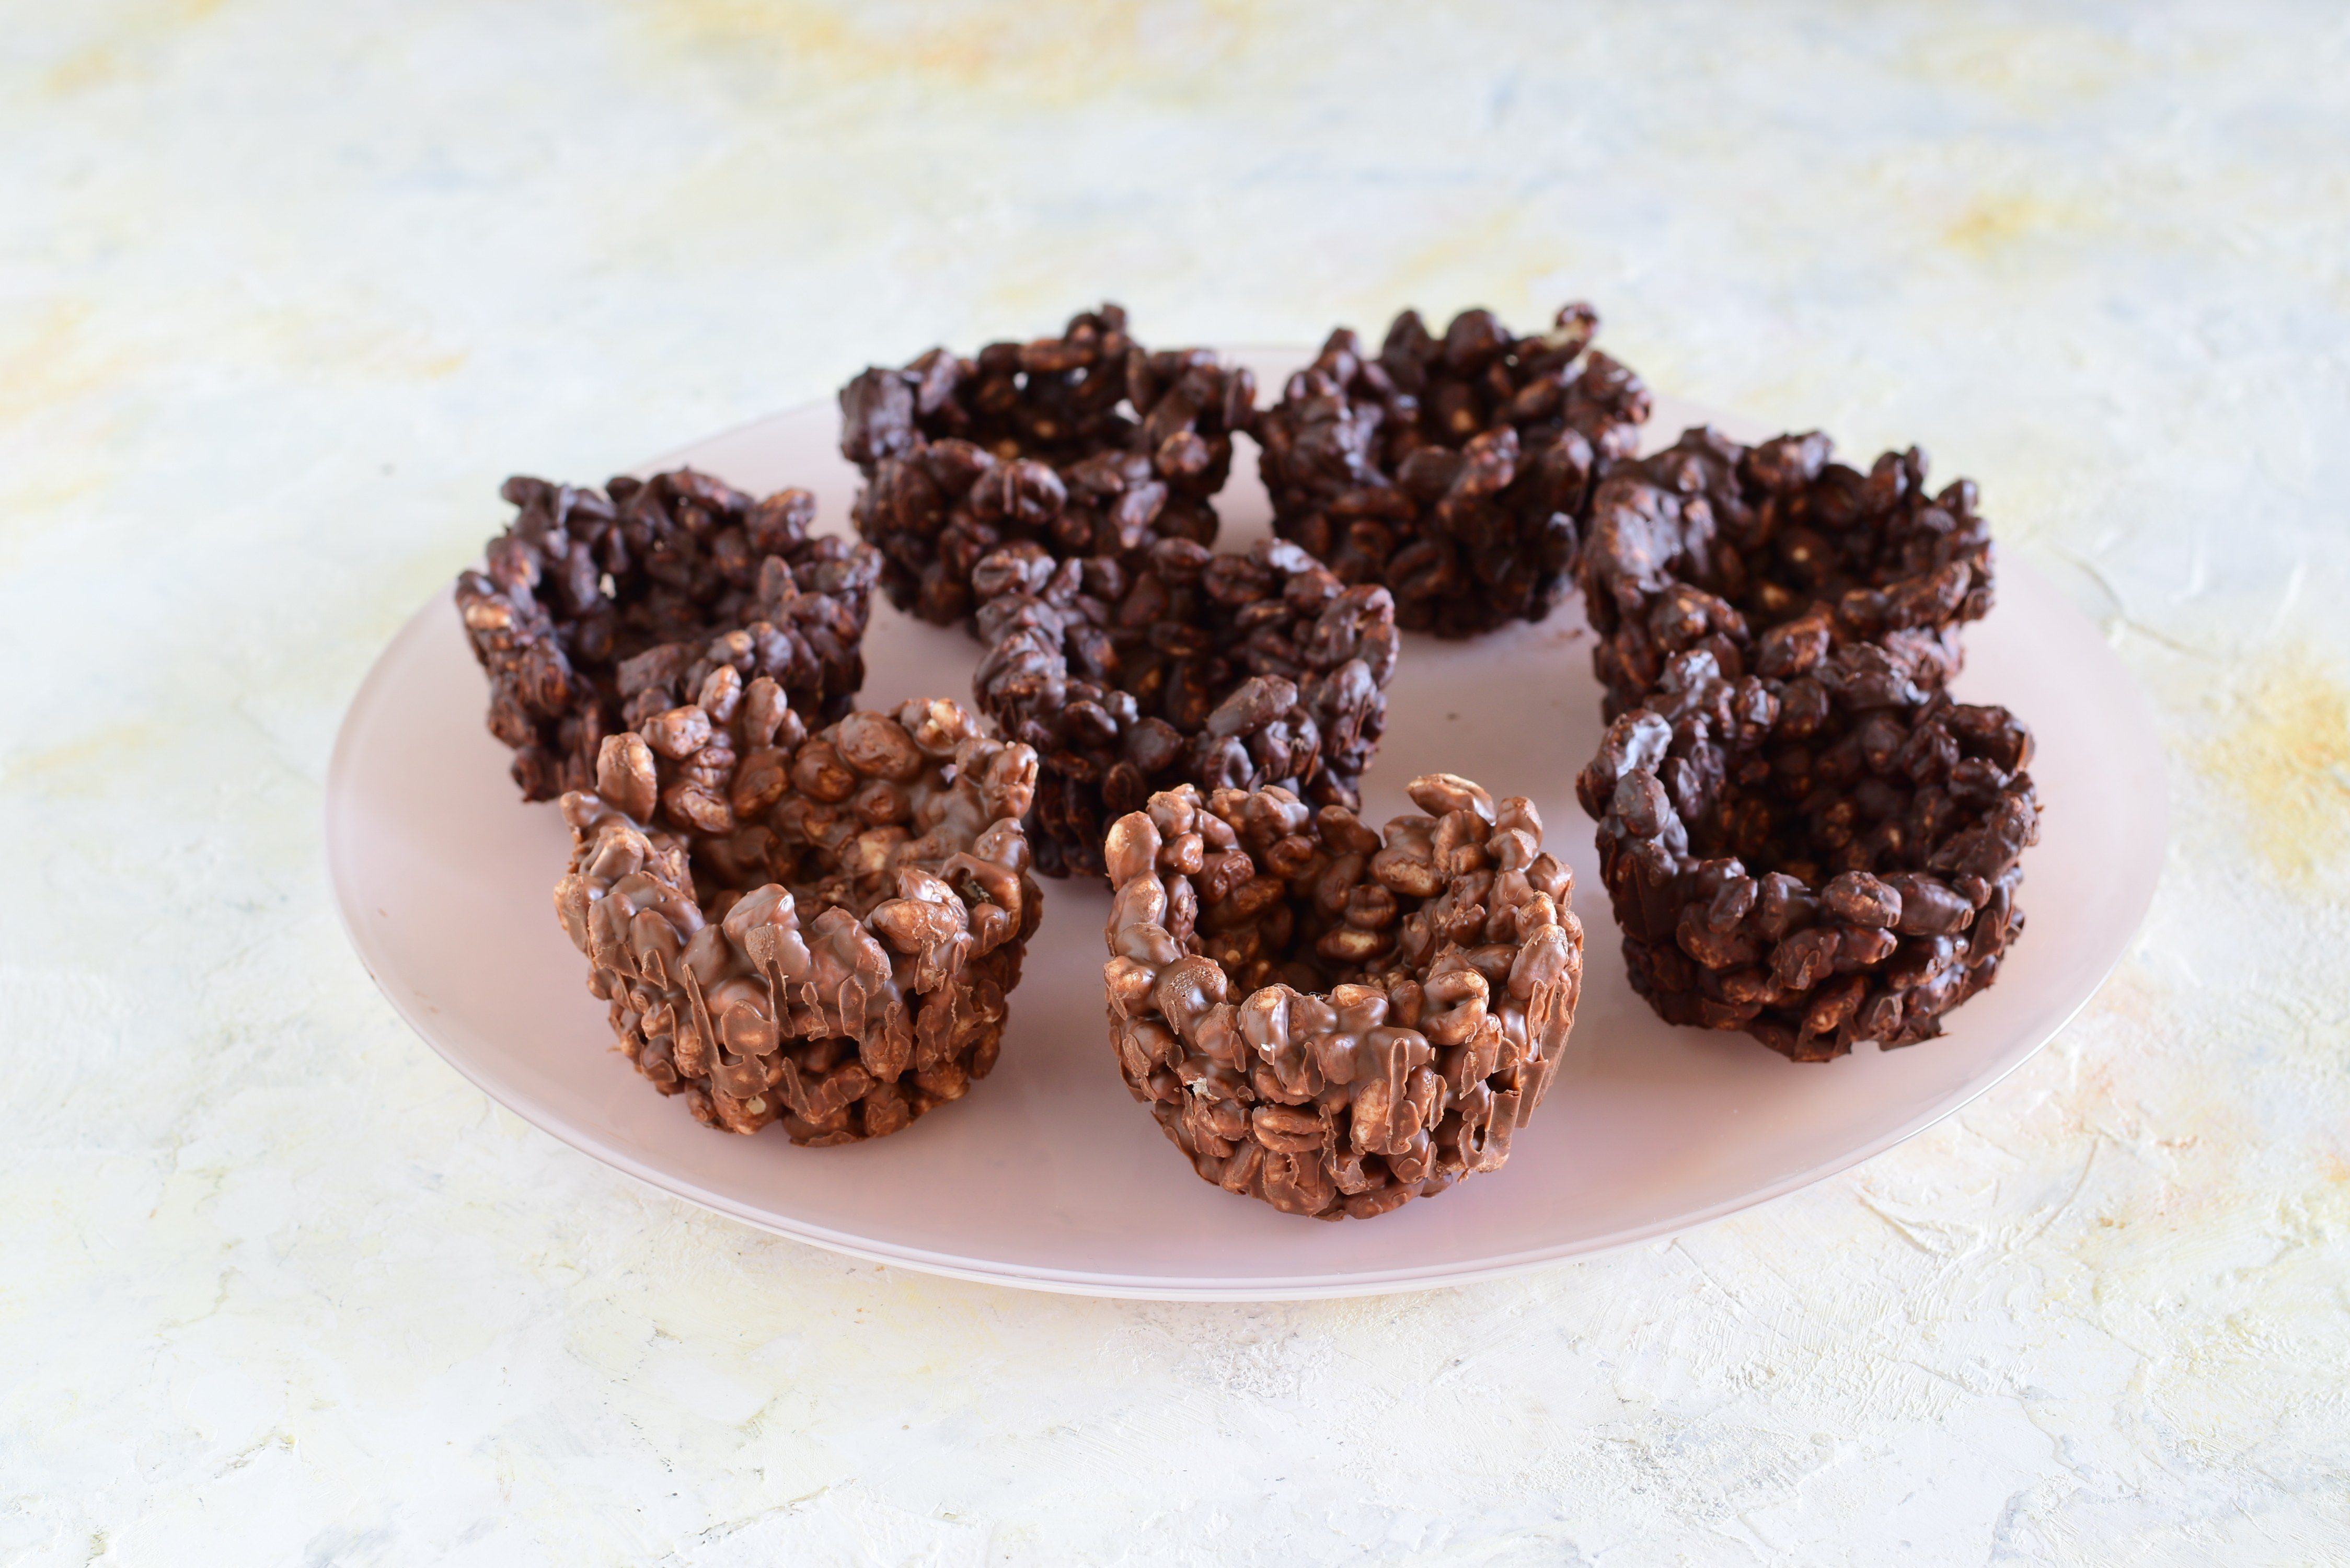
Unmold the chocolate baskets, remove the paper cups and arrange them on a serving plate.
Unmold the chocolate baskets, remove the paper cups and arrange them on a serving plate.
;Resize,width=712;)
Using a piping bag with a star-shaped nozzle, fill half of the nests with the whipped cream and the remaining ones with the hazelnut cream.
Using a piping bag with a star-shaped nozzle, fill half of the nests with the whipped cream and the remaining ones with the hazelnut cream.
;Resize,width=712;)
Decorate with the colored eggs and the sugar sprinkles. Enjoy!
Decorate with the colored eggs and the sugar sprinkles. Enjoy!
;Resize,width=767;)
;Resize,width=712;)
;Resize,width=712;)

