
Chocolate Ice Cream Sandwich: the easy ice cream sandwich recipe you’ll love
;Resize,width=742;)
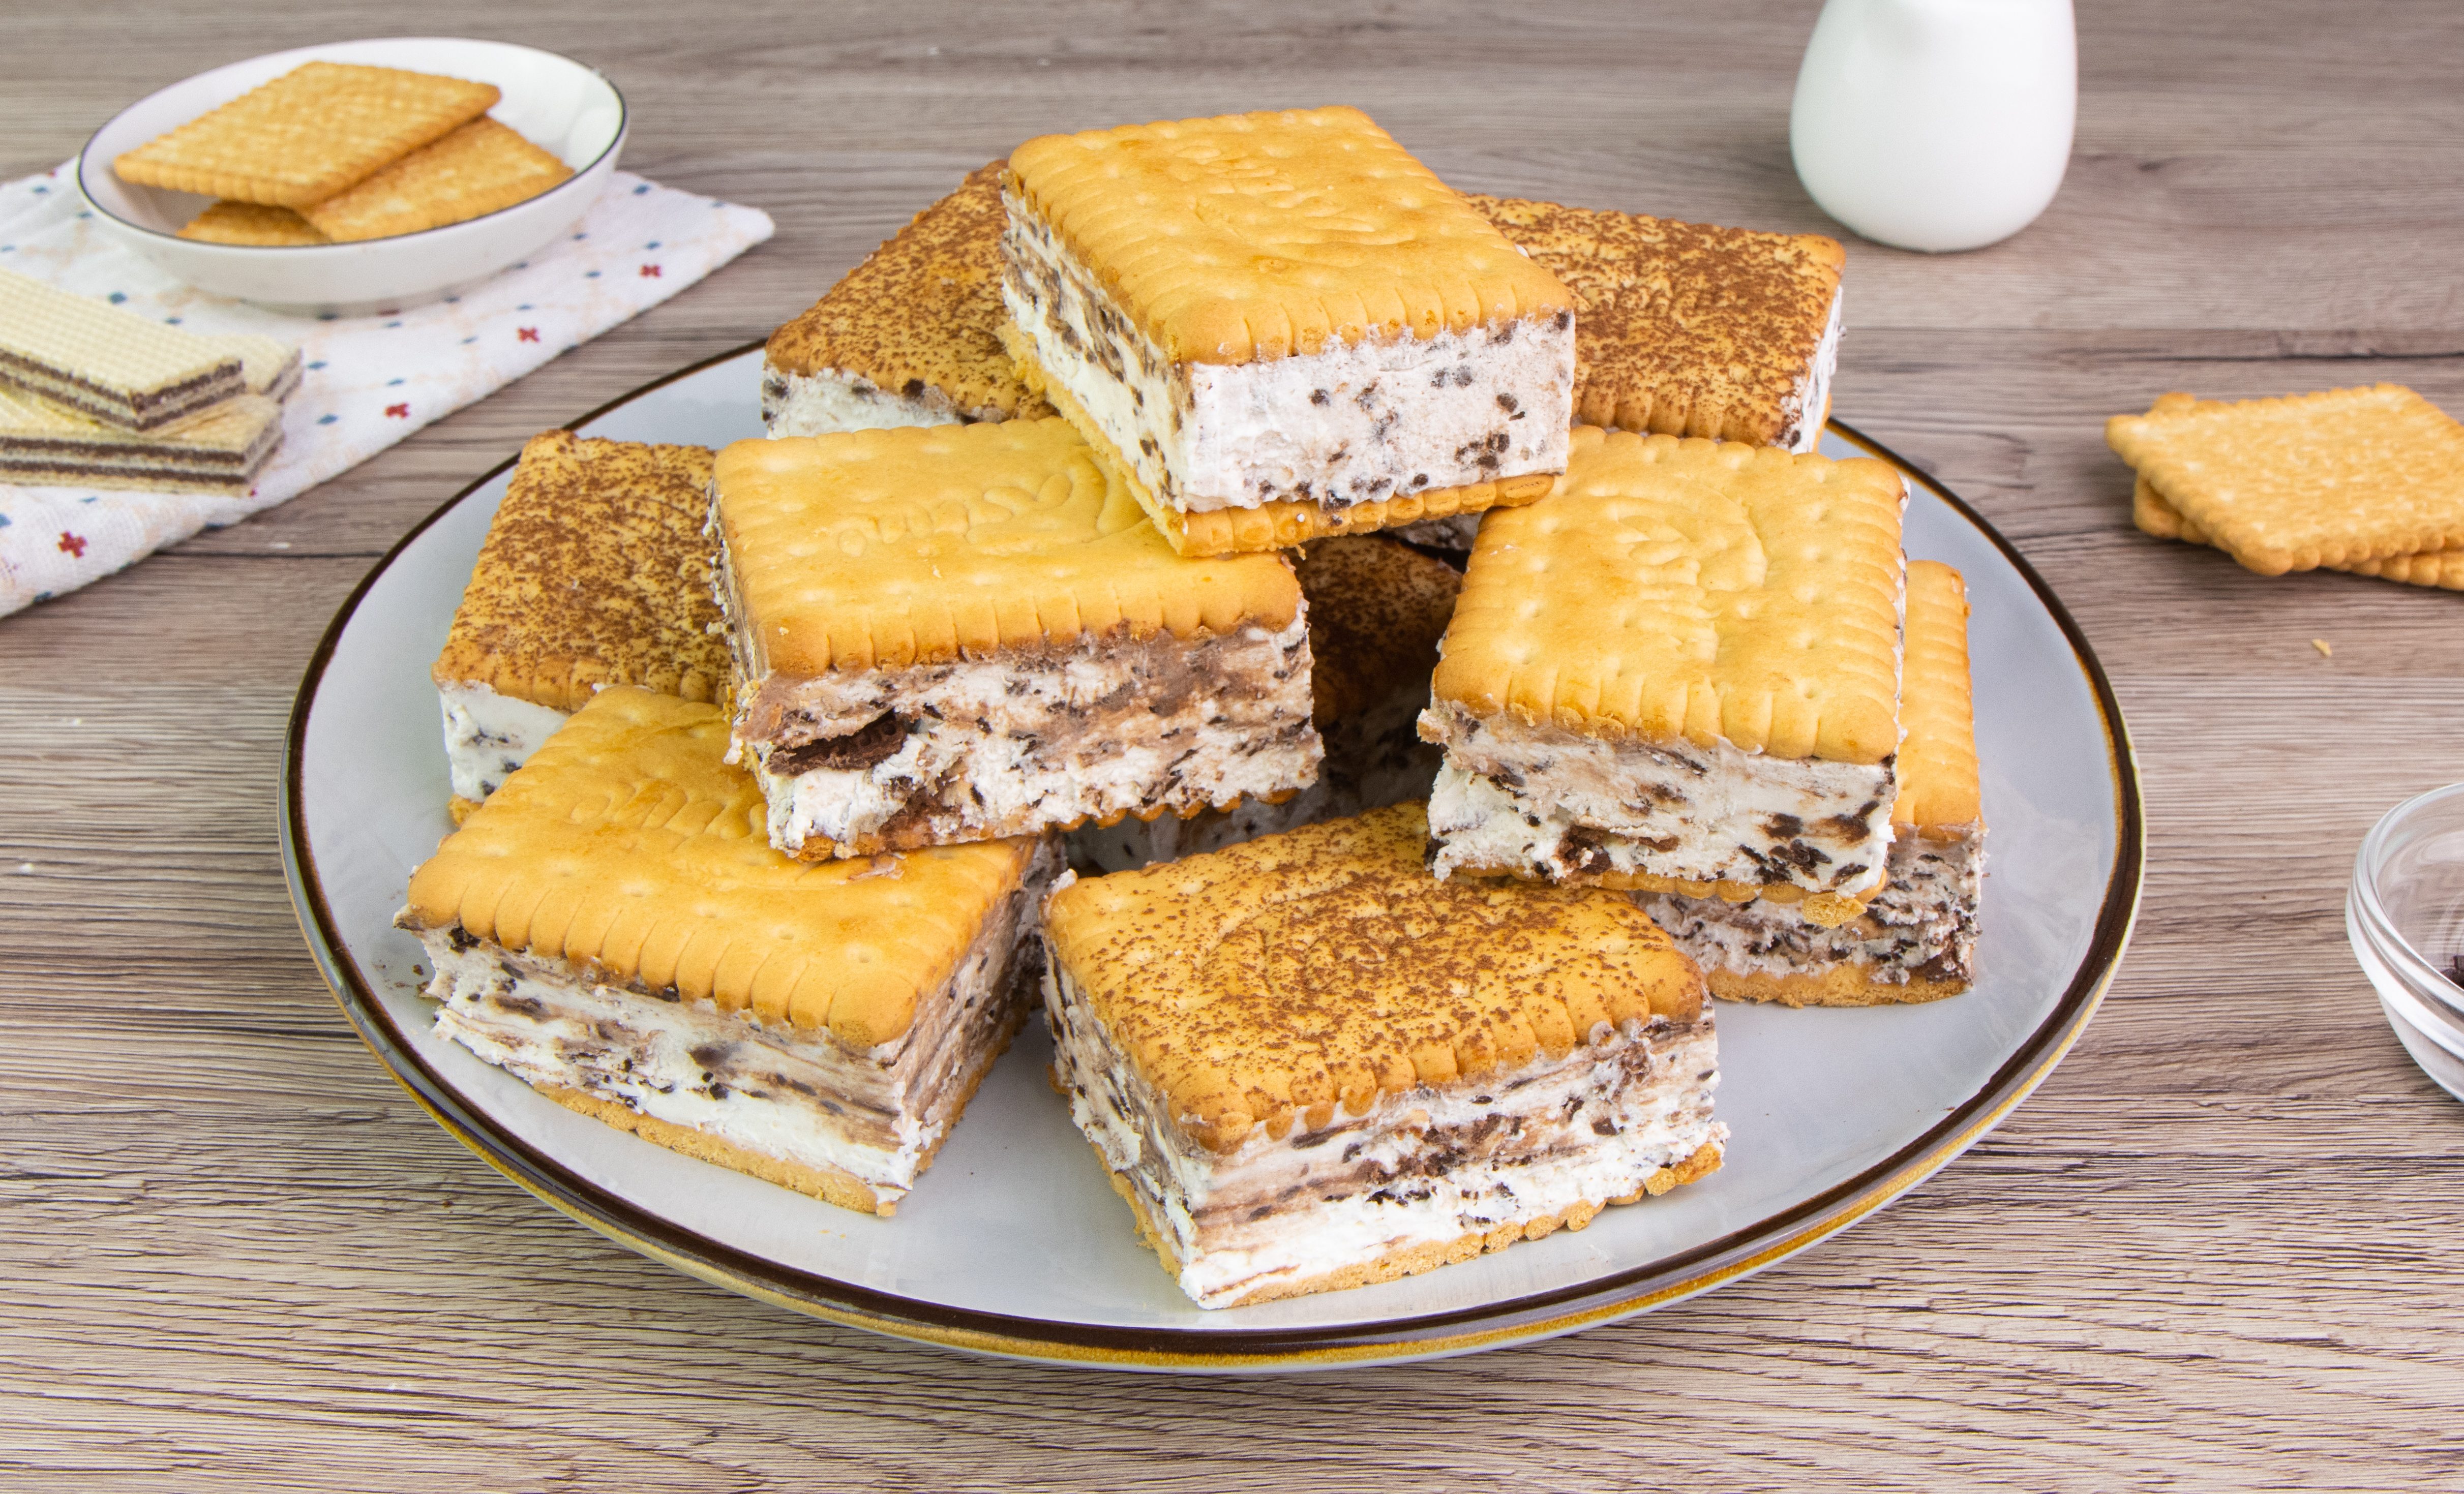
You know what’s better than a Chocolate Ice Cream Sandwich? A homemade Chocolate Ice Cream Sandwich! This recipe is super easy to make. In fact, it’s even easier than driving to the store, so you have no excuse not to make your own sandwiches at home. The ‘cookie’ of the sandwich remains soft, while the filling is creamy and cool. This is just the dessert recipe you need for spring or summer. It cools you off, and is also to eat on-the-go. There are also a lot of ways you can modify the recipe to suit your taste preferences. Having a pool party soon? Make sure to serve these!

Tips for Homemade Ice Cream Sandwich
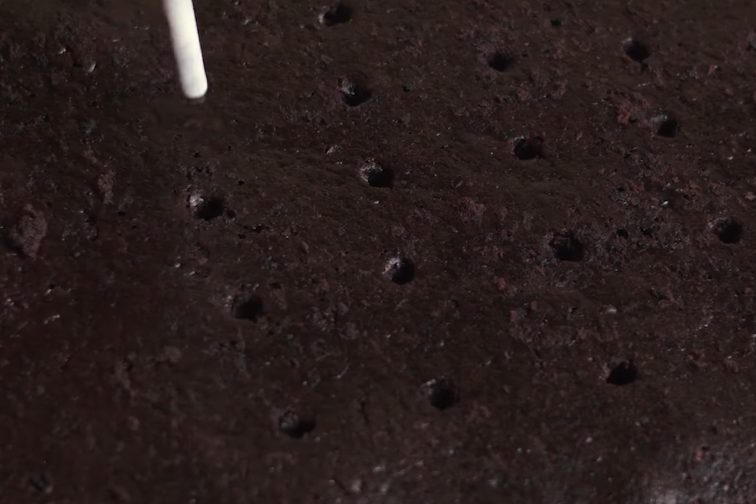
Don’t skip the hole-poking step. This ensures that the ice cream seeps into the cookie base, causing it to soften and mix with the ice cream. You only need to poke holes on the one side of the cookie base.
You can also switch up this recipe by using vanilla cake mix and chocolate ice cream. Or you can use a chocolate cookie base with chocolate ice cream. Mint chocolate ice cream also works great in this recipe.
To make these Chocolate Ice Cream Sandwiches extra special, roll them in sprinkles (rainbow or chocolate).
Feel free to add in other mix-ins in the ice cream too: chocolate chips, crushed nuts, or even chopped fruits will make this Chocolate Ice Cream sandwich even tastier!
If you have an ice cream maker, why not make your own homemade ice cream? This will definitely take your homemade Chocolate Ice Cream sandwich to the next level.

How to store Chocolate Ice Cream Sandwich
The Chocolate Ice Cream Sandwich keeps well in the freezer. In fact, it’s actually better if stored overnight in the freezer or fridge as this gives the cookie a chance to soften. Make sure to freeze the Chocolate Ice Cream Sandwich for at least two hours before serving.
You can portion the sandwiches and store the portions individually by wrapping them in parchment paper. This way, each guest will have their own portion of ice cream sandwich.
Ingredients
How to make Chocolate Ice Cream Sandwich
;Resize,width=712;)
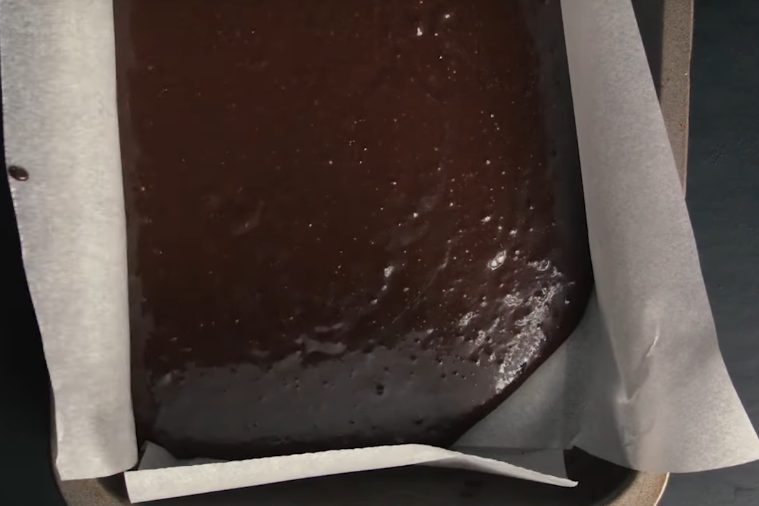
Prepare the cake mix according to the package instructions. Divide batter in half and spread each one in two large baking tins (a 15x11-inch pan will work).
Prepare the cake mix according to the package instructions. Divide batter in half and spread each one in two large baking tins (a 15×11-inch pan will work).
;Resize,width=712;)
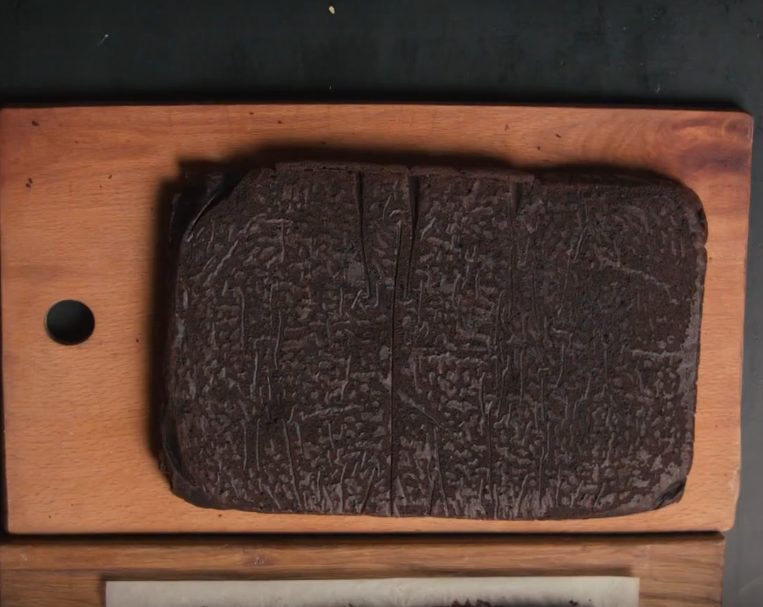
Bake cake layers for 15-18 minutes. If a wooden skewer comes out clean, the cakes is cooked. Leave it to cool down.
Bake cake layers for 15-18 minutes. If a wooden skewer comes out clean, the cakes is cooked. Leave it to cool down.
;Resize,width=712;)
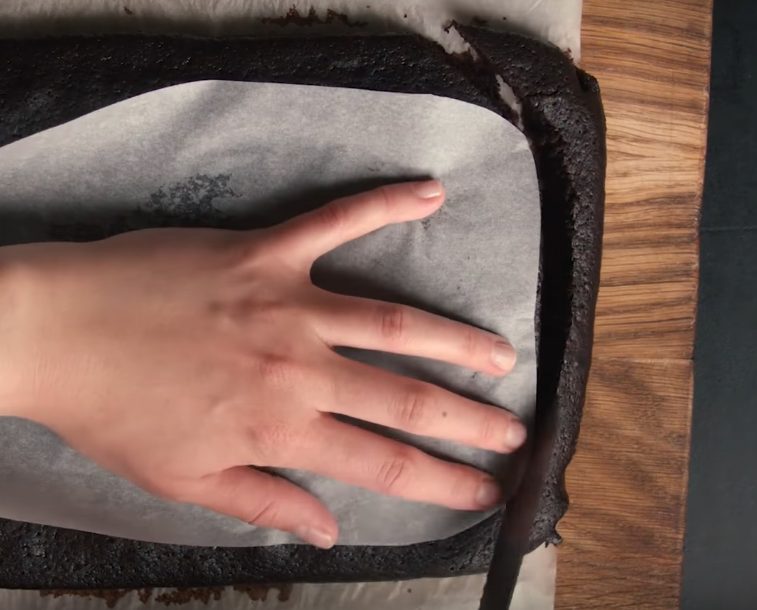
Cut each layer to make two rectangles with rounded corners.
Cut each layer to make two rectangles with rounded corners.
;Resize,width=712;)
Using regular straw poke holes all over one of the layers. Freeze cake for 30 minutes.
Using regular straw poke holes all over one of the layers. Freeze cake for 30 minutes.
;Resize,width=712;)
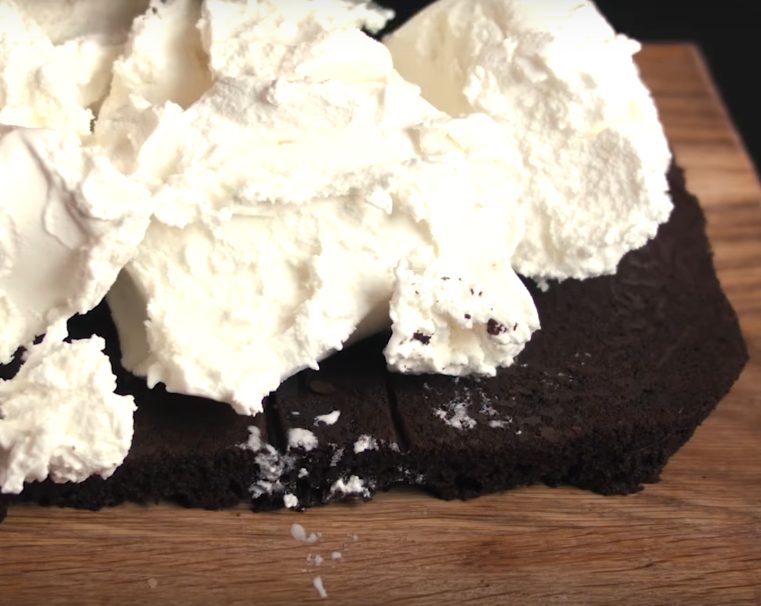
Spread vanilla ice cream over one of the cake layers that doesn’t have holes.
Spread vanilla ice cream over one of the cake layers that doesn’t have holes.
;Resize,width=712;)
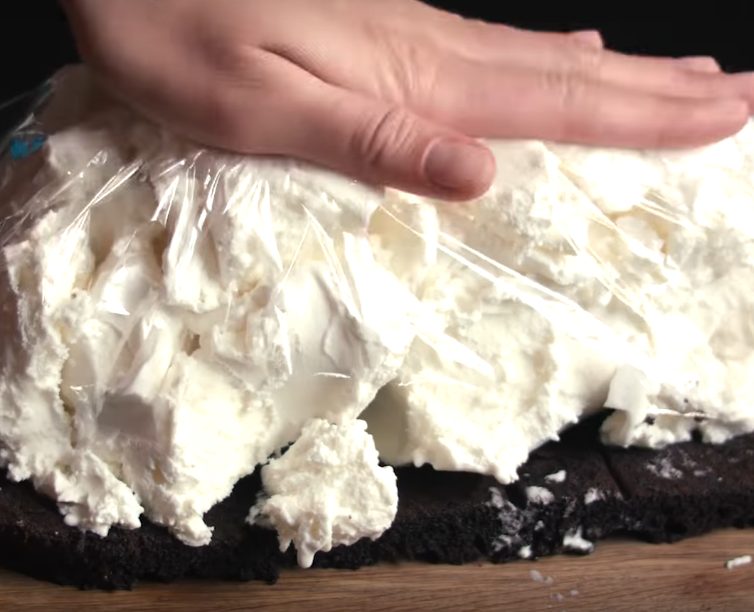
Press it.
Press it.
;Resize,width=712;)
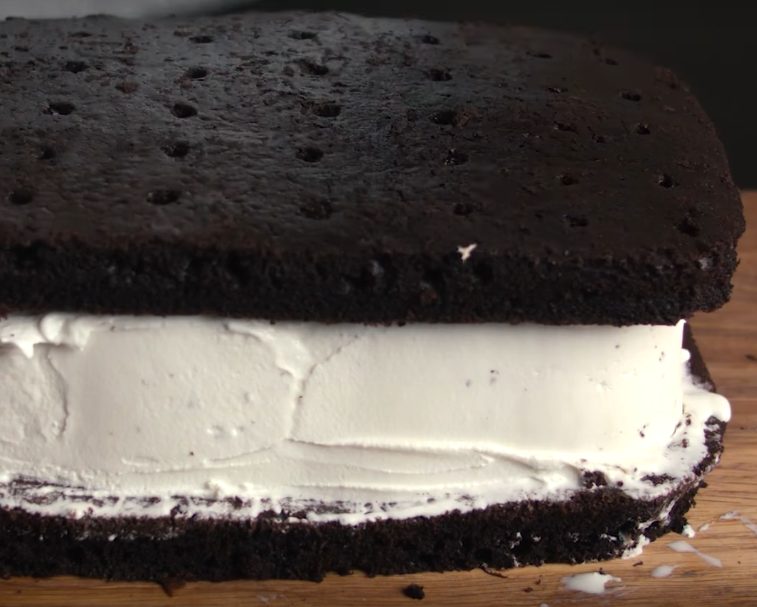
Cover with another one and freeze for at least 2 hours.
Cover with another one and freeze for at least 2 hours.
;Resize,width=767;)
;Resize,width=712;)

;Resize,width=712;)
