

Introducing the delightful Chocolate Cream Cups, a dessert that combines the richness of chocolate with the creamy smoothness of ricotta cheese. Perfect for any occasion, from an elegant dinner party to a cozy night in, these treats are a sophisticated twist on the classic chocolate dessert. What makes them truly special is the contrast between the crisp chocolate shell and the light, fluffy ricotta filling, creating a harmonious blend of textures and flavors. Each bite offers a luscious experience that balances sweetness and richness, making it impossible to stop at just one. Whether you're a chocolate lover or a fan of creamy desserts, these Chocolate Cream Cups are bound to become a favorite, leaving a lasting impression on anyone lucky enough to indulge in them.
What are Chocolate Cream Cups?
The origins of Chocolate Cream Cups can be traced back to the rich culinary traditions of Italy, where ricotta cheese has long been a staple ingredient in both savory and sweet dishes. This dessert, a modern interpretation of classic Italian flavors, draws inspiration from the country's love affair with creamy, indulgent treats. Ricotta, which means "recooked" in Italian, has been made for centuries by reheating whey left over from other cheeses. It has a mild, slightly sweet taste that pairs beautifully with chocolate. The idea of encasing ricotta in a chocolate shell likely evolved from traditional Italian desserts like cannoli and cassata, where ricotta is a key component. By combining the creamy texture of ricotta with the rich allure of chocolate, this dessert offers a contemporary twist on classic Italian flavors, making it a popular choice for those seeking a sophisticated yet comforting treat.
Tips for the Best Chocolate Cream Cups
- The quality of your ingredients will significantly impact the final product. Opt for high-quality chocolate with a cocoa content of at least 60-70%, and fresh, creamy ricotta cheese. These ingredients will enhance the overall taste and texture of your dessert.
- When melting the chocolate, do so gently to avoid burning. Use a double boiler or microwave in short bursts, stirring frequently. This ensures the chocolate remains smooth and glossy, perfect for creating a crisp shell.
- To get a velvety ricotta filling, blend the ricotta mixture thoroughly with an immersion blender. This step breaks down any lumps and creates a smooth, creamy texture that contrasts beautifully with the chocolate shell.
- When adding the ricotta mixture to the chocolate cups, be careful not to overfill them. This allows room for the top layer of chocolate, ensuring a neat and tidy finish. Overfilling can cause the filling to spill out, making the cups messy and harder to handle.
- When covering the ricotta filling with the final layer of chocolate, use a thin coating. This not only seals the filling but also makes it easier to bite into without breaking the entire cup.
- Allow the completed cups to chill for at least an hour in the fridge. This final step ensures that the filling sets properly and the chocolate shell hardens, making them easier to remove from the molds and enjoy.
What's the Best Chocolate for This Recipe?
The best type of chocolate to use for this recipe is high-quality dark chocolate with a cocoa content of 60-70%. This percentage provides a balanced sweetness and rich flavor that complements the creamy ricotta filling without being overly sweet. Additionally, dark chocolate melts smoothly and creates a sturdy, glossy shell, perfect for encasing the filling.
Do I Need to Temper The Chocolate?
Tempering the chocolate is recommended for this recipe. Tempering ensures that the chocolate sets with a glossy finish, a crisp texture, and a smooth snap. This process stabilizes the cocoa butter crystals, preventing the chocolate from becoming dull or developing a grainy texture. While it's not absolutely necessary, tempered chocolate will result in a more professional and appealing presentation.
Can I Use Another Type of Cheese Instead of Ricotta?
Yes, of course! Mascarpone or cream cheese are good alternatives, as they have a similar creamy texture and mild flavor. Just ensure the substitute cheese is smooth and not overly salty, so it complements the sweetness of the dessert.
Why is The Cream so Grainy?
The cream might have turned out grainy if the ricotta was not smooth enough, if it contained too much moisture, or if it was overmixed. To avoid this, ensure the ricotta is well-drained and blend the mixture just until smooth, using an immersion blender or food processor for best results.
Can I Make These Ahead?
Yes, sure! You can prepare them a day or two in advance and store them in the refrigerator. Just keep them covered to maintain freshness and prevent the chocolate from absorbing any other flavors in the fridge.
Can I Freeze These Cups?
Absolutely! After preparing and setting them, store the cups in an airtight container in the freezer for up to 2-3 months. Thaw them in the refrigerator before serving to maintain the best texture and flavor.
How to Store Chocolate Cream Cups
Store any leftover Chocolate Cream Cups in an airtight container in the refrigerator. They will stay fresh for up to 3-4 days.
Ingredients
How to Make Chocolate Cream Cups
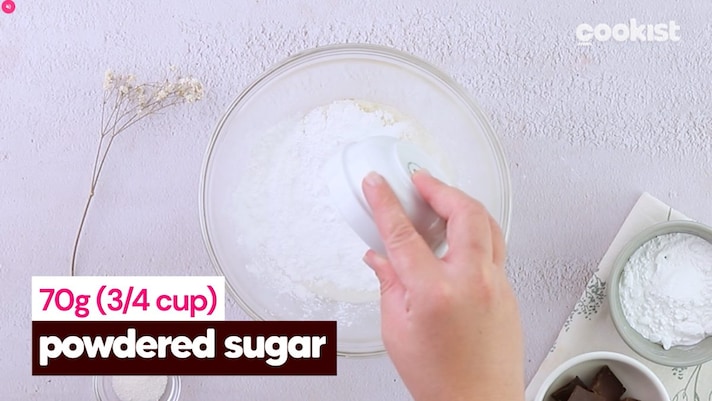
In a bowl add the melted butter and mix it with the vanilla sugar and the powdered sugar, with a hand whisk.
In a bowl add the melted butter and mix it with the vanilla sugar and the powdered sugar, with a hand whisk.
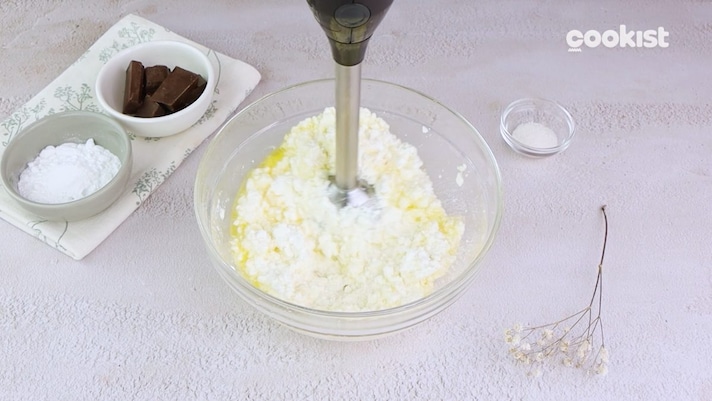
Add the ricotta to the mixture and blend everything with an immersion blender to obtain a smooth cream.
Add the ricotta to the mixture and blend everything with an immersion blender to obtain a smooth cream.
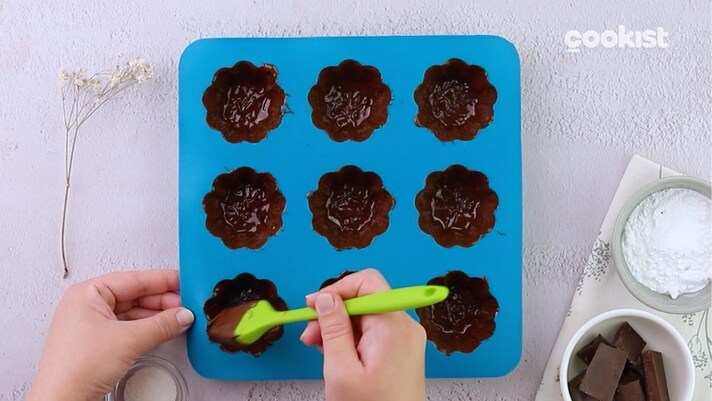
Melt the chocolate and brush it in the molds to create a first layer of wrapping. Let it set in the fridge for about 10 minutes. Then, brush a second layer of encasing and let it sit in the fridge for another 10 minutes.
Melt the chocolate and brush it in the molds to create a first layer of wrapping. Let it set in the fridge for about 10 minutes. Then, brush a second layer of encasing and let it sit in the fridge for another 10 minutes.
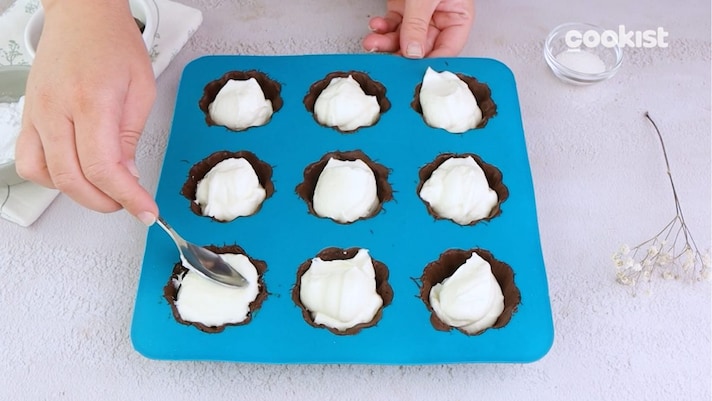
Fill each cup with the prepared ricotta cream and cover with another thin layer of melted chocolate. Let the dessert set in the fridge for at least an hour.
Fill each cup with the prepared ricotta cream and cover with another thin layer of melted chocolate. Let the dessert set in the fridge for at least an hour.
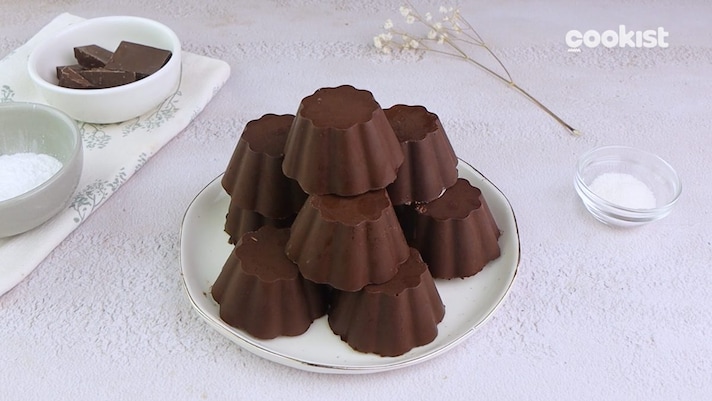
Serve and enjoy!
Serve and enjoy!
;Resize,width=767;)
