
Indulge in the delightful treat of homemade Chocolate-Covered Panana Popsicles, a perfect blend of creamy banana yogurt, whipped cream, and rich melted chocolate. This easy-to-make dessert is ideal for hot summer days, offering a refreshing and satisfying way to cool down. What makes these popsicles special is the combination of natural banana sweetness and the smooth, creamy texture of yogurt, complemented by a crisp chocolate coating. These popsicles are not only delicious but also a healthier alternative to store-bought ice creams, making them a hit with both kids and adults. Whether enjoyed as an afternoon snack or a light dessert after dinner, these banana yogurt popsicles are sure to become a beloved treat in any household.
What Are Chocolate Banana Popsicles?
The history of popsicles dates back to 1905 when 11-year-old Frank Epperson accidentally left a cup of powdered soda, water, and a stirring stick on his porch during a cold night. The mixture froze, creating a frozen treat on a stick, which he initially called "Epsicle." In 1923, Epperson patented his invention and later renamed it "Popsicle," a combination of "pop" and "icicle." Popsicles quickly became a popular summertime treat, cherished for their refreshing qualities and ease of enjoyment.
Chocolate banana popsicles likely emerged as a variation of traditional popsicles and chocolate-covered bananas. Combining the creamy, natural sweetness of bananas with the indulgent richness of chocolate, this treat became popular in the mid-20th century, especially at fairs and amusement parks. The concept of dipping frozen bananas in chocolate evolved, and eventually, blending banana yogurt and freezing it before coating it in chocolate added a new dimension to this beloved combination, creating a delicious and nutritious frozen dessert enjoyed by many.
Tips for The Best Chocolate Banana Popsicles
- Use ripe bananas for a naturally sweet and flavorful base. The riper the bananas, the sweeter and more intense the banana flavor will be.
- Whip the cream to soft peaks before folding it into the banana-yogurt mixture. This will incorporate air, giving the popsicles a light and fluffy texture.
- Use silicone ice cream molds for easy removal of the popsicles once they are frozen. Silicone molds are flexible and non-stick, making them ideal for this recipe.
- Melt the chocolate with vegetable oil to achieve a smooth, glossy finish. The oil helps the chocolate set properly and gives it a nice sheen.
- Dip the frozen popsicles quickly into the melted chocolate to prevent them from melting. Allow any excess chocolate to drip off before placing the popsicles on a parchment-lined tray. After dipping in chocolate, place the popsicles back in the freezer for a few minutes to let the chocolate harden completely before serving.
Can I Use Frozen Bananas Instead?
Yes, you can use frozen bananas for the popsicles. Thaw them slightly before blending to ensure a smooth mixture. This can also give the popsicles an even creamier texture.
What Type of Chocolate Should I Use for the Coating?
The best type of chocolate for coating these popsicles is high-quality dark or semi-sweet chocolate. These types of chocolate provide a rich flavor that complements the sweetness of the banana and yogurt mixture. Additionally, dark or semi-sweet chocolate has a higher cocoa content, which helps it harden quickly and form a smooth, glossy coating when combined with a small amount of vegetable oil.
Can I Add Other Flavorings to The Banana Cream?
Of course! Popular options include vanilla extract, a dash of cinnamon, or a bit of honey for added sweetness. You can also incorporate finely chopped nuts, coconut flakes, or a swirl of peanut butter to enhance the flavor and texture of the popsicles.
What If I Don't Have Silicone Moldings?
If you don't have silicone molds, you can use small paper cups or ice cube trays as an alternative. Fill them with the banana mixture, insert wooden sticks or plastic spoons, and freeze until solid. Once frozen, peel off the paper cups or use warm water on the back of the ice cube trays to release the popsicles.
Can I Make Them Vegan?
Yes, you can make these popsicles vegan by using plant-based yogurt (such as almond or coconut yogurt) and replacing the cream with coconut cream or another non-dairy alternative. Ensure the chocolate used for coating is dairy-free as well.
More Popsicles Recipes for You
Chocolate Dipped Vanilla Popsicles
How to Store Chocolate Banana Popsicles
Store these popsicles in an airtight container or wrap them individually in plastic wrap or parchment paper to prevent freezer burn. They will last up to 2-3 months in the freezer while maintaining their quality and flavor.
Ingredients
How to Make Chocolate Banana Popsicles
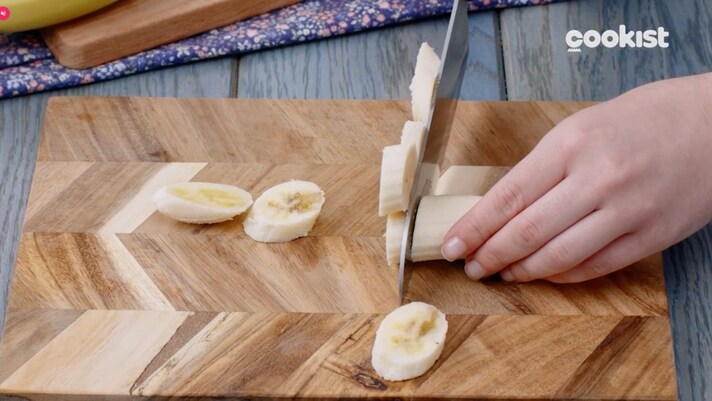
Start by slicing your ripe bananas.
Start by slicing your ripe bananas.
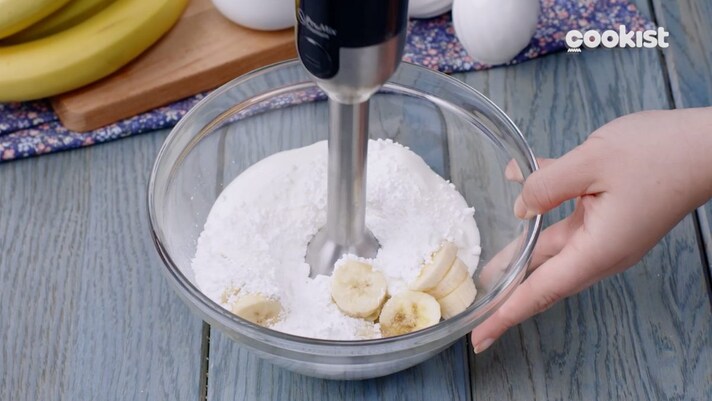
Blend them together with the banana yogurt and the powdered sugar until they reach a smooth consistency.
Blend them together with the banana yogurt and the powdered sugar until they reach a smooth consistency.
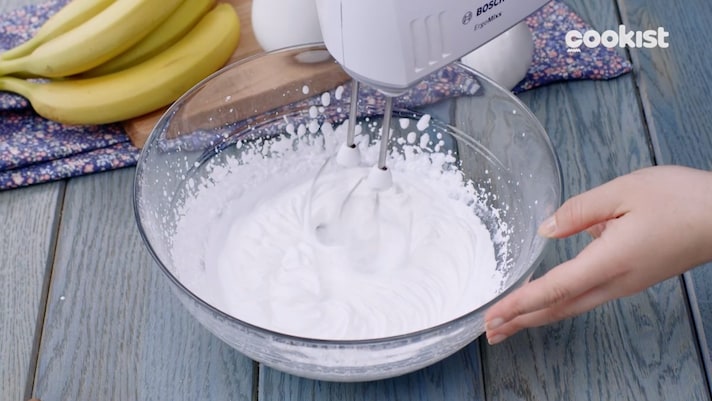
In another bowl, whip the cream until it forms soft peaks.
In another bowl, whip the cream until it forms soft peaks.
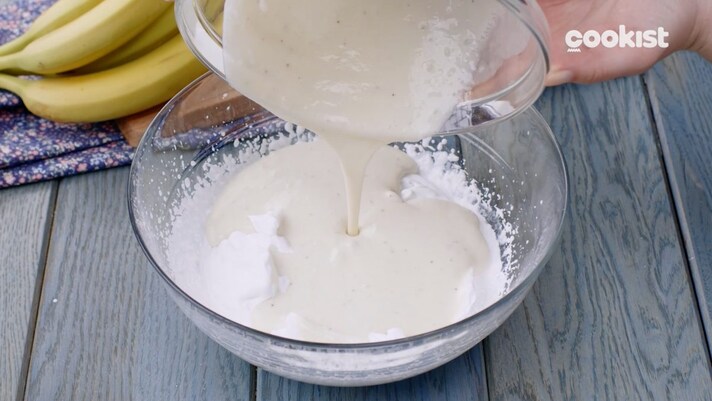
Pour in the banana mixture and keep whipping with an electric whisk until stiff peaks form.
Pour in the banana mixture and keep whipping with an electric whisk until stiff peaks form.
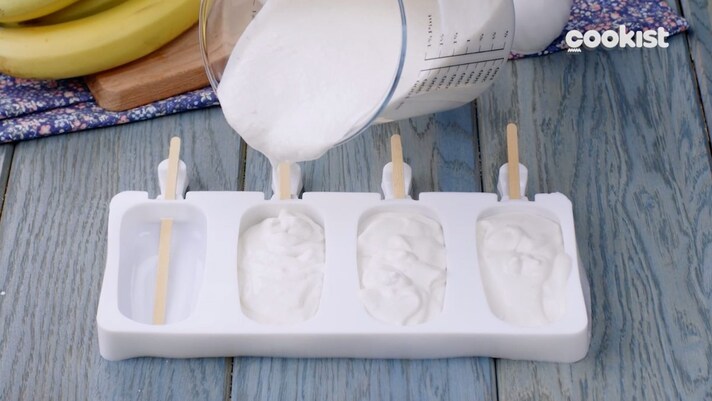
Transfer the prepared mixture into the silicone popsicle molds with a wooden stick inserted inside and transfer to the freezer for about 2-3 hours.
Transfer the prepared mixture into the silicone popsicle molds with a wooden stick inserted inside and transfer to the freezer for about 2-3 hours.
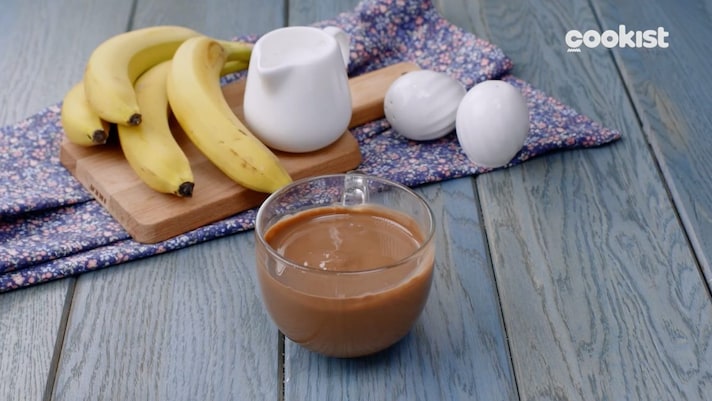
Melt the chocolate and mix it with the vegetable oil.
Melt the chocolate and mix it with the vegetable oil.
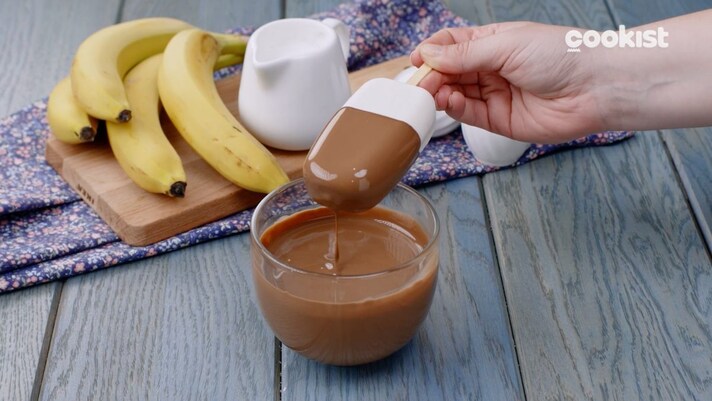
Quickly dip the popsicles into the melted chocolate, letting the excess drip, and place back in the freezer for some minutes to let the chocolate harden.
Quickly dip the popsicles into the melted chocolate, letting the excess drip, and place back in the freezer for some minutes to let the chocolate harden.
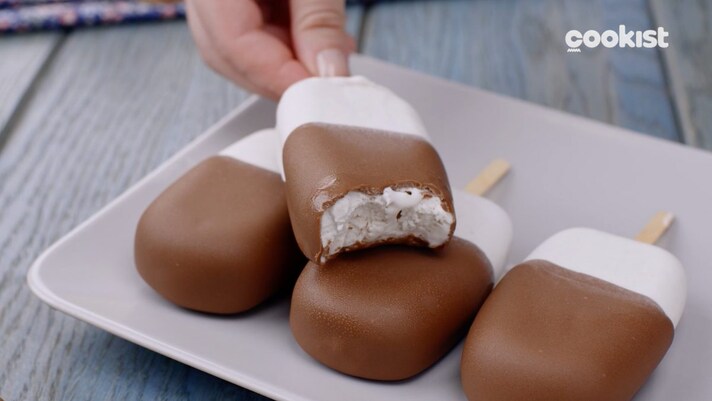
Serve and enjoy!
Serve and enjoy!

;Resize,width=767;)
