
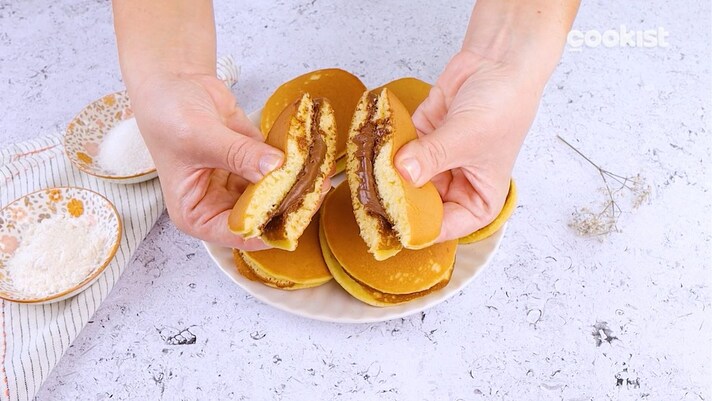
Dorayaki are soft and delicious Japanese desserts that became famous in the West thanks to Doraemon, the robot cat protagonist of the 1980s cartoon of the same name. Although their spongy consistency is reminiscent of sponge cake, dorayaki are often compared to American pancakes because of their shape, which however seems to have been inspired by a musical instrument: dora in Japanese means "gong".
Preparing them is very simple: just work the few necessary ingredients with an electric whisk – flour, sugar, eggs, water, baking powder and, if desired, honey – until you obtain a smooth and slightly thick batter to cook in a very hot non-stick pan. Once ready, all that remains is to fill and pair the disks in pairs, so as to obtain delicious sweet "buns".
They are ideal for breakfast or a snack for the whole family, but if made in a mini version they will also be perfect as an irresistible dessert at the end of a meal to be enjoyed in one bite.
What Are Dorayaki?
Dorayaki, a beloved Japanese confection, traces its origins to the early 20th century. Its name stems from "dora," meaning gong, inspired by its round shape resembling the musical instrument. Traditionally, dorayaki consisted of two fluffy, pancake-like layers filled with sweet red bean paste, making it a staple in Japanese dessert culture. The treat's rise in Western popularity can be credited to anime and manga, particularly through "Doraemon," a globally recognized series where the titular character has a famous fondness for dorayaki. This exposure sparked curiosity and demand for the treat, leading to its availability in international bakeries and Asian markets, where variations like hazelnut-filled dorayaki have gained widespread appeal.
Pro Tips for The Best Dorayaki
- Room temperature eggs ensure a smoother batter and better texture.
- Mix the eggs and sugar until the sugar dissolves completely for a light, fluffy batter.
- Let the batter sit for 10–15 minutes to allow the baking powder to activate and the texture to improve.
- Cook over low to medium heat to prevent burning and ensure even cooking.
- Flip the pancakes only when bubbles appear and the edges look slightly dry.
- Spread the filling evenly and gently press the edges of the pancakes to seal them without tearing.
- While traditional red bean paste is classic, try hazelnut cream, custard, or fruit jams for unique twists!
Dorayaki Vs. Taiyaki
Dorayaki consists of two round, fluffy pancakes sandwiched with a filling like red bean paste or hazelnut cream. In contrast, taiyaki is a fish-shaped pastry made by pouring batter into a mold, often filled with red bean paste, custard, or other sweet fillings, and baked until golden. Both are traditional Japanese sweets but offer distinct textures and appearances.
Are Dorayaki Just Pancakes?
Dorayaki are similar to pancakes but not the same. While both are soft and round, dorayaki batter typically includes honey for a sweeter, denser texture. Unlike pancakes, dorayaki are cooked as single rounds and then sandwiched with a filling like red bean paste or hazelnut cream, making them more of a dessert than a breakfast dish.
Do You Eat Dorayaki Hot or Cold?
Dorayaki can be enjoyed both hot and cold, but they are traditionally eaten at room temperature. When served warm, the filling can be softer and more indulgent, while cold dorayaki offer a firmer texture and are convenient for on-the-go snacking. It depends on personal preference!
Can I Use Milk Instead of Water?
The version we propose is lactose-free, but if you prefer, you can replace the water with milk: the result will be even more full-bodied. However, we do not recommend preparing dorayaki without yeast, an ingredient necessary to obtain the typical soft and spongy consistency.
Can I Flavor the Batter in Any Way?
If you like, you can flavor the batter with a pinch of vanilla or cinnamon powder, or with grated lemon or orange zest. You can also make dorayaki without honey, for a less sweet version.
Why Are My Dorayaki so Flat and Dense?
Dorayaki might turn out dense and flat if the batter was overmixed, causing gluten development, or if the baking powder was inactive or not given time to activate. Cooking at too low a temperature can also prevent proper puffing.
What Other Fillings Can Be Used in Dorayaki?
Beyond the classic red bean paste, dorayaki can be filled with hazelnut cream, chocolate spread, custard, matcha cream, fruit jams, whipped cream, or even savory options like cheese. The filling choices are versatile, catering to both sweet and creative flavors!
Can You Make Dorayaki Ahead of Time?
Yes! Store them in an airtight container at room temperature for a day or refrigerate for up to 2–3 days.
Do Dorayaki Freeze Well?
They do! Wrap each filled dorayaki individually in plastic wrap or foil, then place them in an airtight container or freezer bag. They can be stored in the freezer for up to 1–2 months. Thaw at room temperature or reheat gently before serving.
More Japanese Desserts You Need to Try!
How to Store Dorayaki
Dorayaki can be stored in the refrigerator for 24 hours, well covered with cling film.
Ingredients
How to Make Dorayaki
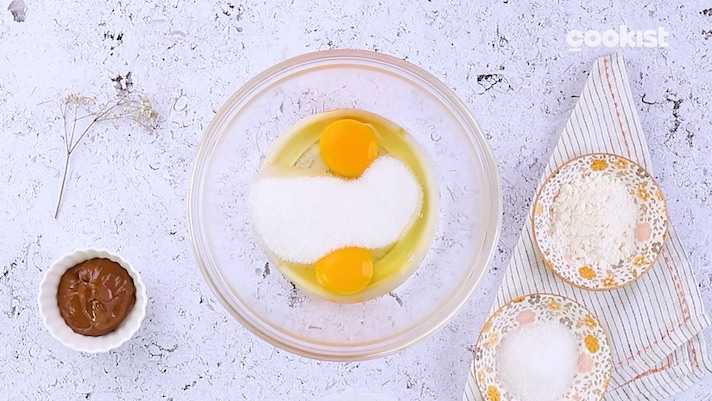
In a bowl crack the eggs and the sugar and mix together with a whisk until the sugar dissolves completely.
In a bowl crack the eggs and the sugar and mix together with a whisk until the sugar dissolves completely.
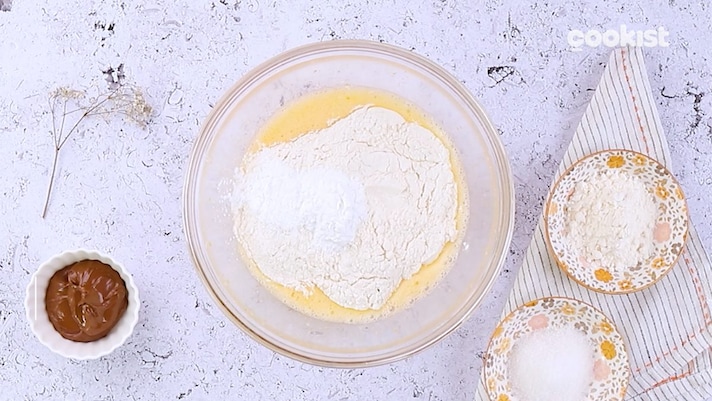
Add the flour and the baking powder and mix again to dissolve and combine together.
Add the flour and the baking powder and mix again to dissolve and combine together.
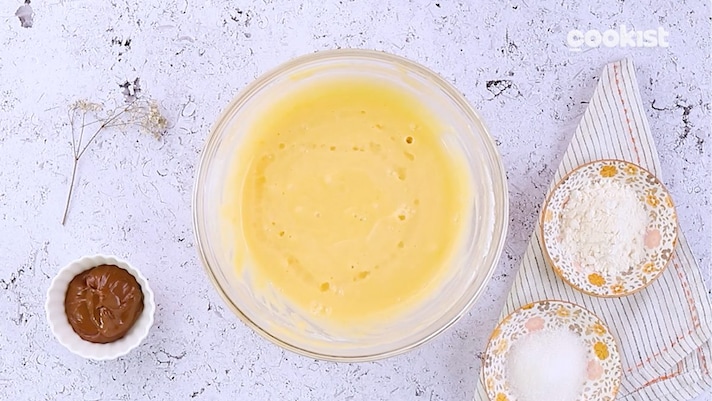
Pour in the water and mix to incorporate in the batter.
Pour in the water and mix to incorporate in the batter.
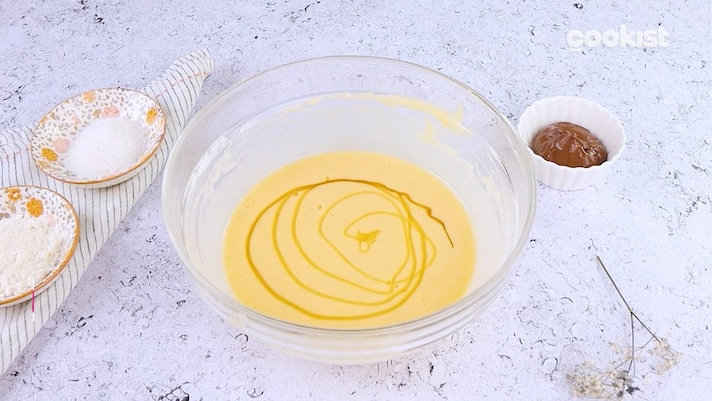
Finally, pour in the honey and keep mixing until it has been incorporated.
Finally, pour in the honey and keep mixing until it has been incorporated.
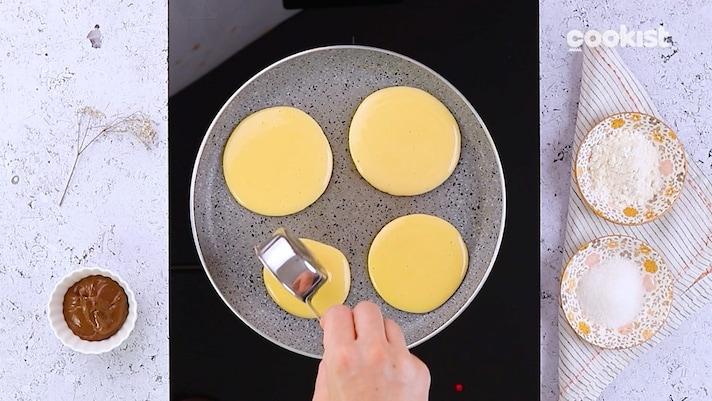
Pour the mixture onto a non-stick pan.
Pour the mixture onto a non-stick pan.
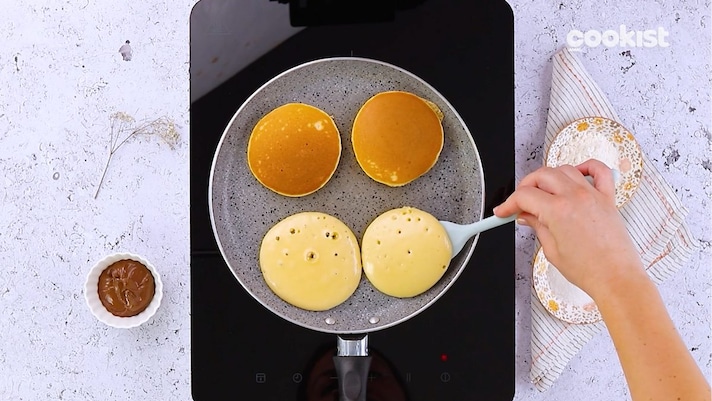
When bubbles start forming on the surface, flip the pancakes and finish cooking.
When bubbles start forming on the surface, flip the pancakes and finish cooking.
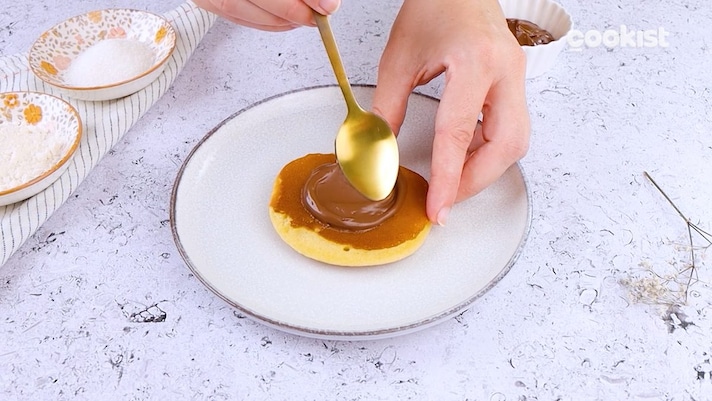
Spread the hazelnut cream on one disc.
Spread the hazelnut cream on one disc.
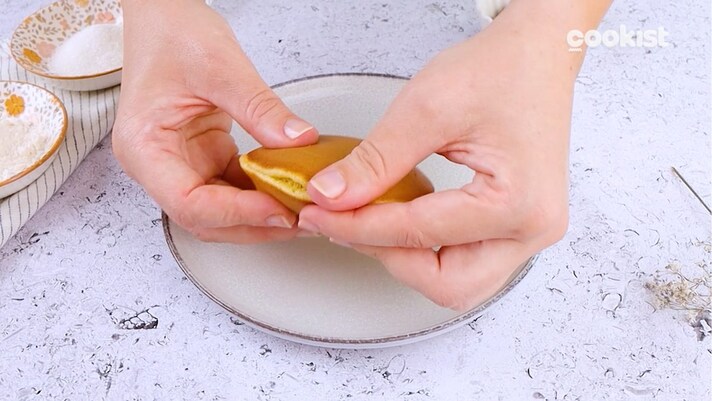
Place another disc on top and seal the edges together with your fingers.
Place another disc on top and seal the edges together with your fingers.
Enjoy!
Enjoy!

;Resize,width=767;)
