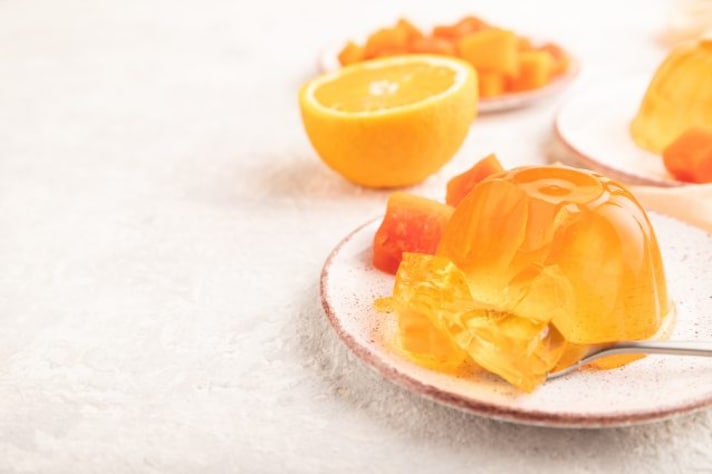
7 Mistakes To Never Make When Making Jell-O at Home and Why
Avoid these Jell-O making mistakes for perfect results: Ensure gelatin dissolves completely, add cold ingredients only after cooling, avoid fresh pineapple, measure water accurately, give ample chill time, prepare molds properly, and carefully add acidic or alcoholic elements. Happy Jell-O crafting!

Jell-O, with its wobbly charm and rainbow of colors, has been a staple of American dessert tables for decades. This gelatinous delight, celebrated for its simplicity and versatility, can turn any gathering into a festive occasion. While the process of making Jell-O appears straightforward—just mix, dissolve, chill, and serve—the road to achieving that perfect quiver is fraught with potential mishaps. Fear not, for we're here to guide you through the common pitfalls and ensure your Jell-O stands firm, yet jiggles just right. Let’s dive into the seven cardinal sins of Jell-O making and how to steer clear of them.
1. Never Forget to Completely Dissolve the Gelatin
The foundation of flawless Jell-O is ensuring the gelatin powder fully dissolves in boiling water. Partially dissolved gelatin leads to a gritty texture, ruining the smooth experience. Stir the mixture thoroughly until there’s no graininess or powder left. Patience is key here.
2. Never Add Cold Ingredients Too Soon
Impatience can be your downfall when making Jell-O. Adding cold ingredients or refrigerating the mixture before the gelatin is fully dissolved causes it to set unevenly, resulting in a lumpy dessert. Always wait until the mixture is at room temperature before moving to the next step.

3. Never Use Fresh Pineapple
Fresh pineapple contains bromelain, an enzyme that breaks down gelatin, preventing your Jell-O from setting. This doesn’t mean you can’t enjoy pineapple-flavored Jell-O; just make sure to use canned pineapple, as the canning process neutralizes the enzyme.
4. Never Over or Underwater
The right balance of water is crucial. Too much water results in overly soft Jell-O that won’t hold its shape, while too little makes it too firm and chewy. Follow the package instructions meticulously to ensure the perfect consistency.
5. Never Skip the Chill Time
Jell-O requires several hours to set properly, often overnight. Trying to speed up this process by checking or poking it too early can lead to a messy disaster. Plan ahead and give it ample, uninterrupted chill time in the refrigerator.

6. Never Ignore the Mold Prep
If you’re using a mold to shape your Jell-O, not preparing the mold can lead to your creation sticking and breaking when you try to unmold it. A light coat of non-flavored cooking spray or a quick dip in warm water can make the unmolding process seamless.
7. Never Add Acidic or Alcoholic Ingredients Improperly
Acidic ingredients or alcohol can also prevent Jell-O from setting if not used correctly. If you want to add these to your Jell-O, ensure they are at room temperature and add them after the gelatin has completely dissolved. Additionally, too much alcohol can inhibit setting, so moderation is key.
;Resize,width=767;)


